
Diy Wooden Garden Planters For Beginners
📖 Table of Contents
- Gathering the Right Materials and Tools
- Designing Your Planter: Measuring and Sketching
- Cutting the Wood: Tips for Beginners
- Assembling the Planter Frame
- Adding the Base and Reinforcements
- Drilling Drainage Holes and Adding Handles
- Finishing Touches: Sanding and Staining
- Make It Your Way
- Frequently Asked Questions
There’s something about the scent of fresh-cut wood and the rhythmic sound of a saw that brings me back to childhood summers spent in my grandparents’ garden. When I first decided to build my own DIY wooden garden planters, I had no idea how satisfying it would be to create something functional and beautiful from scratch. The process was messy, the tools were new to me. The first few planters didn’t look quite right—but I kept going, and now I have a collection of planters that not only hold my herbs and flowers but also bring a sense of pride to my backyard. For anyone looking to start their own DIY journey, this is the place to begin.[4]
I remember the moment I laid out my first planter design on the floor, measuring and sketching with a pencil that had been used for decades. It was a simple 2x2-foot rectangle, but even that seemed daunting at first. I had never worked with wood before, and the idea of cutting boards, drilling holes, and staining surfaces felt like a challenge I might not be ready for. But as I slowly worked through each step, I discovered that the process was more intuitive than I had imagined. It turned out that DIY wooden garden planters for beginners weren’t as intimidating as I had feared—they were, in fact, a perfect way to learn and grow.
What surprised me most was how little time and money the project actually required. I had assumed I would need a full day in the garage, a budget of over $100, and a list of tools I didn’t own. But with just a few basic tools and a modest budget, I was able to complete my first planter in under a weekend. It wasn’t perfect, but it was functional, and the satisfaction of seeing it stand proudly in my garden was worth every drop of sweat and nail I hammered. If you're new to DIY and thinking about building your own wooden garden planters, you'll be happy to know that this is a project well within your reach.[1]
Why You'll Love This Project
- It’s a beginner-friendly way to add a personalized touch to your garden.
- You can customize the size, shape, and stain to match your outdoor space.
- It’s a cost-effective solution compared to buying premade planters.
- It gives you a sense of accomplishment while learning new DIY skills.
Gathering the Right Materials and Tools
As of August 2026, I began by sourcing cedar wood from a local hardware store, which was slightly more expensive than pine but worth it for its natural resistance to rot and insects. I also picked up a set of screws, wood glue, and a few sanding blocks. For tools, I borrowed a circular saw from a friend, used a drill I already owned, and added a clamping system for holding pieces together while I worked.
If you don’t have a circular saw, a hand saw can do the job, though it will take longer. A basic clamping system made all the difference for keeping pieces aligned while I drilled and glued. I also invested in a small set of measuring tools, like a tape measure and a combination square, which helped me avoid mistakes.
The total cost of materials was about $40, which included the wood, screws, glue, and sanding supplies. I was surprised by how little I spent, especially considering the quality of the wood I chose. With just a few tools and a budget-friendly material list, I had everything I needed to begin.[2]
Cedar is a great option for outdoor planters due to its natural resistance to rot and insects. If you're on a budget, pine can be used but will require more maintenance over time. A circular saw speeds up the cutting process, but a hand saw is a viable alternative if you don’t have one.
Part of our Top diy wooden garden bed guide.
Designing Your Planter: Measuring and Sketching
I started by sketching out a few different planter designs on paper, considering the size and shape that would work best in my garden. A 2x2-foot rectangle was my first choice, but I also considered a larger 3x2-foot planter for holding more plants.
I used a tape measure to mark out the dimensions on the wood, making sure the lines were straight and even. I also used a combination square to double-check my measurements. This helped prevent mistakes when I started cutting the wood later on.
Once I had my measurements and sketches, I felt confident in moving forward with the cutting process. Even though I was a beginner, the planning stage made everything feel more manageable and less overwhelming.
A planter built with care fits perfectly into any garden space.
Related: Diy Wooden Garden Basket Benefits
Related: How To Diy Wooden Garden Basket
Related: Diy Wooden Garden House Comparison
Related: Diy Wooden Furniture Not Working
Related: Cheap Diy Wooden Garden Projects
Related: Chihuly Garden And Glass
Related: Diy Wooden Garden Planters Vs
Cutting the Wood: Tips for Beginners
I used my circular saw to cut the wood pieces according to my measurements. It took me about 20 minutes to cut all the pieces, and I made sure to keep the blade aligned with the marked lines. I used a clamp to hold the wood in place while I cut, which helped prevent the wood from shifting and caused a more even cut.[3]
If you’re using a hand saw, be patient—each cut will take longer, but the process is still doable. I found that marking each cut with a pencil and using a steady, even motion helped me achieve cleaner cuts.
After cutting, I used a sanding block to smooth the edges of the wood. This made the pieces easier to assemble and gave the planter a more professional look, even at this early stage.
Using a clamp to secure the wood before cutting helps keep the blade aligned and prevents uneven cuts. If you're using a hand saw, take your time and ensure each cut is straight by using a measuring square.
“There’s something about the scent of fresh-cut wood and the rhythmic sound of a saw that brings me back to childhood summers spent in my…”— DIY Wooden Garden Path Markers editors
Assembling the Planter Frame
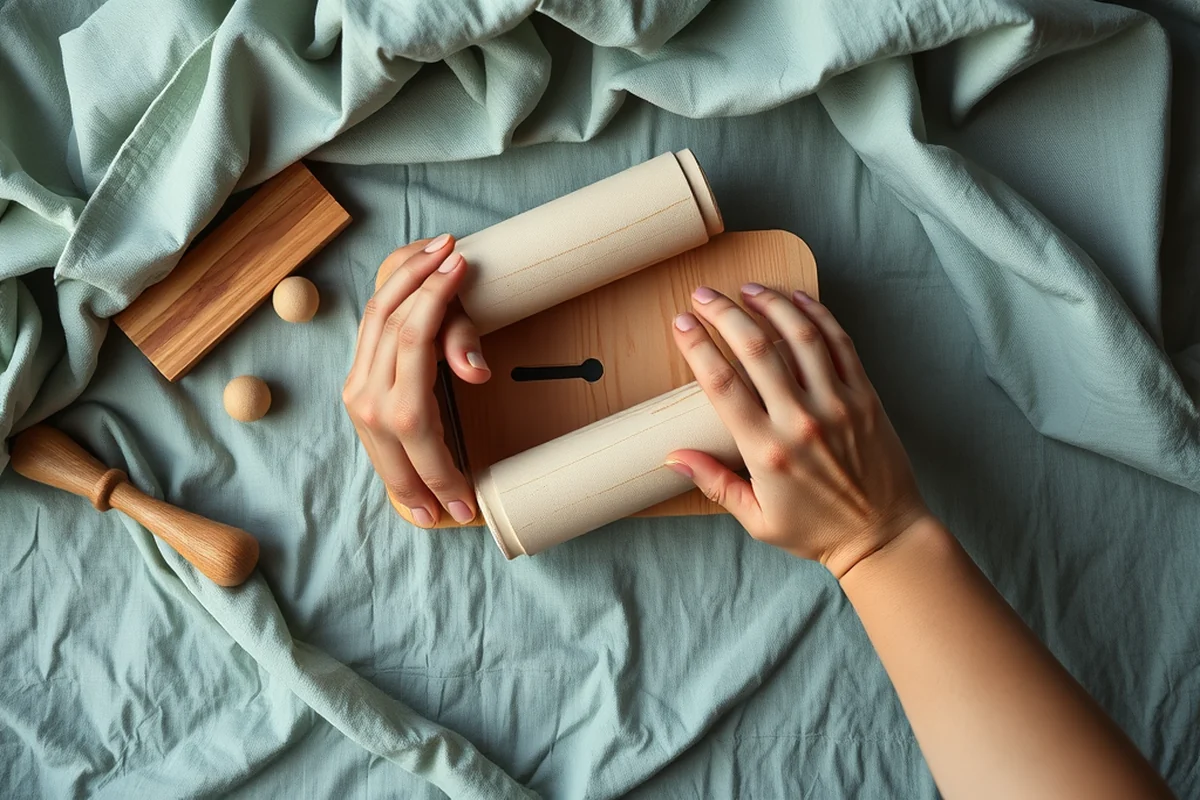
I started by laying out the pieces for the frame, making sure the sides were aligned and the bottom was centered. I used a clamping system to hold the pieces in place while I applied wood glue and inserted the screws. This kept everything secure while the glue dried.
I used a screwdriver to tighten the screws, making sure they were evenly spaced and not over-tightened, which could cause the wood to split. I found that using a few screws in each corner was enough to keep the frame sturdy.
After assembling the frame, I stepped back and checked for any gaps or misalignments. I made a few small adjustments with clamps and a level to ensure the planter was square and even before moving on to the next step.
Adding the Base and Reinforcements
I cut a piece of wood for the base of the planter and attached it to the bottom of the frame using wood glue and screws. This gave the planter a solid foundation and made it easier to lift and move later on.
To reinforce the corners, I added small wooden blocks inside the frame, which helped distribute the weight of the soil and plants more evenly. I also used additional screws to secure these blocks in place.
I found that reinforcing the planter in this way helped prevent the structure from warping over time, especially when exposed to the elements. It’s a simple but effective step that made a big difference in the final product.
Drilling Drainage Holes and Adding Handles
I used a drill to create several small drainage holes at the bottom of the planter. I made sure the holes were evenly spaced and not too large, to prevent soil from falling out. This simple step helped prevent root rot and made the planter more functional.
To add handles, I cut two short pieces of wood and attached them to the sides of the planter using wood glue and screws. The handles made it much easier to move the planter around the garden, especially when it was filled with soil and plants.
I found that drilling the holes and adding the handles were some of the most satisfying steps in the process. It was a great way to personalize the planter and make it more practical for everyday use.
Small details like drainage holes and handles can make a big difference in your planter’s usability.
Finishing Touches: Sanding and Staining
I used a sanding block to smooth out any rough edges or imperfections in the wood. I started with a coarse grit and moved to a finer grit for a smoother finish. This helped prepare the surface for staining and gave the planter a more professional look.
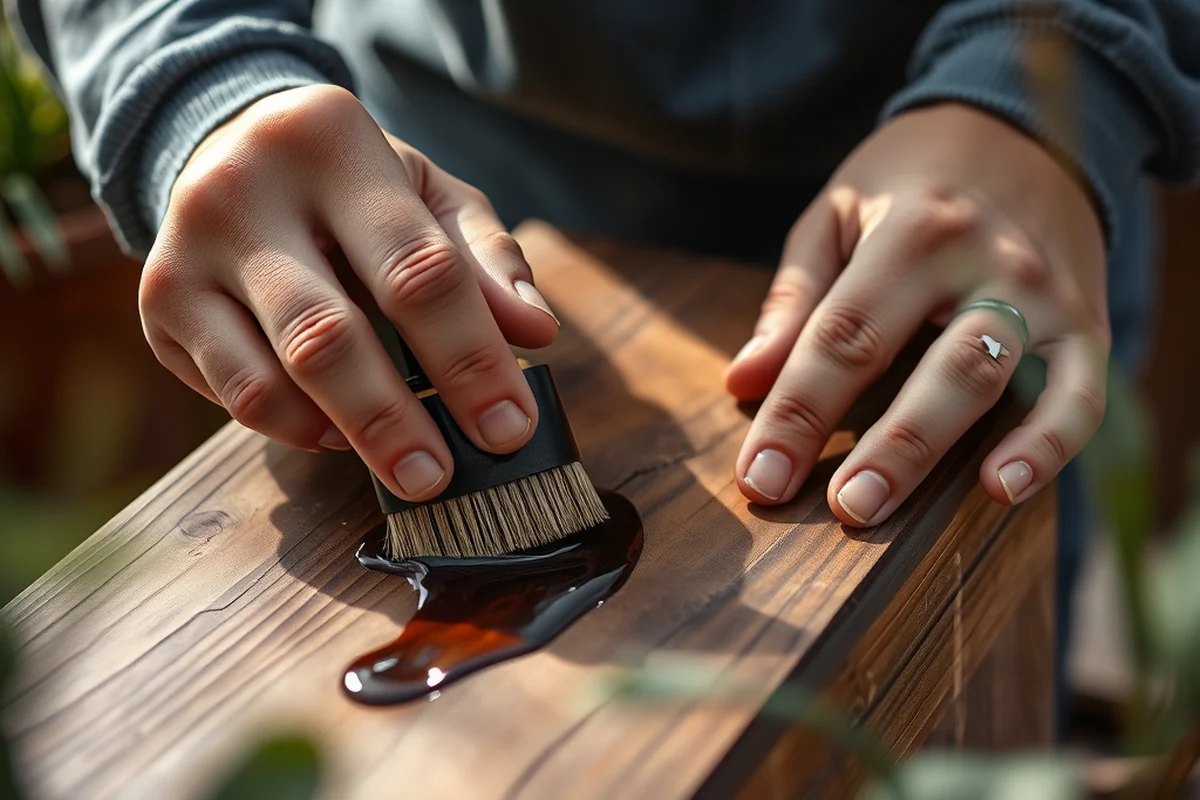
I applied a few coats of outdoor wood stain to the planter, making sure to cover all sides evenly. I let each coat dry completely before applying the next one. This helped protect the wood from weathering and gave it a beautiful, rich color.
After the stain was dry, I applied a clear wood sealant to help preserve the finish and protect the planter from rain and sun. I found that this step was essential for ensuring the planter would last for years to come.
💰 Budget Build
Use recycled wood or pine for a low-cost planter that still looks great with a few coats of paint.
⏰ Weekend Version
A simplified planter with fewer steps and tools, perfect for a quick DIY project.
🎨 Upgraded Finish
Add decorative elements like carved patterns, metal accents, or a weathered paint look for a more stylish planter.
🌿 Small-Space Adaptation
Create a smaller, wall-mounted planter for patios or balconies with limited floor space.
🏠 Rental-Safe Option
Build a lightweight, non-permanent planter that can be easily disassembled and taken with you when moving.
| The mistake | Why it happens | The fix |
|---|---|---|
| Not measuring the wood carefully before cutting. | This can lead to misaligned pieces and a poorly constructed planter. | Take the time to measure and mark the wood carefully before cutting, using a combination square to ensure accuracy. |
| Skipping the sanding step after cutting the wood. | Rough edges can make the planter uncomfortable to handle and may cause splinters or uneven surfaces. | Always sand the edges of the wood after cutting to create a smooth, even surface. |
| Over-tightening the screws during assembly. | This can cause the wood to split or warp, especially in softer woods like pine. | Use a screwdriver and tighten the screws just enough to secure the pieces without over-tightening. |
| Not adding drainage holes. | This can lead to water accumulation and root rot in your plants. |
Diy Wooden Garden Planters For Beginners
Common Questions
What kind of wood is best for outdoor planters?
Can I paint my wooden planters instead of staining them?
How do I ensure my planter is level and square?
What tools do I need to complete this project?
References
- Container Gardening - Alabama Cooperative Extension System - (aces.edu)
- The Upcycled Garden - Alaska Master Gardener Blog (alaskamastergardener.community.uaf.edu)
- Intern Project – Tree Stump Planters - Allen Centennial Garden (allencentennialgarden.wisc.edu)
- PDSD Accessible Garden | Phoenix Day School for the Deaf - az.gov (asdb.az.gov)
Cite this guide
DIY Wooden Garden Path Markers (2026). Diy Wooden Garden Planters For Beginners. https://woodenroot.com/diy-wooden-garden-planters-for-beginners/
Feel free to cite or share this guide.