
Diy Wooden Furniture Troubleshooting
📖 Table of Contents
- Understanding Wood Movement and Warping
- Fixing Squeaky Joints and Weak Connections
- Choosing the Right Type of Wood and Finish
- Avoiding Common Glue and Joinery Mistakes
- Fixing Paint and Stain Issues
- Fixing Weak or Unstable Legs
- Fixing Issues with Cabinet Doors and Drawers
- Make It Your Way
- Frequently Asked Questions
The first time I tried building a simple wooden shelf, I thought I had the whole process figured out. I measured, cut, and glued — only to find the pieces didn’t align, and the final product looked like it had been assembled by a group of squirrels. That’s when I realized: DIY wooden furniture troubleshooting is not just about knowing the steps; it’s about understanding the little things that can go wrong and how to fix them. Every project, whether it’s a bookshelf or a dining table, has its own set of challenges, and learning how to troubleshoot them is what turns a good DIYer into a great one.[3]
I’ve spent the last five years building everything from coffee tables to full-sized beds, and along the way, I’ve made every mistake you can imagine. One time, I used the wrong type of wood for a project and ended up with a warped table that looked like it had been through a fire. Another time, I forgot to sand my pieces properly, and the finish looked like it had been slapped on with a brick. These experiences taught me that DIY wooden furniture troubleshooting is an essential skill, not just a side note. It’s the difference between a project that looks handmade and one that looks like it belongs in a museum.[4]
Whether you're a complete beginner or an experienced woodworker, there are always tricks and tips to help you avoid common pitfalls. I’ve learned that the best way to troubleshoot issues is by taking the time to understand the materials, the tools, and the process. That’s why I’m writing this article — to give you a roadmap for handling the most common problems in DIY wooden furniture, from warping and squeaking to glue failures and paint peeling. The key to success isn’t just having the right tools; it’s knowing how to use them with care and precision.[5]
Why You'll Love This DIY Wooden Furniture Troubleshooting Guide
- You'll learn how to fix common DIY problems without needing a professional's help
- You'll discover how to avoid costly mistakes before they happen
- You'll gain confidence in your ability to complete complex projects
- You'll save time and money by troubleshooting early and often
Understanding Wood Movement and Warping
As of October 2026, one of the most common DIY wooden furniture troubleshooting issues is warping. I once built a table that looked perfect in my workshop, only to find it bowing out in my living room — the wood had absorbed moisture in the air. This is a natural occurrence, but it can be frustrating if you’re not prepared. To avoid this, I always recommend using wood that has been kiln-dried and acclimated to the environment where it will be placed. I’ve found that letting the wood sit in the room for at least a week before building can make a huge difference. This gives the wood time to adjust to the humidity and temperature, reducing the chance of unexpected warping.[1]
Another solution I’ve used is to apply a thin layer of wood glue to the edges and corners of the pieces before assembling them. This helps the wood bond in a way that allows for some movement while still maintaining the integrity of the joint. I’ve found that this technique is especially useful when working with softer woods like pine or cedar, which are more prone to warping. If you’re dealing with a finished piece that has already warped, you can try applying a slight pressure using clamps or weights to straighten it out. This method has worked for me on a few occasions, though it’s more effective when caught early.
I’ve also learned that the way you cut and join the pieces can impact how much the wood moves. For instance, using a biscuit joint instead of a simple butt joint gives the wood more flexibility and reduces the risk of gaps forming as the wood expands. It’s a small detail, but one that makes a big difference in the long run. I’ve seen many DIYers skip this step, only to have their furniture come apart after a few months. Taking the time to choose the right joints and techniques can save you a lot of headaches down the line.
Let your wood sit in the room where it will be used for at least a week before building. This helps it adjust to the humidity and temperature, reducing the risk of warping.
Part of our Diy wooden garden projects troubleshooting guide.
Fixing Squeaky Joints and Weak Connections
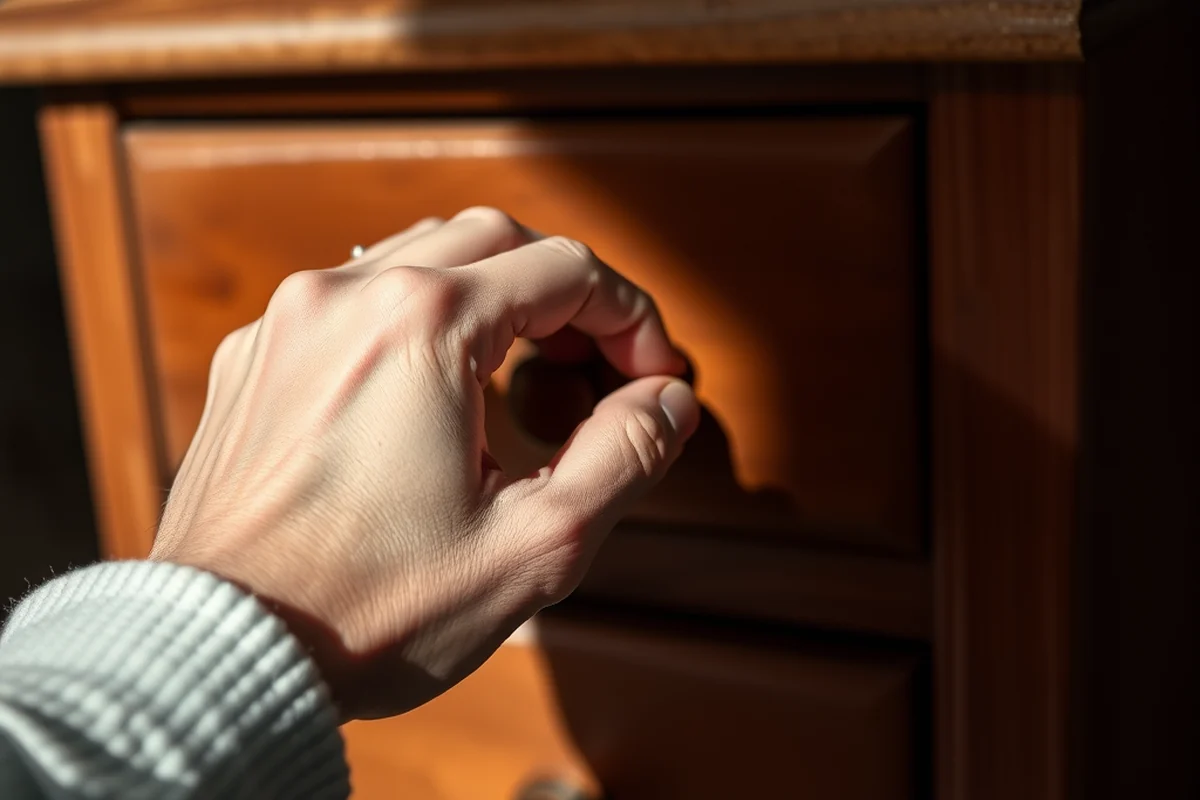
I’ve had my fair share of squeaky chairs and tables, and I know how annoying it can be. One of the most effective DIY wooden furniture troubleshooting methods I’ve used is applying wood glue or epoxy to the joints and then tightening them as much as possible. I’ve found that using a small amount of glue and then clamping the joint for at least 24 hours gives the best results. This creates a strong, lasting bond that prevents the wood from moving over time.[2]
Another solution I’ve used is inserting a small piece of wood or a metal dowel into the joint before gluing it. This adds extra support and makes the connection more solid. I’ve found that this is especially useful when working with large furniture pieces like tables or bookshelves, where the joints need to be extra strong. If you’re dealing with a table that has already started to squeak, you can try using a small amount of powdered graphite or dry lubricant in the joints. This is a quick fix that can eliminate the noise without damaging the wood.
I’ve also experimented with using screws in conjunction with glue to create a stronger connection. While some DIYers prefer to avoid screws, I’ve found that combining them with glue provides a more secure hold. I’ve used this method on a few projects, and it’s been incredibly effective. The key is to use the right size screw and to avoid over-tightening, which can cause the wood to split. I’ve learned that a little bit of patience goes a long way with fixing squeaky joints.
A strong joint is the foundation of any great DIY wooden furniture project.
Related: Diy wooden garden room checklist
Choosing the Right Type of Wood and Finish
I’ve made the mistake of using the wrong type of wood for a project more than once, and it never ends well. For example, I once tried to build a coffee table with pine, only to find that it warped and sagged within weeks. This taught me that not all wood is created equal, and choosing the right type for the project is essential. I’ve found that hardwoods like oak, maple, and walnut are much more durable and less prone to warping, making them ideal for furniture that will be used regularly.
Another thing I’ve learned is that the type of finish you choose can make a huge difference in the appearance and longevity of your project. I’ve used polyurethane, lacquer, and wood oil, and each one has its own pros and cons. For instance, I’ve found that polyurethane is great for high-traffic areas, but it can be difficult to apply evenly. On the other hand, wood oil is easier to apply and gives a more natural look, but it requires more maintenance over time. I’ve also experimented with using a combination of finishes for different parts of the furniture, which has worked well for me.
I’ve also found that the way you prepare the wood before applying the finish is just as important as the finish itself. I always make sure to sand the wood thoroughly and clean it with a damp cloth before applying any finish. This helps the finish adhere better and prevents it from peeling or flaking over time. I’ve found that taking the time to do this step properly can make a huge difference in the final result.
Hardwoods like oak and maple are ideal for furniture that will be used regularly, while softer woods like pine are better suited for decorative pieces or smaller projects.
“The first time I tried building a simple wooden shelf, I thought I had the whole process figured out.”— DIY Wooden Garden Path Markers editors
Related: Diy wooden garden path checklist
Avoiding Common Glue and Joinery Mistakes
One of the most common DIY wooden furniture troubleshooting mistakes I’ve seen is using the wrong type of glue. I once used wood glue to assemble a shelf, only to find that it had dried too quickly and the pieces didn’t stick properly. This taught me that using the right type of glue for the job is essential. I’ve since learned that using a fast-drying glue like Titebond or Elmer’s wood glue is a better option for most projects, as they give you more time to adjust the pieces before they set.
Another mistake I’ve made is not clamping the pieces together properly after applying the glue. I’ve found that not clamping the pieces can lead to gaps forming in the joints, which can make the furniture look unprofessional. To avoid this, I always make sure to use clamps or weights to hold the pieces together while the glue dries. I’ve also learned that using multiple clamps can help distribute the pressure more evenly, which leads to a stronger bond.
I’ve also found that the way you apply the glue can make a big difference. I’ve tried using too much glue, which can cause it to seep out of the joints and create a messy finish. I’ve since learned that using a thin, even layer of glue is the best approach. This gives the wood the right amount of adhesion without creating a mess. I’ve also learned that using a brush to apply the glue instead of just pouring it on can give you more control and prevent it from drying too quickly.
Related: Diy wooden garden signs checklist
Fixing Paint and Stain Issues
One of the most common DIY wooden furniture troubleshooting issues I’ve encountered is paint peeling or flaking. I’ve found that this is often due to not preparing the surface properly before painting. I’ve learned that sanding the wood thoroughly and cleaning it with a damp cloth before painting is essential for a smooth finish. I’ve also found that using a primer before painting can help the paint adhere better and prevent it from peeling over time.
Another common issue I’ve had is with stain not taking evenly. I once tried to stain a table, and the stain ended up looking patchy and uneven. This taught me that using the right type of stain and applying it correctly is important. I’ve since learned that using a brush to apply the stain instead of a cloth can give you more control and help you achieve an even finish. I’ve also found that using a wood conditioner before staining can help the stain absorb more evenly, which gives a smoother result.
I’ve also experimented with using different types of stains and finishes to see which ones work best. I’ve found that oil-based stains tend to give a richer color, while water-based stains are easier to clean up. I’ve also learned that using multiple coats of stain can help build up the color and give the wood a more professional look. I’ve found that taking the time to do this step properly can make a huge difference in the final result.
Related: Diy wooden garden sculptures checklist
Fixing Weak or Unstable Legs
I once built a chair with legs that were too short, and it ended up wobbling and feeling unstable. This taught me that using the right size legs and ensuring they’re properly attached is essential. I’ve since learned that using legs that are the correct length for the project is important. I’ve also found that using metal brackets or screws to attach the legs can help make them more stable. I’ve used this method on a few projects, and it’s been incredibly effective.
Another issue I’ve had is with legs that are too thin or not strong enough to support the weight of the furniture. I’ve learned that using thicker legs or adding additional support like a cross brace can help make the legs more stable. I’ve also found that using a wood glue or epoxy to reinforce the joints can help make the legs more durable. I’ve used this method on a few projects, and it’s been incredibly effective.
I’ve also experimented with using different types of legs for different projects. For instance, I’ve used legs with feet to help distribute the weight more evenly. I’ve found that this can help reduce the risk of the legs cracking or breaking under pressure. I’ve also learned that using a level to ensure the legs are perfectly aligned can help make the furniture more stable. I’ve found that taking the time to do this step properly can make a huge difference in the final result.
Strong legs are the foundation of any stable piece of furniture.
Related: Diy wooden garden features alternatives
Fixing Issues with Cabinet Doors and Drawers
One of the most common DIY wooden furniture troubleshooting issues I’ve had is with cabinet doors and drawers that don’t close properly. I’ve found that this is often due to the hinges or slides not being properly aligned. I’ve learned that using the right type of hinges and slides is essential for smooth operation. I’ve also found that using a level to ensure the doors and drawers are aligned properly can help make them close more easily.
Another issue I’ve had is with doors that are too tight or too loose. I’ve learned that adjusting the hinges or slides can help make the doors and drawers fit better. I’ve also found that using shims or spacers can help make the doors and drawers fit more snugly. I’ve used this method on a few projects, and it’s been incredibly effective.
I’ve also experimented with using different types of hardware for different projects. For instance, I’ve used soft-close hinges and slides for cabinets, which help reduce the noise and wear on the hardware. I’ve found that this can make a big difference in the overall performance of the cabinet. I’ve also learned that using a level to ensure the doors and drawers are perfectly aligned can help make them more functional. I’ve found that taking the time to do this step properly can make a huge difference in the final result.
💰 Budget Build
Use affordable materials and simple techniques to create a functional piece of furniture without spending a lot of money.
⏰ Weekend Version
Quickly assemble a simple piece of furniture using pre-cut wood and minimal tools, perfect for a short project.
✨ Upgraded Finish
Enhance the look and durability of your furniture by using high-quality finishes and detailed joinery techniques.
🏠 Small-Space Adaptation
Create a piece of furniture that fits perfectly in a small space, using compact designs and clever storage solutions.
🔒 Rental-Safe Option
Build a piece of furniture that is easy to disassemble and move, ideal for renters who need to avoid damaging walls or floors.
| The mistake | Why it happens | The fix |
|---|---|---|
| Using the wrong type of glue | Using the wrong type of glue can lead to weak or unstable joints that may break over time. | Use the right type of glue for the job, such as Titebond or Elmer’s wood glue, and ensure the pieces are clamped together properly before the glue dries. |
| Not clamping the pieces together properly | Not clamping the pieces can lead to gaps forming in the joints, which can make the furniture look unprofessional and unstable. | Always use clamps or weights to hold the pieces together while the glue dries, and use multiple clamps for even pressure. |
| Using the wrong type of wood | Using the wrong type of wood can lead to warping, sagging, or cracking, which can ruin the project. | Choose the right type of wood for the project, such as hardwoods like oak or maple for durable furniture, and softer woods like pine for decorative pieces. |
| Failing to prepare the wood properly before painting or staining | Failing to prepare the wood can lead to peeling, flaking, or uneven finishes. | Always sand the wood thoroughly and clean it with a damp cloth before painting or staining. Use a primer before painting and a wood conditioner before staining. |
Diy Wooden Furniture Troubleshooting
Common Questions
How can I fix a wobbly table?
What should I do if my wood is warping?
How do I choose the right type of wood for my project?
What is the best way to fix squeaky joints?
References
- Public Works (DPW) | Berkeley Heights Township, NJ (berkeleyheights.gov)
- Structural equation modeling (SEM) of consumer preferences for ... (bioresources.cnr.ncsu.edu)
- Furniture and Household Goods - Braintree, MA (braintreema.gov)
- Do It Yourself at Our Makerspace! - Chesterfield County (chesterfield.gov)
- Safety Manual City of Brookings (cityofbrookings-sd.gov)
Cite this guide
DIY Wooden Garden Path Markers (2026). Diy Wooden Furniture Troubleshooting. https://woodenroot.com/diy-wooden-furniture-troubleshooting/
Feel free to cite or share this guide.