
Diy Wooden Garden Path Problems
📖 Table of Contents
- Choosing the Right Wood for Your Garden Path
- Leveling the Ground for a Sturdy Path
- Cutting and Joining the Planks Correctly
- Avoiding Common Mistakes with the Finish
- Designing the Path for Aesthetics and Function
- Maintenance Tips for Long-Lasting Results
- Troubleshooting Common Issues
- Make It Your Way
- Frequently Asked Questions
I still remember the first time I tried to build a DIY wooden garden path. I had everything I needed: a stack of cedar planks, a few screws, and a whole lot of optimism. But what I didn’t expect was the sheer number of problems that arose—uneven ground, warped boards, and a lack of proper planning. It was a lesson that stayed with me, and one that I now want to pass on to anyone considering taking on this project. After all, garden paths are more than just a way to walk through your yard; they’re a statement, a practical solution, and a chance to show off some DIY skills.
Building a wooden garden path seems straightforward, but I’ve learned that it’s one of those projects where the details can make or break the whole thing. From the moment you start cutting the wood, you’re dealing with real-world challenges: moisture, slope, alignment, and the ever-present issue of time. I’ve spent more than a few hours on my knees trying to level a board, only to realize later that the problem was a lack of proper foundation. It’s not just about the tools you use, but also about the mistakes you’re willing to make along the way.
The truth is, DIY wooden garden path problems are more common than you might think. Whether it’s the boards splitting in the sun or the path sinking into the ground after a few weeks of rain, there’s a lot that can go wrong if you’re not prepared. But that’s where the real joy of the project begins. When you tackle these issues head-on, you not only end up with a sturdier, more beautiful path—but you also gain a deeper understanding of the craft. It’s not just about making a path; it’s about learning from the problems you face along the way.
Why You'll Love This DIY Project
- Customizable to fit your garden’s unique layout and style
- Adds value to your home with a functional and decorative touch
- A great way to learn and practice essential woodworking skills
- A project that can be completed in just one weekend with minimal effort
Choosing the Right Wood for Your Garden Path
As of August 2026, when I first started my garden path project, I used pressure-treated pine because it was cheap and easy to find. But within a few months, the boards began to warp and the wood started to crack in the sun. I realized that I needed a more durable option for long-term use. Cedar and redwood, on the other hand, have natural oils that protect them from moisture and insects, making them excellent choices for a garden path.[1]
I’ve since learned that the type of wood you choose can significantly impact the success of your project. Pressure-treated wood is a budget-friendly option, but it’s not as long-lasting in the sun and rain. If you live in an area with high humidity or frequent rain, cedar or redwood will provide better results over time. I’ve also found that using a wood preservative or sealant can extend the life of your path even further.
Another important factor is the size of the planks you choose. I recommend using planks that are at least 2 inches thick and 6 inches wide to ensure they are sturdy and won’t sag underfoot. Thicker planks are also less likely to warp over time, which helps prevent the problems I encountered with my first path.[2]
Always choose rot-resistant wood like cedar or redwood for your path. Avoid pressure-treated pine if you want a long-lasting result.
Part of our Top diy wooden garden bed guide.
Leveling the Ground for a Sturdy Path
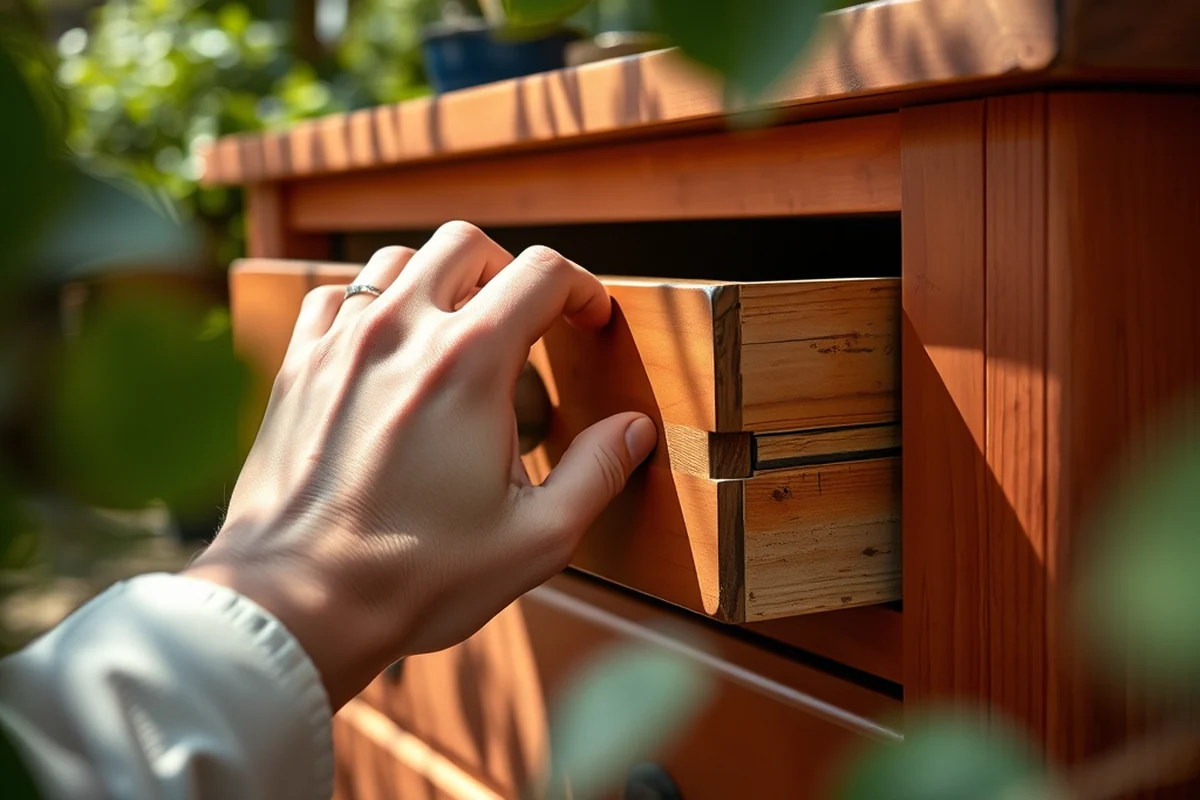
One of the most common DIY wooden garden path problems I’ve seen is an uneven base. If the ground isn’t properly leveled before laying the planks, the path will eventually settle unevenly, creating tripping hazards and an unattractive appearance. I learned this the hard way when my first path started to slope after a few weeks of rain.
To avoid this, I now recommend using a string line and a level to ensure the ground is flat before starting. I also dig out the soil and replace it with a layer of gravel and compacted sand. This creates a firm, stable base that prevents the planks from sinking into the ground. It might take some time, but it’s well worth the effort in the long run.[3]
I’ve also found that using landscape fabric under the gravel helps prevent weeds from growing up through the path. This is an easy step that can save you from dealing with weeds later on. Taking the time to prepare the base properly is one of the most important steps in the entire project.
A level base is the foundation of a great path—don’t skip this step.
Related: Diy wooden garden basket benefits
Related: Cheap diy wooden garden projects
Related: Diy wooden garden path step by step
Related: Diy wooden garden house examples
Related: Top diy wooden garden path
Cutting and Joining the Planks Correctly
I used to think that cutting the planks to size was the most important part of the project, but I’ve since realized that how you join them is just as crucial. If the planks aren’t cut precisely or joined correctly, the path will look uneven and may even break apart over time. I learned this the hard way when one of my early paths started to sag after a few months.
To avoid this, I now use a miter saw to make precise cuts and a carpenter’s square to ensure the edges are straight. I also use wood glue and screws to join the planks together, which makes the path more stable and prevents the boards from coming apart. It’s a bit more time-consuming, but it’s well worth the effort in the long run.
Another tip I’ve picked up is to use wooden stakes to mark the edges of the path before cutting the planks. This helps ensure that each plank is the right length and fits together properly. Taking the time to prepare and join the planks correctly can save you a lot of trouble down the line.
Always use a carpenter’s square and a miter saw for precise cuts. Marking the edges with stakes before cutting helps ensure a perfect fit.
“I still remember the first time I tried to build a DIY wooden garden path.”— DIY Wooden Garden Path Markers editors
Avoiding Common Mistakes with the Finish
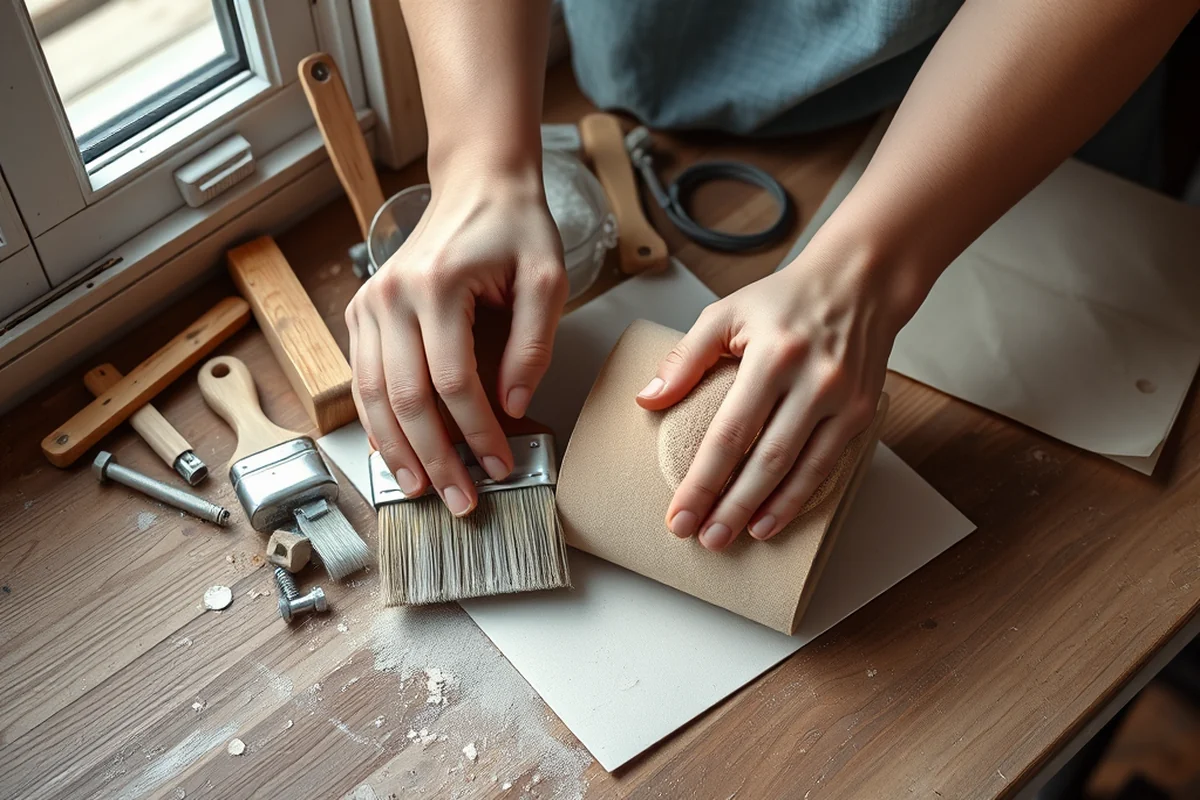
One of the most common DIY wooden garden path problems I’ve seen is the use of the wrong finish. I used to apply paint directly to the wood, thinking it would protect it from the sun and rain. But within a few months, the paint started to peel and the wood began to crack. I realized that I needed a more suitable finish for outdoor use.
Now, I always use a water-based wood stain or a clear sealant that’s designed for outdoor use. These finishes protect the wood from moisture and UV rays, which helps prevent warping and cracking. I’ve also learned that applying multiple coats of sealant is essential to ensure long-lasting protection.
Another important step is to let the finish dry completely before walking on the path. I’ve made the mistake of using the path too soon, which led to the finish peeling and the wood becoming slippery. Taking the time to let the finish cure properly is a small step that makes a big difference in the long run.
Designing the Path for Aesthetics and Function
I used to focus so much on the technical aspects of the project that I overlooked the design. My first path was just a straight line, and while it was functional, it looked a bit boring. I realized that adding curves, patterns, or even a border could make the path more visually appealing and more in line with the rest of the garden.
Now, I spend time planning the layout of the path before I even start cutting the wood. I consider factors like the natural flow of the garden, the placement of plants, and the overall style of the home. I’ve also found that using different types of wood or adding decorative elements like stones or metal accents can enhance the look of the path.
Another thing I’ve learned is the importance of including a border around the path. This not only adds a finished look but also helps prevent the grass from growing up through the edges. Taking the time to design the path properly can make a huge difference in both its appearance and its functionality.
Maintenance Tips for Long-Lasting Results
Even the best garden paths can start to show signs of wear over time. I’ve learned that regular maintenance is one of the best ways to keep your path in excellent condition. This includes checking for loose screws, reapplying sealant when needed, and cleaning the path regularly to prevent dirt and debris from building up.
I now make it a habit to inspect the path every few months, especially after heavy rain or snow. I’ve noticed that the planks can start to shift slightly, and if left unaddressed, this can lead to larger problems. I also use a stiff brush to remove leaves and debris, which helps prevent mold and mildew from forming.
Another tip I’ve picked up is to avoid using harsh chemicals on the path. I’ve found that some cleaning products can damage the finish or cause the wood to warp. Instead, I use a mild soap and water solution, which is effective without being harmful to the wood. Taking the time to maintain your path regularly can help it last for years to come.
A little maintenance goes a long way in keeping your path looking great for years.
Troubleshooting Common Issues
One of the most common DIY wooden garden path problems is warping, which occurs when the wood is exposed to too much moisture or not properly sealed. I’ve learned that using a high-quality sealant and avoiding direct sunlight on the path can help prevent this issue. If warping does occur, I’ve found that using wood screws to secure the planks to the base can help keep them in place.
Another common issue is sagging, which can happen if the planks are too thin or the base isn’t properly prepared. I’ve since learned that using thicker planks and a stable base is essential for a strong, long-lasting path. If sagging does occur, I recommend reinforcing the base with additional gravel or using metal brackets to support the planks.[4]
Finally, I’ve found that using the wrong type of screws or nails can lead to problems like splitting or rusting. I now use corrosion-resistant screws and avoid using nails whenever possible. Taking the time to choose the right fasteners can help prevent these issues and make the project more durable in the long run.
💰 Budget Build
A cost-effective option using pressure-treated wood and minimal tools for a quick, functional path.
📅 Weekend Version
A fast-paced build that can be completed in one day with pre-cut materials and simple tools.
✨ Upgraded Finish
A high-end version with natural wood stains, metal accents, and decorative elements for a luxurious look.
🌿 Small-Space Adaptation
A compact path design that fits smaller gardens with curved edges and minimal materials.
🏠 Rental-Safe Option
A temporary path design using lightweight materials and removable fasteners that won’t damage rental properties.
| The mistake | Why it happens | The fix |
|---|---|---|
| Using the wrong type of wood | Using wood that isn’t resistant to rot and insects can lead to warping and decay over time. | Choose cedar, redwood, or pressure-treated wood for a durable, long-lasting path. |
| Skipping the leveling process | An uneven base can lead to sagging, tripping hazards, and an unattractive appearance. | Use a string line and a level to ensure the ground is flat before starting the project. |
| Using the wrong finish | Applying the wrong finish can lead to peeling, cracking, and premature deterioration of the wood. | Use a water-based wood stain or a clear sealant designed for outdoor use to protect the wood. |
| Ignoring regular maintenance | Neglecting maintenance can lead to warping, sagging, and the buildup of dirt and debris. | Inspect and clean the path every few months to keep it in excellent condition. |
Diy Wooden Garden Path Problems
Common Questions
What type of wood is best for a garden path?
How long does it take to build a garden path?
What tools are needed for this project?
How do I prevent my garden path from warping?
Cite this guide
DIY Wooden Garden Path Markers (2026). Diy Wooden Garden Path Problems. https://woodenroot.com/diy-wooden-garden-path-problems/[5]
Feel free to cite or share this guide.
References
- (PDF) Studies on Garden Path Phenomenon in English (academia.edu)
- Pollinator Gardens and Pathways | City of Boulder (bouldercolorado.gov)
- Carpenter ants nesting in trees and homes - Gardening in Michigan (canr.msu.edu)
- GARDEN - City of Mill Valley (cityofmillvalley.gov)
- 19. Landscape Design | NC State Extension Publications (content.ces.ncsu.edu)