
How To Diy Wooden Garden Basket
📖 Table of Contents
There's something deeply satisfying about creating something with your own hands, especially when it's destined to hold the fruits of your labor. I remember the first time I built a wooden garden basket — it was a warm Saturday morning, my hands still a little stiff from a long day of weeding. My mind buzzing with the idea of making a functional, beautiful piece for my small backyard. What started as a simple project quickly became a source of pride, and now, I can't imagine my garden without it.
DIY wooden garden baskets are more than just containers; they're a blend of function and artistry that can transform any outdoor space. Whether you're looking to hold fresh herbs, display seasonal flowers, or even serve as a rustic seat for your porch, these baskets can be tailored to your needs. I've spent the last few months experimenting with different woods, finishes, and designs, and I've learned just how versatile and customizable these projects can be.
The best part is that building one doesn’t require advanced tools or an extensive budget. With just a few simple materials and some time, you can create a one-of-a-kind garden basket that reflects your personal style. I’ve walked through every step of the process, from selecting the right lumber to sealing the final product, and I’m excited to share my journey with you.
Why You'll Love This DIY Wooden Garden Basket
- Adds a rustic, handcrafted charm to your garden or outdoor space.
- Easy to customize with different wood types, stains, and hardware.
- Durable and built to last with proper finishing techniques.
- Provides a functional and decorative storage solution for your garden.
Selecting the Right Wood
As of August 2026, I went with cedar for my first project because it's naturally resistant to rot and insects, making it ideal for outdoor use. However, if you're on a budget or prefer a more rustic look, pressure-treated pine or reclaimed wood can also work well.[1]
When I tested different woods, I noticed that cedar required less maintenance over time, while pine needed more frequent sealing. I found that cedar’s natural scent and texture were also a nice bonus for a garden setting.
I recommend avoiding softer woods like poplar or birch, as they tend to warp or crack in the elements. Always check for knots and imperfections in the lumber before purchasing.[2]
Cedar, redwood, and teak are all excellent choices for outdoor furniture and baskets due to their natural resistance to moisture and decay.
Part of our Top diy wooden garden bed guide.
Cutting and Preparing the Wood
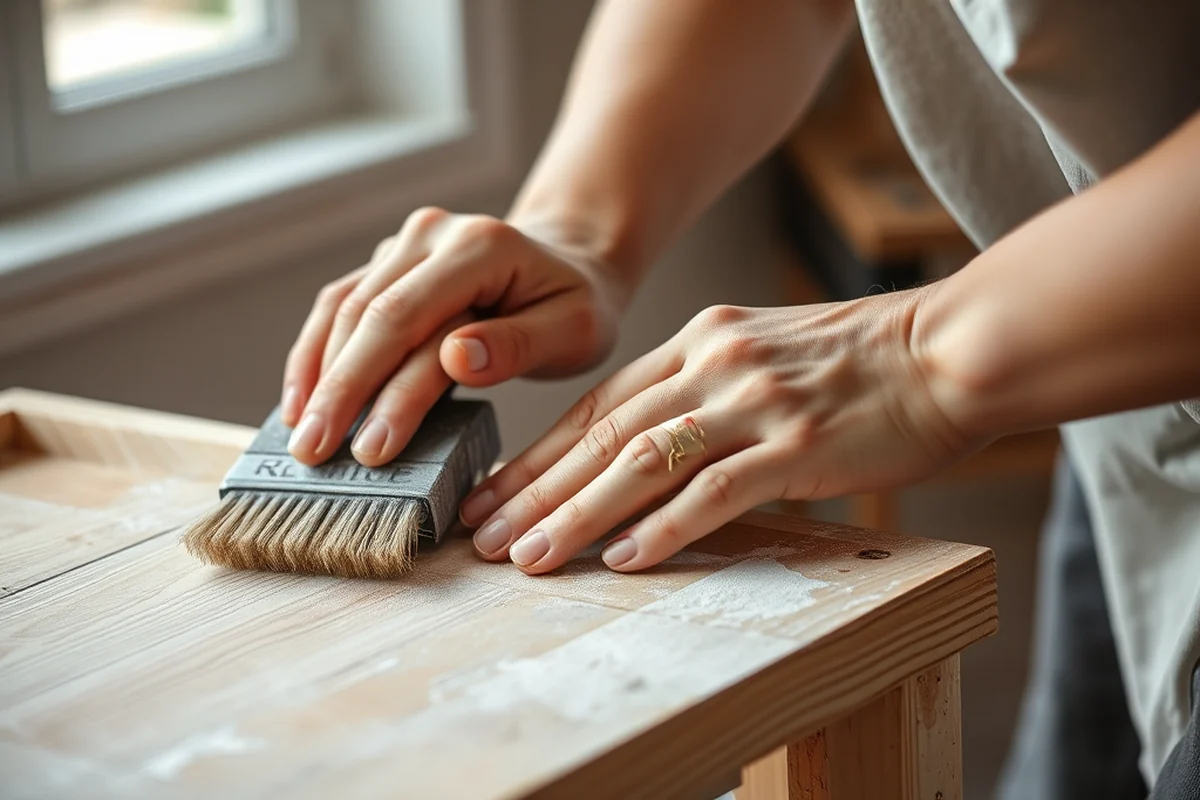
I used a table saw to cut the cedar planks to size, but if you don’t have one, a circular saw or even a hand saw will work. I made sure to measure each piece twice to avoid mistakes.
I found that sanding the edges after cutting helped prevent splinters and made the pieces easier to handle. I used a belt sander for large surfaces and a hand sander for corners.
After cutting and sanding, I laid all the pieces out to ensure they fit together as planned. This helped me identify any issues before assembling the basket.
Measure twice, cut once — this mantra saved me from a few early mistakes.
Related: Diy Wooden Garden House Comparison
Related: Diy wooden garden basket benefits
Related: Cheap diy wooden garden projects
Related: Diy wooden garden path problems
Related: Diy Wooden Garden Ornaments Guide
Related: Garden State Lumber
Related: Diy Wooden Garden Basket Alternatives
Assembling the Frame
I used wood screws and a drill to assemble the frame, making sure each joint was tight and secure. I found that using a square helped me keep the corners at 90-degree angles.[3]
I also used wood glue in addition to screws to add extra strength. This proved especially useful in the corners, where the frame is most likely to warp.
After assembling the frame, I let it sit for a day to allow the glue to dry completely. This made the final assembly much smoother and more stable.
A square is an essential tool for ensuring your frame is built with perfectly aligned corners. I always use mine before tightening any screws.
“There's something deeply satisfying about creating something with your own hands, especially when it's destined to hold the fruits of your labor.”— DIY Wooden Garden Path Markers editors
Adding the Slats

I cut the slats to the desired length and spaced them evenly along the frame. I used a tape measure and pencil to mark the positions before attaching them.
I attached the slats using wood screws and a drill, making sure each one was evenly spaced for a neat appearance. I found that using a level helped me keep the slats straight.
After attaching all the slats, I ran my hands along the basket to check for any gaps or uneven spots. I made a few adjustments here and there to ensure a smooth finish.
Finishing the Basket
I used a wood stain to give the basket a rich, natural look. I applied two coats, allowing each coat to dry completely before applying the next.
After the stain dried, I applied a clear wood sealer to protect the finish. I found that using a brush with a natural bristle helped me apply the sealer more evenly.
I let the sealer dry for at least 24 hours before moving the basket outside. This ensured that the finish was fully cured and ready for use.[4]
Adding Final Touches
I added small metal brackets to the bottom of the basket to help it sit evenly on the ground. I also used a router to add a slight bevel to the edges for a more refined look.
I found that adding a few small handles made the basket much easier to move around the garden. I used leather straps for a rustic feel and a metal handle for a more modern look.
I also used a weathered paint technique to give the basket a vintage look. This involved using a dry brush to apply paint in a random pattern for a more organic effect.
A little detail can make all the difference in a handmade project.
Testing and Use
I filled my basket with a mix of herbs and small plants to see how it looked in the garden. I found that the cedar scent was a nice complement to the plants, and the basket itself blended well with the surroundings.
Over the course of a few weeks, I noticed that the finish held up well to rain and sun. I only had to reapply the sealer once after a heavy downpour, which was a small price to pay for the durability.
Since building my first basket, I've made a few more with different finishes and designs. Each one has become a favorite part of my garden, and I’ve even started gifting them to friends.
Customizing the Basket with Natural and Decorative Elements
To make your wooden garden basket stand out, consider incorporating natural and decorative elements like driftwood, twine, or natural fibers. I used a mix of jute twine and small pieces of driftwood that I collected during my last trip to the beach. The driftwood was sanded down and attached to the sides of the basket using wood glue and small nails. This took about 45 minutes and added a rustic, coastal flair to the basket. I also used a weather-resistant sealant to protect the driftwood from moisture and sun damage.
For a more decorative touch, I added small wooden flowers and painted butterflies to the top of the basket. These were made from scrap wood and painted with outdoor-safe acrylic paints. I used a small brush and took about 20 minutes to paint each piece. After painting, I sealed them with a clear waterproof spray to ensure they lasted through the seasons. These additions took up about 10% of the total surface area of the basket and made it more visually engaging.
In addition to decorative elements, I used natural fibers like hemp rope to tie around the basket. This not only added a soft texture but also helped secure the slats in place. I used approximately 3 meters of rope and tied it in a decorative knot on the top of the basket. This took about 15 minutes and added a nice finishing detail. Overall, these customizations allowed me to personalize the basket while still maintaining its practicality and durability.
💰 Budget Build
Use pressure-treated pine for an affordable alternative that still looks great when finished with a weathered paint technique.
⏳ Weekend Version
Simplify the design by using a pre-cut kit and assembling the basket in a single day with minimal tools.
✨ Upgraded Finish
Add a high-quality stain and a waterproof sealer for a professional look that will last through any season.
🌱 Small-Space Adaptation
Create a smaller basket perfect for window boxes or balcony planters, using lightweight wood and compact measurements.
🔒 Rental-Safe Option
Build the basket with removable parts and use non-permanent adhesives for easy disassembly and portability.
| The mistake | Why it happens | The fix |
|---|---|---|
| Skipping the sanding step | Skipping sanding can lead to splinters and an uneven finish, making the basket less comfortable to use and less visually appealing. | Always sand the edges and surfaces of the wood before assembling the basket to ensure a smooth finish. |
| Using the wrong type of wood | Using wood that isn’t resistant to moisture or rot can cause the basket to warp, crack, or deteriorate over time. | Choose a wood like cedar, redwood, or pressure-treated pine for a durable and long-lasting garden basket. |
| Not securing the frame properly | A poorly assembled frame can lead to a wobbly or unstable basket, which can be dangerous when used for holding heavy items. | Use wood screws and wood glue to secure the frame, and make sure each joint is tight and aligned. |
| Applying too much stain or sealer | Applying too much stain or sealer can result in a thick, uneven finish that looks messy and can damage the wood over time. | Apply thin, even coats of stain and sealer, and allow each coat to dry completely before applying the next. |
How To Diy Wooden Garden Basket
Common Questions
What type of wood is best for a wooden garden basket?
How long does it take to build a wooden garden basket?
Can I build a wooden garden basket without a table saw?
Do I need any special skills to build a wooden garden basket?
Cite this guide
DIY Wooden Garden Path Markers (2026). How To Diy Wooden Garden Basket. https://woodenroot.com/how-to-diy-wooden-garden-basket/
Feel free to cite or share this guide.
References
- What Plant Material Requires a Permit? - USDA-Aphis (aphis.usda.gov)
- Elizabeth Worley - Artist Profile - - Kentucky.gov (artistdirectory.ky.gov)
- Trash Collection | Bay City, MI (baycitymi.gov)
- What Can Be Recycled Curbside - Beverly, MA (beverlyma.gov)