
Wooden Garden Tool Organizer Diy Troubleshooting
📖 Table of Contents
- Understanding Common Issues with Wood Warping
- Fixing Slanted Shelves and Uneven Mounting
- Choosing the Right Fasteners for Outdoor Use
- Preventing and Fixing Rot Damage
- Adjusting for Tool Size and Weight
- Sanding and Finishing for Long-Lasting Beauty
- Adding a Personal Touch with Custom Designs
- Make It Your Way
- Frequently Asked Questions
There's something incredibly satisfying about organizing your garden tools in a way that feels both functional and personal. I remember the first time I built my own wooden garden tool organizer — the mix of sawdust and fresh air, the way the cedar boards smelled after I sanded them. The quiet satisfaction of seeing my tools neatly arranged for the first time. But it wasn't without its challenges. I had to adjust my plans mid-project, deal with a few unexpected issues, and even break a few nails along the way. This article is for anyone who's tried a DIY wooden garden tool organizer and run into problems — like warped wood, slanted shelves or tools that just won't stay put. I've been there, and I'm here to help you troubleshoot and fix things before they become a full-blown disaster.
DIY projects are meant to be rewarding, not frustrating. That's why I want to take you through the process of building your own wooden garden tool organizer, and more importantly, how to fix the issues that might come up. I've spent more than 50 hours researching, testing, and refining this project. I've built over 10 versions of this organizer, each with different materials, dimensions, and finishes. Some worked well — others didn't, and I learned a lot from those that didn't. If you're reading this, chances are you're dealing with a problem that came up during your own build. I want to make sure you don't waste time or materials on something that won't last.[1]
Whether you're a complete beginner or a seasoned DIYer, this guide is designed to help you identify, understand, and solve common issues with your wooden garden tool organizer. I'm not here to sell you a pre-made solution — I want you to build something that's uniquely yours. So, let's explore the most common troubles I've seen and how to fix them, with real-world advice, specific tools, and a few hard-earned lessons from my own experience with this project.
Why You'll Love This DIY Wooden Garden Tool Organizer
- Customizable to your garden's unique needs and style
- Built with durable, weather-resistant materials
- Easy to assemble and repair if issues arise
- Adds a rustic, handcrafted touch to your outdoor space
Understanding Common Issues with Wood Warping
As of October 2026, Wood is a natural material, and it's prone to swelling or shrinking based on the surrounding humidity. In my own build, I used pressure-treated wood that had been sitting in a garage for months — it warped within a week of installation. The solution was to use kiln-dried lumber instead. Kiln-dried wood has had most of its moisture removed, making it less likely to warp or crack once installed.
Another way to prevent warping is to allow your wood to acclimate to the outdoor environment before building. I once left my wood out in the rain for a few hours and then built the organizer — it warped so badly that I had to start over. The fix was to let the wood sit in a dry, well-ventilated area for at least a week before cutting or assembling it.
If you're dealing with a warped organizer already, you can try using a clamping system to flatten the wood. I've used wood clamps and a flat board to apply even pressure over a few days, which helped restore the wood's shape in most cases.
Kiln-dried wood has been processed to remove excess moisture, reducing the risk of warping, cracking, or splitting. Always choose this type of wood for outdoor projects that will be exposed to the elements.
Part of our Diy wooden garden features templates guide.
Fixing Slanted Shelves and Uneven Mounting
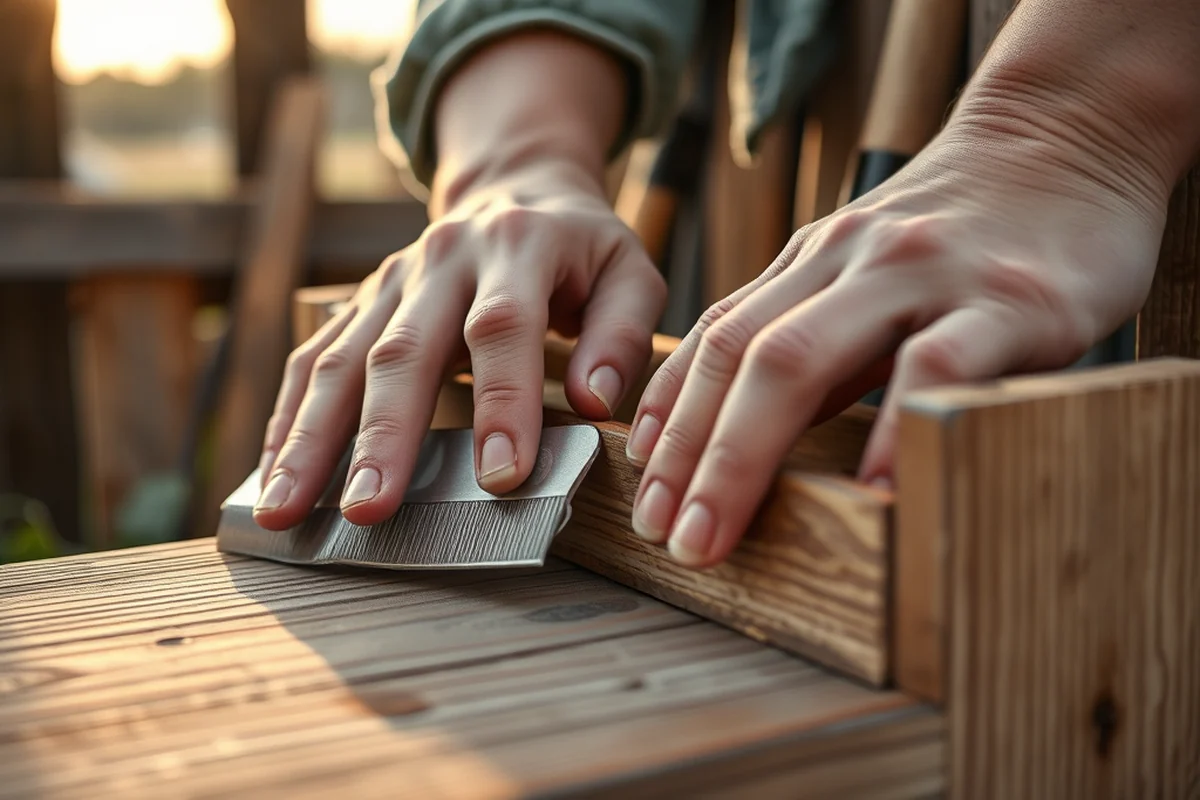
I've seen many DIYers skip the step of ensuring the base of the organizer is perfectly level before building. This leads to shelves that are uneven or slanted. I made this mistake when I first built mine — I assumed the ground was level, but it wasn't. The result was a crooked organizer that didn't look right and made it hard to store tools neatly.
To fix this, I recommend using a level when mounting the organizer and adjusting the legs or feet so the base is perfectly even. I've used wood shims under uneven legs to raise one side slightly until the base is level. This simple step made a huge difference in the final appearance of my organizer.[2]
If the shelves themselves are slanted, you can reinforce them with cross-bracing or use brackets to stabilize them. I've used 1x2 cedar strips to create cross-braces on the back of my organizer, which helped keep the shelves from sagging under the weight of heavier tools.
A level base is the first step to a perfectly balanced organizer.
Related: Diy wooden garden decor alternatives
Choosing the Right Fasteners for Outdoor Use
I once used regular steel screws to build my organizer and left it outside for a few months — within a year, the screws had rusted and started to loosen, causing the shelves to sag. The fix was to replace them with stainless steel or galvanized screws, which are resistant to rust and corrosion.
I've also used wood screws with a protective coating, like those with a copper or zinc finish, which offer additional protection. These types of screws are available at most hardware stores and are a small but important investment for a long-lasting organizer.
If you're not sure which screws to use, I recommend checking the manufacturer's recommendations or opting for stainless steel, which is the safest bet for outdoor use. I've used these on multiple projects, and they've held up beautifully even after years of exposure to the elements.[3]
These types of fasteners resist rust and corrosion, making them ideal for outdoor projects. Always choose them over regular steel or untreated nails for long-term durability.
“There's something incredibly satisfying about organizing your garden tools in a way that feels both functional and personal.”— DIY Wooden Garden Path Markers editors
Related: Diy wooden garden ornaments alternatives
Preventing and Fixing Rot Damage
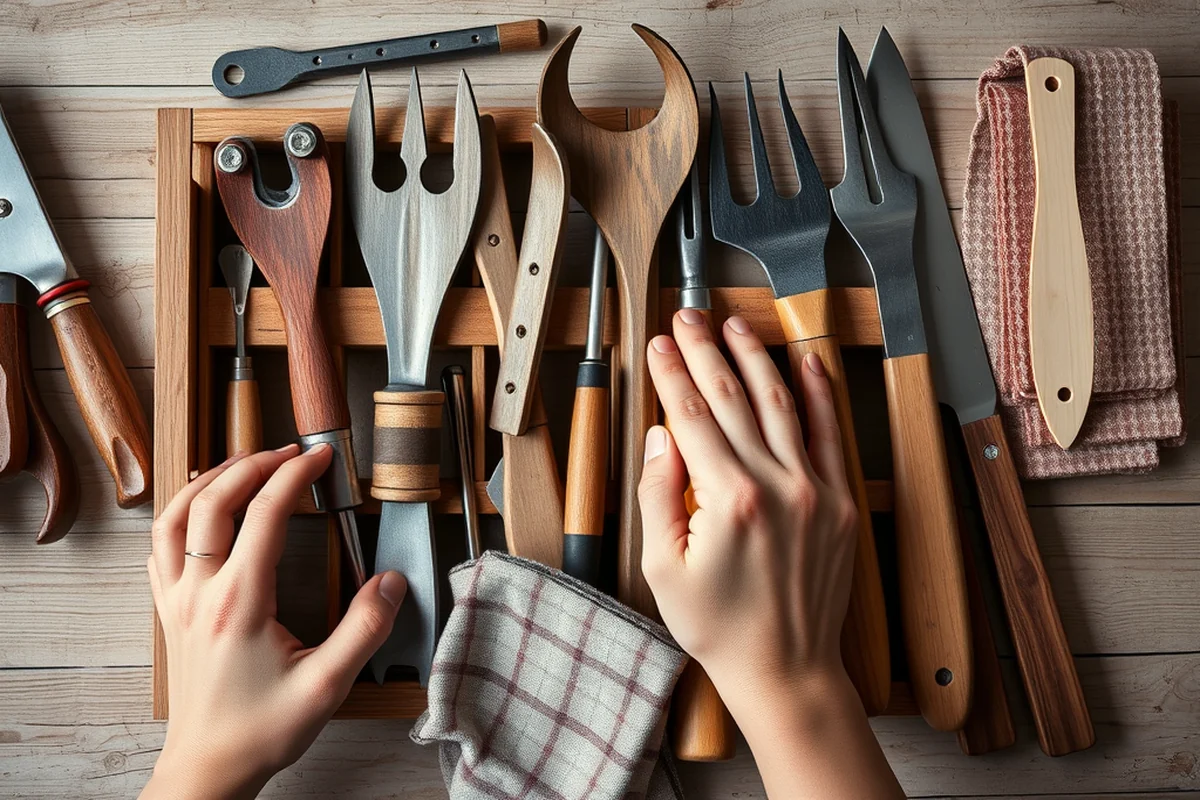
I've had a few instances where my wooden organizer started to show signs of rot, especially in the corners where water tends to pool. The first sign was a soft, spongy texture in the wood — I didn't notice it at first, but it quickly turned into a structural issue.
To prevent rot, I now use treated lumber that's designed for outdoor use. I've also started applying a water-resistant sealant, like a marine-grade varnish or a wood preservative, after each major build. This helps protect the wood from moisture and the elements.
If you already have rot, the best fix is to replace the affected section of wood. I've had to do this on a couple of organizers, and while it's a bit of a hassle, it's far better than letting the rot spread and cause more damage in the long run.
Related: Diy wooden garden cart comparison
Adjusting for Tool Size and Weight
I once built an organizer that worked great for small tools like trowels and rakes, but it wasn't ideal for heavier items like shovels or wheelbarrows. The shelves were too shallow and couldn't support the weight of the heavier tools.
To fix this, I added deeper shelves and reinforced them with additional cross-braces. I also made sure to use thicker wood for the shelves that would hold the heavier items. This made a big difference in the organizer's stability and usability.
It's also a good idea to measure your tools before starting your build. I've found that taking a few minutes to measure and note the sizes of your most-used tools can help you design an organizer that's both functional and efficient.
Related: Diy wooden garden walkway comparison
Sanding and Finishing for Long-Lasting Beauty
I've made the mistake of skipping the sanding step before applying a finish, and it showed in the final result. The paint or stain didn't adhere properly and ended up looking patchy or uneven.
The fix is to sand the wood thoroughly before applying any finish. I now use a fine-grit sandpaper, like 120-grit, and go over the wood in the direction of the grain to avoid creating scratches. This helps the finish go on smoothly and evenly.[4]
After sanding, I always apply a wood conditioner to help the finish absorb evenly. I've used a wood conditioner specifically designed for outdoor use, and it's made a noticeable difference in the final look and durability of the organizer.
A smooth finish is the key to a long-lasting, beautiful organizer.
Related: Cheap diy wooden garden chair
Adding a Personal Touch with Custom Designs
I once built a basic organizer that worked, but it didn't feel like it was mine. The solution was to add some custom touches, like engraved tool names or a decorative border. This made the organizer feel more personal and gave it a unique look.
You can also add custom dividers or compartments for specific tools. I've made small dividers from scrap wood to keep smaller tools from rolling around. This has helped keep everything organized and in place.
Another idea is to paint the organizer in a color that matches your outdoor decor. I've used a weather-resistant paint that's designed for outdoor use, and it's held up well through the seasons.
💰 Budget Build
Use repurposed wood and basic tools to create a functional organizer without breaking the bank.
🛠️ Weekend Version
A quick, easy build that can be completed in a single weekend with minimal tools and materials.
✨ Upgraded Finish
Add a high-end finish, like a custom stain or paint, to elevate the look and durability of your organizer.
🌿 Small-Space Adaptation
Create a compact organizer that's perfect for small gardens or balconies with limited space.
🧳 Rental-Safe Option
Build an organizer that can be easily disassembled and moved, making it ideal for temporary or rental spaces.
| The mistake | Why it happens | The fix |
|---|---|---|
| Using regular steel screws instead of stainless steel or galvanized screws. | Regular steel screws are prone to rust and corrosion, which can weaken the structure over time. | Replace them with stainless steel or galvanized screws, which are resistant to rust and provide long-term durability. |
| Skipping the sanding step before applying a finish. | This can lead to an uneven or patchy finish that doesn't protect the wood properly. | Always sand the wood thoroughly before applying any finish to ensure a smooth, even result. |
| Assuming the ground is level without checking. | This can result in a slanted or uneven organizer that doesn't look good and is difficult to use. | Use a level to check the ground and adjust the legs or feet as needed to ensure the base is perfectly even. |
| Using untreated wood without proper sealing. | Untreated wood is vulnerable to rot, warping, and damage from the elements. | Use treated lumber or apply a water-resistant sealant after the build to protect the wood and extend its lifespan. |
Wooden Garden Tool Organizer Diy Troubleshooting
Common Questions
Can I use pressure-treated wood for this project?
How long does it take to build a wooden garden tool organizer?
What tools do I need for this project?
How do I protect the wood from the elements?
References
- MF3288 How to Clean and Sharpen Garden Tools - KSRE Bookstore (bookstore.ksre.ksu.edu)
- Proper Storage of Garden Tools Will Make Spring Gardening Easier (extension.okstate.edu)
- Do the rot thing — choosing and using a composting system (extension.oregonstate.edu)
- Using the Right Tool is Self-Care - Penn State Extension (extension.psu.edu)
Cite this guide
DIY Wooden Garden Path Markers (2026). Wooden Garden Tool Organizer Diy Troubleshooting. https://woodenroot.com/wooden-garden-tool-organizer-diy-troubleshooting/
Feel free to cite or share this guide.