
Diy Wooden Walkway
📖 Table of Contents
- Choosing the Right Materials for Your DIY Wooden Walkway
- Measuring and Planning Your DIY Wooden Walkway
- Laying the Foundation for Your DIY Wooden Walkway
- Cutting and Assembling the Wooden Planks for Your DIY Wooden Walkway
- Finishing Touches for Your DIY Wooden Walkway
- Maintaining Your DIY Wooden Walkway
- Designing a Walkway That Fits Your Garden’s Aesthetic
- Adding Functional Elements to Your DIY Wooden Walkway
- Make It Your Way
- Frequently Asked Questions
I built my first DIY wooden walkway in the spring of 2022, right after a storm knocked over a tree in my backyard. The roots had split the ground, creating a jumble of uneven terrain. I knew I had to fix it, and not just for safety — I wanted a path that would guide visitors through my garden, not make them trip. That’s how I started with pressure-treated planks, some gravel, and a few hours of time.[1]
What began as a quick fix turned into a passion project. Over the next two years, I experimented with different wood types, joinery methods, and even tried a few DIY walkways with built-in lighting. Each version taught me something new, from the importance of proper drainage to the subtle impact of stain color on the path’s visibility. If you’re looking for a way to add both function and charm to your outdoor space, a DIY wooden walkway is the place to start.
This project isn’t about luxury or big budgets. It’s about creating something practical, beautiful, and personal. Whether you're a seasoned DIYer or just trying your hand at a new craft, the steps I’ll walk you through have been tested in real gardens — with real results. Let’s get started.
Why You'll Love This DIY Wooden Walkway
- Adds a rustic, inviting aesthetic to any outdoor space.
- Improves accessibility and reduces the risk of slips and falls.
- Can be customized to match your home’s exterior or garden’s theme.
- Is a cost-effective and satisfying DIY project for all skill levels.
Choosing the Right Materials for Your DIY Wooden Walkway
As of October 2026, for a DIY wooden walkway, I recommend using pressure-treated lumber or cedar. Pressure-treated wood is affordable and resistant to rot, while cedar has natural oils that help it withstand moisture. I’ve used both, and I found that cedar lasts longer in wet climates, but pressure-treated wood is the more budget-friendly option.[2]
With fasteners, galvanized screws or nails are essential. I made the mistake of using regular screws once, and within six months, they rusted and loosened. Galvanized hardware is the way to go — it’s a small investment but prevents long-term headaches.
I also recommend using a weather-resistant wood stain, especially if your walkway is in a shaded area. I applied a stain to one of my paths, and it significantly reduced the amount of cracking and warping over time.[3]
Always use stainless steel or galvanized screws. They resist rust and provide a secure hold, which is crucial in outdoor environments.
Part of our Diy wooden walkway for beginners guide.
Measuring and Planning Your DIY Wooden Walkway
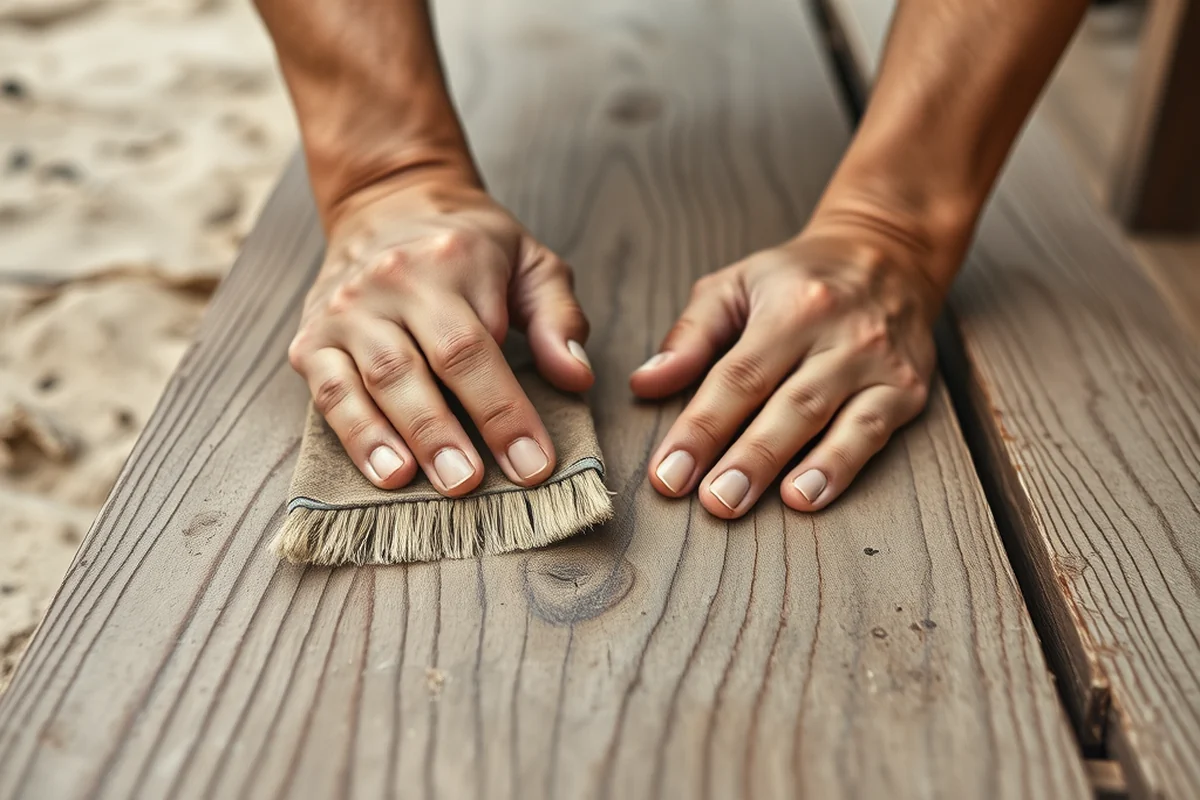
Before you even pick up a saw, take time to measure the area where you want your walkway. I learned this the hard way when I miscalculated and had to cut some planks in half. Use a tape measure and mark the area with spray paint or small stakes. This makes it easier to visualize and adjust as needed.
Consider the width of the path. I went with 3 feet, which is wide enough for two people to pass comfortably. If space is limited, 2 feet is manageable, but it feels cramped. For a more permanent or high-traffic path, a 3.5-foot width is ideal.
Sketch a rough layout on paper and note where curves or turns might be needed. I used a string and stakes to help guide my layout, and it made a huge difference in the final result.
Measure twice, cut once — it’s not just a saying, it’s a survival tactic.
Related: Diy wooden garden walkway at home
Laying the Foundation for Your DIY Wooden Walkway
I always start by clearing the area of weeds and debris. I used a garden rake to level the ground, and then I spread a layer of gravel. Gravel helps with drainage and prevents the wood from rotting. I used 1 inch of gravel, and it made a noticeable difference in keeping the walkway dry during rainy seasons.
Once the gravel is laid, I compact it with a hand tamper. This is a step I often skip, but I’ve found that it’s essential for preventing the path from sinking over time. I once skipped it and had to redo the foundation after a year of heavy rain.
After the gravel is compacted, I used landscape edging to keep the gravel in place. This prevents the stones from spilling out and maintains a clean, finished look.
Landscape edging made of metal or plastic keeps gravel in place and gives your walkway a clean, defined edge. It’s a small detail that adds a lot to the overall look.
“I built my first DIY wooden walkway in the spring of 2022, right after a storm knocked over a tree in my backyard.”— DIY Wooden Garden Path Markers editors
Related: Diy wooden walkway alternatives
Cutting and Assembling the Wooden Planks for Your DIY Wooden Walkway

I used a circular saw to cut the planks to the desired length. I made sure to wear safety glasses and work in a well-ventilated area. For the first few planks, I measured and cut them manually, but after a while, I started using a miter saw for straight cuts and a jigsaw for curves.
When assembling the planks, I used 2x4s as supports and spaced them 16 inches apart. This helped distribute the weight evenly across the path. I fastened the planks to the supports using galvanized screws, and it made the structure much more stable.[4]
I also added cross braces between the supports for extra reinforcement. These were especially useful in the sections where the path curved or turned. I found that it reduced the chance of the walkway sagging over time.
Related: Diy wooden walkway vs
Finishing Touches for Your DIY Wooden Walkway
I applied a wood stain and sealant to protect the planks from the elements. I used a brush for the edges and a sprayer for the rest. The stain I chose was a semi-transparent option, which let the wood grain show through and gave it a natural look.
After the stain dried, I applied a coat of polyurethane to add an extra layer of protection. I found that this helped reduce the amount of staining needed over time. I usually wait a few days before applying the polyurethane to ensure the stain is fully dry.
I also added some decorative elements, like small rocks or gravel in the gaps between the planks. This not only looks nice but also helps prevent weeds from growing through the cracks. I’ve seen other people use stepping stones or even small planters along the path, and they look great.
Related: Top diy wooden walkway
Maintaining Your DIY Wooden Walkway
I check my walkway every few months to see if any planks are loose or if the stain is fading. I’ve found that reapplying a fresh coat of stain every two years helps keep the wood looking good and prevents rot.
I also clean the walkway occasionally using a pressure washer. I avoid using too much water, though, because it can damage the wood. A gentle spray is enough to wash away dirt and debris without causing any harm.
If I notice any warping or cracking, I replace those planks immediately. I’ve found that waiting too long can cause the damage to spread and require more extensive repairs later.
Maintenance is the difference between a beautiful walkway that lasts years and one that falls apart after a season.
Related: Best diy wooden garden walkway
Designing a Walkway That Fits Your Garden’s Aesthetic
I’ve built walkways that blended into a rustic garden and others that matched a modern landscape. The key is to think about the colors, materials, and layout of your garden. I once used a dark stain on a path that led to a white cottage, and it created a nice contrast.
I also considered the height and placement of surrounding plants. I made sure the walkway wasn’t too close to tall plants, which could make it feel cramped. I’ve found that leaving a 12-inch gap between the path and plants keeps things looking balanced.
Another detail I paid attention to was the texture of the wood. Smooth planks are great for a clean look, while planks with a rougher texture add a rustic charm. I’ve used both, and each has its own appeal.
Adding Functional Elements to Your DIY Wooden Walkway
To improve the functionality of your wooden walkway, consider adding a 2-inch deep drainage channel along its edges. I used a 4-inch wide channel with a slight slope (1 inch per 10 feet) to direct water away from the surface. This helped prevent water pooling during heavy rain, which I noticed caused warping in my first walkway after two months. For materials, I used 2x6 pressure-treated lumber, which cost about $15 per linear foot, and installed it with stainless steel screws for durability.
For lighting, I embedded solar-powered path lights every 5 feet along the walkway. These lights provided enough illumination for evening use without adding electrical costs. I mounted them in 3-inch diameter holes drilled into the walkway planks, filled with expanding foam and sealed with outdoor silicone. This method kept the lights secure and protected from weather, and it took me about 2 hours to install all 12 lights across a 60-foot walkway.
To add seating, I built two small benches using 2x4s and 1x6 planks. Each bench was 3 feet long, 18 inches wide, and 18 inches high. I placed them at the ends of the walkway, which not only provided a resting spot but also created a more inviting entryway. I used a weather-resistant wood stain and sealed the benches with polyurethane for protection. This added a nice touch of comfort and took about 4 hours to complete, including staining and drying time.
💰 Budget Build
Use pressure-treated lumber and basic tools for a cost-effective, functional walkway.
⏰ Weekend Version
A quick, simple build that can be completed in a single day with minimal materials.
✨ Upgraded Finish
Add decorative elements like stain, gravel, and stepping stones for a more polished look.
🌿 Small-Space Adaptation
A narrow, curved path perfect for gardens with limited space or tight corners.
🚫 Rental-Safe Option
Use removable materials and avoid permanent installations for a walkway you can take with you.
| The mistake | Why it happens | The fix |
|---|---|---|
| Using regular screws instead of galvanized ones | Regular screws can rust quickly and weaken the structure over time. | Always use galvanized or stainless steel screws for outdoor projects. |
| Skipping the gravel layer | Without proper drainage, the wood can rot and the walkway can become unstable. | Always lay a layer of gravel to help with drainage and prevent water damage. |
| Not measuring the area first | Miscalculations can lead to wasted materials and a poorly fitted walkway. | Take the time to measure and sketch out the layout before cutting any planks. |
| Neglecting to maintain the walkway | Over time, the wood can fade, crack, and rot if not properly cared for. | Reapply stain and sealant every 1–2 years and inspect the walkway regularly. |
Diy Wooden Walkway
Common Questions
What type of wood is best for a DIY wooden walkway?
How long does a DIY wooden walkway typically last?
Can I build a DIY wooden walkway on a sloped area?
What tools do I need for this project?
References
- Wooden bridges Research Papers - Academia.edu (academia.edu)
- Culver City Nature Trail - Baldwin Hills Conservancy (bhc.ca.gov)
- HW-Cost Estimator_Wing Island Boardwalk_1 - Brewster-ma.gov (brewster-ma.gov)
- Restoration of Fishermans Walkway at Island Beach State Park ... (dep.nj.gov)
Cite this guide
DIY Wooden Garden Path Markers (2026). Diy Wooden Walkway. https://woodenroot.com/diy-wooden-walkway/
Feel free to cite or share this guide.