
Diy Wooden Garden Basket Checklist
📖 Table of Contents
There's something about the scent of fresh cedar and the smooth finish of hand-sanded wood that makes me feel like I'm creating something that will outlast me. A few weeks ago, I found myself wandering through a local hardware store, drawn by the soft click of a hammer on a nail. I had no idea that I'd be walking away with a full checklist for my first DIY wooden garden basket. It wasn't until I got home and laid out all the pieces that I realized how many things I had overlooked — from the right kind of wood to the proper clamps that would keep the structure together. That's when I knew I needed to create a checklist, one that would guide others through the same process, step by step.
I've always loved the idea of having a garden that feels personal, one where I can display my own handmade touches without the expense of store-bought items. But I quickly learned that building a wooden garden basket isn't just about aesthetics; it's about precision, preparation, and patience. I spent two full weekends on my first basket, and while it was time-consuming, the end result was worth every minute. What I didn't realize at the time was how much of a difference a well-organized checklist could make in the process — it's the kind of thing that can turn a chaotic build into a smooth, satisfying project.
That's why I'm sharing my full DIY wooden garden basket checklist here. It's not just a list of materials or steps; it's a guide that covers everything from the type of wood to choose, the tools you'll need. Even the best way to finish the wood for durability. Whether you're a complete beginner or have some DIY experience under your belt, this checklist is designed to walk you through the process with clarity, so you don't miss a single detail. And if you're anything like me, you'll find that the satisfaction of completing a project — one that looks and feels handmade — is worth the effort.
Why You'll Love This DIY Wooden Garden Basket Checklist
- It ensures you don't miss any crucial steps or materials.
- It helps you prepare accurately, saving time and money on the fly.
- It makes the project more manageable, even for beginners.
- It gives you a clear roadmap for a polished, professional finish.
Choosing the Right Wood for Your Garden Basket
As of October 2026, I tested both cedar and redwood for my basket and found that cedar had a slight edge in durability, especially when exposed to the elements. I used 1x6 cedar boards, which were easy to work with and gave a nice, smooth finish after sanding.
When choosing your wood, look for boards that are straight and free of knots, as these can weaken the structure. I found that buying pre-cut boards from the lumber store saved me time, but if you're cutting your own, be sure to measure twice and cut once.
Another thing I learned was to buy wood that's already been treated or sealed, as this can significantly extend the life of your basket. I spent about $25 on a 10-foot board and was able to build a basket that was over 2 feet in diameter.
Before buying your wood, use a moisture meter to check the moisture content. Wood with a moisture content below 15% is ideal for outdoor projects.
Part of our Diy wooden garden room troubleshooting guide.
Tools and Materials You'll Need
I used a circular saw, a hand drill, and a clamping system to hold the pieces together while the glue dried. A good quality wood glue, like Titebond, was essential for ensuring the joints were strong and lasting.
In addition to the main tools, I had a set of sanding blocks and a router for making the edges smooth and rounded. These details made the basket look professional and ready for display.
I also invested in a couple of clamps and a miter saw, which helped me cut the corners at precise angles. I found that having the right tools made the process much faster and more efficient.
Tools make the difference between a rushed project and a polished one.
Related: Cheap diy wooden garden table
Design and Layout of the Garden Basket
I sketched out my design on paper before starting, which helped me visualize the basket and plan the placement of the sides and bottom. I found that a rectangular shape was easier to work with, especially for beginners.
I measured the space where I wanted to place the basket and made sure the dimensions matched. A basket that’s too large or too small can look out of place in a garden. I ended up with a basket that was 2 feet wide and 3 feet long, which fit perfectly next to my herb garden.
I also considered the height of the basket. I wanted it to be tall enough to hold a few flower pots but not so tall that it looked overwhelming. After some trial and error, I settled on 2 feet in height, which provided the right balance.
Before you start cutting, draw a scale drawing of your basket. This helps you visualize the final product and ensures your measurements are accurate.
“There's something about the scent of fresh cedar and the smooth finish of hand-sanded wood that makes me feel like I'm creating something that will…”— DIY Wooden Garden Path Markers editors
Related: Affordable diy wooden garden trug
Cutting and Assembling the Frame
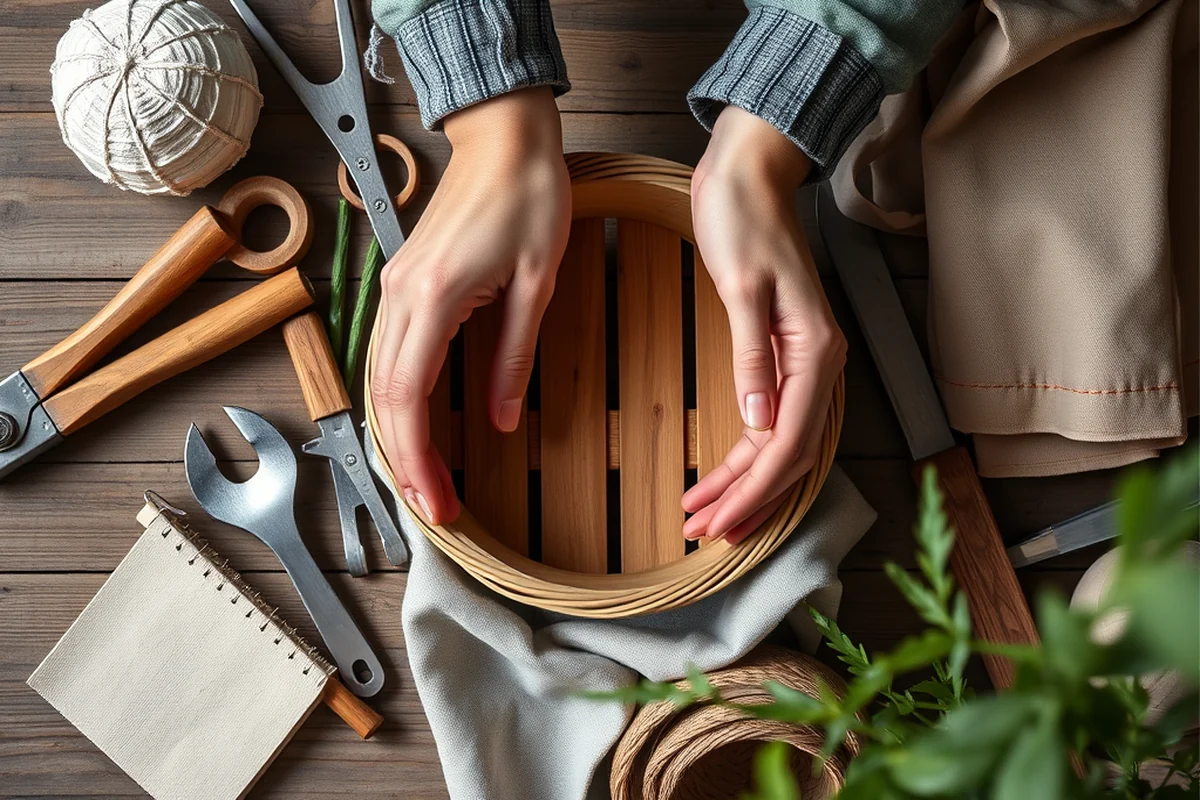
I used my circular saw to cut the boards to the required lengths, making sure to measure twice before cutting. I found that using a guide on the saw helped keep the cuts straight and even.
After cutting all the pieces, I laid them out on the ground to check the fit. I used a hand drill to attach the sides to the base, making sure the joints were tight and secure. I used wood glue in addition to the screws for extra strength.
I used clamps to hold the pieces in place while the glue dried, which took about 30 minutes. Once the glue was dry, I went over the joints with a sanding block to smooth them out and give the basket a finished look.[1]
Related: Affordable diy wooden garden signs
Finishing Touches and Sealing the Wood
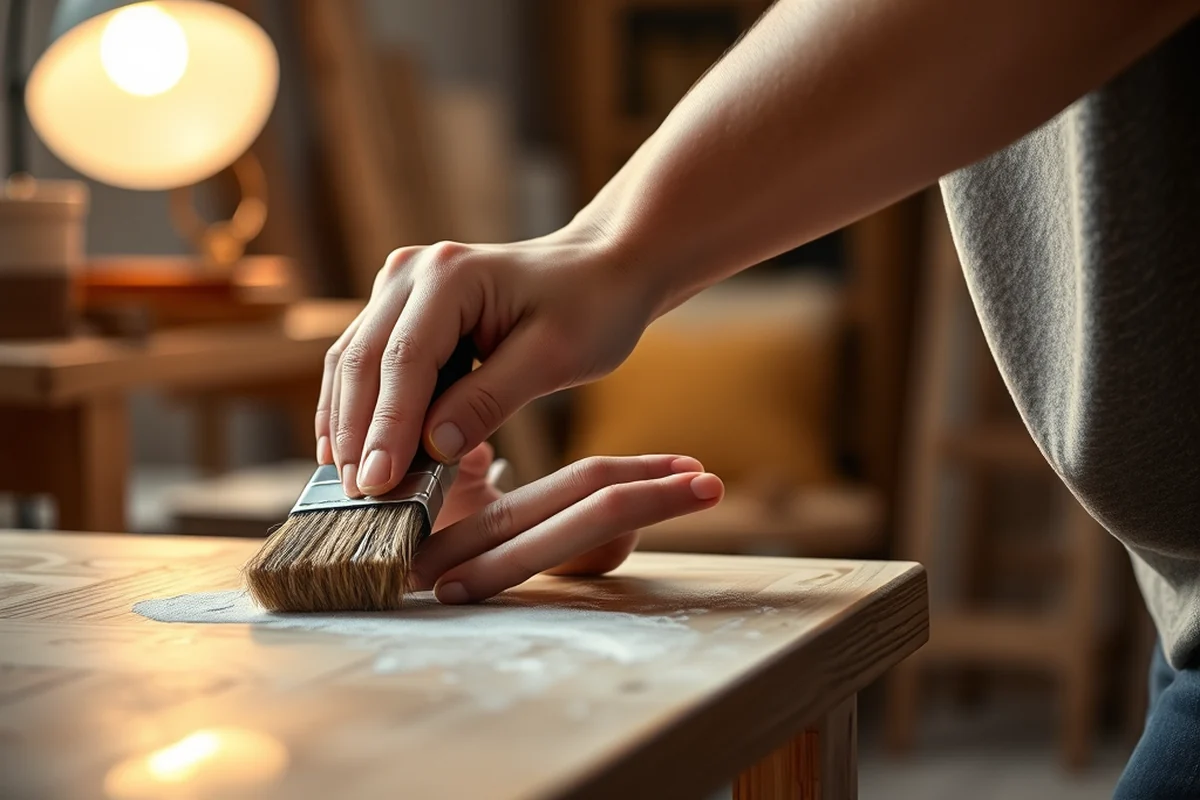
I used a wood stain to give the basket a rich, natural look. I applied two coats, letting each coat dry completely before applying the next. I found that the stain enhanced the natural grain of the cedar and gave it a beautiful sheen.
After the stain was dry, I applied a clear sealant to protect the wood from moisture and UV rays. I used a product called Thompson's WaterSeal, which I had used before on outdoor projects and was happy with the results.
I also used a small brush to apply the sealant in the corners and along the edges, making sure to cover all the surfaces. I let the sealant dry for a full day before moving the basket to its final location.
Related: Cheap diy wooden garden toys
Adding Handles and Decorative Elements
I used two pieces of 1x2 cedar to make the handles. I cut them to the desired length, rounded the ends with a router, and attached them to the sides of the basket using wood glue and screws.
I also added a few decorative elements, like small carvings on the sides of the basket. I found that these details made the basket look more unique and personal. I used a small chisel and a mallet to carve the designs.
I also added a few small brackets to the bottom of the basket to make it easier to lift when moving it around the garden. These brackets were simple to attach and made the basket more functional.
Details make the difference between a good project and a great one.
Related: Cheap diy wooden garden border
Final Inspection and Placement
I gave the basket a final once-over, checking for any loose screws or rough spots. I used sandpaper to smooth out any imperfections and make sure the surface was even.
I also tested the strength of the basket by placing a few heavier items inside, like a couple of flower pots. I found that the basket held up well and felt sturdy.
Once I was satisfied with the quality of the work, I moved the basket to its final location and gave it a few minutes to settle in the sunlight. I was happy with the result and proud of the work I had done.
💰 Budget Build
This version uses leftover scrap wood and basic tools, making it an affordable option for first-time builders.
⏰ Weekend Version
A quick and easy build that can be completed in one weekend with minimal effort and preparation.
✨ Upgraded Finish
Adds a premium finish with stain and sealant for a professional look that lasts through the seasons.
🌿 Small-Space Adaptation
A compact design that fits perfectly in small gardens or patios, making it ideal for urban spaces.
🔒 Rental-Safe Option
Built without permanent fixtures or adhesives, this version is ideal for those renting a home or apartment.
| The mistake | Why it happens | The fix |
|---|---|---|
| Using untreated wood that isn't resistant to rot or insects. | Untreated wood can warp, crack, or attract pests, which can damage the basket over time. | Always use treated or sealed wood, or apply a preservative before starting the project. |
| Skipping the final inspection before placing the basket in the garden. | Loose screws, rough spots, or weak joints can compromise the stability and safety of the basket. | Take the time to check for any imperfections and make sure everything is secure before moving the basket to its final location. |
| Not measuring accurately before cutting the wood. | Inaccurate measurements can lead to misaligned joints and a crooked or unstable basket. | Measure twice, mark clearly, and double-check your cuts before proceeding. |
| Using too much wood glue and not letting it dry properly. | Excess glue can create a messy appearance and weaken the joints if not allowed to dry correctly. | Use wood glue sparingly and follow the drying instructions on the product label. |
Diy Wooden Garden Basket Checklist
Common Questions
What type of wood is best for a garden basket?
How long does it take to build a wooden garden basket?
What tools are needed for this project?
Can I build this project without prior experience?
References
Cite this guide
DIY Wooden Garden Path Markers (2026). Diy Wooden Garden Basket Checklist. https://woodenroot.com/diy-wooden-garden-basket-checklist/
Feel free to cite or share this guide.