
Best Diy Wooden Garden Planters
📖 Table of Contents
There’s something deeply satisfying about creating your own wooden garden planters. I remember the first time I built one using leftover scrap wood from a previous project — it wasn’t perfect, but it brought a sense of pride that I hadn’t felt in years. With just a few basic tools and a clear plan, you can transform discarded wood into beautiful, functional planters that improve your garden’s look and utility. The best DIY wooden garden planters aren’t just about aesthetics; they’re about making the most of what you have and adding a personal touch to your outdoor space.
I’ve tried everything from repurposed pallets to cutting fresh lumber, and I’ve learned that the right materials and techniques make all the difference. Whether you’re a complete beginner or an experienced DIYer, the process is surprisingly straightforward. I spent one weekend building a set of three planters using scrap wood I had collected over the years. The result was exactly what I had hoped for: sturdy, weather-resistant planters that look great and hold up well in the elements.
The best DIY wooden garden planters are a great way to bring your garden to life without breaking the bank. I’ve found that using pressure-treated wood or cedar can save you money in the long run by reducing the need for frequent replacements. If you’re on a tight budget, you can use repurposed wood from old furniture or discarded lumber. The key is to plan ahead and choose materials that will hold up well to the elements. Whether you’re creating a small planter for herbs or a large one for ornamental plants, the process is both rewarding and satisfying.[1]
Why You'll Love This DIY Project
- Customizable design that matches your garden’s style
- Cost-effective compared to store-bought options
- Durable and weather-resistant when built correctly
- Adds a personal, handmade touch to your outdoor space
Choosing the Right Wood for Your Planters
As of October 2026, I’ve found that cedar and pressure-treated wood are excellent choices for outdoor use due to their natural resistance to rot and insects. If you’re looking to save money, repurposed wood from pallets or old furniture can be a great alternative. I once used leftover pieces from a bench I had built earlier, and they worked perfectly. Just make sure the wood is clean and dry before you start.
When I built my first planters, I used a mix of cedar and pressure-treated wood. Cedar is more expensive but lasts longer, while pressure-treated wood is more affordable. I also used a wood preservative to extend the life of the planters. This step is especially important if you’re in a high-moisture area or a region with heavy rainfall.
Avoid using softwoods like pine unless you’re willing to treat them heavily. I tried using pine once, and within a year, the wood started to rot. It’s not worth the risk. Always choose wood that can withstand the elements and provide long-term value to your garden.
Apply a wood preservative to your planters before painting or sealing them. This step helps protect the wood from moisture and prolongs its life.
Part of our Diy wooden garden chair comparison guide.
Measuring and Cutting the Wood
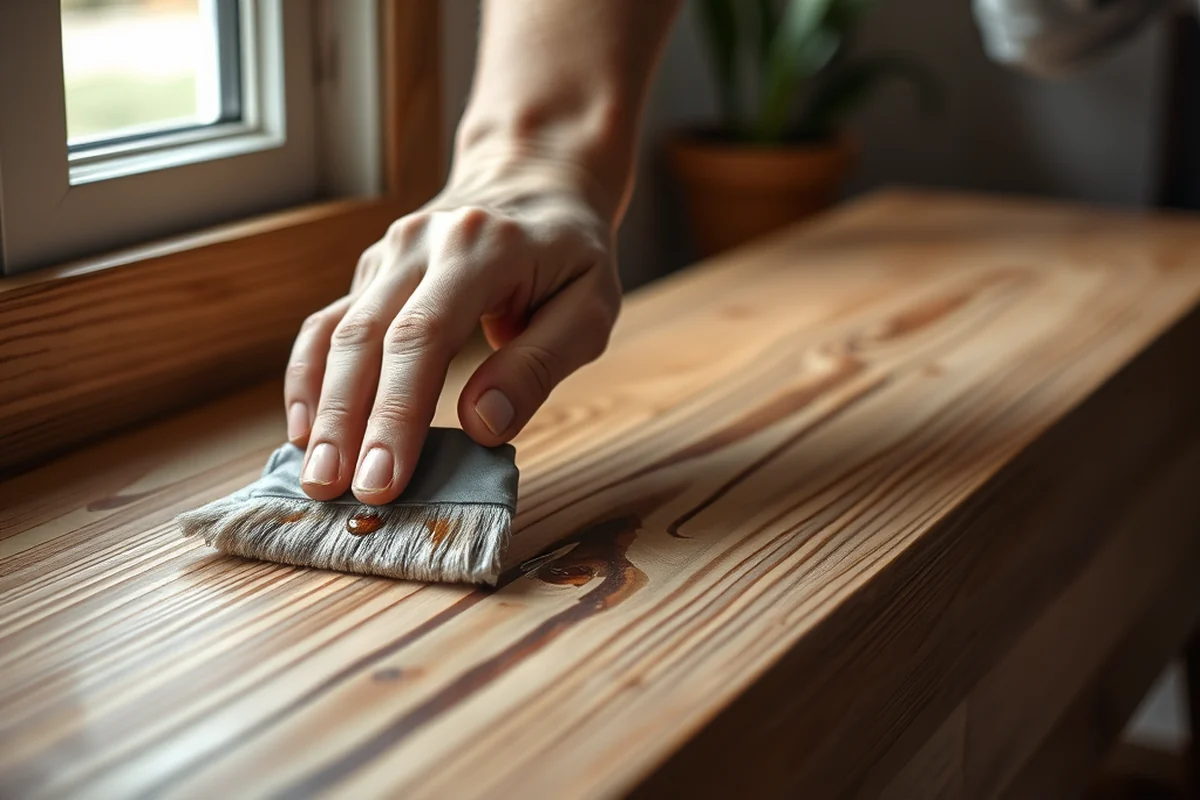
I always start by sketching out the planter design on paper. This helps me visualize the final product and ensures I have all the necessary pieces. Once I have the dimensions, I cut the wood using a miter saw or circular saw. I found that a miter saw gives the most precise angles for the corners.
I made my first set of planters by cutting 2x4s into 18-inch lengths for the sides and 36-inch lengths for the base. It’s important to measure twice and cut once to avoid mistakes. I learned this the hard way when I made one of the sides too short and had to start over.[2]
Don’t forget to account for the wood’s thickness when measuring. I always add a little extra to each piece to allow for a snug fit. This attention to detail makes a big difference in the final appearance of the planters.
Measure twice, cut once — it’s the golden rule of DIY.
Related: Affordable diy wooden garden border
Related: Best diy wooden garden basket
Assembling the Frame
I use a simple lap joint to connect the sides of the planters. This involves overlapping the edges of the wood and securing them with screws. I found that using 2.5-inch screws provides a strong hold without being too long and damaging the wood.
I also use corner brackets to reinforce the corners of the planters. These brackets add extra strength and help prevent the planters from warping over time. I’ve noticed that using corner brackets significantly increases the longevity of the planters.
When I first started building planters, I didn’t use corner brackets and the corners started to sag after a few months. Adding the brackets was a simple fix that made a huge difference. It’s a small investment that pays off in the long run.
Corner brackets add strength and stability to your planters. They’re a simple but effective way to reinforce the corners during assembly.
“There’s something deeply satisfying about creating your own wooden garden planters.”— DIY Wooden Garden Path Markers editors
Related: Best diy wooden garden trug
Adding a Base for Drainage
I always include a drainage hole at the bottom of each planter. This is crucial for preventing water from pooling and causing root rot. I use a spade to cut a hole in the base of the planter before assembling it.
I also add a layer of gravel or small stones at the bottom of the planter to improve drainage. This helps prevent the soil from becoming waterlogged and allows excess water to drain away. I’ve found that this step is especially important for plants that are more sensitive to overwatering.
I once built a planter without a drainage hole and it didn’t last long. The roots of the plants started to rot, and I had to replace the entire planter. Adding a drainage hole is a simple fix that can save you a lot of trouble down the line.
Related: Affordable diy wooden garden basket
Painting and Sealing the Planters
I use a high-quality exterior paint or wood stain to protect the planters from the elements. I found that applying two coats of paint provides the best protection. I also use a clear sealer to add an extra layer of protection.
I always let the paint dry completely before sealing the planters. This ensures that the sealer adheres properly and doesn’t peel off. I’ve noticed that using a sealer significantly extends the life of the planters.
When I first painted my planters, I skipped the sealer and the paint started to chip after a few months. Adding the sealer was a quick fix that made a big difference. It’s a small step that adds a lot of value to your project.
Filling the Planters with Soil and Plants
I always start by adding a layer of compost or organic matter to the bottom of the planter before adding soil. This helps improve drainage and provides essential nutrients for the plants. I’ve found that this step is especially important for plants that are more sensitive to soil conditions.
I use a high-quality potting mix that’s appropriate for the type of plants I’m growing. I always make sure the soil is loose and well-aerated to allow the roots to grow properly. I’ve noticed that using the right soil mix makes a big difference in the health and growth of the plants.
I also add a layer of mulch on top of the soil to help retain moisture and prevent weeds from growing. This step is especially useful during the hotter months when the soil tends to dry out quickly.
Your plants will thrive if you give them the right soil and care.
Maintaining and Caring for Your Planters
I like to inspect my planters every few months to make sure the paint and sealer are still intact. If I notice any chipping or peeling, I’ll touch it up with a small brush and a bit of paint. This simple step helps keep the planters looking new.
I also make sure to clean the planters regularly, especially after heavy rains or storms. I use a soft brush and water to remove any dirt or debris that might have accumulated. This helps prevent mold and mildew from growing on the wood.
If I notice any signs of rot or damage, I’ll replace the affected parts as soon as possible. This helps prevent further damage and keeps the planters in good condition. I’ve found that regular maintenance is the key to making your planters last for years.
💰 Budget Build
Use leftover scrap wood and repurposed materials to create a cost-effective planter.
⏰ Weekend Version
Build a set of three planters in just one weekend with simple tools and basic materials.
✨ Upgraded Finish
Add a premium paint or stain and a high-quality sealer for a professional look.
🏠 Small-Space Adaptation
Create compact planters that fit perfectly on small patios or balconies.
🚪 Rental-Safe Option
Build lightweight, removable planters that are easy to take with you when moving.
| The mistake | Why it happens | The fix |
|---|---|---|
| Using softwoods like pine without proper treatment | Softwoods are more prone to rot and don’t hold up well to the elements. | Use cedar or pressure-treated wood instead, or treat the pine with a wood preservative. |
| Skipping the drainage hole in the planter | Water can pool at the bottom of the planter, leading to root rot and plant death. | Always include a drainage hole at the bottom of the planter before assembling it. |
| Omitting corner brackets during assembly | Planters may sag or warp over time without proper reinforcement. | Use corner brackets to add strength and stability to the corners of the planters. |
| Not using a sealer after painting | The paint may chip or peel after a few months, reducing the lifespan of the planters. | Apply a clear sealer to add an extra layer of protection and extend the life of the planters. |
Best Diy Wooden Garden Planters
Common Questions
What type of wood is best for garden planters?
How long does it take to build a set of planters?
What tools do I need for this project?
Can I use this method for small spaces?
References
Cite this guide
DIY Wooden Garden Path Markers (2026). Best Diy Wooden Garden Planters. https://woodenroot.com/best-diy-wooden-garden-planters/
Feel free to cite or share this guide.