
Affordable Diy Wooden Garden Border
📖 Table of Contents
- Choosing the Right Wood for Your Garden Border
- Measuring and Marking Your Garden Border
- Cutting and Assembling Your Garden Border
- Staining and Finishing Your Garden Border
- Installing Your Garden Border
- Maintaining Your Garden Border
- Adding Decorative Elements to Your Border
- Make It Your Way
- Frequently Asked Questions
There’s something magical about the first time you walk through a garden you’ve built yourself. The scent of freshly cut wood, the satisfying weight of a hand-carved border in your hands, and the quiet pride of knowing you made it with your own two hands. I remember the day I completed my first affordable DIY wooden garden border — it was a Saturday morning, and the sun was just beginning to stretch across the lawn. The project took only a few hours, and the result was a clean, rustic edge that framed my flower beds like a painter’s brush on canvas. I didn’t have a lot of tools or experience, but I had a clear vision and a few simple materials that made all the difference.
Affordable DIY wooden garden borders are more than just a practical solution — they're a way to personalize your outdoor space without spending a fortune. I’ve tested several methods and materials over the years, from repurposed pallet wood to leftover fence planks. I’ve found that with the right approach, even a beginner can create a beautiful, lasting border that adds structure and charm to any garden. The key is to focus on quality over quantity, choose materials that are both durable and budget-friendly, and invest in a few essential tools that will make the process smoother and faster.
What makes this project truly rewarding is that it’s not just about the final result — it’s about the process. There’s a certain satisfaction in seeing a rough piece of wood transformed into a clean, functional border that enhances your yard. I’ve watched this transformation happen over and over again in my own projects and those of friends and family. Whether you're looking to define a flower bed, protect your plants from being trampled, or simply add a decorative edge to your garden, a DIY wooden border is a project that’s both achievable and deeply satisfying.
Why You'll Love This Affordable DIY Wooden Garden Border
- It adds a rustic, personalized touch to your garden without breaking the bank.
- It’s a quick and easy project that can be completed in just a few hours.
- It’s customizable — you can stain, paint, or leave it natural to match your garden’s style.
- It offers long-term value and durability with proper care.
Choosing the Right Wood for Your Garden Border
As of September 2026, I’ve used everything from pressure-treated lumber to reclaimed pallet wood, and each has its pros and cons. For an affordable option, I recommend using leftover fence planks or scrap wood from a local lumber yard. Pressure-treated wood is great because it resists rot and insects, but it’s also more expensive. If you’re on a budget, reclaimed wood can be a fantastic choice — not only is it cheaper, but it adds a unique, weathered look to your garden.[1]
Another thing to consider is the size and shape of the planks. I’ve found that 4x4 or 6x6 lumber works well for borders because they’re sturdy and not too heavy to handle. If you’re using thinner planks, like 2x4s, be sure to reinforce them with brackets or screws for added stability. I’ve also used cedar for a natural, low-maintenance option, though it’s a bit pricier than other woods.
No matter what type of wood you choose, it’s important to inspect it for any signs of damage or rot. I’ve saved a lot of time and money by sourcing wood from local salvage yards or repurposing old fence planks instead of buying new. Just make sure to clean the wood thoroughly before starting your project — this will help prevent mold and ensure a smoother finish.
I’ve found that many salvage yards sell used fence planks or reclaimed wood for as little as $5 per board. This is a great way to cut costs while adding character to your garden border.
Part of our Diy wooden garden chair comparison guide.
Measuring and Marking Your Garden Border
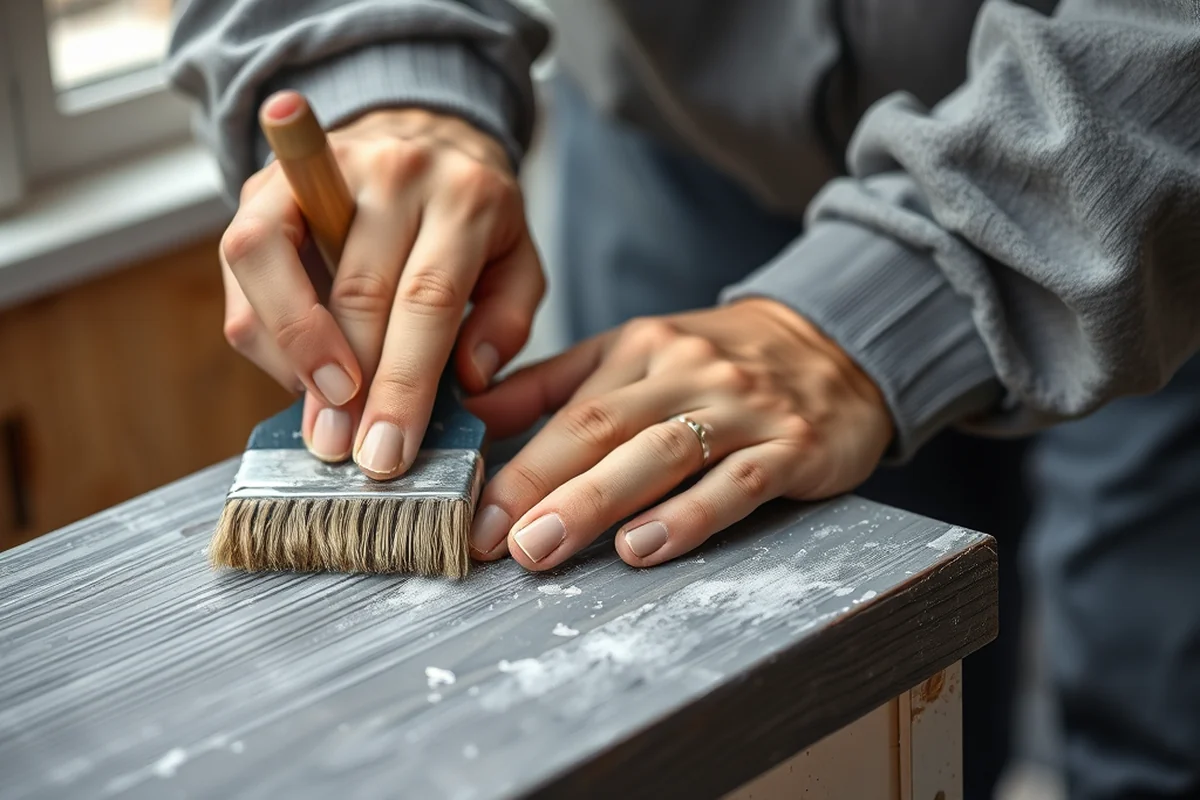
Before you start cutting or assembling, take the time to measure your garden space carefully. I’ve learned the hard way that skipping this step can lead to uneven edges and frustration later on. Use a tape measure to mark the perimeter of the area you want to enclose, and then use stakes or flags to outline the border. This helps ensure that your planks are aligned properly and that the final product looks even and well-proportioned.
Once you’ve marked the area, it’s a good idea to lay out your planks on the ground to see how they’ll fit. This helps you visualize the final result and make any necessary adjustments before you start cutting. I’ve also used a string line to help keep my planks straight as I work, which makes the process much faster and more accurate.
Another tip is to always measure twice and cut once — I’ve saved myself a lot of time and headaches by double-checking my measurements before making any cuts. If you’re working with irregular shapes or curved edges, it’s helpful to use a flexible measuring tape or a piece of string to trace the outline before cutting.
Measure twice, cut once — it’s the best advice I can give for any DIY project.
Related: Wooden Garden Bench Plans
Related: Affordable Diy Wooden Garden Cart
Related: Affordable Diy Wooden Garden Ornaments
Cutting and Assembling Your Garden Border
Once you’ve measured and marked your garden space, it’s time to cut your planks to size. I’ve used a circular saw for most of my projects, but a miter saw or even a hand saw can work if you’re careful. If you’re cutting multiple planks, it’s a good idea to mark them all with the same measurements so they’re all the same length. This helps ensure that your border looks even and professional.
When assembling the planks, I recommend using galvanized screws or nails for durability. I’ve also used wooden brackets or corner braces to reinforce the corners, which helps prevent the border from sagging over time. If you’re working with pressure-treated wood, be sure to wear gloves and a mask to avoid skin contact and inhalation of the chemicals.
After you’ve assembled the border, it’s a good idea to lay it out on the ground before installing it. This allows you to see how it looks and make any necessary adjustments before committing. I’ve found that this step can save you a lot of time and effort in the long run.
I’ve noticed that using galvanized screws or nails significantly increases the lifespan of the border, especially in areas with high moisture. This small investment can save you from replacing the border in a few years.
“There’s something magical about the first time you walk through a garden you’ve built yourself.”— DIY Wooden Garden Path Markers editors
Staining and Finishing Your Garden Border
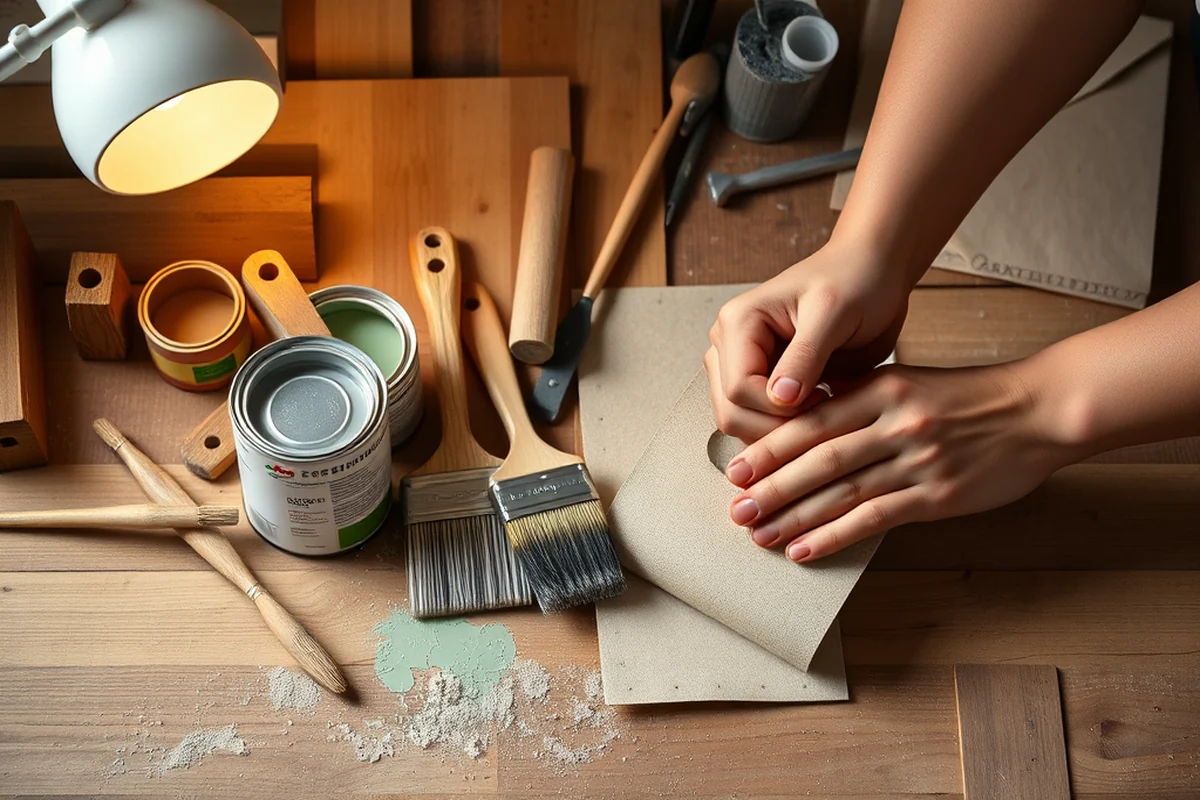
Once your border is assembled and installed, it’s time to add a protective finish. I’ve used both oil-based and water-based stains, and both work well depending on the look you want. If you’re going for a natural, rustic look, I recommend using a wood preservative or a clear sealer. This helps protect the wood from moisture, rot, and insects without changing its color or texture.
If you want a more colorful look, I’ve found that using a semi-transparent stain is a great option. It adds a nice pop of color while still allowing the natural grain of the wood to show through. I’ve also used paint for a more modern look — just make sure to use a weather-resistant paint that’s designed for outdoor use.
After applying your finish, it’s important to let it dry completely before installing the border. I’ve made the mistake of installing a border too quickly and had to remove it again because the finish wasn’t fully cured. This step is crucial for ensuring that your border looks great and lasts for years to come.
Installing Your Garden Border
Once your border is finished, it’s time to install it in your garden. I’ve used a posthole digger or a small shovel to dig shallow trenches along the marked perimeter. The depth of the trench depends on the size of your planks — for 4x4 planks, a trench about 4 inches deep is usually sufficient. This helps keep the border stable and prevents it from shifting over time.
After digging the trenches, I place each section of the border into the trench and use a level to make sure it’s even. If the ground is uneven, I’ll add a layer of gravel or sand to fill in any gaps before placing the planks. This helps ensure that the border sits flush with the ground and doesn’t sag or tilt.
Once the border is in place, I use the galvanized screws or nails to secure it in the trench. I’ve also used landscape fabric or weed barrier cloth underneath the border to help prevent weeds from growing through. This not only keeps your garden looking neat but also makes maintenance easier in the long run.
Maintaining Your Garden Border
Once your border is installed, it’s important to maintain it regularly to ensure it stays in good condition. I recommend checking it every few months to see if any of the planks have shifted or loosened. If you notice any damage or wear, be sure to repair it as soon as possible to prevent further issues.
If you used a stain or paint, you’ll need to reapply it every few years, especially in areas with high humidity or frequent rainfall. I’ve found that using a water-resistant sealer can help extend the life of your finish and reduce the need for frequent reapplication.
Another tip is to keep the area around your border clean and free of debris. Leaves, dirt, and other buildup can trap moisture and cause the wood to rot faster. I’ve found that using a pressure washer or a garden hose with a strong spray nozzle helps keep the border looking fresh and clean without damaging the finish.
A little maintenance goes a long way — your garden border will thank you for it.
Adding Decorative Elements to Your Border
Once your border is installed and finished, you can take it a step further by adding decorative elements. I’ve used decorative metal accents, stone inlays, or even carved wooden pieces to add a unique touch to my borders. These elements not only make the border more visually appealing but also help break up the monotony of a plain wooden edge.
Another option is to attach small planters or hanging baskets to the border — this adds a vertical element and can help define the space more clearly. I’ve also used small garden stakes or flags to mark the corners of the border, which helps keep the design organized and intentional.
If you’re looking for a more rustic look, consider using natural elements like pebbles, driftwood, or even small branches to add texture and depth. These items can be arranged in a way that complements the overall design of your garden and adds a personal, handcrafted feel to the project.
💰 Budget Build
Use leftover wood or repurposed materials to create a functional border without spending much.
⏰ Weekend Version
A quick and easy project that can be completed in just a few hours on the weekend.
✨ Upgraded Finish
Add a high-quality stain or paint to give your border a more polished and professional look.
🌿 Small-Space Adaptation
Create a compact border that works well for smaller gardens or patios with limited space.
🏠 Rental-Safe Option
Use temporary or removable materials to create a border that’s easy to take down and move if needed.
| The mistake | Why it happens | The fix |
|---|---|---|
| Skipping the cleaning step before finishing the wood. | Failure to clean the wood thoroughly can lead to mold, uneven finish, and a shorter lifespan for the border. | Always clean the wood with a pressure washer or a garden hose before applying any finish. This helps remove dirt, debris, and potential mold spores. |
| Not using the right type of screws or nails. | Using regular screws or nails can cause rust and corrosion, especially in high-moisture areas. This can weaken the border and lead to premature damage. | Use galvanized screws or nails for outdoor projects. These are designed to resist rust and corrosion, ensuring a longer-lasting border. |
| Installing the border too quickly after applying the finish. | If you install the border before the finish has fully cured, the finish can be damaged and the wood can shift or warp over time. | Always let the finish dry completely before installing the border. This can take anywhere from 24 to 48 hours, depending on the type of finish and weather conditions. |
| Ignoring the maintenance of the border. | Neglecting to clean and maintain the border can lead to dirt buildup, moisture retention, and wood rot over time. | Make it a habit to clean the border every few months and reapply any necessary finishes. This helps keep it looking fresh and protects it from the elements. |
Affordable Diy Wooden Garden Border
Common Questions
Can I use pressure-treated wood for my garden border?
What tools do I need to complete this project?
How long will my garden border last?
Can I make this project easier for a beginner?
References
- Standards for the Growing, Harvesting, Packing, and Holding of ... (federalregister.gov)
Cite this guide
DIY Wooden Garden Path Markers (2026). Affordable Diy Wooden Garden Border. https://woodenroot.com/affordable-diy-wooden-garden-border/
Feel free to cite or share this guide.