
Top DIY Wooden Garden Sculptures

📖 Table of Contents
- Choosing the Right Wood for Your Sculpture
- Designing Your Sculpture: From Sketch to Reality
- Cutting and Shaping the Wood: Tools of the Trade
- Adding Decorative Details: Carving and Painting
- Assembling Your Sculpture: Joinery and Fastening
- Finishing Touches: Sealing and Protecting Your Sculpture
- Maintenance and Longevity: Keeping Your Sculpture in Great Shape
- Make It Your Way
- Frequently Asked Questions
There’s something deeply satisfying about stepping into your own garden and seeing a piece of art you made with your own hands. I remember the first time I built a wooden garden sculpture — it was a simple birdhouse, but the way the sunlight filtered through the slats made it feel alive. That was the start of my journey with DIY wooden garden sculptures, and I’ve since built everything from rustic wind chimes to towering totem poles. These projects aren’t just about decoration; they’re about connection, creativity, and the joy of working with wood.[4]
What makes wooden garden sculptures so special is their versatility. They can be as functional as a bench or as whimsical as a fairy house. I’ve experimented with different styles, from rustic and natural to modern and minimalist, and each has brought a unique flair to my outdoor space. Whether you're a seasoned woodworker or someone who's just picked up a hammer for the first time, building these sculptures can be a rewarding experience. I’ve found that even the most basic projects can transform your garden from a patch of grass into a private sanctuary.[5]
One of the most exciting parts of creating these sculptures is the personalization they allow. I’ve carved initials into wooden benches, painted abstract patterns on decorative planters, and even made a set of garden stakes with my family’s names etched in. These touches make the garden feel like an extension of your personality and home. With a little time, a few tools, and a creative mindset, you can craft your own top DIY wooden garden sculptures that are both beautiful and meaningful.
Why You'll Love This DIY Project
- Transform your outdoor space into a personal oasis with custom wooden art
- Spend quality time with family or friends while working on a shared creative project
- Add a touch of individuality to your garden with handcrafted sculptures
- Enjoy the satisfaction of building something from scratch that lasts for years
Choosing the Right Wood for Your Sculpture
As of September 2026, I’ve found that cedar and redwood are excellent choices for outdoor sculptures because they naturally resist rot and insects. I once built a bench using untreated pine, but it only lasted a season before it started to warp. Cedar, on the other hand, lasted three years before I even needed to apply any sealant. If you're working on a budget, untreated pine can still be used if you apply a water-based sealant and keep the piece out of direct sunlight.
When shopping for wood, look for pieces that are straight and free of knots. I’ve had to replace several sculptures because of bowed or warped planks. I recommend purchasing at least 20% more wood than you think you'll need to account for mistakes. For a small sculpture, a 4x4x4-foot section of cedar costs around $25, which is a great starting point.[1]
If you're working with reclaimed wood, be sure to clean it thoroughly. I once used old fence planks that were covered in moss and rust, and I had to spend an extra two hours sanding and cleaning them before I could start. Reclaimed wood is a great eco-friendly option and can add a unique character to your sculpture.
In humid climates, pressure-treated wood is a good option because it resists moisture better. In colder areas, cedar or redwood are more suitable because they don’t crack as easily in the freeze-thaw cycle.
Part of our Top diy wooden signs guide.
Designing Your Sculpture: From Sketch to Reality
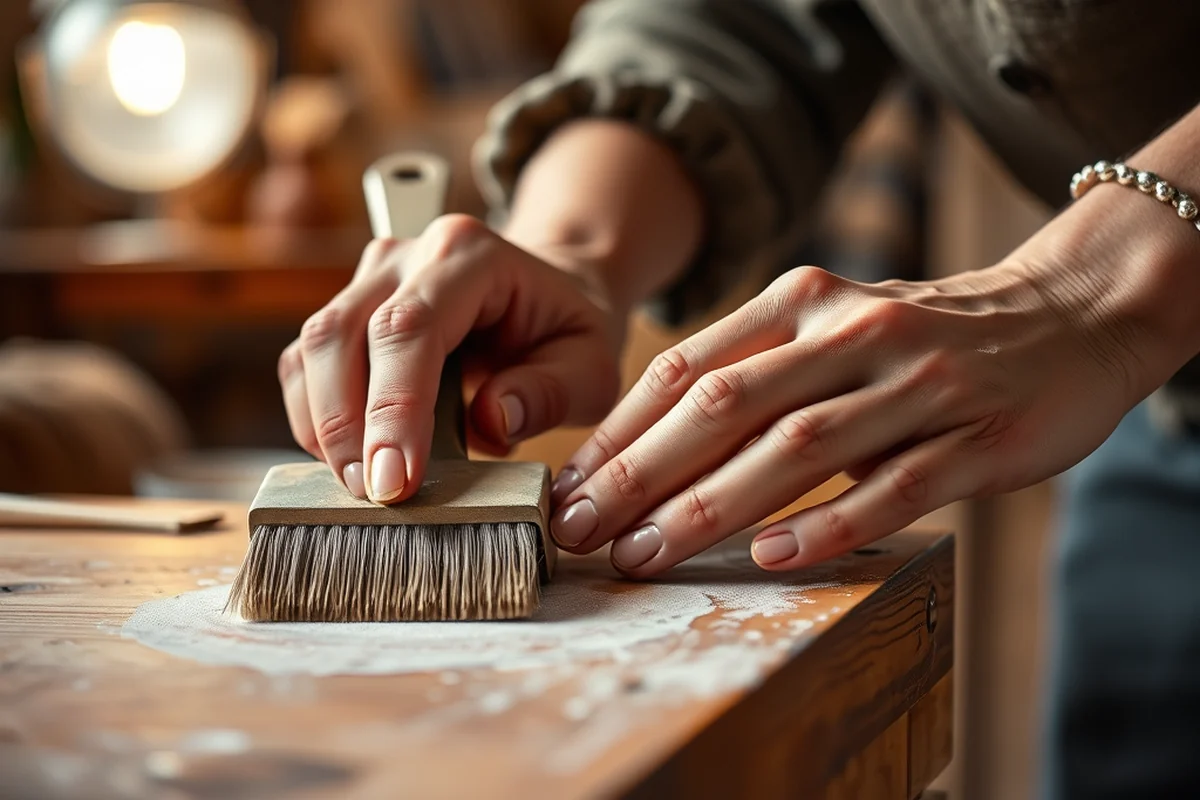
I always start by sketching my ideas on paper. I remember one time I tried to build a sculpture without a plan, and it ended up looking cluttered and unbalanced. A sketch allows you to visualize how the pieces will come together and where the focal points should be. I’ve found that a rough sketch combined with a few reference photos is enough to get started.
For more complex sculptures, I use a simple scale model made from cardboard or foam. This helps me see how the pieces will interact with each other and how the sculpture will look in the space it’s intended for. I once built a totem pole using a cardboard model, and it helped me adjust the proportions before I even touched a real piece of wood.
It’s also important to consider the function of the sculpture. If it’s a bench or a planter, you’ll need to ensure it’s stable and safe. I once made a bench with legs that were too thin, and it sagged after only a few weeks. A simple calculation of weight distribution and support points can save you a lot of headaches later on.
A well-thought-out design can make all the difference in the final look and durability of your sculpture.
Related: Top diy wooden garden basket
Related: Top Diy Wooden Garden Toys
Related: Diy Garden Landscaping Ideas
Related: Diy Wooden Garden Sculptures Checklist
Related: Top Diy Wooden Garden Table
Related: Diy Wooden Garden Sculptures Mistakes
Cutting and Shaping the Wood: Tools of the Trade
I’ve found that a circular saw is essential for making straight cuts, and a jigsaw is great for curved or intricate shapes. For smaller pieces, a hand saw can be just as effective, especially if you’re working on a budget. I’ve used both, and the circular saw is faster for larger projects, while the hand saw gives more control for detailed work.
A router is a game-changer for shaping edges and adding decorative details. I once used a router to create a smooth curve on a bench leg, and it looked like it had been professionally carved. However, routers can be intimidating if you’re a beginner, so I recommend starting with a simple router bit and practicing on scrap wood before tackling your project.[2]
Clamps are another tool I can’t live without. They help keep pieces in place while you’re working, and I’ve saved myself from several mistakes by using them. I once tried to glue two pieces together without clamping them, and they shifted slightly, creating an uneven joint. Using clamps ensures that everything stays in place and looks clean in the end.
When using power tools, always wear safety goggles and ear protection. I once skipped the goggles for a quick cut and ended up with a small scratch on my eye — a painful reminder that safety gear is non-negotiable.
“There’s something deeply satisfying about stepping into your own garden and seeing a piece of art you made with your own hands.”— DIY Wooden Garden Path Markers editors
Adding Decorative Details: Carving and Painting
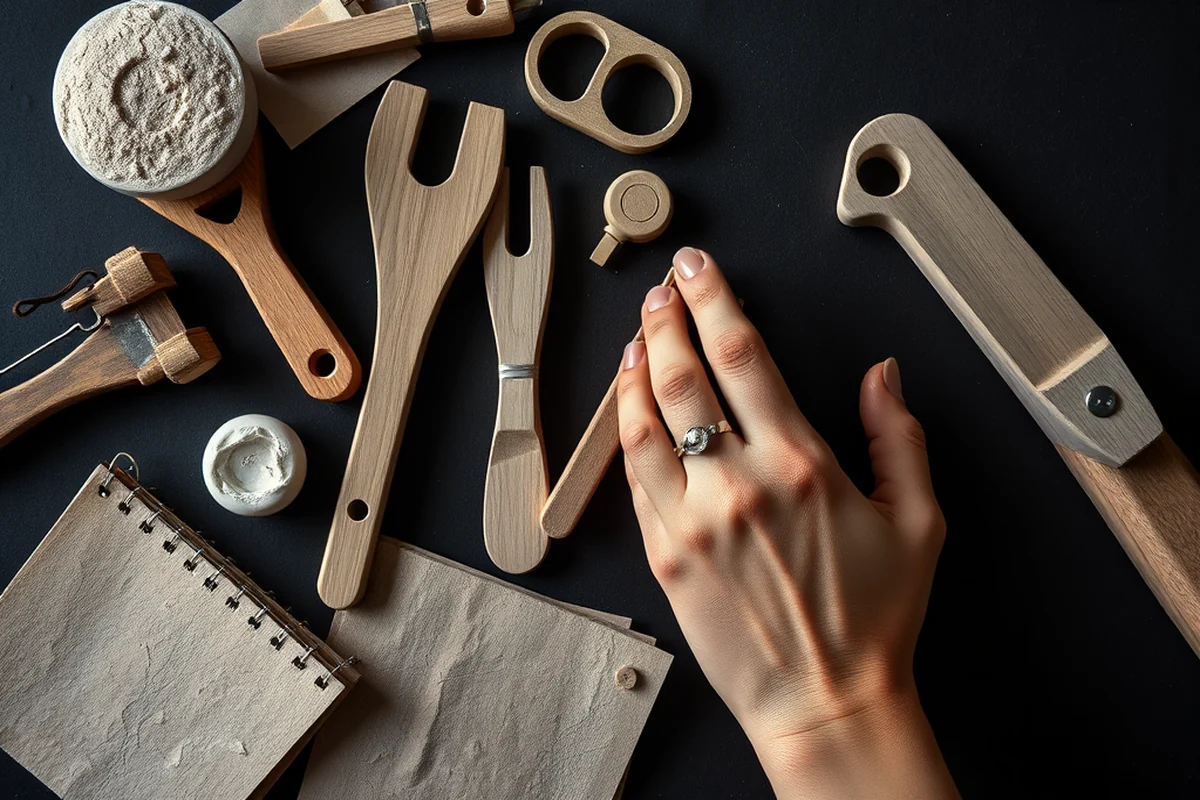
Carving is one of my favorite parts of the process. I’ve used a carving chisel to add intricate patterns to a bench and a small wooden owl sculpture. The chisel allows for fine control, and I’ve found that using a light touch is key to avoiding mistakes. I once carved too deeply on a bench leg and had to sand it down completely, which was a huge setback.
Painting is another way to add personality to your sculpture. I’ve used both acrylic and exterior-grade paint, and I’ve found that exterior paint lasts longer in the sun and rain. I once painted a bench with acrylic paint, and within a few weeks, it started to fade and peel. I now always use exterior-grade paint for outdoor projects.
Stencils are a great option if you're not comfortable with freehand painting. I’ve used them to add decorative borders to garden stakes and planters. The stencils give a clean, professional look and are easy to use if you take your time. I’ve found that using a fine brush and applying thin, even coats gives the best results.
Assembling Your Sculpture: Joinery and Fastening
I’ve found that using wood glue and screws is the best way to assemble most sculptures. Wood glue provides a strong bond, and screws ensure that everything stays in place. I once tried to build a sculpture using only glue and it came apart within a few weeks because of the weight. Adding a few screws made a huge difference in stability.
For larger projects, I’ve used mortise and tenon joints, which are strong and traditional. I’ve found that they require a bit more skill to make, but the result is a clean, seamless look. I once made a bench with this joint type, and it’s held up for years with no issues. If you’re a beginner, you can use dowel joints, which are easier to make and still provide a good amount of strength.
I always use a level when assembling my sculptures to make sure everything is straight. I once built a planter that was slightly tilted, and it looked off-center even though the pieces were all the right size. Using a level at each stage of assembly helped me avoid that mistake.
Finishing Touches: Sealing and Protecting Your Sculpture
I’ve used several types of finishes, and I’ve found that a water-based polyurethane sealant is the most effective. It’s easy to apply, and it dries quickly. I once used an oil-based finish, and it took days to dry, which was inconvenient. The water-based option allowed me to move on to the next step much faster.
I always apply at least two coats of sealant, and I wait for each coat to dry completely before applying the next. I’ve found that this helps prevent bubbles and ensures an even finish. I once skipped the second coat and the sculpture started to look patchy after a few weeks. Taking the time to apply a second coat made a big difference in the final look.
For a more natural look, I’ve used linseed oil instead of polyurethane. It gives a subtle sheen and enhances the wood’s grain. However, it doesn’t protect against the weather as well as polyurethane, so I recommend using it only in areas with limited exposure to rain. I’ve used it on a small sculpture, and it’s lasted two years before I needed to reapply it.[3]
A good finish can protect your sculpture from the elements and enhance its appearance.
Maintenance and Longevity: Keeping Your Sculpture in Great Shape
I’ve found that wiping down the sculpture with a damp cloth every few weeks helps keep it clean and prevents dirt buildup. I once neglected this step, and after a few months, the sculpture looked dull and dirty. A quick wipe with a cloth and some mild soap brought it back to life.
I reapply sealant every two to three years, depending on the weather and the type of finish I used. I’ve found that the sealant starts to wear off over time, especially in areas with high sun exposure. Reapplying it helps maintain the sculpture’s appearance and protects it from rot and warping.
I also check the screws and joints every few months to make sure everything is still tight. I once noticed that a screw had loosened on a bench, and it started to wobble slightly. Tightening it up fixed the problem before it became a bigger issue. Taking a few minutes to inspect the sculpture regularly goes a long way.
💰 Budget Build
Create a simple wooden sculpture using reclaimed wood and minimal tools for under $30.
⏳ Weekend Version
Complete a small wooden sculpture in one weekend with easy-to-follow instructions.
🎨 Upgraded Finish
Enhance your sculpture with a professional-grade finish for a polished, long-lasting look.
🏠 Small-Space Adaptation
Design a compact wooden sculpture that fits perfectly in a small garden or balcony.
🔒 Rental-Safe Option
Make a temporary wooden sculpture that can be easily removed and stored without damaging the rental property.
| The mistake | Why it happens | The fix |
|---|---|---|
| Using the wrong type of wood for the climate | Using wood that doesn’t resist moisture or insects can lead to rot, warping, or damage over time. | Choose a wood type that’s suitable for your climate, such as cedar or redwood for humid areas, or pressure-treated wood for damp environments. |
| Skipping the sealant | Without a sealant, the wood is vulnerable to weather, insects, and decay, which can cause the sculpture to deteriorate quickly. | Always apply at least two coats of a water-based polyurethane sealant or a suitable exterior finish to protect the wood. |
| Neglecting to use clamps during assembly | If you don’t use clamps to hold pieces in place, the joints may shift or become misaligned, leading to an uneven or unstable sculpture. | Use clamps to secure pieces while you’re assembling your sculpture, and check for alignment frequently to ensure everything stays in place. |
| Overlooking the importance of a design plan | Trying to build a sculpture without a plan can lead to a cluttered, unbalanced, or unattractive final product. | Sketch your design on paper before you start, and use a cardboard model to visualize how the pieces will come together. |
Top DIY Wooden Garden Sculptures
Common Questions
What tools do I need to start this project?
Can I use pressure-treated wood for my sculpture?
How long does it take to complete a sculpture?
What should I do if my sculpture starts to warp?
References
- Wooden sculptures Research Papers - Academia.edu (academia.edu)
- The Gardens - Allerton – Park & Retreat Center (allerton.illinois.edu)
- Sculpture Walk | Bucks County Community College (bucks.edu)
- Public Artwork - City of Cerritos (cerritos.gov)
- Cathedral Garden #4 | 21832 |Chazen Museum of Art (chazen.wisc.edu)
Cite this guide
DIY Wooden Garden Path Markers (2026). Top Diy Wooden Garden Sculptures. https://woodenroot.com/top-diy-wooden-garden-sculptures/
Feel free to cite or share this guide.
Garden Path Marker Idea Generator
Generates wooden garden marker project ideas by tools and style.
Open it free →