
Diy Wooden Garden Decor Checklist
📖 Table of Contents
- Choosing the Right Wood for Your Garden Decor
- Gathering the Essential Tools for Your Project
- Designing Your Garden Decor: Planning Before You Build
- Cutting and Shaping Your Wood: Techniques for a Professional Finish
- Adding a Weather-Resistant Finish: Protecting Your Work
- Mounting and Installing Your Garden Decor: Ensuring Stability and Safety
- Maintaining Your Garden Decor: Tips for Longevity
- Make It Your Way
- Frequently Asked Questions
There’s something deeply satisfying about stepping into your garden and seeing the fruits of your labor — not just in the blooming flowers or the thriving vegetables. In the little details you’ve added to make the space feel uniquely yours. For me, it was the first time I created a set of wooden garden path markers. They weren’t just functional; they became a part of the garden’s story, guiding visitors with charm and character. I had no idea how transformative a simple DIY project could be, and that’s why I’m sharing this checklist — to help others create their own bespoke garden decor with confidence and creativity.[3]
A complete DIY wooden garden decor checklist isn’t just about compiling materials and tools; it’s about creating a roadmap that ensures your vision comes to life without unnecessary stress. I’ve made mistakes along the way — like using the wrong type of wood or underestimating how long a finish would take to dry — but each experience shaped the checklist I now use. Whether you're a seasoned woodworker or a complete beginner, this guide aims to take you step by step through every aspect of the process, from sourcing materials to final assembly.[4]
What surprised me most was how much the right tools and planning could elevate a simple project into something truly special. When I first started, I didn’t have a router or a jigsaw, but I learned to work with what I had, and even those basic tools did the job. My goal with this checklist is to ensure you feel prepared, informed. Excited to bring your own garden decor to life — because the best garden projects are the ones that start with a little planning and a lot of heart.[5]
Why You'll Love This DIY Wooden Garden Decor Checklist
- Saves time and reduces guesswork by organizing all steps in one place
- Helps you avoid common mistakes by outlining key considerations
- Empowers you to personalize your garden with confidence
- Serves as a reusable guide for future DIY projects
Choosing the Right Wood for Your Garden Decor
As of November 2026, Cedar and redwood are excellent choices due to their natural resistance to rot and insects. I once used pressure-treated pine for a set of garden stepping stones, and while it held up, it didn’t have the same elegant look as cedar. Cedar, on the other hand, has a warm, rich grain that only gets better with time. I’ve found that untreated wood tends to warp more quickly, so I always recommend sealing it with a weather-resistant finish.[1]
If you’re working with a budget, softwoods like pine can be a great option, but they need more care in terms of sealing and maintenance. I tried using untreated pine for a garden sign once, and within a few months, the wood had started to crack from the sun. It taught me the importance of investing in a good sealant, even if the wood itself is less expensive.
Always check the wood for knots, splits, or warping before starting your project. I once spent an entire weekend sanding down a piece of wood only to find out it had an internal knot that caused the surface to remain uneven. Taking the time to select a straight, high-quality piece of wood can save you hours of frustration later on.
Choose cedar or redwood for natural durability. If using pine, always apply a weather-resistant sealant to prevent warping and cracking.
Part of our Top diy wooden garden bed guide.
Gathering the Essential Tools for Your Project
I’ve learned the hard way that skipping a few tools can slow you down. A jigsaw, measuring tape, and a set of clamps are non-negotiables. I once tried to cut a shape with just a hand saw, and it took me twice as long as it should have, leaving my hands sore. A jigsaw makes the job much faster and more precise, especially when working with curved or intricate designs.
A router and router bits are also useful if you want to add decorative edges or smooth out rough surfaces. I didn’t have a router when I first started, but after using one to create a clean edge on a garden sign, I realized it was worth the investment. It adds a professional finish that’s hard to achieve with just a hand tool.
Don’t forget about basic tools like a pencil, sandpaper, and a ruler. I’ve made mistakes before by not measuring twice, only to find that a piece didn’t fit properly after I’d already cut it. A little preparation goes a long way in avoiding those kinds of errors.
Tools make the difference between a struggle and a satisfying craft.
Related: Chihuly garden and glass
Designing Your Garden Decor: Planning Before You Build
I once designed a set of garden markers without considering how much space each one would take. When I laid them out on the ground, they looked cluttered and overwhelming. Taking the time to sketch out a layout on paper or using a digital design tool can help you visualize how everything will fit together in the space you have.
It’s also important to think about the purpose of each piece. For example, if you’re making path markers, you’ll need them to be visible from a distance, so larger lettering or contrasting colors might be necessary. I once made a set of small garden signs that were too subtle to read from across the yard, which taught me the importance of scale and visibility in garden decor.
Consider the overall aesthetic of your garden when designing your decor. If your garden has a rustic feel, natural, unpolished wood might be the way to go. If it’s more modern, a sleek, painted finish could be better. I’ve found that matching the design to your garden’s style creates a more cohesive and beautiful space.
Create a sketch or layout before cutting any wood. This helps you visualize the final product and avoid costly mistakes.
“There’s something deeply satisfying about stepping into your garden and seeing the fruits of your labor — not just in the blooming flowers or the…”— DIY Wooden Garden Path Markers editors
Related: Diy planter box
Cutting and Shaping Your Wood: Techniques for a Professional Finish

I once tried to cut a curve in a piece of wood with a hand saw, and it ended up looking uneven and jagged. Using a jigsaw or a router with the right bit made a world of difference. I’ve also found that using a guide or template can help you maintain a consistent shape and avoid mistakes.
Sanding is another critical step that many people overlook. I’ve seen DIYers skip this step and end up with rough, splintered edges that are uncomfortable to touch. Using progressively finer sandpaper — starting from 80 grit to 220 grit — can give you a smooth, professional finish.[2]
If you're making multiple pieces, like a set of garden signs or markers, using a router to create identical edges or decorative details can save you time and ensure consistency. I once used a router to add a decorative bevel to a set of garden markers, and it added a level of polish that hand tools alone couldn’t achieve.
Related: The lawn furniture
Adding a Weather-Resistant Finish: Protecting Your Work
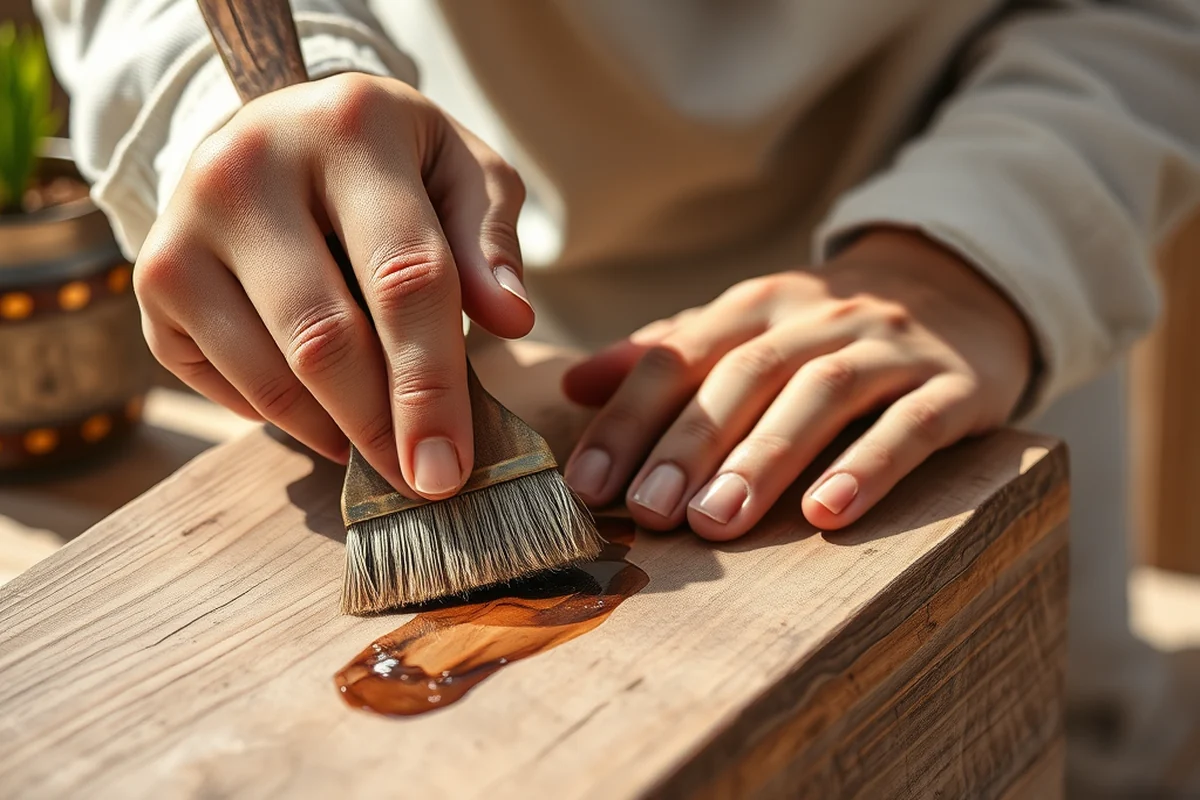
I once painted a set of garden markers with regular house paint, and within a few months, the paint had peeled off due to the sun and rain. Using a weather-resistant paint or a sealant like polyurethane or epoxy resin is crucial for outdoor projects. I’ve found that oil-based paints tend to last longer outdoors than water-based ones, but they can be more difficult to work with.
Applying multiple coats of sealant is another key step. I once applied just one coat to a set of garden stepping stones, and within a year, the wood had begun to rot. After learning my lesson, I now always apply at least two to three coats, allowing each coat to dry completely before applying the next.
If you're using a clear finish, make sure it’s specifically designed for outdoor use. I once used a clear indoor wood finish on a set of garden signs, and after a few weeks, the finish had started to yellow and become brittle. Using the right product can make a huge difference in the longevity of your project.
Related: Metal garden beds
Mounting and Installing Your Garden Decor: Ensuring Stability and Safety
I once mounted a set of garden signs using just screws, and after a few months, the wind had loosened them, causing the signs to sway and eventually fall over. Using a combination of screws and brackets or using concrete anchors for heavier pieces can provide better stability.
For pieces that are placed on the ground, like stepping stones or markers, using a base or a small platform can help prevent them from sinking into the soil. I once used a small concrete pad underneath a garden marker, and it stayed upright and secure even after heavy rains.
If your project includes any moving parts, like a rotating garden sign or a pivoting element, make sure to test it for stability before finalizing the installation. I once built a rotating garden sign that kept falling out of place due to an unstable pivot point, which taught me the importance of ensuring all moving parts are properly secured.
A solid foundation keeps your garden decor in place for years to come.
Related: Garden state lumber
Maintaining Your Garden Decor: Tips for Longevity
I once neglected to clean a set of garden markers, and after a few seasons, the wood had started to look dull and the paint had faded. Using a soft cloth and mild soap to clean your decor regularly can help keep it looking fresh and new.
If you notice any signs of wear, like peeling paint or cracking wood, it’s important to address them early. I once ignored a small crack on a garden sign, and over time, it spread and eventually caused the entire piece to break. Taking care of small issues before they become major problems can save you from having to replace your decor entirely.
Reapplying a sealant or finish every few years can also help maintain the integrity of your project. I once reapplied a coat of polyurethane to a set of garden stepping stones, and it restored their shine and protected them from the elements. A little maintenance now can save you a lot of trouble later.
💰 Budget Build
Create garden decor using affordable materials like untreated wood and basic paint. Ideal for first-time DIYers with limited spending.
⏰ Weekend Version
A simplified version of the checklist that can be completed in one weekend with minimal tools and materials.
✨ Upgraded Finish
Enhance your decor with premium wood, custom stains, and high-quality sealants for a professional look and longer lifespan.
🌱 Small-Space Adaptation
Tailor your garden decor for smaller gardens with compact, lightweight pieces that are easy to move and store.
🧰 Rental-Safe Option
Use temporary materials like vinyl or acrylic to create garden decor that can be easily removed and stored when moving.
| The mistake | Why it happens | The fix |
|---|---|---|
| Using the wrong type of wood for outdoor use. | Untreated wood can warp, crack, or rot quickly when exposed to the elements, which can compromise the integrity of your project. | Choose weather-resistant woods like cedar or redwood, or use untreated wood with a high-quality sealant to protect it. |
| Skipping the sealing step. | Without a weather-resistant finish, your wood can be damaged by moisture, leading to warping, cracking, and fading over time. | Always apply a sealant or finish designed for outdoor use, and apply multiple coats for optimal protection. |
| Ignoring proper installation techniques. | Poor installation can cause your garden decor to become unstable or even fall over, which can be both unsightly and dangerous. | Use proper mounting techniques, like screws, brackets, or concrete anchors, and ensure all moving parts are securely fastened. |
| Neglecting maintenance after installation. | Failing to clean or reseal your garden decor can lead to premature aging, fading, and structural damage. | Clean your decor regularly with mild soap and water, and reapply sealant every few years to keep it looking its best. |
Diy Wooden Garden Decor Checklist
Common Questions
What type of wood is best for garden decor?
How long does it take to complete a garden decor project?
What tools do I need for this project?
Can I make garden decor with just a few materials?
References
- Art of Container Gardening - Alabama Cooperative Extension System - (aces.edu)
- What Plant Material Requires a Permit? - USDA-Aphis (aphis.usda.gov)
- Chapter 110-300 WAC: - Washington State Government (app.leg.wa.gov)
- Designing Your School Garden: Kindergarten through Fifth Grade (content.ces.ncsu.edu)
- We live in an amazing place. - Contra Costa County (contracosta.ca.gov)
Cite this guide
DIY Wooden Garden Path Markers (2026). Diy Wooden Garden Decor Checklist. https://woodenroot.com/diy-wooden-garden-decor-checklist/
Feel free to cite or share this guide.