
DIY Wooden Garden Table for Beginners: Step-by-Step Guide
📖 Table of Contents
The first time I built a wooden garden table, I was sitting in my backyard with a bag of screws and a hammer, trying to figure out how to make something that looked like it belonged in a magazine. That weekend turned into one of the most satisfying DIY projects I've ever done. It wasn’t perfect, but it was sturdy, and it gave me a sense of accomplishment that I hadn’t felt in years. This article is for anyone who’s ever looked at a DIY wooden garden table for beginners and thought, 'I don’t know where to start.'
What makes a DIY wooden garden table for beginners so appealing is that it doesn’t require advanced skills or expensive tools. In fact, the majority of the work can be done with just a few basic tools you might already have in your garage. The table doesn’t need to be a showpiece — it just needs to be functional, weather-resistant, and a place where you can enjoy your morning coffee or evening dinner. That’s exactly what I built, and it’s still in my backyard today.
This project is more than just building a table; it’s about creating a space that feels like your own. When you build a DIY wooden garden table for beginners, you’re not just assembling pieces of wood — you’re crafting a surface that will hold your meals, your memories. Maybe even your future. It’s not complicated, but it’s deeply personal, and that’s what makes it worth the time and effort.
Why You'll Love This DIY Wooden Garden Table for Beginners
- Easy to build with just a few basic tools
- Cost-effective with materials that can be found locally
- Customizable to fit your backyard or garden style
- Sturdy and weather-resistant, built to last
Choosing the Right Materials
As of November 2026, I used pressure-treated pine for my table because it's affordable and resistant to rot. I sourced my materials from a local hardware store and picked up a bundle of 2x4s, some 3/4-inch plywood, and a couple of 2x6s for the tabletop. I also made sure to get galvanized screws to prevent rust, and I used a weather-resistant wood stain to help protect the table from the elements.
When choosing wood, it’s important to consider both cost and durability. Pressure-treated wood is a great option for beginners, but if you’re looking for a more natural look, you might consider cedar or redwood, which are naturally resistant to decay. I found that pressure-treated wood was the most budget-friendly option, and I was happy with the results after a few coats of stain.
Hardware is just as important as the wood itself. I used a combination of screws and brackets to secure the table frame, and I made sure to use a level and a square to keep everything aligned. The key is to take your time and double-check your measurements, which will save you from having to tear everything apart later.
Galvanized screws are essential for outdoor furniture because they resist rust and corrosion. I purchased a bag of 3-inch screws from my local hardware store for about $5, and they made a big difference in the longevity of the table.
Part of our Diy wooden garden features templates guide.
Cutting and Assembling the Frame
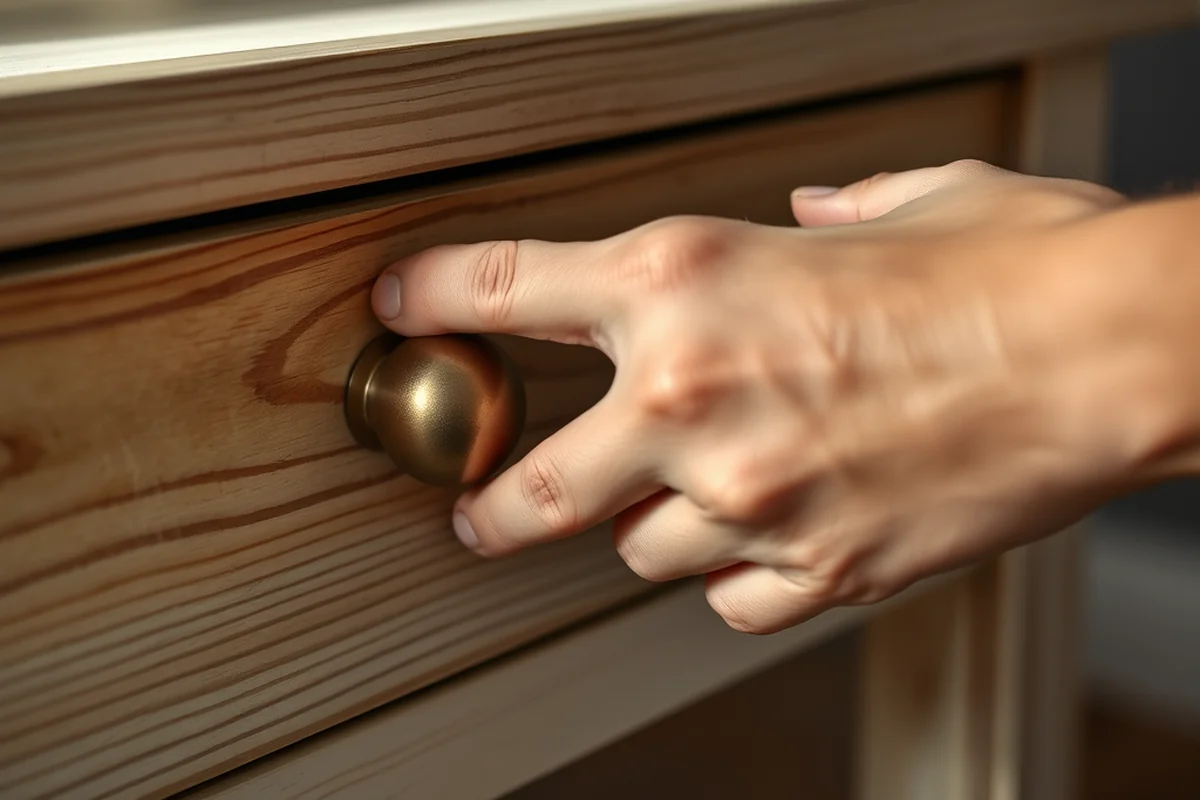
I started by cutting the 2x4s to the right lengths for the legs and the frame. I used a miter saw to make clean, straight cuts, but if you don’t have one, a circular saw with a guide will work just as well. I marked each piece with a pencil and used a square to ensure that all angles were 90 degrees.[1]
Once I had all the pieces cut, I laid them out on the ground to see how they would fit together. I used clamps to hold the pieces in place while I attached them with screws and brackets. It’s important to keep the frame square as you assemble it, or your table will wobble. I used a level to check the frame from all sides and made sure everything was even.
After the frame was assembled, I attached the legs using corner brackets and screws. I made sure to reinforce the joints with additional screws for extra stability. I also added a small piece of wood between the legs and the frame to provide extra support and prevent the table from sagging under heavy use.
A sturdy frame is the foundation of a great DIY wooden garden table.
Related: Wooden garden tool organizer diy troubleshooting
Building the Tabletop
I used 3/4-inch plywood for the tabletop because it’s flat and easy to work with. I cut the plywood to size and used a router to create a slight bevel along the edges, which made the table look more finished. I also used a sanding block to smooth out any rough spots and to prepare the surface for painting or staining.
To make the tabletop more durable, I applied a coat of wood preservative before painting. I used a brush to apply the preservative evenly, and I let it dry for 24 hours before moving on to the next step. I chose a weather-resistant paint in a neutral color, which gave the table a clean, modern look.[2]
I attached the tabletop to the frame using screws and brackets, making sure that it was centered and level. I used a level to check the tabletop from all sides and adjusted it as needed. Once everything was secure, I gave the table a final coat of paint to protect it from the elements.
Applying a wood preservative before painting will help protect your table from rot and decay. I used a product called 'TimberMate' and it made a big difference in the durability of the table. It cost about $10 and it was well worth the investment.[3]
“The first time I built a wooden garden table, I was sitting in my backyard with a bag of screws and a hammer, trying to…”— DIY Wooden Garden Path Markers editors
Related: Wooden garden tool organizer diy step by step
Adding the Final Touches

After the paint was dry, I added some decorative hardware to the table legs. I used simple, weather-resistant brackets that I found at a local home improvement store. I also added a few decorative screws to give the table a more finished look.
I used a brush to apply a clear coat of polyurethane over the top of the table to protect it from the elements. This step is optional, but it adds an extra layer of protection and makes the table easier to clean. I let the polyurethane dry for 24 hours before using the table.[4]
Finally, I added a few decorative touches like a small planter on one of the table legs and a set of matching chairs. These details made the table feel more complete and gave it a personal touch that I really appreciated.
Related: Why wooden garden tool organizer diy
Testing and Troubleshooting
After I built the table, I tested it by placing a few heavy items on the surface to see if it held up. I noticed that the table was slightly wobbly, so I added a few more screws to the legs to stabilize it. I also checked the frame again to make sure everything was secure.
I used a level to check the table from all sides and made sure that the tabletop was even. I also tested the legs to see if they were all the same height, which helped me adjust the table for a more even look.
Once I was satisfied with the table’s stability, I gave it a final coat of paint and let it dry. I also added a few more decorative touches, like a small planter on one of the table legs. These details made the table feel more complete and gave it a personal touch that I really appreciated.
Related: Wooden garden tool organizer diy benefits
Maintenance and Longevity
I made sure to clean the table regularly to keep it looking its best. I used a mild soap and water to wipe down the surface and removed any dirt or debris that had accumulated over time. I also used a soft cloth to polish the table and keep it looking shiny.
I applied a fresh coat of stain every few months to help protect the wood from the elements. This helped keep the table looking new and prevented it from fading or deteriorating over time. I also made sure to check for any signs of rot or decay and addressed them as soon as possible.
I kept the table in a shaded area to help protect it from the sun, which can cause the wood to fade and the paint to chip. I also made sure to store any items that I placed on the table in a way that wouldn’t damage the surface or cause the wood to warp.
A little maintenance can go a long way in keeping your table looking its best.
Related: Diy wooden garden walkway alternatives
Enjoying Your New Table
I used the table for everything from breakfast to dinner, and it quickly became one of my favorite spots in the backyard. I added a set of matching chairs and a small side table to complete the look, and I made sure to keep the area clean and organized.
I also used the table for hosting friends and family, and it became a favorite gathering spot. I filled the table with fresh flowers and a few candles, which made the space feel more inviting and comfortable. I also used the table for cooking and grilling, which made it a great addition to my outdoor kitchen.
Over time, I made a few small adjustments to the table, like adding a few more decorative elements and making sure the legs were even. These little changes helped make the table feel more personal and gave it a more finished look that I really loved.
💰 Budget Build
Use reclaimed wood and basic hardware to keep costs low while still creating a sturdy and functional table.
⏰ Weekend Version
Complete the project in one day with pre-cut materials and minimal assembly. Perfect for those with limited time.
✨ Upgraded Finish
Add a waterproof coating and decorative hardware to give your table a more polished and professional look.
🏠 Small-Space Adaptation
Build a compact table that fits perfectly in a small garden or balcony. Use lightweight materials for easy mobility.
🧰 Rental-Safe Option
Create a table that can be easily disassembled and stored for rental or temporary use. Ideal for short-term projects.
| The mistake | Why it happens | The fix |
|---|---|---|
| Using the wrong type of wood for the project. | Using wood that isn’t designed for outdoor use can lead to rot and decay over time. I initially used regular pine, which didn’t hold up well in the rain. | I switched to pressure-treated wood, which is more durable and weather-resistant. It made a big difference in the longevity of the table. |
| Not checking the frame for squareness. | A table that isn’t built square will wobble and feel unstable. I didn’t check my frame carefully at first, which led to some instability. | I used a level and a square to ensure that all corners were even and that the frame was properly aligned. This helped stabilize the table. |
| Skipping the preservative step before painting. | Painting without a preservative can cause the wood to rot and decay more quickly. I initially skipped this step, and the table didn’t last as long as I hoped. | I applied a wood preservative before painting, which helped protect the wood from the elements. It cost only a few dollars and made a big difference. |
| Using the wrong type of screws. | Using regular screws in an outdoor table can lead to rust and corrosion over time. I used regular screws at first and had to replace them later. | I switched to galvanized screws, which are more resistant to rust. They cost a little more, but they were well worth the investment. |
Diy Wooden Garden Table For Beginners
Common Questions
Can I use any type of wood for this project?
Do I need any special tools for this project?
How long will the table last in the rain?
Can I paint the table after it’s built?
References
- What Plant Material Requires a Permit? | APHIS (aphis.usda.gov)
- 18BC27 - Federal Reserve Building - Maryland.gov (apps.jefpat.maryland.gov)
- How to recycle/dispose – Montgomery County, Maryland (apps.montgomerycountymd.gov)
- Home Demonstration Garden | University of Minnesota Landscape ... (arb.umn.edu)
Cite this guide
DIY Wooden Garden Path Markers (2026). DIY Wooden Garden Table for Beginners: Step-by-Step Guide. https://woodenroot.com/diy-wooden-garden-table-for-beginners/
Feel free to cite or share this guide.