
Diy Wooden Yard Art Templates
📖 Table of Contents
- Choosing the Right Wood for Your Yard Art
- Preparing Your Workspace and Tools
- Designing and Transferring Your Yard Art Template
- Carving and Shaping Your Yard Art
- Finishing and Sealing Your Yard Art
- Mounting and Installing Your Yard Art
- Maintaining and Refreshing Your Yard Art
- Make It Your Way
- Frequently Asked Questions
I remember the first time I carved a simple 'Welcome' sign into a piece of cedar — it felt like magic. The scent of the wood, the way the chisel bit into the grain, and the quiet satisfaction of seeing my initials etched into something that would stay in our yard for years. That was the moment I realized how much potential DIY wooden yard art templates hold. They’re not just decorative; they’re a way to leave a personal mark on your outdoor space.[4]
I’ve spent the past few years experimenting with different templates, from intricate stencils for garden beds to bold, minimalist signs for pathways. Each project has taught me something new — like how to choose the right wood for a specific climate, or how to preserve carvings for the long haul. These templates are more than just a starting point; they’re a bridge between your creativity and your landscape.
DIY wooden yard art templates are an accessible, satisfying way to personalize your outdoor space. Whether you’re a seasoned DIYer or a complete beginner, there’s a project that fits your skill level and time availability. With the right tools and a bit of patience, you can create pieces that are both beautiful and built to last — and I’ll walk you through exactly how to do it.
Why You'll Love This Project
- Create custom yard art that reflects your personality and style
- Transform ordinary materials into unique outdoor decor
- Save money compared to buying pre-made yard art
- Add lasting value to your home by upcycling and crafting
Choosing the Right Wood for Your Yard Art
As of October 2026, Cedar and redwood are excellent choices for outdoor projects because they are naturally resistant to rot and insects. I’ve used cedar on several projects, and it’s held up beautifully even after a year of exposure to rain and sun. These woods also have a pleasant aroma, which adds to the sensory experience of working with them.
Pressure-treated pine is another budget-friendly option that can last for years with proper sealing. I once used it for a set of pathway markers, and after applying a few coats of outdoor wood sealant, they looked like new even after two harsh winters. It’s a great option for those looking to save money without sacrificing quality.
If you’re working with hardwoods like oak or maple, you’ll need to sand them thoroughly to prevent splintering. I’ve found that using a belt sander with a 60-grit sanding belt makes the job much faster and more efficient, especially if you’re working with multiple pieces.[1]
In humid areas, cedar is ideal. In colder climates, pressure-treated pine might be more economical and resilient.
Part of our Diy wooden yard art alternatives guide.
Preparing Your Workspace and Tools
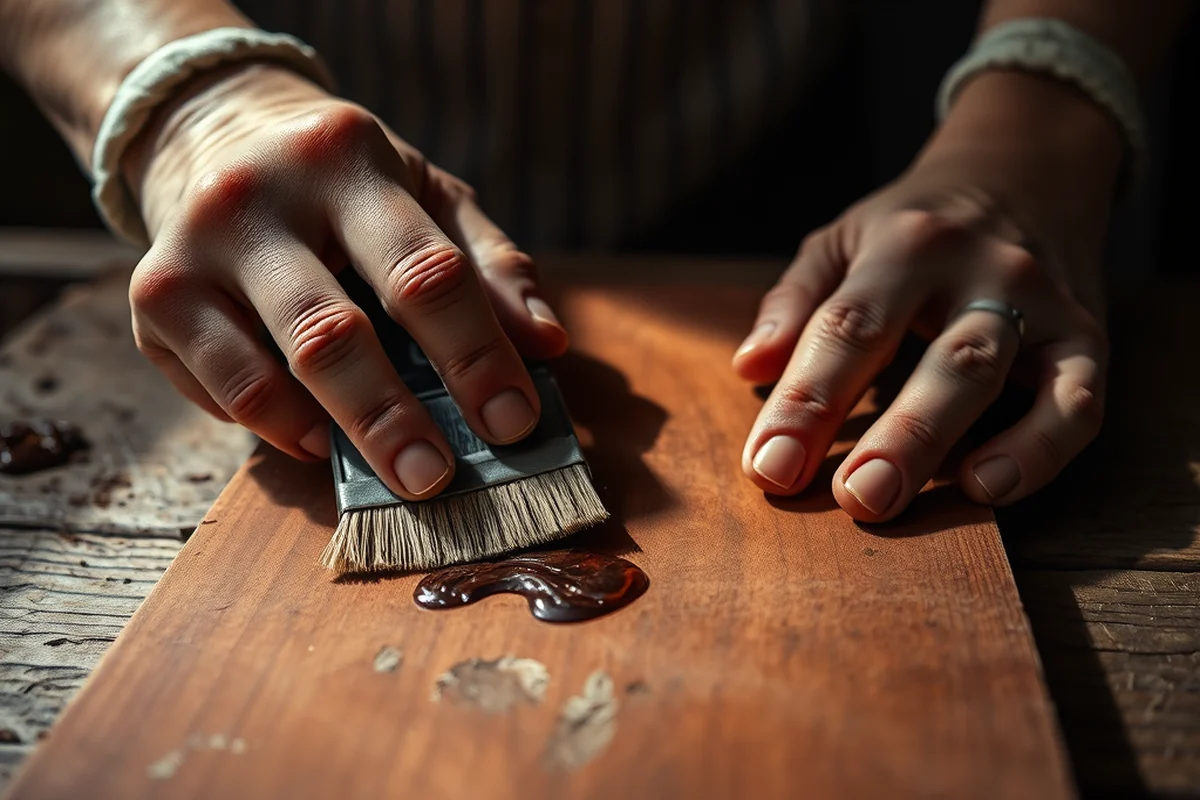
I always work in a well-ventilated area with good lighting. A garage or a covered patio works well, but make sure the surface is clean and level. I’ve learned the hard way that a wobbly workbench can lead to uneven cuts and frustration.
The essential tools for this project include a miter saw, clamps, a belt sander, and a carving chisel set. I’ve found that having a few different chisels — both fine and coarse — allows for more precise work. A good-quality pencil and ruler are also indispensable for marking your templates accurately.
Before you start, double-check your tools to ensure everything is in working condition. I once spent an hour trying to figure out why my blade wasn’t cutting straight, only to realize the blade was dull. A quick replacement saved me a lot of time and frustration.
A clean workspace and sharp tools are the backbone of any DIY project.
Related: Cheap fabric by the yard
Designing and Transferring Your Yard Art Template
I start by sketching out my ideas on paper, keeping in mind the scale and location of the piece. For example, I created a set of flower bed markers that were both small enough to fit between plants and large enough to be readable. A sketch helps you visualize the final product before you start carving.
Transferring the design to the wood is best done using a pencil or transfer paper. I’ve found that using a light box helps project the design onto the wood surface with precision. This step is critical — even the slightest misalignment can throw off the entire project.
Once the design is transferred, I use a pencil to lightly mark the outlines and details. It’s important not to press too hard — I’ve ended up with deep, permanent marks that are hard to correct. A light touch is key here.
A light box helps you project your design onto the wood without pressing too hard, ensuring a clean and precise transfer.
“I remember the first time I carved a simple 'Welcome' sign into a piece of cedar — it felt like magic.”— DIY Wooden Garden Path Markers editors
Related: Diy garden landscaping ideas
Carving and Shaping Your Yard Art

I begin with the coarse chisel to remove the bulk of the wood, then switch to a finer chisel for more detailed work. It’s important to work in the direction of the grain to avoid splintering. I’ve learned that going against the grain can cause the wood to crack or chip.
I always keep the chisel at a 45-degree angle to the wood for the best results. This allows for smooth, even cuts without applying too much pressure. I’ve found that a steady, controlled motion is better than a quick, forceful one — it gives you more control and a cleaner finish.[2]
After carving, I sand the piece with progressively finer grits — starting at 80 and moving up to 220 — to achieve a smooth, polished surface. I’ve noticed that skipping a grit or two can leave visible scratches, so it’s important to take your time and move up gradually.[3]
Related: Diy wooden yard signs vs
Finishing and Sealing Your Yard Art
I use a wood stain to add color and depth to the piece. I prefer a water-based stain because it’s easier to apply and doesn’t emit strong fumes. I’ve found that applying the stain in a thin, even coat and allowing it to dry completely before adding a second coat gives the best results.
After staining, I apply a high-quality outdoor wood sealant. This helps protect the wood from moisture, UV rays, and pests. I’ve used a polyurethane-based sealant in the past, and it’s held up beautifully against the elements for over two years.
I always allow the sealant to dry completely before hanging or placing the piece in the yard. Rushing this step can lead to a cloudy finish or even peeling in the long run. Patience is key here — I’ve learned that taking the time to let each coat dry properly is worth the effort.
Related: Best diy wooden yard art
Mounting and Installing Your Yard Art
I like to mount my yard art on sturdy posts or use brackets that are designed for outdoor use. I’ve used galvanized screws and brackets in the past, and they’ve held up well even in the rain. These materials are resistant to rust and corrosion, which is essential for long-term durability.
I always make sure the piece is level before securing it in place. I’ve found that using a spirit level helps prevent it from leaning or tilting over time. If it’s not level, it can look off-putting and may even fall over in strong winds.
Once it’s mounted, I step back and admire the work. It’s a rewarding moment — seeing your creation stand proudly in your yard, adding personality and charm to your outdoor space.
A well-installed piece becomes part of the landscape, not just an object in it.
Related: Top diy wooden yard art
Maintaining and Refreshing Your Yard Art
I give my yard art a quick wipe with a damp cloth every few months to remove dirt and grime. This helps prevent buildup that can damage the wood over time. I’ve noticed that neglecting this step can lead to a dull, weathered look, even if the piece is well-sealed.
Every year or two, I reapply the sealant to maintain its protective properties. I’ve found that even the best sealants eventually wear off, especially in high-traffic areas or under harsh weather conditions. A fresh coat of sealant not only restores the finish but also extends the life of the piece.
If the stain starts to fade, I’ll apply a new coat of wood stain. This is a simple process that takes about an hour and ensures your yard art continues to look vibrant and new. I’ve found that doing this every few years keeps the piece looking its best without requiring a complete redo.
💰 Budget Build
Use reclaimed wood and basic tools to create a rustic look with minimal investment.
⏰ Weekend Version
Complete a simple design in one day using pre-made templates and a few tools.
✨ Upgraded Finish
Add a custom stain and high-end sealant for a professional look and longer-lasting results.
🏠 Small-Space Adaptation
Create smaller, intricate pieces that fit perfectly in tight corners or on tiny patios.
🔒 Rental-Safe Option
Use removable materials like vinyl or magnetic mounts for temporary, non-damaging yard art.
| The mistake | Why it happens | The fix |
|---|---|---|
| Not allowing the wood to dry properly before sealing | Moisture trapped in the wood can cause the sealant to bubble or peel over time, leading to a less durable finish. | Always let the wood dry completely before applying any sealant or stain. This ensures a stronger bond and longer-lasting results. |
| Using the wrong type of wood for the climate | Certain woods are not suited for specific climates and may warp, crack, or rot quickly if used improperly. | Research the best wood types for your region and use them accordingly. For example, cedar is ideal for humid climates, while pressure-treated pine is better suited for colder areas. |
| Skipping the sanding process | Skipping sanding can result in a rough, uneven finish and may make it harder for the sealant to adhere properly. | Always sand your project with progressively finer grits to ensure a smooth and polished surface. This step is crucial for both aesthetics and durability. |
| Applying too much pressure when carving | Excessive pressure can cause the wood to splinter or crack, ruining your design and wasting materials. | Use a steady, controlled motion when carving, and always work in the direction of the grain. This helps prevent damage and ensures a clean, professional finish. |
Diy Wooden Yard Art Templates
Common Questions
Can I use these templates for indoor projects as well?
What if I don’t have access to a miter saw?
How long does it take to complete a project?
What’s the best way to store unused templates?
References
- Neighborhood Art Gallery - City of Albuquerque (cabq.gov)
- Text file (CSV) of guidance documents - US EPA (19january2021snapshot.epa.gov)
- Celebration Downloads - Undergraduate Admissions (admissions.purdue.edu)
- About My Garden | UC Davis Arboretum and Public Garden (arboretum.ucdavis.edu)
Cite this guide
DIY Wooden Garden Path Markers (2026). Diy Wooden Yard Art Templates. https://woodenroot.com/diy-wooden-yard-art-templates/
Feel free to cite or share this guide.