
DIY Wooden Garden Basket for Beginners: How to Make One

📖 Table of Contents
I still remember the first time I carved out a corner of my garden just for my own little wooden basket — it felt like a tiny victory, a place where I could store my tools, herbs. Even a few of my favorite books. That project, which took me just one weekend, became the cornerstone of my DIY journey. If you're a beginner, I know how daunting it can feel to start with something like a wooden garden basket, but I promise you that it's simpler than you think. It's not about being an expert; it's about finding joy in the process.
This DIY wooden garden basket is a perfect entry point for anyone looking to dip their toes into the world of woodworking. I built mine using only a few basic tools and materials that I had lying around the house, and I was surprised by how quickly it came together. The process was satisfying in a way that few other projects are — every nail driven, every cut made, felt like a step closer to something tangible and beautiful. And the best part? It’s a functional piece that adds character to your outdoor space.
I'm not a professional craftsman, just someone who found a love for building things from scratch. The wooden garden basket I created is now a staple in my garden, holding everything from garden gloves to seed packets. It's a reminder that even the simplest projects can have a lasting impact. If you're ready to take that first step, this guide is for you — it's designed to be approachable, clear, and above all, fun.
Why You'll Love This DIY Wooden Garden Basket
- It's a beginner-friendly project that requires no prior experience in woodworking.
- It adds a personal and rustic touch to your garden or outdoor space.
- It’s a functional piece that can be customized to match your personal style.
- It’s a great way to repurpose old or leftover wood from around the house.
Choosing the Right Wood for Your Basket
As of November 2026, I used cedar for my basket because it's naturally resistant to rot and insects, which is perfect for outdoor use. Cedar is also lightweight, making it easy to work with, and it has a nice aroma that I find pleasant. If cedar isn't available, pine or fir are good alternatives, though they may require some additional sealing.
I made sure to get wood that was straight and didn’t have any knots or warping. I found a scrap piece of cedar from an old deck project, which saved me some money and made the whole process feel more like upcycling. If you're buying new wood, I recommend looking for boards that are about 1 to 1.5 inches thick for durability.[1]
I sanded the wood with 120-grit sandpaper before starting to make sure there were no splinters or rough spots. This step took about 10 minutes, but it made a big difference in the final look and feel of the basket.
If you can find wood that's already been exposed to the elements, like old fence boards or pallet wood, it may be more stable and less prone to warping.
Part of our Diy wooden walkway for beginners guide.
Cutting and Shaping the Pieces
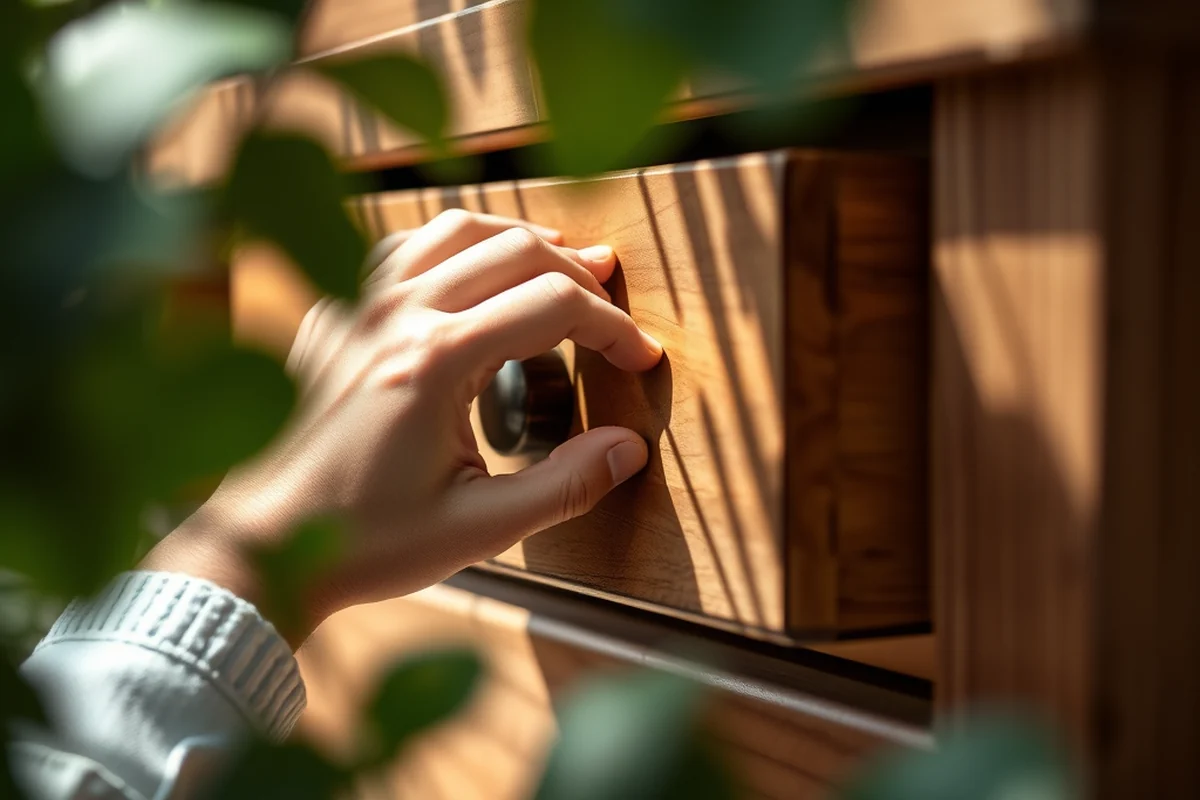
I used a circular saw to cut the larger pieces of the basket, and a jigsaw for the curved parts. I marked out the dimensions on the wood with a pencil and a measuring tape, making sure to double-check my measurements before making any cuts. I found that using a straight edge helped keep my cuts straight and even.
I measured and marked the pieces for the sides, the bottom, and the slats that would go across the basket. The sides were about 18 inches tall and 8 inches wide, and the bottom was cut from a 2x4 piece of wood. I also cut out the slats in a way that allowed them to fit snugly into the sides.[2]
I took my time with the cuts, making sure that each piece was precise and didn’t wobble when I put them together. I found that using a clamp to hold the pieces together while I worked helped keep things aligned.
Precision is key when it comes to cutting and shaping your pieces — a little time spent now saves a lot of trouble later.
Related: Diy wooden garden walkway at home
Assembling the Frame
I used wood screws and a power drill to assemble the frame. I started by attaching the sides together, then added the bottom piece, and finally the slats that would support the basket. I made sure to pre-drill the holes to avoid splitting the wood, which I learned the hard way on my first attempt.
I found that using a level helped me keep the frame square and even. I also made sure to leave a small gap between the slats so that the basket could breathe and not trap moisture. This small detail made a big difference in the long-term durability of the basket.
After the frame was assembled, I gave it a quick sanding with 220-grit sandpaper to smooth out any rough spots. I also used a damp cloth to wipe away any dust and debris before moving on to the next step.
A level is a small tool that can make a huge difference in how even and stable your frame looks. It’s well worth the investment for this project.
“I still remember the first time I carved out a corner of my garden just for my own little wooden basket — it felt like…”— DIY Wooden Garden Path Markers editors
Related: Diy wooden walkway alternatives
Adding the Weaving

I used natural reeds for weaving because they are flexible and have a rustic look that complements wood. I bought a bundle of reeds from a local crafts store, and I found that they were easy to work with once I got the hang of it. I soaked them in water for about 10 minutes to make them more pliable.
I started by attaching the reeds to the frame with small nails and a hammer, then wove them in and out of the slats. I found that working from the bottom up made it easier to keep the reeds taut and even. I also used a plumb line to make sure everything was straight.
I spent about 45 minutes weaving the basket, and I found that taking my time and making sure each reed was properly secured was the key to a sturdy and attractive result. I also used a brush to apply some wood glue to the joints for extra strength.
Related: Diy wooden walkway vs
Finishing and Sealing
I used a natural wood stain to give the basket a warm, earthy look that blended well with the surrounding garden. I applied the stain with a brush, making sure to cover all the surfaces evenly. I let it dry for about an hour before applying a second coat for a deeper color.
After the stain was dry, I applied a clear polyurethane sealant to protect the wood from the elements. I used a brush to apply the sealant in thin, even coats, and I let it dry completely between each coat. This step took about an hour and a half, but it was worth it for the added protection.
I also added a few coats of waterproofing oil to the reeds, which helped them resist moisture and stay flexible. I found that this step made the basket more durable and easier to maintain over time.
Related: Top diy wooden walkway
Customizing Your Basket
I added a few decorative elements to my basket, like small carved animals and a hand-painted border. I found that these little touches made the basket feel more personal and special. I used a small chisel and a carving knife to make the carved animals, and I painted the border with a brush and some natural paint.
I also added some natural twine around the basket to give it a rustic look and to help hold the reeds in place. I found that using twine instead of nails or screws gave the basket a more organic feel. I also used some small wooden pegs to secure the twine and add a decorative touch.
I spent about an hour customizing the basket, and I found that taking the time to add these small details made the project feel even more rewarding. It was a great way to express my creativity and make the basket truly my own.
Adding a personal touch to your basket is the best way to make it feel like yours — and it’s surprisingly easy to do.
Related: Best diy wooden garden walkway
Maintaining and Caring for Your Basket
I found that wiping the basket down with a damp cloth every few weeks helped keep it looking clean and fresh. I also made sure to avoid using harsh chemicals or abrasive cleaners, which could damage the wood and the reeds. Instead, I used a mild soap and water solution for spot cleaning.
I also made sure to reapply the sealant every six months or so, especially if the basket was exposed to a lot of rain or sun. I found that this step helped keep the wood looking good and protected it from the elements. I used the same polyurethane sealant I applied during the finishing process, and it worked just as well the second time around.
I also made sure to store the basket in a dry place during the winter months, and I covered it with a breathable cloth to protect it from dust and moisture. I found that this small step helped keep the basket in excellent condition and ready for use in the spring.
💰 Budget Build
Use leftover wood and free materials from around the house to create a rustic, no-frills basket that still looks great.
⏳ Weekend Version
A quick and easy version of the project that can be completed in just a few hours with minimal tools.
✨ Upgraded Finish
Add extra details like carved patterns, painted accents, and natural wood oil for a more refined and eye-catching finish.
🌿 Small-Space Adaptation
Create a smaller version of the basket that’s perfect for tight spaces or hanging on a wall for extra storage.
🏡 Rental-Safe Option
Build a basket using temporary materials that won’t damage the property and can be easily removed when you move out.
| The mistake | Why it happens | The fix |
|---|---|---|
| Not pre-drilling holes before screwing pieces together | This can cause the wood to split, especially if the wood is dry or brittle. | Always pre-drill holes before inserting screws to avoid splitting the wood. |
| Using the wrong type of wood for the project | Some types of wood are more prone to warping or splitting, which can affect the integrity of the basket. | Choose a wood that is stable and resistant to the elements, like cedar or pine. |
| Skipping the sanding step before assembling the frame | Rough or splintered wood can make the basket uncomfortable to handle and may also cause the pieces to not fit together properly. | Take the time to sand all the pieces before assembling the frame to ensure a smooth and even finish. |
| Not leaving enough space between the slats | If the slats are too tight, the basket may not breathe, leading to moisture buildup and potential rot. | Leave a small gap between the slats to allow for air circulation and prevent moisture from getting trapped inside. |
DIY Wooden Garden Basket For Beginners
Common Questions
What tools do I need for this project?
Can I use a different type of wood if I don’t have cedar?
How long does the entire project take?
Do I need any special skills or experience?
References
- 16. Vegetable Gardening | NC State Extension Publications (content.ces.ncsu.edu)
- OALJ Law Library, DOT, Benchwork Occupations 761.684-014 to ... (dol.gov)
Cite this guide
DIY Wooden Garden Path Markers (2026). DIY Wooden Garden Basket for Beginners: How to Make One. https://woodenroot.com/diy-wooden-garden-basket-for-beginners/
Feel free to cite or share this guide.
Garden Path Marker Idea Generator
Generates wooden garden marker project ideas by tools and style.
Open it free →