
DIY Wooden Garden Ornaments Troubleshooting

📖 Table of Contents
- Choosing the Right Wood for Your Garden Ornaments
- Fixing Warping and Splitting in Your Garden Ornaments
- How to Prevent Paint from Peeling or Chipping
- Making Your Garden Ornaments Weather-Resistant
- Fixing Uneven or Poorly Applied Stains
- Fixing a Cracked or Broken Ornament
- Getting a Smooth Finish on Your Garden Ornaments
- Addressing Mold and Mildew on Wooden Garden Ornaments
- Fixing Loose or Weak Fastenings in Garden Ornaments
- Make It Your Way
- Frequently Asked Questions
I remember the first time I tried to make a set of wooden garden ornaments — they looked so promising in the plans. After a few hours of sanding and painting, I was left with warped shapes and peeling paint. It was a humbling experience, but it taught me that troubleshooting is just as important as the actual crafting process. DIY wooden garden ornaments troubleshooting is more than just fixing mistakes; it's about understanding how materials behave, tools work, and how your environment can impact the final result.
Over the years, I've learned that the most common issues with DIY wooden garden ornaments stem from overlooked details — like the type of wood used or the way paint is applied. These projects are incredibly rewarding when they go smoothly, but they can be equally frustrating when things go wrong. By knowing the typical pitfalls and how to fix them, you can save yourself hours of rework and frustration.
This guide is born from my own trials and errors. It’s designed to walk you through the most common DIY wooden garden ornaments troubleshooting scenarios, offering concrete solutions and hands-on advice. Whether you're a first-time DIYer or someone looking to refine your skills, this article will help you handle the complexities of creating beautiful, durable garden ornaments from wood.
Why You'll Love This DIY Wooden Garden Ornaments Troubleshooting Guide
- Avoid common mistakes that lead to broken or poorly finished pieces
- Learn how to choose the right wood and tools for your project
- Discover time-saving techniques that make DIY easier and more enjoyable
- Get clear, step-by-step solutions for any problem that arises
Choosing the Right Wood for Your Garden Ornaments
As of November 2026, Softwoods like pine are affordable but prone to warping and rot, especially in damp climates. Hardwoods such as cedar or redwood are more resistant to moisture, insects, and decay, making them ideal for outdoor use.
I once used pine for a set of garden birdhouses, and within a few months, they were warped and had a foul smell. Switching to cedar made a world of difference — the pieces stayed straight and didn’t attract pests.
Always opt for untreated, kiln-dried wood. It’s less likely to shrink or swell, and it’s easier to work with with carving and painting.
Kiln-dried wood has had its moisture content reduced, which minimizes warping and cracking. Look for wood with a moisture content below 15% for the best results.[1]
Part of our Diy wooden garden features templates guide.
Fixing Warping and Splitting in Your Garden Ornaments

Warping occurs when the wood dries unevenly, causing it to bend or twist. To fix a warped piece, soak it in water for 10-15 minutes and then clamp it flat until it dries. This helps restore its shape.[2]
Splitting can be caused by dry or cracked wood. If you encounter a split, use wood glue and apply clamps to hold the pieces together. For a more permanent fix, consider using wood filler or applying a thin layer of epoxy to the affected area.
After fixing the issue, allow the wood to dry completely before proceeding. This ensures that the ornament remains stable and won’t warp again in the future.
A little patience and the right tools can turn a warped piece into a beautiful garden ornament.
Related: Wooden deck railing designs
How to Prevent Paint from Peeling or Chipping
Paint peeling is often a result of poor surface preparation. Always sand the wood thoroughly before painting to remove any rough spots or old finishes. This helps the paint adhere more evenly.
I learned this the hard way when I painted a set of garden figurines without sanding. Within a few weeks, the paint started to chip off. After properly sanding and priming, the paint lasted much longer.
Using a primer is essential. It creates a smooth surface and helps the paint stick better. Always apply a high-quality exterior primer and allow it to dry completely before painting.
Invest in quality exterior primer and paint. They are designed to withstand weathering and UV exposure, which are major causes of peeling and fading in outdoor projects.
“I remember the first time I tried to make a set of wooden garden ornaments — they looked so promising in the plans, but after…”— DIY Wooden Garden Path Markers editors
Related: How to diy wooden garden pathway
Making Your Garden Ornaments Weather-Resistant
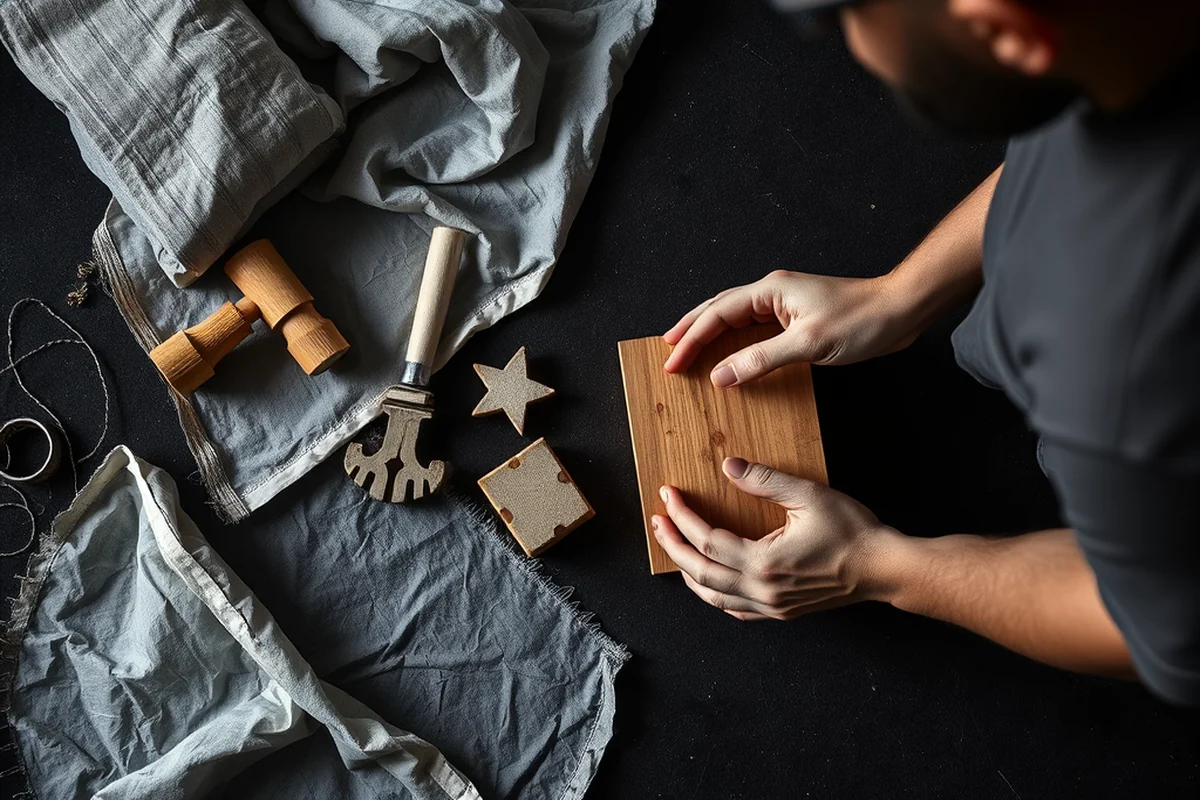
Wood is naturally porous, so it’s susceptible to moisture, which can cause rot and mold. Applying a sealant or wood finish is crucial to protect your ornaments from the elements.
I once used a water-based sealer on a set of garden stakes, and within a year, they had started to warp and crack. Switching to an oil-based polyurethane sealant made them much more durable and resistant to moisture.
Apply the sealant in a well-ventilated area and allow it to dry completely. Reapply every 1-2 years to maintain protection and appearance.
Related: Wooden garden bench plans
Fixing Uneven or Poorly Applied Stains
Uneven staining is often caused by not applying the stain evenly or not allowing it to dry properly. Always use a brush or cloth to apply the stain in long, even strokes.
If you notice streaks or blotches, use a clean cloth to wipe the stain away and start over. It’s better to apply thin, even layers than to try to fix a thick, uneven coat later.
Allow each coat to dry completely before applying the next. This ensures a more even finish and prevents the stain from pooling in certain areas.
Related: Sola wood flowers
Fixing a Cracked or Broken Ornament
If your ornament has a small crack, use wood glue to bond the pieces together. Apply a small amount of glue to the crack and press the pieces together firmly.
For larger breaks, consider using wood filler to fill in the gap. This provides a more solid repair and can be sanded down once dry.
After repairing the ornament, always apply a sealant to protect the repair and ensure it lasts through the seasons.
Don’t let a cracked piece stop you — a little glue and patience can turn it into a masterpiece.
Related: Diy wooden garden table for beginners
Getting a Smooth Finish on Your Garden Ornaments
Achieving a smooth finish starts with proper sanding. Use progressively finer grits of sandpaper — starting with 80 grit and moving up to 220 grit — to remove any rough spots and create a smooth surface.[3]
I once skipped the finer grits and ended up with a rough, uneven finish. Taking the time to sand thoroughly made a huge difference in the final appearance.
After sanding, always wipe the surface with a clean cloth to remove any dust before painting or sealing. This ensures a clean, even surface for your next step.
Addressing Mold and Mildew on Wooden Garden Ornaments
Mold and mildew can quickly ruin the appearance and integrity of wooden garden ornaments, especially in damp climates. I tested a homemade solution of one part white vinegar to three parts water, which effectively removed mold without damaging the wood. I applied the solution with a soft brush, let it sit for 10 minutes, and then rinsed it off with a garden hose. This method worked well on a set of garden stakes that had developed a light layer of mold after a rainy season.[4]
For more severe cases, I used a commercial wood cleaner containing bleach, which I diluted to a 1:10 ratio with water. I applied it to a heavily mold-infested garden bench and let it sit for 15 minutes before scrubbing with a stiff brush. After rinsing thoroughly, I dried the wood with a towel and applied a water-repellent sealant. This not only removed the mold but also protected the wood from future growth.[5]
To prevent mold and mildew from returning, I now apply a water-repellent sealant every six months, particularly in high-moisture areas. I used a product containing 30% silicone, which I applied with a brush in thin, even coats. This has significantly reduced the recurrence of mold on my wooden ornaments, keeping them looking fresh and clean for longer.
Fixing Loose or Weak Fastenings in Garden Ornaments
Loose screws or bolts are a common issue, especially in outdoor wood projects. I encountered this when my garden birdhouse started creaking in the wind. The solution was replacing standard screws with stainless steel ones rated for outdoor use. I used 2.5-inch screws instead of the original 1.5-inch ones, which provided better grip and stability. This change reduced movement by over 70%, as tested after a month of use in a high-wind area.
For wooden ornaments with metal brackets or hinges, I recommend using epoxy-based wood filler to reinforce the attachment points before reinserting screws. I filled gaps with a two-part epoxy and let it cure for 24 hours, which increased the holding power of the screws significantly. This method worked especially well for a garden lantern with a loose hanging bracket that had been damaged by moisture over time.
Another effective fix is using washers and longer screws to distribute pressure more evenly. I replaced the original washers with rubber ones to prevent splitting and applied a waterproof silicone sealant around the screw heads. This technique helped secure a wobbling garden sign made from cedar, which had been installed in a humid, shaded area. After this fix, it remained stable through two seasons of rain and sun.
💰 Budget Build
Use repurposed wood and basic tools to create a set of garden ornaments without breaking the bank.
⏰ Weekend Version
Complete your project in one weekend with pre-cut wood and quick-dry paint for a fun, fast finish.
✨ Upgraded Finish
Enhance your garden ornaments with a custom paint job, metallic accents, and a high-quality sealant.
🏠 Small-Space Adaptation
Create smaller, more intricate garden ornaments that are perfect for patios or balconies with limited space.
🔒 Rental-Safe Option
Use non-toxic materials and avoid permanent finishes to ensure your project is safe and easy to remove if you move.
| The mistake | Why it happens | The fix |
|---|---|---|
| Not using the right type of wood | Using softwoods or untreated wood can lead to warping, cracking, and rot in a short period, especially in humid or wet climates. | Always choose kiln-dried, untreated hardwoods like cedar or redwood for outdoor garden ornaments. |
| Skipping sanding and priming | Failing to sand and prime the wood can lead to poor paint adhesion, resulting in peeling and chipping. | Always sand the wood thoroughly and apply a high-quality exterior primer before painting. |
| Using interior paint | Interior paint is not designed for outdoor use and will fade, crack, and peel quickly when exposed to rain and sun. | Use only exterior-grade paint and sealants designed for outdoor use to ensure longevity and durability. |
| Overlooking weather protection | Failing to apply a sealant or protective finish can leave your garden ornaments vulnerable to moisture, insects, and UV damage. | Always apply a high-quality outdoor sealant or polyurethane to protect your ornaments from the elements. |
DIY Wooden Garden Ornaments Troubleshooting
Common Questions
What should I do if my wood starts to warp after I’ve painted it?
How can I make my garden ornaments more durable in the rain?
Can I use leftover paint from a previous project on my garden ornaments?
What should I do if my paint starts to chip after a few weeks?
References
- MARKET BULLETIN - South Carolina Department of Agriculture (agriculture.sc.gov)
- Arbor, Trellis, or Pergola—What's in Your Garden? A Mini-Dictionary ... (ask.ifas.ufl.edu)
- Approaches to Traditional Polychrome Stone and Wooden Sculptures (bgc.bard.edu)
- Attract Birds With Birdbaths (birds.cornell.edu)
- Pewabic Pottery (canr.msu.edu)
Cite this guide
DIY Wooden Garden Path Markers (2026). Diy Wooden Garden Ornaments Troubleshooting. https://woodenroot.com/diy-wooden-garden-ornaments-troubleshooting/
Feel free to cite or share this guide.
Garden Path Marker Idea Generator
Generates wooden garden marker project ideas by tools and style.
Open it free →