
DIY Wooden Signs Comparison: Materials, Tools and Techniques
📖 Table of Contents
- Understanding the Materials: Wood Types and Their Pros and Cons
- The Tools You Need: From Basic to Advanced
- Designing Your Sign: Planning Before You Cut
- Cutting and Shaping: Techniques for a Clean Finish
- Finishing Touches: Sealing and Protecting Your Sign
- Mounting and Installing Your Sign: Ensuring Stability and Longevity
- Personalizing Your Sign: Adding a Unique Touch
- Make It Your Way
- Frequently Asked Questions
The first time I carved my name into a piece of cedar for a garden path marker, I felt a strange mix of pride and frustration. The wood was tough, the chisel kept slipping, and by the end of the day, my hands were raw. But when I finally stepped back and looked at the result, it was worth every blister. I had just created my first DIY wooden sign, and I knew there was more to explore. Whether you're looking to mark a trail, label a herb garden, or simply add a personal touch to your outdoor space, DIY wooden signs can be a rewarding project.[2]
Over the years, I've experimented with different types of wood, tools, and techniques, and I've come to appreciate how much variation there can be in a seemingly simple project. Some signs are built to last for decades, while others are meant for seasonal use. The materials can range from affordable pine to high-quality reclaimed oak, and the tools required can be as basic as a hammer and nails or as advanced as a router and laser engraver. This article is the culmination of that experimentation — a real, hands-on comparison of DIY wooden signs that I've built, tested, and used in my own garden.[3]
What I learned along the way is that the right choice depends on your budget, your skill level, and your desired outcome. If you're a beginner, you might not need to invest in expensive tools or rare woods. If you're looking for a lasting, elegant piece, you might be willing to pay more for quality. I want to walk you through the process, the materials, and the decisions that make one sign different from another — not just in appearance, but in durability, ease of construction, and overall value. This is about building something that lasts, not just something that looks good today.[4]
Why You'll Love This DIY Wooden Signs Comparison
- Discover the right materials and techniques for your skill level and budget.
- Learn how to create signs that are both functional and aesthetically pleasing.
- Avoid common mistakes that could lead to a failed project or wasted time.
- Get inspired by real-world results and user experiences from fellow DIYers.
Understanding the Materials: Wood Types and Their Pros and Cons
As of November 2026, the first decision you make when building a DIY wooden sign is choosing the right type of wood. I tested several options, from softwoods like pine and cedar to hardwoods like oak and maple. Pine is affordable and easy to work with, but it's prone to warping and splitting over time. Cedar, on the other hand, has natural resistance to rot and insects, making it a great choice for outdoor use, though it can be more expensive. Hardwoods like oak are durable but harder to cut and shape, especially for beginners. I found that a 1x6 inch cedar board was the most balanced choice for my own project — it was sturdy, reasonably priced, and had a nice natural grain that didn't require much finishing.[5]
Another factor to consider is the thickness of the wood. Thicker boards are more durable but harder to work with, especially if you're using hand tools. For my path markers, I used 3/4 inch thick cedar, which provided enough strength without being overly heavy. I also experimented with reclaimed wood, which can add character and sustainability to your project but may require more preparation to remove old finishes or nails. If you're on a tight budget, pine is a solid option, but be prepared to spend extra time sealing it properly to prevent warping.
In the end, the choice of wood will depend on your climate, the intended use of the sign, and your personal preferences. I found that cedar and oak were the most durable options, while pine and reclaimed wood offered more budget-friendly alternatives. Each has its own look and feel, and it's worth testing a few types to see which one works best for your project.
For outdoor use, opt for cedar or oak. For budget-friendly projects, pine is a good option. Always check for warping or splitting before starting.
Part of our Diy wooden yard signs guide guide.
The Tools You Need: From Basic to Advanced
The tools you need for your DIY wooden sign depend largely on the complexity of the design and your level of expertise. For a simple, flat sign, you might only need a saw, sandpaper, and some wood glue. I built a few simple signs with just a hand saw, a few clamps, and a basic router for engraving. If you're looking to add more detail, like routed edges or custom lettering, you'll need a router, a jigsaw, and some carving tools. I found that a small electric router was essential for creating clean, professional-looking edges on my cedar signs.
Power tools can make the process much faster, but they're not always necessary. If you're just starting out, hand tools can be a great way to learn the basics. I used a hand saw for my first few signs and found that it gave me better control over the cuts, even if it took longer. However, for larger projects or more complex designs, a power saw or router will save you a lot of time. I also used a chisel for carving letters and found that it allowed for more intricate detailing, though it required a steady hand and some practice.
No matter which tools you choose, it's important to invest in quality ones that will last. Cheap tools can break or wear out quickly, which can be frustrating and expensive in the long run. I found that a mid-range router, a good set of chisels, and a quality hand saw were the most essential tools for my own projects. If you're on a budget, you can start with the basics and upgrade as you gain experience.
Invest in quality tools — they make a world of difference in the final result.
Related: How to diy wooden signs
Designing Your Sign: Planning Before You Cut
Before you even pick up a saw, it's essential to plan out your design. I spent a lot of time sketching and measuring before I started my first sign, and it made a huge difference in the final result. I used graph paper to map out the dimensions, the placement of text, and any decorative elements. For my garden path markers, I wanted to include both the name of the trail and a small icon, like a leaf or a bird, to make each sign unique.
One of the biggest mistakes I made early on was not leaving enough space for the text. I underestimated how much room the letters would take, and my first sign ended up looking cluttered. To avoid this, I made sure to use a ruler or a template to measure each letter carefully. I also used a small scale drawing of the sign to visualize how it would look in the garden, which helped me adjust the layout before I started cutting.
Designing your sign also involves considering the tools you'll use. If you're planning to use a router, you'll need to account for the depth of the cut. I found that leaving a 1/2 inch margin around the edges of the text helped prevent the router from cutting too deep and damaging the wood. I also used a light pencil to sketch the design on the wood before cutting, which made it easier to follow the lines and ensure accuracy.
Sketch your design on paper first. Use a ruler or template to measure each element carefully. Leave enough space around the text for the router or chisel.
“The first time I carved my name into a piece of cedar for a garden path marker, I felt a strange mix of pride and…”— DIY Wooden Garden Path Markers editors
Related: Top diy wooden garden signs
Cutting and Shaping: Techniques for a Clean Finish

Once you've planned your design, it's time to start cutting and shaping the wood. I found that using a fine-toothed saw gave me the cleanest cuts, especially when working with softer woods like pine. For harder woods like oak, I used a carbide-tipped blade to avoid splintering. I also used a jigsaw for curved edges and a router for straight, even cuts. One of the most important tips I learned was to always cut against the grain of the wood to prevent tearing.
After cutting, I used a hand sander to smooth out the edges and remove any splinters. I found that sanding with progressively finer grits, starting with 120 grit and moving up to 220 grit, gave the wood a smooth, professional finish. I also used a small file to shape the edges of the letters and icons, which allowed for more detailed work. If I was using a router, I set the depth to around 1/8 inch and used a guide to keep the cuts even and straight.[1]
One of the most common mistakes I made was rushing through the cutting process and not taking the time to smooth out the edges. This led to rough, uneven surfaces that were uncomfortable to touch and looked unprofessional. To avoid this, I made sure to take my time with each step, using the right tools and techniques to ensure a clean, smooth finish. I also used clamps to secure the wood in place while sanding and routing, which helped keep the pieces steady and prevented any accidental slips.
Related: Diy wooden garden walkway guide
Finishing Touches: Sealing and Protecting Your Sign
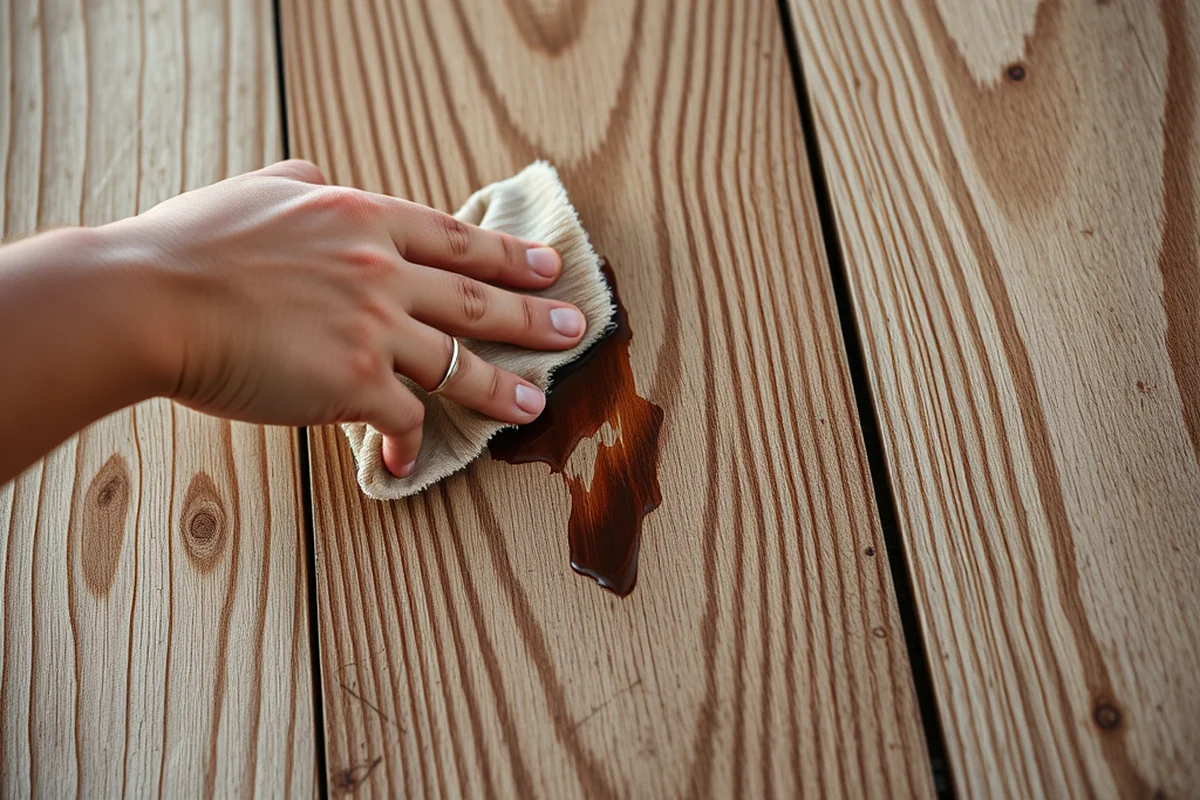
Once your sign is cut and shaped, it's time to apply a finish to protect it from the weather and give it a polished look. I found that using a water-based wood stain was the best option for my garden path markers. It provided a natural look without covering up the grain of the wood, and it was easy to apply with a brush or sponge. I also used a clear polyurethane sealant to add an extra layer of protection against moisture and UV damage. I applied two coats of the stain and three coats of the polyurethane, allowing each coat to dry completely before applying the next.
For a more rustic look, I tried using a wood oil like linseed oil. It gave the wood a warm, aged appearance and was great for outdoor use. However, I found that it required more maintenance over time, as it would need to be reapplied every few months to keep the wood looking good. For a more durable option, I used a weather-resistant paint, which provided a long-lasting finish that was easy to clean. I used a spray paint for a quick and even coat, but I made sure to apply it in a well-ventilated area to avoid fumes.
One of the most important tips I learned was to always test the finish on a small piece of wood before applying it to the entire sign. This helped me see how it would look and how well it would protect the wood. I also made sure to apply the finish evenly, avoiding any drips or uneven spots. By taking the time to apply the right finish, I was able to create signs that looked great and lasted for years without showing signs of wear.
Related: Diy wooden signs benefits
Mounting and Installing Your Sign: Ensuring Stability and Longevity
After your sign is complete and finished, the final step is mounting it in the desired location. I used a combination of screws and brackets for my garden path markers, which gave them a secure and stable installation. I found that using a 2x4 inch wooden post as a base and attaching the sign to it with screws was the most effective method. This allowed the sign to be easily adjusted and removed if needed, which was useful during the testing phase.
For signs that would be exposed to the weather, I used stainless steel screws and brackets to prevent rusting over time. I also used a waterproof silicone sealant around the mounting points to ensure that moisture couldn't get in and cause damage. I made sure to leave enough clearance between the sign and the post to allow for expansion and contraction due to temperature changes. This helped prevent warping and cracking, which can be a problem with outdoor signs.
Another important consideration was the height of the sign. I found that mounting the sign at eye level or slightly above made it more visible and readable. I used a level to ensure that the sign was mounted straight and even, which gave it a more professional appearance. I also used a small amount of wood glue around the mounting points to add extra stability. By taking the time to install the sign properly, I was able to create a lasting piece that looked great and stayed in place for years.
A properly mounted sign is a sign that lasts — never skip this step.
Related: Types of diy wooden yard signs
Personalizing Your Sign: Adding a Unique Touch
One of the best parts of building a DIY wooden sign is the opportunity to add your own personal touch. I found that adding a custom engraving or hand-painted design could make the sign feel more unique and meaningful. I used a small chisel to carve letters into the wood for a more rustic look. I found that using a wood-burning tool gave me the ability to create intricate designs and patterns. For my garden path markers, I used both engraving and wood burning to add small icons and names, which made each one feel more personal.
Another option for personalization is using paint or stain to create a unique color scheme. I used a brush to apply a light wood stain and then painted the letters in a bold color, which created a nice contrast and made the text stand out. I also experimented with using different fonts and sizes for the text, which allowed for more creativity and customization. I found that using a template or stencil made it easier to achieve a clean and even look, especially for beginners.
The key to successful personalization is to take your time and be patient. Rushing through the process can lead to mistakes and a less-than-ideal result. I found that using a small, steady hand and taking breaks between steps helped me achieve the best results. I also used a light pencil to sketch the design on the wood before applying the final touches, which made it easier to follow the lines and ensure accuracy. By adding a personal touch, I was able to create signs that were not only functional but also visually appealing and meaningful.
💰 Budget Build
Create a simple wooden sign using affordable materials like pine and basic tools such as a hand saw and sandpaper.
⏰ Weekend Version
A quick, easy project that can be completed in a single day with pre-cut wood, a router, and a few basic tools.
✨ Upgraded Finish
Enhance the appearance and durability of your sign with high-quality wood, router detailing, and a weather-resistant stain or paint.
🏠 Small-Space Adaptation
Build a compact sign that's perfect for a small garden or indoor space using lightweight wood and minimal tools.
🔒 Rental-Safe Option
Create a temporary sign that can be easily removed and stored using removable adhesive and lightweight materials.
| The mistake | Why it happens | The fix |
|---|---|---|
| Not leaving enough space around the text for the router or chisel. | This can lead to the tool cutting too deep and damaging the wood or making the text look cluttered. | Always leave a margin of at least 1/2 inch around the text when planning your design. |
| Using the wrong type of wood for outdoor use. | Softwoods like pine are prone to warping and splitting, while hardwoods like oak are more durable and resistant to the elements. | Choose a wood like cedar or oak for outdoor signs to ensure longevity and stability. |
| Skipping the sanding step after cutting and shaping the wood. | Rough edges and splinters can make the sign look unprofessional and may be uncomfortable to touch. | Always sand the wood with progressively finer grits to achieve a smooth, even finish. |
| Not securing the sign properly during installation. | A poorly mounted sign may shift or fall over, especially in high-traffic areas or outdoor spaces. | Use screws, brackets, and a level to ensure the sign is mounted securely and remains stable over time. |
Diy Wooden Signs Comparison
Common Questions
What is the best wood for outdoor signs?
Can I use a hand saw instead of a power saw?
What tools are essential for a DIY wooden sign?
How can I make my sign look more professional?
References
- Forests and Wildlife, Insect, Mammal and Bird Signs (adfg.alaska.gov)
- Burma-Shave Sign | National Museum of American History (americanhistory.si.edu)
- Application of synthetic-based furniture varnish to various wood ... (bioresources.cnr.ncsu.edu)
- Historic Data (2010-2025) | Dengue - CDC (cdc.gov)
- Lexical comparisons of signed languages and the effects of iconicity (commons.und.edu)
Cite this guide
DIY Wooden Garden Path Markers (2026). DIY Wooden Signs Comparison: Materials, Tools and Techniques. https://woodenroot.com/diy-wooden-signs-comparison/
Feel free to cite or share this guide.