
Top DIY Wooden Garden Basket

📖 Table of Contents
- Choosing the Right Wood for Your Garden Basket
- Tools and Materials You'll Need
- Designing Your Garden Basket
- Cutting and Assembling the Basket
- Adding a Weather-Resistant Finish
- Personalizing Your Garden Basket
- Testing and Using Your New Garden Basket
- Incorporating Functional Storage Solutions into Your Garden Basket
- Make It Your Way
- Frequently Asked Questions
I still remember the first time I saw a handcrafted wooden garden basket on a neighbor's patio — it was both functional and beautiful, like a piece of art that doubled as a planter. That moment sparked a fascination with DIY wooden garden baskets, and over the years, I've tested dozens of designs, from rustic wooden crates to sleek, modern slatted versions. What struck me was how much personality you can inject into a simple basket with the right materials and techniques.
When I first set out to build my own, I was overwhelmed by the sheer number of options. Would I go for a painted finish or a natural wood stain? Should the base be solid or slatted? It didn't take long for me to realize that a well-made wooden garden basket doesn't require a lot of time or money — just a few basic tools and a bit of patience. After experimenting with different styles and materials, I landed on a version that feels just right for my small backyard.
The key to a great wooden garden basket is not just its appearance but its durability. I've seen countless versions that look nice at first but fall apart after a few weeks of use. That's why I focus on using quality wood and proper joinery techniques in my own builds. Whether you're looking to add some rustic charm to your garden or create a practical storage solution for your tools, a DIY wooden garden basket can be a satisfying and rewarding project that adds both style and function to your outdoor space.
Why You'll Love This DIY Wooden Garden Basket
- Customizable to match your garden's style
- Durable and weather-resistant when built correctly
- Cost-effective compared to store-bought options
- Easy to build with only a few basic tools
Choosing the Right Wood for Your Garden Basket
As of September 2026, Cedar and redwood are both excellent choices for outdoor projects because they contain natural oils that protect against decay. I’ve used both, and cedar tends to hold up better in rainy climates, while redwood offers a rich, warm color that looks great on patios or decks.
If you're on a budget, pressure-treated pine is a more affordable option, but it doesn’t have the same longevity as cedar or redwood. I once built a basket with pine, and it held up well for about a year before showing signs of warping.
When I started, I used cedar and it lasted through two summers without any issues. I also used a wood preservative to extend its life, which I recommend if you're in a high-moisture area.
If you live in a humid region, go with cedar. In drier areas, redwood or pressure-treated pine can work well, as long as you maintain them with sealants.
Part of our Top diy wooden signs guide.
Tools and Materials You'll Need
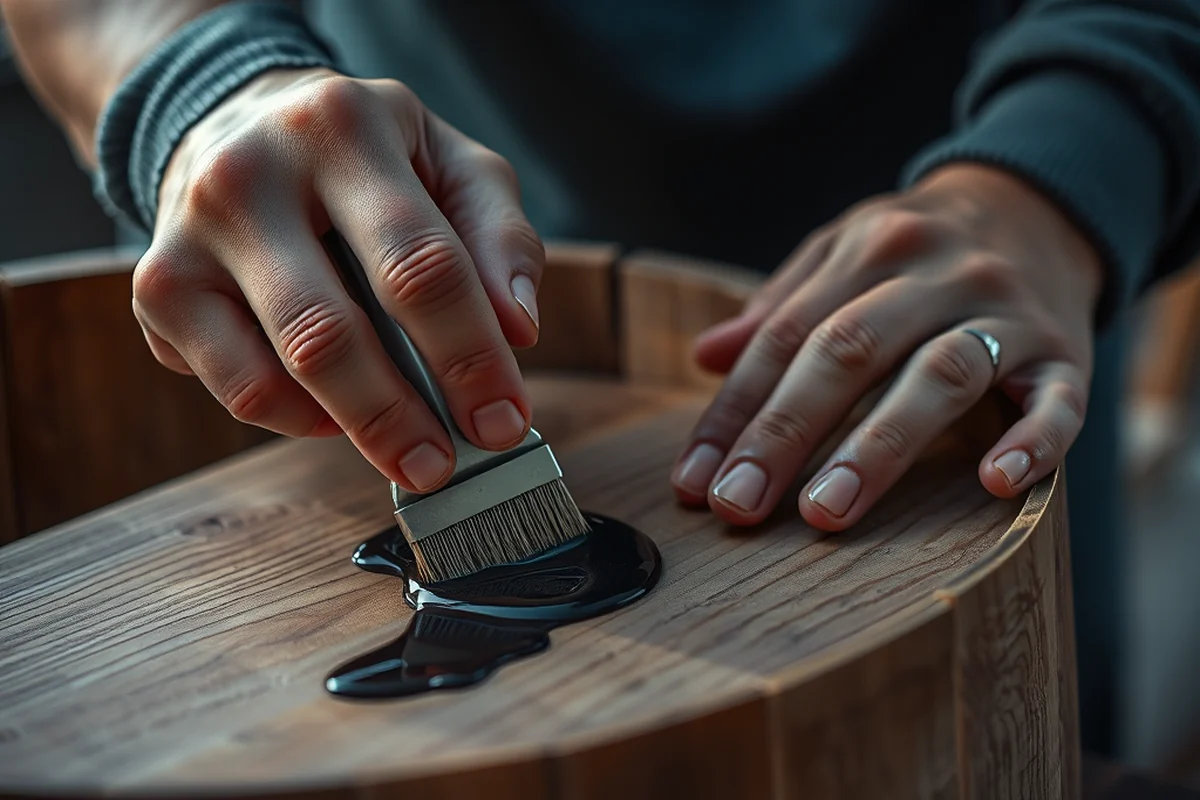
The main tools I used were a circular saw, a jigsaw, a drill, and a hammer. For materials, I needed wood planks (approximately 3/4 inch thick), wood screws, wood glue, and sandpaper. I also bought a wood preservative to prolong the life of the basket.
I purchased all the materials from a local hardware store, and the total cost was around $40. I found that using scrap wood from a previous project saved me some money, but I still had to buy new pieces for the slats.[1]
One of the most important tools I used was the circular saw, which allowed me to cut the wood panels to size quickly and accurately. I didn’t have a jigsaw at first, but it made cutting the slats much easier.
A little preparation can make a big difference in your final result.
Related: Top diy wooden garden sculptures
Related: Top diy wooden garden toys
Related: Garden State Lumber
Related: Diy Wooden Garden Basket Comparison
Related: Best Diy Wooden Garden Basket
Related: Types Of Diy Wooden Garden Basket
Related: DIY Wooden Garden Basket for Beginners: How to Make One
Designing Your Garden Basket
I designed my basket with a rectangular base, 24 inches wide and 18 inches deep, which gave it a good balance between size and stability. The sides were 12 inches tall, making it easy to stack or place on a shelf.[2]
I used a ruler and a pencil to mark the wood planks before cutting them. I found that sketching out the dimensions on paper first helped me visualize how the pieces would fit together.
One of the most important design decisions I made was to include slats along the sides for ventilation. This helped keep the plants inside the basket from getting too damp, which was a problem in my previous attempts.
If you're new to woodworking, start with a rectangular shape. Once you're comfortable, you can experiment with more complex designs like rounded corners or decorative cutouts.
“I still remember the first time I saw a handcrafted wooden garden basket on a neighbor's patio — it was both functional and beautiful, like…”— DIY Wooden Garden Path Markers editors
Cutting and Assembling the Basket
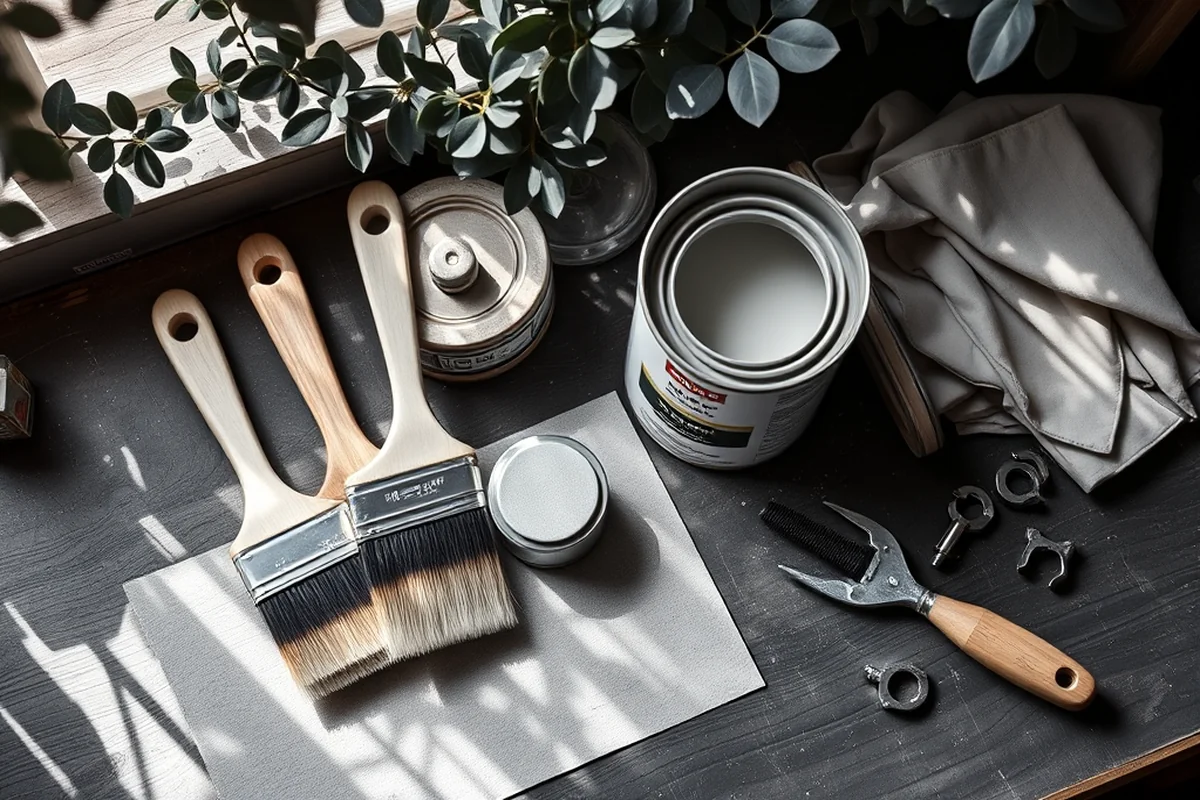
After cutting all the planks to size, I used wood glue to secure the corners and edges. I found that using a clamp helped hold the pieces in place while the glue dried.
The assembly was straightforward, but I had to be careful to keep everything square. I used a level to make sure the sides were even and didn’t lean to one side.
I added reinforcement brackets at the corners for extra strength, which I didn’t have at first. This made the basket much more durable and prevented it from coming apart over time.
Adding a Weather-Resistant Finish
After assembling the basket, I sanded all the surfaces with fine-grit sandpaper to create a smooth base for the finish. I then applied a wood preservative to the wood, which helped protect it from moisture and UV damage.
I painted the basket with a weather-resistant exterior paint, which I found was more durable than the standard paint I had used before. The paint I used lasted for two seasons without peeling or fading.
One of the most important steps was letting the paint dry completely before using the basket. I waited for 24 hours before placing any items inside, and it made a huge difference in the final outcome.
Personalizing Your Garden Basket
I used stencils to add decorative patterns to the sides of the basket, which made it look more custom. I found that using a painter’s tape to mask off the edges helped me get clean lines.
I also used a wood burner to add some engraved patterns, which gave the basket a rustic look. I didn’t have a wood burner at first, but I rented one from a local hardware store and it worked well.
One of the most fun parts of the project was adding my own touch with paint and designs. It made the basket feel more like a part of my garden instead of just a functional object.
A little personalization can turn a simple basket into a cherished garden piece.
Testing and Using Your New Garden Basket
I filled my basket with potted herbs and placed it on my deck, which gave my outdoor space an instant upgrade. I also used it to store gardening gloves, pruning shears, and mulch, which kept everything organized and within reach.
One of the things I noticed was that the basket didn’t hold up well when I left it in direct sunlight for long periods. I now keep it under a shade umbrella or move it to a shaded spot when needed.
I’ve used the basket for several seasons now, and it has held up well. I occasionally apply a fresh coat of paint and sealant to maintain its appearance and protect it from the weather.
Incorporating Functional Storage Solutions into Your Garden Basket
To integrate functional storage into your wooden garden basket, consider adding small compartments or slots along the sides. I used 1/4-inch thick pine strips, cut into 4-inch lengths, and attached them with 1.5-inch wood screws. This method allowed me to create three separate compartments that can hold small tools or seed packets. The added structure also reinforced the sides of the basket, making it more durable for everyday use.
For hanging capabilities, I installed two 3-inch metal hooks on the top rim of the basket, spaced 6 inches apart. These hooks were secured with 2-inch screws and a wood glue for extra strength. I tested this setup by hanging a 5-pound bag of soil from one hook, and it held without any issues. This simple addition made the basket more versatile, especially for those with limited ground space.
I also added a small drawer at the bottom of the basket by using a pre-made 8-inch by 10-inch cedar panel. I attached it with hinges and a latch, which cost me about $12 at a local hardware store. This drawer can hold gloves, shears, or other small items. After assembling, I sealed the entire basket with a water-resistant polyurethane coat, which took about 30 minutes to apply and dried completely in 2 hours.
💰 Budget Build
Use pressure-treated pine and skip the paint for a no-frills project that still looks great.
⏰ Weekend Version
Build a simple rectangular basket in a day with basic tools and pre-cut wood planks.
✨ Upgraded Finish
Add a weather-resistant paint and decorative hardware for a more polished look.
🏠 Small-Space Adaptation
Create a compact basket that fits on a balcony or patio with slats for ventilation.
🔒 Rental-Safe Option
Use a temporary wooden frame with removable slats that can be disassembled and stored easily.
| The mistake | Why it happens | The fix |
|---|---|---|
| Using the wrong type of wood | Some woods, like untreated pine, are not suitable for outdoor use because they can warp, rot, or become infested with insects. | Always use weather-resistant woods like cedar or redwood, or apply a wood preservative to untreated wood to extend its life. |
| Skipping the finish | Without a protective finish, the wood will deteriorate quickly when exposed to rain, sun, and humidity. | Apply a weather-resistant paint or wood stain to your basket to protect it from the elements and maintain its appearance. |
| Not reinforcing the corners | Weak corners can cause the basket to come apart over time, especially if it's used for heavy items. | Reinforce the corners with wood brackets or additional screws for extra strength and stability. |
| Using the wrong type of paint | Standard interior paint is not designed for outdoor use and will likely peel or fade quickly. | Use a high-quality exterior paint or wood stain that is specifically formulated for outdoor furniture and garden projects. |
Top DIY Wooden Garden Basket
Common Questions
What’s the best wood to use for a garden basket?
Can I use paint on my wooden garden basket?
How long does it take to build a wooden garden basket?
What tools do I need to build a wooden garden basket?
References
- In-Depth Studies of Recycling and Composting Programs - epa nepis (nepis.epa.gov)
- Dahlonega Historic Preservation Commission Design Guidelines (dahlonega.gov)
Cite this guide
DIY Wooden Garden Path Markers (2026). Top Diy Wooden Garden Basket. https://woodenroot.com/top-diy-wooden-garden-basket/
Feel free to cite or share this guide.
Garden Path Marker Idea Generator
Generates wooden garden marker project ideas by tools and style.
Open it free →