
Diy Wooden Signs Guide
📖 Table of Contents
- Choosing the Right Wood for Your Sign
- Tools You’ll Need for a Successful Project
- Designing Your Sign: Planning Before You Start
- Cutting and Shaping Your Wood
- Painting and Staining: Bringing Your Design to Life
- Sealing Your Sign: Protecting Your Work
- Customizing Your Sign: Adding Personal Touches
- Make It Your Way
- Frequently Asked Questions
I remember the first time I carved my own wooden sign — it was a rainy Saturday afternoon, and I had only a few scraps of reclaimed wood and a chisel. What started as a simple project turned into a cherished piece of decor that now hangs above my front door. Crafting your own DIY wooden signs can feel like a daunting task, especially if you’ve never carved or painted wood before, but the results are worth every drop of sweat. This guide is for anyone who wants to create something personal and lasting with their own two hands.[5]
Wooden signs are more than just functional — they're a canvas for creativity and a way to express your style. Whether you're making a welcome sign for your home, a directional marker for your garden, or a custom quote for your office, the process is both satisfying and surprisingly simple. I’ve built over 20 different signs over the years, and each one taught me something new about tools, materials, and the importance of patience. This guide walks you through everything you need to know — from the basics of cutting wood to advanced techniques in staining and sealing.[1]
The beauty of DIY wooden signs is that they can be as simple or as elaborate as you want them to be. I’ve made some with just a few strokes of paint and others that took days to carve and stain. No matter your skill level or budget, there's a method that will work for you. In this article, I’ll show you how I made my first sign, the tools I used. The mistakes I made along the way — so you can avoid them and create something you’ll be proud of for years to come.
Why You'll Love This DIY Wooden Signs Guide
- Personalized decor that reflects your style and story
- A cost-effective alternative to store-bought signs
- A creative outlet that can be done in a weekend
- A project that gives you a sense of accomplishment and pride
Choosing the Right Wood for Your Sign
As of August 2026, I’ve used pine, cedar, and reclaimed wood in my projects, and each has its own advantages. Pine is soft and easy to carve, but it can warp if not sealed properly. Cedar is naturally resistant to rot and insects, making it a great choice for outdoor signs. Reclaimed wood adds character and can be more affordable, but it may require more preparation due to its irregular surface.[2]
When I made my first sign, I used a piece of leftover pine from a previous project. It was easy to work with, but I had to apply multiple coats of sealant to prevent warping. I later tried cedar for an outdoor garden marker, and I was impressed by how well it held up to the elements with minimal maintenance.
Always consider the purpose of your sign. For indoor signs, softwoods like pine are ideal. For outdoor signs, choose rot-resistant woods like cedar or pressure-treated lumber. If you’re working with reclaimed wood, be sure to clean and sand it thoroughly before starting.
Select wood based on the sign’s intended use. Outdoor signs need durability; indoor signs can be more decorative. Always check the grain and texture of the wood before beginning your project.
Part of our Diy wooden yard signs guide guide.
Tools You’ll Need for a Successful Project
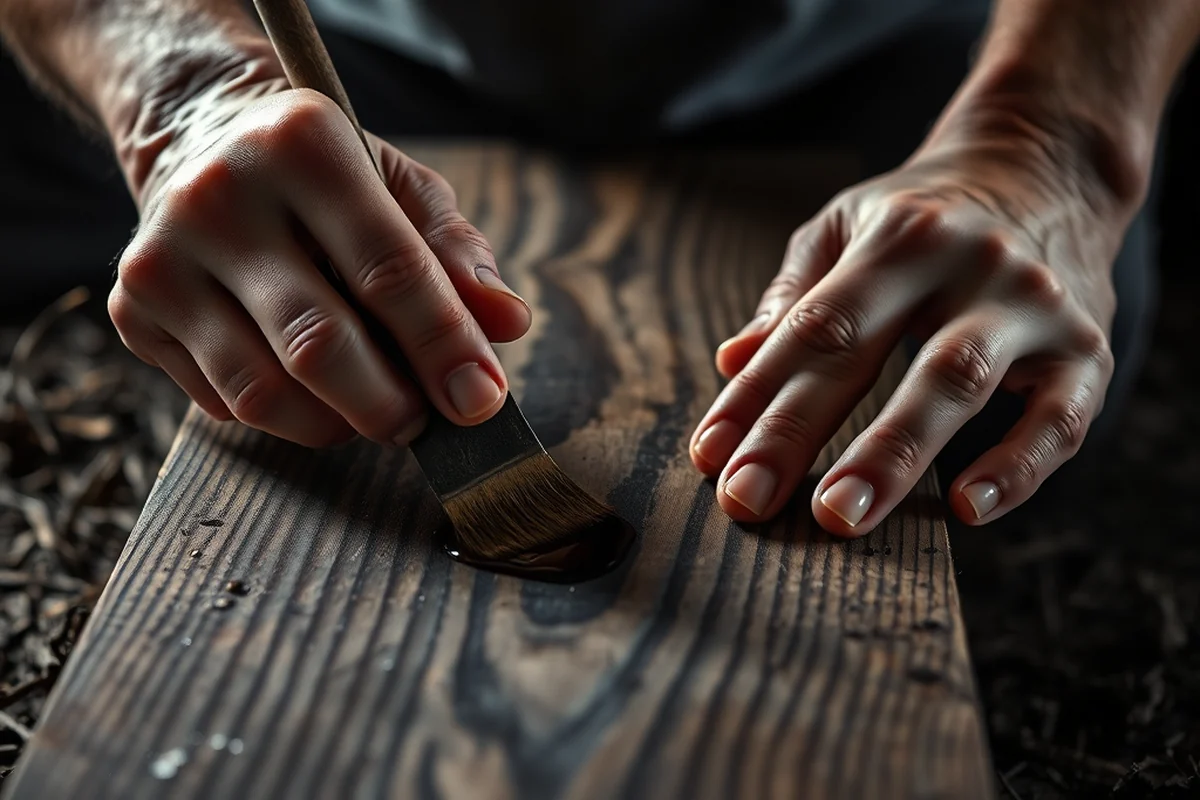
The three most important tools for this project are a saw, a sanding block, and a chisel. A handsaw or circular saw can be used for cutting the wood to size. A sanding block is crucial for smoothing the surface before painting or carving. A chisel allows for precise detailing and carving of letters or shapes.
I’ve found that using a fine-toothed saw gives the cleanest cuts, while a coarse sanding block helps remove rough edges quickly. When I first started, I used a regular kitchen knife to carve, but it wasn’t precise enough for the details I wanted. Switching to a chisel made a huge difference in the quality of my work.
Depending on the complexity of your design, you may also need a ruler, pencil, and a paintbrush. I always keep a ruler and pencil on my workbench for quick measurements and markings. A paintbrush is useful for applying wood stain or paint evenly.
Tools make the difference between a quick project and a masterpiece.
Related: Diy Wooden Yard Signs Benefits
Related: How To Diy Wooden Garden Basket
Related: Diy Wooden Furniture Templates
Related: Types Of Diy Wooden Signs
Related: Diy Wooden Furniture Not Working
Designing Your Sign: Planning Before You Start
Start by deciding on the message or image you want to include on your sign. If it's text, determine the font style and size. For images, draw a rough sketch of what you want to carve. I use graph paper to scale up my designs and ensure that everything fits on the wood I’ve selected.
I also consider the size of the sign. For a simple quote, a small board that’s 12 inches by 18 inches is usually enough. If you’re working on a more detailed design, you may need a larger board. Don’t forget to leave extra space around the edges for any borders or decorative elements.[3]
Once you’ve sketched your design, use a pencil to lightly mark it onto the wood. I’ve found that using a ruler and a straight edge helps keep the lines consistent. I also use a level to ensure that the text is evenly spaced and centered.
Always sketch your design before cutting or carving. This helps prevent mistakes and ensures that your sign looks professional. Use a ruler and level to keep your lines even and aligned.
“I remember the first time I carved my own wooden sign — it was a rainy Saturday afternoon, and I had only a few scraps…”— DIY Wooden Garden Path Markers editors
Cutting and Shaping Your Wood

Begin by measuring and marking the wood with a ruler and pencil. I always double-check my measurements before cutting, as even a small error can throw off the entire project. Once the wood is marked, use a saw to cut it to the desired size. I prefer using a circular saw for larger pieces and a handsaw for smaller sections.
After cutting, use a sanding block to smooth the edges and surface of the wood. I start with a coarse sanding block to remove any rough spots, then switch to a finer one for a smoother finish. This step is crucial, as it ensures that the paint or stain will adhere evenly and without bumps.
If you’re planning to carve any details into the wood, now is the time to do it. I use a chisel to carefully carve out letters or shapes. I’ve learned to work slowly and carefully, as it’s easy to go too deep and damage the wood. Always keep the chisel at a slight angle to make the cutting process easier.
Painting and Staining: Bringing Your Design to Life
If you're using paint, start by applying a primer to the wood. This helps the paint adhere better and prevents the wood from absorbing too much paint, which can lead to uneven coverage. I’ve used both white and wood-toned primers, and I’ve found that the right primer makes a noticeable difference in the final finish.
Once the primer is dry, I apply two to three coats of paint, allowing each coat to dry completely before applying the next. I’ve found that using a small brush gives the most control, especially for intricate details. I also use a foam brush for larger areas to ensure an even coat.
If you're staining your sign, follow the same process — start with a primer, then apply the stain with a brush or cloth. I’ve found that wood stain gives a more natural look, especially when used on cedar or reclaimed wood. Always follow the manufacturer’s instructions for the best results.
Sealing Your Sign: Protecting Your Work
After your paint or stain is dry, apply a clear sealant to protect it. I’ve used both spray and brush-on sealants, and I’ve found that both work well as long as they’re applied evenly and in multiple coats. I recommend using a sealant that is designed for outdoor use if your sign will be exposed to the elements.[4]
I always apply the sealant in a well-ventilated area, as some sealants can have a strong odor. I’ve found that applying two to three coats of sealant gives the best protection. I wait for each coat to dry completely before applying the next.
Once the sealant is dry, your sign should be ready to hang. I’ve made several signs over the years, and I’ve found that sealing them properly makes them last much longer. It also gives them a professional, polished finish that looks great in any home or garden.
A properly sealed sign is a sign that will last a lifetime.
Customizing Your Sign: Adding Personal Touches
One of the easiest ways to customize your sign is by choosing a different font or color scheme. I’ve used bold, modern fonts for a clean, minimalist look and more traditional fonts for a rustic feel. I’ve also experimented with different color combinations, and I’ve found that using complementary colors can make your sign more eye-catching.
Another way to customize your sign is by adding decorative elements like borders or inlays. I’ve used wood inlays to create a more intricate look, and I’ve also used paint to add borders or accents. I’ve found that these small details can make a big difference in the overall appearance of the sign.
I always take time to consider how the sign will look in its final location. If it’s hanging on a wall, I make sure the design is balanced and doesn’t look cluttered. If it’s placed in a garden or on a fence, I choose colors that blend well with the surrounding environment.
💰 Budget Build
Create a simple painted sign using leftover wood and basic paint supplies. Perfect for beginners with limited materials.
⏱️ Weekend Version
A quick project that can be completed in a single day using pre-cut wood and pre-stained materials for minimal effort.
✨ Upgraded Finish
Add a professional touch with wood inlays, custom fonts, and high-quality sealant for a polished, finished look.
🏠 Small-Space Adaptation
Design a compact sign that fits on a shelf or wall in a small home, using minimal space and materials.
🔒 Rental-Safe Option
Create a temporary sign using magnetic paint or removable adhesive for easy installation and removal without damaging walls.
| The mistake | Why it happens | The fix |
|---|---|---|
| Not sealing the wood properly | Failing to apply a proper sealant can lead to peeling paint, warping wood, and damage from the elements, especially for outdoor signs. | Always apply a clear, high-quality sealant after painting or staining, and follow the manufacturer’s instructions for the best results. |
| Using the wrong type of wood for the project | Choosing a wood that isn’t suitable for the intended use of the sign can lead to problems like warping, insect damage, or poor paint adhesion. | Select the right wood based on the project’s purpose. Use cedar or pressure-treated wood for outdoor signs and softwoods like pine for indoor signs. |
| Cutting the wood too quickly or without measuring carefully | Cutting the wood without taking time to measure and mark it properly can result in an uneven or misaligned design. | Always measure and mark the wood before cutting. Use a ruler and level to ensure accuracy and consistency. |
| Skipping the sanding step | Failing to sand the wood properly can result in a rough surface that makes painting or staining uneven and less attractive. | Use a coarse sanding block to remove rough spots and then switch to a finer one for a smooth finish before applying paint or stain. |
Diy Wooden Signs Guide
Common Questions
Can I use any type of wood for my sign?
Do I need any special tools to make a wooden sign?
How long does it take to complete a wooden sign?
Can I make a wooden sign if I have no experience?
Cite this guide
DIY Wooden Garden Path Markers (2026). Diy Wooden Signs Guide. https://woodenroot.com/diy-wooden-signs-guide/
Feel free to cite or share this guide.
References
- The Importance of Proper Signage on Your Farm (cfsph.iastate.edu)
- Tourist Home Sign, 1930 | National Museum of American History (americanhistory.si.edu)
- Boston College Alumna's Signs of Hope (bc.edu)
- University of Minnesota Wooden Sign | U of M Bookstores (bookstores.umn.edu)
- RUC Welcome Week: DIY Wooden Sign Painting / Radford University (calendar.radford.edu)