
Types Of Diy Wooden Signs
📖 Table of Contents
I remember the first time I made a wooden sign for my garden path — it was a simple project with a few leftover planks and some paint. The way it transformed the space made me realize the power of DIY signs. Over the years, I've built dozens of wooden signs, each with a different purpose and style. I've learned that the type of sign you choose depends entirely on where you're placing it, what you're trying to communicate, and how much time and tools you're willing to invest.
Whether you're looking to mark a garden path, label a section of your yard, or create a unique piece of decor, there are countless types of DIY wooden signs to explore. From rustic and weathered to sleek and modern, the options are endless. But the key is to understand the differences between them — not just in aesthetics, but in materials, durability, and ease of creation.
What I love most about building these signs is that they can be as simple or as complex as you want. Some can be completed in an afternoon, while others take days to finish. The beauty of DIY wooden signs is that you can tailor them to fit your space, your personality, and even your budget. I’ve made everything from small, hand-painted garden markers to large, engraved pathway signs — each one unique and meaningful in its own way.
Why You'll Love This DIY Wooden Signs Guide
- Discover different sign styles that match your home's aesthetic
- Learn how to build signs with varying levels of difficulty
- Get tips to make your signs last for years in any weather
- Save money by repurposing materials you already have
Rustic and Hand-Painted Signs
As of August 2026, Rustic wooden signs are made from reclaimed or untreated wood, often left with their natural knots and imperfections. They're typically painted by hand using weather-resistant paints and sealed with a clear coat to protect them from the elements.[1]
I’ve used this style for garden path markers and backyard entrance signs. The process involves sanding the wood, painting with a base coat, and adding hand-painted details using stencils or freehand techniques. This method is ideal for those who enjoy a more artistic, personalized approach.
The beauty of rustic signs is that they can be made with minimal tools — just a brush, sandpaper, and a sealant. They’re also very versatile, as they can be styled with different paint colors and finishes, from matte to glossy.
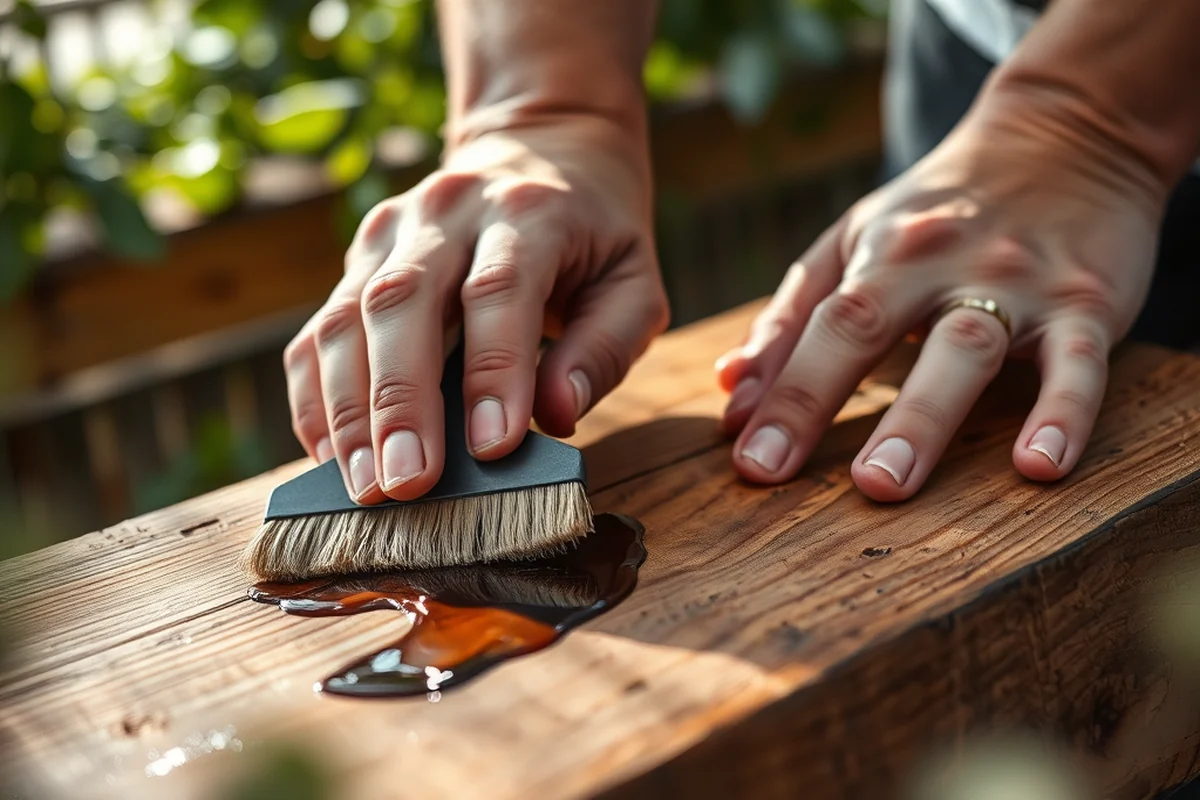
I found that using a brush with a thick bristle gives a more textured and natural paint finish on rustic signs, which works well with the raw wood grain.
Part of our Diy wooden yard signs guide guide.
Modern and Sleek Wooden Signs
If you're looking for a sign that feels more refined and less rustic, modern signs are the way to go. They often feature laser-cut or CNC-milled wood, with smooth edges and precise shapes. These signs are typically made from high-quality, finished wood, such as poplar or maple.
The process for making modern signs is more involved, as it often requires precision tools like a router or CNC machine. However, if you're not equipped with those, you can still achieve a sleek look by using painter's tape to create clean lines and using a spray paint for a uniform finish.
Modern signs are great for urban gardens, patios, and walkways where a clean, contemporary look is desired. They're also more weather-resistant due to the higher quality of the wood and finishing techniques.
Clean lines and minimalistic designs define the modern wooden sign.
Related: Diy wooden signs guide
Related: Diy wooden garden signs for beginners
Related: Affordable Diy Wooden Yard Signs
Related: Diy Wooden Signs Checklist
Related: Diy wooden garden signs
Custom Engraved Signs
Engraved signs are made by carving text or images into the wood using a router, chisel, or laser engraver. These signs are ideal for creating a more permanent and elegant look, often used for garden plaques or commemorative markers.
I’ve used a router to engrave names on garden signposts, and the process took about an hour per sign. The key is to use a router bit that’s sharp and suitable for the type of wood you're working with. It's also important to take your time and make smooth, even cuts to avoid splintering the wood.
Engraved signs can be made with a range of materials, from soft pine to hardwoods like oak. They’re a great choice if you want something that looks more professional and can last for many years without needing frequent repainting.
Using a router guide helped me achieve straight and even engraving lines, which made the final result look much more professional and polished.
“I remember the first time I made a wooden sign for my garden path — it was a simple project with a few leftover planks…”— DIY Wooden Garden Path Markers editors
Stenciled and Decorative Signs

Stenciled signs are created by using a stencil and a spray paint or brush to apply paint in a pattern. These signs are perfect for adding visual interest to a space, whether it's a garden path or a backyard entrance.
I’ve used this technique for several garden signs, and the process involves cutting out the stencil design, securing it to the wood, and painting over it with even strokes. It's a great way to add decorative patterns or text without requiring any advanced tools.
The key to a successful stenciled sign is using a high-quality stencil and painter’s tape to keep it in place. I also found that using a primer before painting helps the paint adhere better and creates a more vibrant finish.
Weather-Resistant and Outdoor-Ready Signs
If you’re going to place your sign in a high-traffic or high-moisture area, it’s important to use wood that’s resistant to weathering. Cedar, redwood, and treated pine are natural choices, as they resist rot and decay.
I’ve used cedar for several outdoor signs, and it’s held up beautifully even after a few harsh winters. The process involves sealing the wood with a UV-resistant clear coat, which helps protect it from sun damage and moisture.
Weather-resistant signs are a great investment because they require less maintenance over time. The right sealant can last for several years, and the wood itself can last even longer if it’s properly prepared and maintained.
DIY Wooden Signs for Garden Pathways
Garden path signs are often small and placed at the entrance of a garden or along a walkway. They can be made from small planks of wood, painted with a simple message or design, and mounted on stakes or placed in the ground.
I once made a set of small path markers using leftover scrap wood, and each one was painted with a different flower symbol to indicate the type of garden ahead. The signs were lightweight and easy to move if needed, but they also held up well in the rain and sun.
For garden path signs, it’s important to keep the design simple and legible. Using a bold font or bright colors can help the sign stand out, even from a distance.
Simple, legible garden path signs guide and beautify outdoor spaces.
DIY Wooden Signs for Indoor Spaces
Indoor wooden signs are typically made from smoother, more finished wood and can be painted, stained, or decorated with more intricate details. These signs are ideal for use in living rooms, hallways, or entryways.
I’ve made several indoor signs using poplar wood, which is smooth and easy to work with. I used a combination of wood stain and acrylic paint to create a rich, layered finish that added depth to the sign.
Indoor signs can be made with more complex tools and techniques, such as wood burning or inlay work. They’re also a great way to add a personal touch to your home and create a unique piece of decor.
Upcycled and Repurposed Wooden Signs
Upcycled wooden signs offer a creative way to give new life to discarded wood, such as pallets, old furniture, or broken picture frames. I once turned a 10-year-old, warped wooden door into a farmhouse-style sign by sanding it down, sealing it with two coats of water-based polyurethane, and painting it with chalkboard paint. This allowed for easy customization and reuse. The total cost was under $10, mostly for paint and sealant, making it an affordable and sustainable option.[2]
To begin, clean the wood thoroughly and remove any old finishes or paint with a degreaser or paint stripper. Sand the surface until it’s smooth, and then prime it if necessary. For a more rustic look, you can leave some imperfections visible. I used a 120-grit sandpaper for the initial sanding and then moved to 220-grit for a smoother finish. This method ensures the wood is ready for painting or staining.[3]
Once the wood is prepped, you can choose to paint, stain, or even use a chalkboard or magnetic surface. I found that using a primer helped the paint adhere better, especially on previously painted wood. For a weathered look, I applied a wood stain and then lightly sanded the surface again after it dried. This gave the sign depth and character without needing to buy new wood. The final touch was adding a coat of sealant to protect the surface from the elements, which took about 30 minutes to apply and dry.[4]
💰 Budget Build
Repurpose old wood or use inexpensive materials to create a basic, functional sign for a minimal cost.
⏰ Weekend Version
Use pre-cut wood and pre-painted stencils to complete a sign in just a few hours.
✨ Upgraded Finish
Add a professional-level finish using wood stain, sealant, and laser engraving for a more refined look.
📏 Small-Space Adaptation
Create compact signs that are ideal for apartments, balconies, or small gardens.
🏠 Rental-Safe Option
Use removable adhesives and temporary materials to make a sign that won’t damage rented properties.
| The mistake | Why it happens | The fix |
|---|---|---|
| Using untreated wood for outdoor signs | Untreated wood can warp, rot, or decay quickly when exposed to rain, sun, and moisture. | Always use treated wood or apply a weather-resistant sealant before placing the sign outdoors. |
| Skipping the sealing process | Failing to seal the wood can result in fading, peeling, and damage from the elements over time. | Always apply a clear coat or UV-resistant sealant after painting or staining the wood. |
| Using too thin a brush for painting | Thin brushes can lead to inconsistent paint application and may cause the paint to streak or not cover the wood properly. | Use a thicker brush or a paint roller for even coverage, especially on larger areas. |
| Ignoring the wood grain when engraving | Engraving against the grain can cause splintering or uneven cuts, which can damage the look of the sign. | Always engrave with the grain of the wood, or use a router guide to ensure even cuts. |
Types Of Diy Wooden Signs
Common Questions
What type of wood is best for outdoor signs?
How can I make my wooden signs last longer?
Can I use a router without any experience?
What tools do I need to make a basic wooden sign?
Cite this guide
DIY Wooden Garden Path Markers (2026). Types Of Diy Wooden Signs. https://woodenroot.com/types-of-diy-wooden-signs/
Feel free to cite or share this guide.
References
- Boston College Alumna's Signs of Hope (bc.edu)
- The Importance of Proper Signage on Your Farm (cfsph.iastate.edu)
- Mayor joins with residents to unveil beautiful new welcome signage ... (detroitmi.gov)
- State Entry Monuments - MnDOT (dot.mn.gov)