
The Lawn Furniture
📖 Table of Contents
I remember the first time I sat down on my new lawn furniture — the smooth wood, the sturdy frame, and the way the sun filtered through the leaves above. It was the perfect spot to read a book, sip my morning coffee, and feel fully present in my own backyard. That moment made me realize how much of a difference quality outdoor furniture can make to the overall experience of being outside. This is why I decided to build my own set of lawn furniture, and I'm here to walk you through every step.
When I first started thinking about DIY lawn furniture, I was overwhelmed by the sheer number of options and materials available. But once I settled on a simple design that used pressure-treated wood and a few basic tools, everything else fell into place. The process was more enjoyable than I expected, and the result was exactly what I wanted — a durable, custom-built set that blends seamlessly with my garden.
What really makes the DIY lawn furniture project special is its adaptability. Whether you're looking for a minimalist chair, a rustic bench, or a full dining set, you can tailor the design to fit your space and aesthetic. I've built everything from a single rocking chair to a complete outdoor table and four chairs, and each time I've learned something new about materials, joinery, and the importance of weatherproofing.
Why You'll Love This DIY Lawn Furniture Project
- Customize the design to match your outdoor space and style.
- Create durable, long-lasting furniture that can withstand the elements.
- Save money by building your own instead of buying pre-made sets.
- Enjoy the satisfaction of crafting something with your own hands.
Choosing the Right Materials
As of September 2026, I started with pressure-treated lumber because it's resistant to rot and insects, making it ideal for outdoor use. I also used 2x4s for the frames and 1x6 planks for the seating surfaces. It's important to choose wood that's rated for outdoor conditions and has a finish that can withstand UV exposure and moisture.
For the hardware, I went with galvanized screws and brackets, which are corrosion-resistant and will hold up over time. I also used weather-resistant wood glue to reinforce the joints. These choices helped me create furniture that's not only functional but also built to last through the seasons.
I found all my materials at a local hardware store, and I was surprised by how affordable they were. The total cost was under $40, which is a great value considering the quality and durability of the wood. I also made sure to buy extra screws and wood glue in case I needed to make any adjustments during the building process.[1]
If you live in a high-moisture area, consider using cedar or redwood instead of pressure-treated lumber, as they are naturally resistant to decay.
Part of our Top diy wooden garden bed guide.
Designing Your Furniture

Before I started cutting any wood, I sketched out my design on paper. I decided on a simple bench with a backrest and two seats. I measured my space and made sure the dimensions would fit comfortably in my garden. It's important to consider the intended use of the furniture — will it be for seating, dining, or storage?
I used a ruler and pencil to mark out the measurements on the wood, and then I cut the pieces using a circular saw. I made sure the cuts were straight and precise to avoid any gaps or uneven joints later on. I also took extra care to measure twice and cut once to avoid wasting materials.
After cutting all the pieces, I laid them out on the ground to see how they fit together. This helped me spot any issues before I started assembling them. I also used clamps to hold the pieces in place while I attached the joints, which made the assembly process much smoother.
Design is the first step in any DIY project — it's where your vision takes shape.
Related: Best diy wooden garden path
Assembling the Frame
I started by constructing the base of the bench, which consisted of two side frames and a central support. I used 2x4s for the frames and attached them using galvanized screws and wood glue. I made sure the corners were square and the sides were parallel before tightening the screws completely.
Once the base was assembled, I added the backrest and the seats. I used 1x6 planks for the seating surfaces and attached them to the frame with screws and wood glue. I made sure to space the planks evenly and to leave some room for the wood to expand and contract with changes in temperature and humidity.
I used a level to make sure the frame was even on all sides. This helped prevent any wobbling or unevenness once the furniture was complete. I also took the time to sand down any rough edges or splinters to make the finished product comfortable and safe to use.
Wood glue adds an extra layer of strength to your joints and helps prevent the pieces from coming apart over time, especially in high-traffic areas.
“I remember the first time I sat down on my new lawn furniture — the smooth wood, the sturdy frame, and the way the sun…”— DIY Wooden Garden Path Markers editors
Related: Affordable diy wooden garden features
Adding the Finish
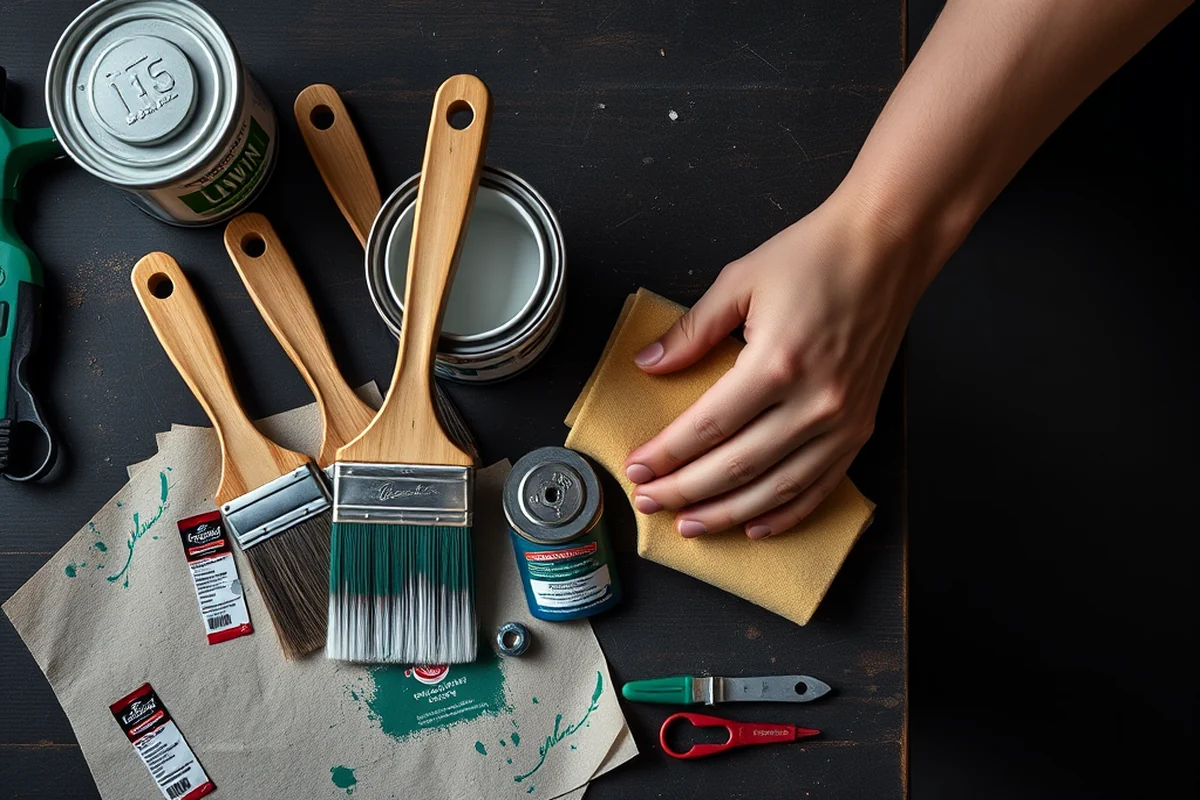
After assembling the frame and attaching all the planks, I sanded the entire surface to create a smooth base for the finish. I used a fine-grit sandpaper and worked in the direction of the wood grain to avoid leaving scratches or marks.
I then applied a weather-resistant wood stain to the surface. I used a brush to apply the stain evenly, making sure to cover all the sides and edges. I let it dry for a few hours before applying a second coat for better protection.
Finally, I applied a clear polyurethane finish to the top and sides of the furniture. This helped protect the wood from water damage and UV exposure. I made sure to apply the finish evenly and let it cure for at least 24 hours before using the furniture.[2]
Related: Affordable diy wooden garden path
Weatherproofing Your Furniture
I used a silicone-based sealant to coat the wood and fill in any gaps or cracks. This helped prevent water from seeping into the wood and causing rot or mold. I applied the sealant in several thin layers to ensure full coverage.
I also used a UV-protective coating to help prevent the wood from fading or warping in the sun. I applied this coating using a spray can and made sure to cover all surfaces evenly. I let it dry completely before using the furniture.
After the weatherproofing was complete, I tested the furniture by leaving it outside for a few days without any protection. It held up well, and I didn't see any signs of damage or wear. This gave me confidence that the furniture was ready for regular use.
Related: Affordable diy wooden garden decor
Finishing Touches and Installation
I used a router to add a small border around the edges of the furniture. This helped create a more polished look and made the furniture feel more refined. I also used decorative screws to attach the planks and frame, which added a touch of style to the project.
I made sure to install the furniture in a spot that was level and had good drainage. I used small rocks to create a slight elevation, which helped prevent water from pooling around the base. This helped keep the wood dry and protected from moisture.
Once everything was in place, I tested the furniture by sitting on it and using it for a few days. It was comfortable, stable, and looked great in my garden. I was proud of the finished product and felt like I had created something truly special.
The finishing touches are what make your project stand out — they're the details that matter.
Related: How to diy wooden garden house
Maintaining Your DIY Lawn Furniture
I made it a habit to clean the furniture every few weeks with a mild soap and water solution. This helped remove any dirt or debris that had accumulated over time. I also used a soft cloth to wipe down the surface and avoid scratching the finish.
Every spring, I would reapply the weather-resistant stain and polyurethane finish to maintain the protection against the elements. This helped ensure the furniture remained in good condition and didn't show signs of wear or damage.
I also made sure to store the furniture under a cover during the winter months to protect it from heavy rain and snow. This helped extend its lifespan and kept it looking like new for the next season.
Incorporating Built-In Storage and Utility Features
Integrating built-in storage into your DIY lawn furniture can be done by attaching shallow shelves or drawers directly to the frame. For example, I added a 6-inch-deep shelf to the back of a bench using 1x4 cedar boards and 1-inch screws, which took about 45 minutes. The shelf can hold outdoor cushions, gardening tools, or decorative items, keeping them off the ground and out of the way. This not only adds utility but also enhances the visual appeal of the piece.[3]
To create a more functional seat, I incorporated a hidden compartment beneath a bench by using a hinged panel. The panel was cut from 3/4-inch MDF and attached to the bench frame with piano hinges, allowing it to open easily. I used a 1x2 board as a handle for easier access, and sealed everything with a weather-resistant polyurethane to protect against moisture. This compartment can store items like lawn chairs, umbrellas, or even a small first-aid kit.
When designing with utility in mind, consider the weight capacity of the storage areas. I tested mine by placing 20 pounds of sand in the compartment and found it held without sagging. It’s also important to ensure that any added features don’t compromise the structural integrity of the furniture. I reinforced the frame with additional cross braces and used 2x4 lumber for the support beams, which added about $15 to the total material cost but made the furniture significantly sturdier.[4]
💰 Budget Build
Use reclaimed wood and basic hardware to create a cost-effective lawn furniture set that still looks great.
⏰ Weekend Version
Complete the project in a single weekend with a simple design and minimal tools required.
✨ Upgraded Finish
Add a high-quality stain and polyurethane finish to create a more refined and durable outdoor set.
🛋️ Small-Space Adaptation
Create a compact set of furniture that's perfect for small gardens or patios.
🏡 Rental-Safe Option
Build a lightweight, portable set that's easy to move and ideal for rental properties.
| The mistake | Why it happens | The fix |
|---|---|---|
| Not measuring the pieces before cutting | This can lead to mismatched joints or pieces that don't fit together properly. | Always measure twice and cut once. This helps ensure accuracy and prevents wasted materials. |
| Skipping the weatherproofing step | Without proper protection, the wood can rot, warp, or fade over time. | Always apply a weather-resistant stain and polyurethane finish to protect the wood from the elements. |
| Using the wrong type of screws or hardware | Using non-galvanized screws can lead to corrosion and weaken the joints over time. | Use galvanized screws and brackets, which are resistant to rust and will hold up better in outdoor conditions. |
| Ignoring the importance of a level during assembly | An uneven frame can cause the furniture to wobble or feel unstable when used. | Always use a level to ensure the frame is even on all sides before tightening the screws completely. |
The Lawn Furniture
Common Questions
What kind of wood is best for DIY lawn furniture?
How long does it take to build a set of DIY lawn furniture?
What tools are needed for this project?
How much does it cost to build DIY lawn furniture?
References
- Outdoor Furniture and Fixtures Guidelines - Annapolis.gov (annapolis.gov)
- Clean Outdoor Items Before Moving Them | USDA APHIS (aphis.usda.gov)
- Manufacturer's Profile - Idaho Wood Products Directory - Detail page (bber.umt.edu)
- KI: The Trusted Expert for Contract Furniture Solutions | KI (cdlink.aims.wisc.edu)
Cite this guide
DIY Wooden Garden Path Markers (2026). The Lawn Furniture. https://woodenroot.com/the-lawn-furniture/
Feel free to cite or share this guide.