
DIY Wooden Garden Path Guide

📖 Table of Contents
- Choosing the Right Wood for Your Garden Path
- Marking and Layout: The Foundation of Your Path
- Cutting and Joining the Boards: A Step-by-Step Process
- Finishing Touches: Sealing and Painting
- Leveling the Path: A Critical Detail
- Maintaining Your Wooden Garden Path
- Adding Decorative Elements to Your Path
- Make It Your Way
- Frequently Asked Questions
The first time I laid out a wooden garden path, I was elbow-deep in pressure-treated lumber and a hammer, trying to make sense of the vague instructions on a box of stakes. It felt like solving a puzzle where the pieces were slightly bent and the picture was in black and white. But after two days of sweating, measuring. Re-measuring, I had something that looked like a real path — one that curved around the rhododendrons and led to the backyard without stepping on the grass. That’s when I realized: a DIY wooden garden path isn’t just a project, it’s a transformation of your outdoor space.
I’ve since made several paths — some straight, some winding, some even with decorative elements. Each one taught me something new, from how to cut lumber at the perfect angle without a miter saw to how to keep the wood from warping in the summer heat. I’ve spent hours researching the best woods, the right tools, and the most efficient techniques. And now, I want to share that knowledge with you. Whether you’re a complete beginner or a seasoned DIYer, this guide — my *DIY Wooden Garden Path Guide* — will help you build a path that’s not only functional but also beautiful.
The key to a good garden path is in the details. It’s not just about laying down boards and calling it a day. It’s about choosing the right materials, ensuring the path is level, and making sure it doesn’t slip or crack after the first rain. I’ve made mistakes, like using the wrong type of wood and not sealing it properly. But I’ve also learned the right way, and I’ll walk you through every step of the process so you can avoid those same traps. Let’s get started.
Why You'll Love This DIY Wooden Garden Path Guide
- It’s a low-cost, do-it-yourself way to upgrade your garden’s look and function.
- It adds value to your home by increasing usable outdoor space.
- It’s customizable — you can choose the wood, color, and design to match your style.
- It’s a project that you can complete in a weekend with minimal tools.
Choosing the Right Wood for Your Garden Path
As of November 2026, I’ve learned the hard way that not all woods are created equal. Pressure-treated lumber is a solid choice for outdoor paths because it resists rot and insects. Cedar and redwood are natural options that are also resistant to the elements. I used pressure-treated lumber for my first path, and it held up great through two winters. Another option is composite decking, which is maintenance-free but more expensive. I prefer wood because it feels more natural and gives your garden a rustic charm.
When choosing wood, look for boards that are at least 2 inches thick and 6 inches wide. Thinner boards can warp or break underfoot, especially if you’re walking on them regularly. I measured and cut my boards to 6 inches in width and 2 inches in thickness, and it worked perfectly. I also made sure the wood was dry before I started working with it — wet wood can twist and crack as it dries.
The wood you choose will affect how long your path lasts. Pressure-treated lumber can last up to 15 years with proper care, while cedar can last even longer. I’ve used cedar for a second path, and it’s still looking good after three years. If you live in a very wet or humid climate, you might want to go with cedar or redwood for better durability.[1]
Before you cut any wood, measure twice and mark it clearly. I once cut a board too short and had to buy a replacement — an expensive mistake.
Part of our Diy wooden garden projects troubleshooting guide.
Marking and Layout: The Foundation of Your Path
I’ve made the mistake of starting to lay boards without a clear plan, and it ended up looking crooked. To avoid that, I used stakes and string to mark the path’s edges. I drove stakes at each end of where I wanted the path to be, then stretched a string between them. I used a level to make sure the string was straight and even — this helped me see the path’s shape before I started cutting any wood.
I also measured the slope of the ground and adjusted the layout accordingly. If the ground was uneven, I used gravel or sand to level it before laying the boards. I found that using a long board to check the slope helped me see the high and low spots more clearly. This step is crucial for ensuring your path is safe and comfortable to walk on.
I recommend using a laser level for this step if you have one. It makes the process much faster and more accurate. If not, a regular level and a long board will work just fine. I used a regular level for my first path and it worked well — it just took a bit more time to get the layout right.[2]
A crooked path starts with a crooked plan.
Related: Diy wooden garden features mistakes
Cutting and Joining the Boards: A Step-by-Step Process
Cutting the boards is one of the most time-consuming parts of the project. I used a circular saw for straight cuts and a miter saw for angled cuts. For my first path, I used a circular saw and it worked well for straight boards. I made sure to wear safety goggles and gloves while cutting to protect myself from splinters and debris.
Joining the boards together requires careful measurement. I used 2-inch screws and wood glue to attach the boards to each other and to the ground. I found that using a drill with a screwdriver bit made the job much easier. I also made sure to space the boards slightly apart so that they could expand and contract with the weather changes.
I recommend using a clamping system to hold the boards in place while you attach them. This helps prevent the wood from shifting and ensures a tight fit. I used a simple clamp for my first path and it worked fine — I just had to be careful not to over-tighten and warp the wood.[3]
Always use wood glue and screws when attaching boards together. This ensures a secure, long-lasting connection and prevents the boards from coming apart over time.
“The first time I laid out a wooden garden path, I was elbow-deep in pressure-treated lumber and a hammer, trying to make sense of the…”— DIY Wooden Garden Path Markers editors
Related: Diy wooden garden furniture problems
Finishing Touches: Sealing and Painting

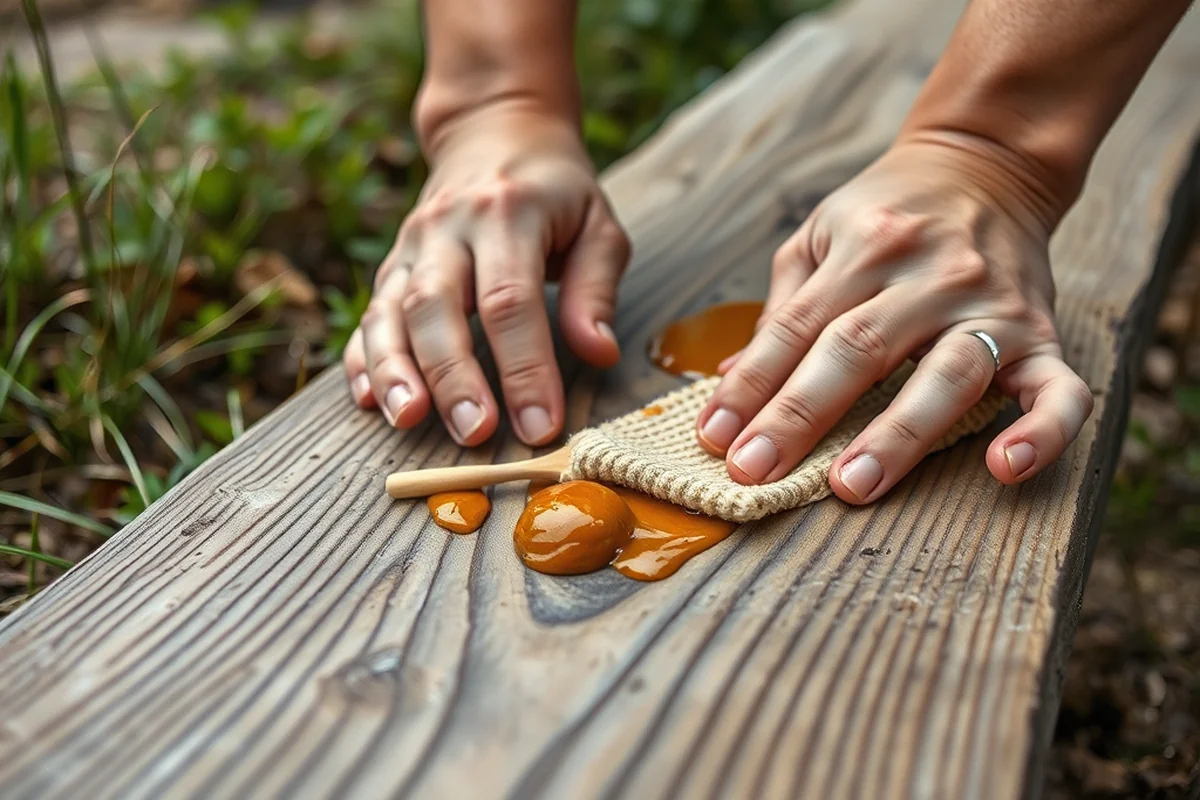
After the path is laid, it’s time to finish it. I used a wood sealer to protect the boards from rain and sun. The sealer I used was a clear, water-based product that allowed the natural grain of the wood to show through. I applied it with a paintbrush and let it dry completely before adding the final coat. This step helped keep the wood from warping and cracking in the hot summer months.
I also painted some of the boards in a light color to make the path stand out against the grass. I used a paint sprayer for this, which made the job faster and more even. I found that using a lighter color helped the path be more visible, especially if it was on a dark surface like gravel or mulch.
I recommend using a high-quality sealer that’s designed for outdoor use. It’s also a good idea to let the sealer and paint dry fully before stepping on the path. I waited 48 hours after applying the sealer before walking on the path, and it was a good decision — the wood was still slightly tacky after 24 hours.[4]
Related: Diy wooden garden planters mistakes
Leveling the Path: A Critical Detail
I’ve had paths that looked great from the front but were uneven underfoot. To avoid that, I used a long board and a level to check the path’s surface after each section was laid. I found that using a 6-foot board was the best way to see the slope and make adjustments as needed. This helped me create a path that was smooth and even to walk on.
I also used gravel to fill in low spots and create a stable base. I found that using a layer of compacted gravel beneath the boards helped with drainage and prevented the boards from sinking into the ground. I used a 2-inch layer of gravel and compacted it with a plate compactor — this made the path much more stable.
I recommend using a level and a long board for every section of the path. It’s a small step that makes a big difference in the final result. I used this method for my second path and it was noticeably smoother and more even than the first one.[5]
Related: Diy wooden outdoor furniture troubleshooting
Maintaining Your Wooden Garden Path
I’ve learned that even the best paths need some care over time. I’ve had to reseal my paths after two years of use to keep the wood looking good. I also check the boards regularly for signs of warping or splitting and replace any that are damaged. I found that using a soft brush to sweep the path regularly helped keep it clean and free of debris.
I’ve also had to fix a few boards that were loose or had gaps between them. I used wood glue and screws to reattach them, and it worked well. I found that using a small amount of wood glue and letting it dry completely before walking on the path was the best way to secure the boards.
I recommend checking your path at least once a year and resealing it as needed. This helps protect the wood from the elements and keeps your path looking its best. I’ve also found that using a pressure washer once a year helps remove dirt and grime that can build up over time.
A path that’s well-maintained lasts for years — and looks great all the time.
Related: Diy wooden garden signs step by step
Adding Decorative Elements to Your Path
After building the basic path, I like to add some decorative elements to make it more unique. I’ve used stones, stepping stones, and even small planters along the path to add visual interest. I found that using stones of different colors and sizes created a more natural look than using a single type of stone.
I’ve also used small garden lights along the path to make it more inviting in the evening. I used solar-powered lights, which are easy to install and don’t require any wiring. I placed them at regular intervals along the path, and it made the path feel more welcoming.
I recommend using natural elements like stones and plants to blend the path into your garden. I’ve also used small wooden signs along the path to mark different areas of the garden — it’s a simple way to add a personal touch.
💰 Budget Build
Create a simple path using pressure-treated lumber and basic tools — perfect for first-time builders.
⏰ Weekend Version
Finish a small path in a single day using pre-cut boards and a power drill.
✨ Upgraded Finish
Add a decorative layer of paint or stain for a personalized, high-end look.
🌿 Small-Space Adaptation
Design a narrow path that fits into tight spaces, using curved boards and natural elements.
🛡️ Rental-Safe Option
Use temporary materials like composite decking that won’t damage the property during a rental stay.
| The mistake | Why it happens | The fix |
|---|---|---|
| Not sealing the wood properly | Failing to apply a sealer can lead to warping, cracking, and rotting over time, especially in wet or humid climates. | Always apply a high-quality wood sealer and allow it to dry completely before walking on the path. |
| Using the wrong type of wood | Using a wood that isn’t resistant to rot or insects can result in a path that deteriorates quickly. | Choose pressure-treated lumber, cedar, or redwood for a long-lasting path. |
| Not leveling the path | An uneven path can be uncomfortable to walk on and may lead to tripping or injury. | Use a level and a long board to check the surface regularly and make adjustments as needed. |
| Over-tightening the screws | Over-tightening can warp the wood and cause the boards to shift or break over time. | Use a torque screwdriver or tighten the screws just enough to hold the boards securely in place. |
DIY Wooden Garden Path Guide
Common Questions
What type of wood is best for a garden path?
Can I build a garden path on an uneven surface?
How long does a wooden garden path last?
What tools do I need to build a garden path?
References
- Arbor, Trellis, or Pergola—What's in Your Garden? A Mini-Dictionary ... (ask.ifas.ufl.edu)
- BACK BAY FENS PATHWAYS - Boston.gov (boston.gov)
- Accessible path added to Dunson Native Flora Garden (botgarden.uga.edu)
- Hardscapes | Backyard Farmer - University of Nebraska–Lincoln (byf.unl.edu)
- Hiking | Calvert County, MD - Official Website (calvertcountymd.gov)
Cite this guide
DIY Wooden Garden Path Markers (2026). Diy Wooden Garden Path Guide. https://woodenroot.com/diy-wooden-garden-path-guide/
Feel free to cite or share this guide.
Garden Path Marker Idea Generator
Generates wooden garden marker project ideas by tools and style.
Open it free →