
Affordable Diy Wooden Garden Toys
📖 Table of Contents
I remember the first time I created a set of DIY wooden garden toys for my daughter. It was a warm afternoon in early spring, and the sun was casting long shadows across our backyard. I had spent the morning at a local lumber store, picking out scraps of wood and small pieces of hardware. The goal was simple: to make something safe, durable, and affordable that would let my daughter play outside without the constant fear of tripping over plastic toys. What I didn’t expect was how much joy I’d get from the process itself, and how the finished toys would become a favorite part of our summer days.[1]
The key to making affordable DIY wooden garden toys is in the details. I’ve spent the last few years experimenting with different techniques and materials, always keeping an eye on the budget. Whether you’re a first-time DIYer or a seasoned woodworker, there’s something here for you. I’ve tested everything from hand-carved toys to simple painted blocks. I’ve found that with the right tools, a little patience, and a few basic supplies, you can create something that’s not only fun but also built to last.[2]
These toys aren’t just for kids — they’re a way to bring your garden to life with a touch of creativity and craftsmanship. I’ve seen how these projects can transform a simple outdoor space into a playground, and how they can become cherished heirlooms passed down through generations. Whether you’re making a set for your own children or looking for a thoughtful handmade gift, the satisfaction of building something by hand is second to none.
Why You'll Love This Affordable DIY Wooden Garden Toy Project
- Create unique, one-of-a-kind toys that are perfectly tailored to your space and family's needs.
- Save money by repurposing scraps of wood and using affordable materials that still deliver quality.
- Enjoy the satisfaction of building something by hand that your children will cherish for years to come.
- Add a personal touch with custom paint, carvings, or engravings that make each toy truly special.
Choosing the Right Wood for Your Project
As of September 2026, I’ve found that cedar and pine are the best options for outdoor toys. Cedar is naturally resistant to rot and insects, making it perfect for the garden. Pine is more affordable and easier to work with, though it may need some protection from the elements. I always check the wood for knots or defects before cutting. If you’re working with scrap wood, make sure it’s clean and free of any chemicals or stains.
For small toys, like blocks or stacking rings, I often use 1x2s or 1x3s. For larger items, such as a toy cart or bench, a 2x4 is a good starting point. The thickness of the wood will affect the durability, so I always go for a bit heavier than I think is necessary. I’ve learned the hard way that thin wood can splinter or break easily, especially when used by young children.
I always sand the wood thoroughly before starting any project. This makes the finished product safer and ensures that the paint or stain adheres properly. If you're using pine, I recommend applying a coat of wood preservative or sealant to protect it from the weather. I’ve used Minwax Wood Preservative, and it’s worked wonders for extending the life of my toys.
Use cedar for its natural resistance to rot and insects, or pine if you're looking for a budget-friendly option that’s easy to work with.
Part of our Diy wooden garden room troubleshooting guide.
Designing Your Toy: Simple and Functional
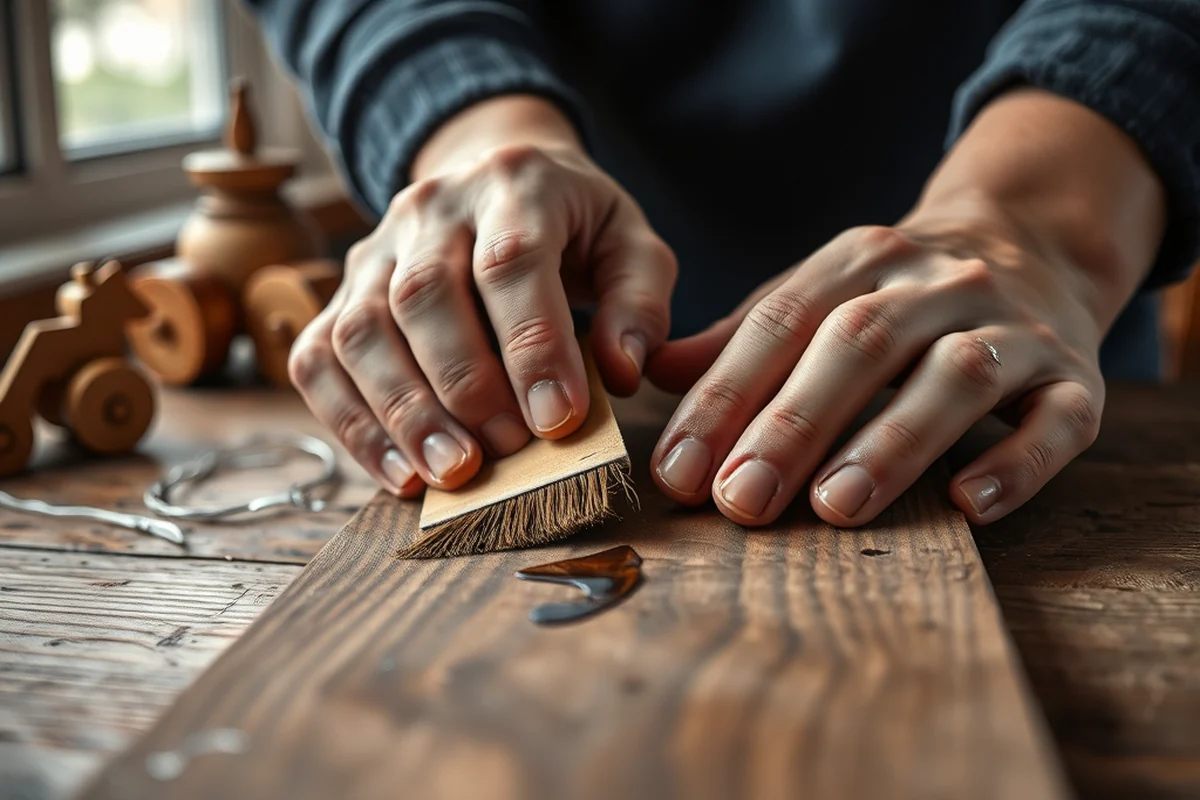
I always start with the purpose of the toy in mind. For example, if I’m making a toy cart, I think about how it will be used — will it be pulled by a child, or will it carry items? I sketch out a few ideas on paper before heading to the workshop. I’ve found that keeping the design simple not only makes the build easier but also reduces the chance of something breaking later on.
I’ve made a few toy carts with wheels and handles, but I’ve also made stacking rings, wooden blocks, and even a small garden bench. The key is to focus on the basics and build something that can withstand regular use. I always test the toy with my daughter before finalizing the design — her feedback is invaluable.
I’ve also experimented with making toys that can be used in multiple ways. For example, a set of wooden blocks can be used for stacking or even as a puzzle. I’ve found that these multi-functional toys tend to be more engaging and longer-lasting.
Design with purpose — every toy should have a clear function and be built to last.
Related: Cheap diy wooden garden toys
Related: Cheap diy wooden garden table
Related: Affordable Diy Wooden Garden Pathway
Cutting and Shaping Your Wood
I always use a miter saw or a circular saw for larger pieces. For smaller cuts, I prefer a hand saw or jigsaw, which gives me more control. I’ve found that a fine-tooth blade works best for cutting wood without leaving rough edges. I always measure twice and cut once — it’s a rule I live by.
I’ve also used a router to create smooth edges and rounded corners on some of my toys, especially for items that will be handled a lot. This not only makes the toy safer but also gives it a more finished look. I always wear safety glasses and a dust mask when using power tools — it’s a small precaution that can save you from injury.
After cutting, I always sand the edges down with medium-grit sandpaper. This helps to smooth out any splinters or rough spots. For a really smooth finish, I’ve used a belt sander on some of the larger toys. I’ve found that spending the extra time on this step makes the toy more enjoyable to use.
Take the time to measure and mark your wood carefully to ensure accurate cuts and a professional-looking finish.
“I remember the first time I created a set of DIY wooden garden toys for my daughter.”— DIY Wooden Garden Path Markers editors
Related: Cheap diy wooden garden border
Adding Details and Personalization
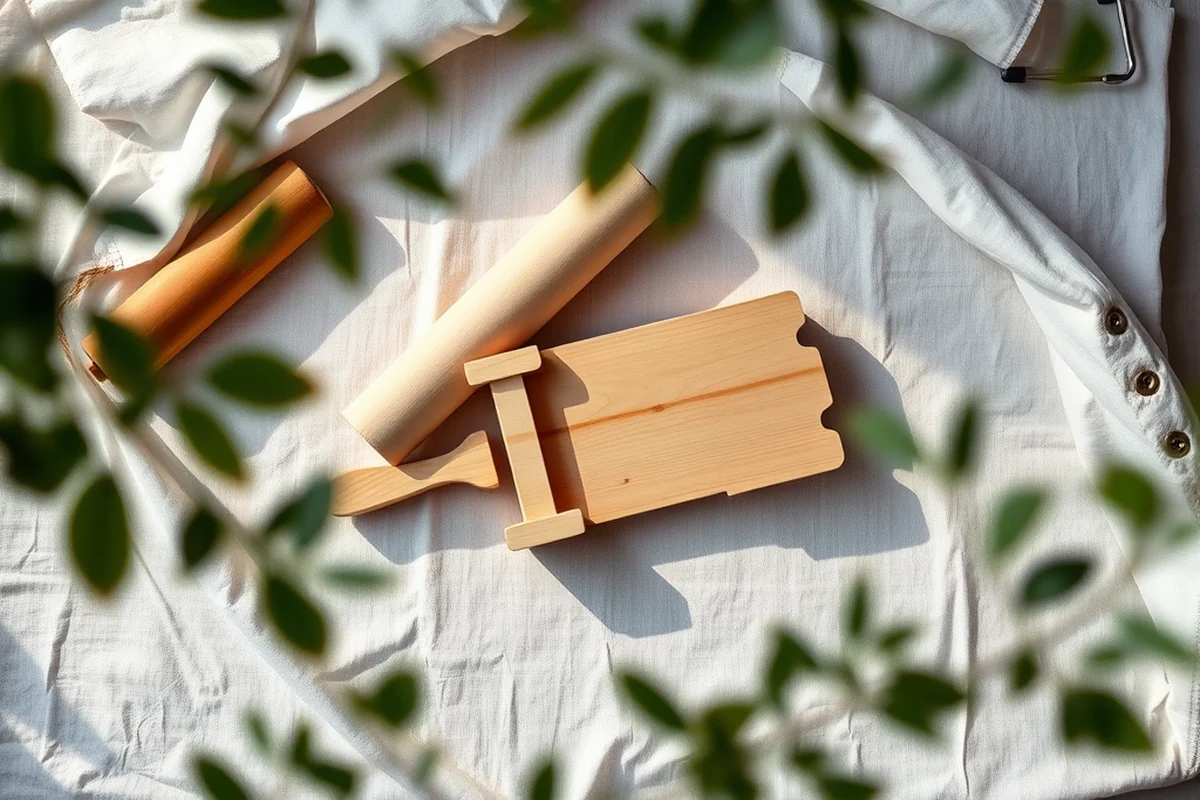
I love using paint to add color and personality to my toys. I’ve used both acrylic and wood stains, and both work well. For a more durable finish, I apply a clear coat of polyurethane after painting. This helps protect the paint from fading or chipping over time.
I’ve also used stencils and markers to add names or designs to some of my toys. It’s a simple way to make them feel more personal and unique. I’ve even used wood-burning tools to create intricate designs on some of my larger pieces. It takes a bit of practice, but the results are always worth it.
For a more rustic look, I’ve used sanding to create a distressed finish on some of the toys. I’ve also used wax or oil to give them a natural sheen. These techniques add character and help the toys blend seamlessly into an outdoor space.
Related: Affordable diy wooden garden trug
Assembling Your Toy with Care
I always use wood glue to join the pieces together. I’ve found that a good quality wood glue is essential for creating a strong bond. For larger pieces, I use screws or nails for extra support. I always make sure the joints are tight before applying any glue or fasteners.
I’ve used dowels to create hinges or pivots on some of my toys, like a wooden seesaw or a swing. I’ve found that using a bit of wood glue and a small amount of epoxy helps keep the dowels in place. I always test the joints by moving them a few times before securing them permanently.
After assembling the toy, I always check for any rough spots or splinters. I’ve found that taking the time to smooth everything out after assembly makes the toy much more enjoyable to use. I also test the toy with my daughter before finalizing it — her input is always useful.
Related: Affordable diy wooden garden signs
Finishing Touches for Longevity
I always apply a coat of wood preservative or sealant to protect the toy from the elements. For a more natural look, I’ve used linseed oil or beeswax. These finishes are easy to apply and give the wood a beautiful sheen. I’ve found that applying a second coat after a few days gives the best results.
For toys that will be used indoors or in shaded areas, I’ve used a clear water-based polyurethane. This helps protect the wood without affecting the color or texture. I always apply the polyurethane in a well-ventilated area and let it dry completely before using the toy.
I’ve also used decorative elements like metal hardware, rope, or even fabric to add interest to some of my toys. These details help make the toy more engaging and give it a finished look. I’ve found that adding these small touches can make a big difference in the overall appearance and durability of the toy.
A little extra care in finishing can make all the difference in how long your toy lasts.
Testing and Enjoying Your Toy
Once the toy is finished, I always test it with my daughter. This gives me a chance to see how it feels to use and whether there are any rough spots or areas that need adjustment. I’ve found that her feedback is always the best way to know if something is working well.
I’ve also tested the toys in different weather conditions to see how they hold up. I’ve found that cedar toys are more resistant to the elements, but even pine toys can last a long time if they’re properly sealed. I’ve also made sure to test the mobility of any moving parts, like wheels or hinges.
After a few uses, I always check for any signs of wear or damage. I’ve found that maintaining the toy regularly — like reapplying sealant or tightening any loose parts — helps keep it in good condition. I’ve also made sure to store the toys in a dry place when not in use to prevent any damage from the elements.
💰 Budget Build
Use scrap wood and basic tools to create a simple, functional toy that’s perfect for a low-cost project.
⏰ Weekend Version
Complete a project in one weekend with pre-cut wood and easy assembly for quick results.
✨ Upgraded Finish
Add a custom paint job and wood stain for a more polished and long-lasting look.
🏡 Small-Space Adaptation
Create smaller, compact toys that are perfect for limited outdoor areas or indoor play.
🏠 Rental-Safe Option
Build a toy that can be easily disassembled and stored for use in rental properties or temporary spaces.
| The mistake | Why it happens | The fix |
|---|---|---|
| Not sanding the edges properly | This can lead to splinters or rough spots that may be harmful to children. | Always use medium-grit sandpaper and spend time smoothing out every edge and corner. |
| Using the wrong type of wood | Using wood that isn’t resistant to the elements can cause the toy to rot or break quickly. | Stick to cedar or pine, and apply a wood preservative to protect it from the weather. |
| Skipping the sealant step | This can cause the wood to absorb water, leading to warping or splitting over time. | Always apply a coat of wood preservative or sealant after painting or staining. |
| Using small parts that can be swallowed | This is a serious safety hazard for young children. | Avoid using any small parts or pieces that could be easily removed and swallowed. |
Affordable Diy Wooden Garden Toys
Common Questions
What tools do I need to make these toys?
How long does it take to make a toy?
Can I use recycled wood for this project?
How do I ensure the toy is safe for my child?
References
- Red Toolbox Recalls Stanley-Branded Jr. Kids Garden Sets Due to ... (cpsc.gov)
- Ogden City Council Work Session (ogdencity.gov)
Cite this guide
DIY Wooden Garden Path Markers (2026). Affordable Diy Wooden Garden Toys. https://woodenroot.com/affordable-diy-wooden-garden-toys/
Feel free to cite or share this guide.