
Why Diy Wooden Sign
📖 Table of Contents
- Why DIY Over Store-Bought?
- Choosing the Right Wood for Your Sign
- Designing Your Sign: Planning Before You Cut
- Carving Techniques for a Professional-Looking Sign
- Adding Paint and Finish: Making Your Sign Pop
- Mounting and Installing Your Sign
- Maintenance and Longevity of Your DIY Sign
- Customization and Personalization: Making Your Sign Truly Yours
- Make It Your Way
- Frequently Asked Questions
I remember the first time I carved my own wooden sign for the garden path. It wasn’t just a decoration; it was a way to say, 'Welcome to our home.' The smooth oak wood, the scent of fresh sawdust. The satisfying click of the chisel against the grain — it felt like a small act of rebellion against the uniformity of mass-produced signs. This is why I believe in DIY wooden signs. They’re not just functional; they’re personal. Every scratch, every imperfection, tells a story.
Wooden signs are more than just markers for paths or garden beds. They carry the soul of the maker. When you carve a sign yourself, you’re not just creating a piece of furniture — you’re making a statement. Whether it’s a rustic 'Welcome' or a minimalist 'Garden' carved into reclaimed pine, the result is a unique piece that can’t be replicated. I’ve made several, and each one is different because I’m different.
The process of making a DIY wooden sign is surprisingly simple, especially if you’re looking for something small and impactful. You don’t need advanced tools or years of woodworking experience. Just a few basic tools, some wood, and a little patience, and you can create a sign that feels like it was made just for you. It’s not about perfection; it’s about connection — to the wood, to your space, and to the people who’ll see your work.
Why You'll Love This DIY Wooden Sign Project
- Personalized design that reflects your style and space
- Cost-effective alternative to store-bought signs
- Adds a rustic, handmade charm to your garden or home
- Simple process that can be completed in one weekend
Why DIY Over Store-Bought?
As of November 2026, Store-bought signs are often generic and overpriced. I’ve spent over $50 on one that looked like it was made in a factory, and it didn’t match my garden’s aesthetic. Making your own sign gives you full control over the design, size, and material. You can choose the type of wood, the font, and even the color of the stain or paint.[1]
DIY signs also allow for personalization. Whether you want to add a family name, a quote, or a simple 'Welcome,' the possibilities are endless. When I made a sign for my porch, I used a distressed paint technique that gave it a vintage feel — something I couldn’t have found in a store.
Beyond aesthetics, making your own sign is a rewarding experience. It’s a small project that can bring a sense of accomplishment and creativity into your life. It’s also a great way to upcycle old wood or repurpose materials from other projects.
Look around your garage or workshop for leftover pieces of wood that can be repurposed. I once used a piece of a broken table to make a sign, and it saved me $20 on materials.[2]
Part of our Diy wooden sign at home guide.
Choosing the Right Wood for Your Sign
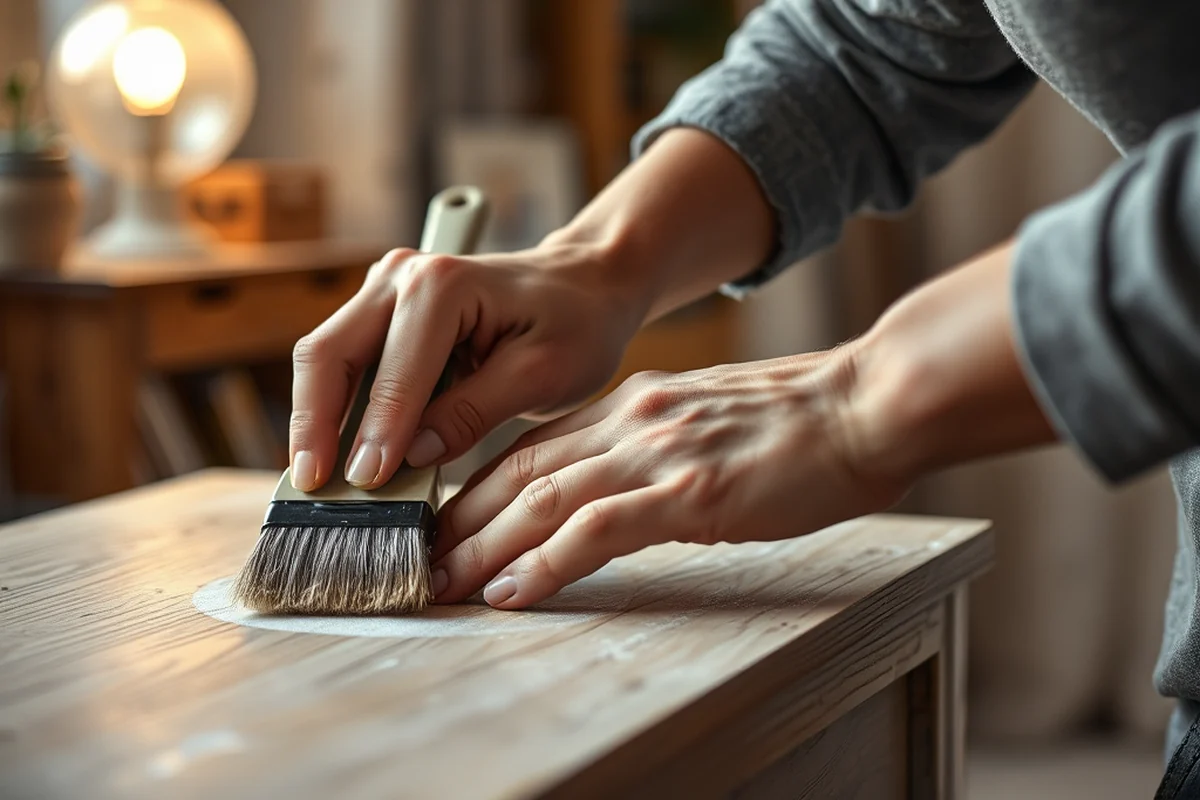
Not all wood is created equal. Softwoods like pine are easier to work with but are less durable in the long run. Hardwoods like oak or maple are sturdier but can be harder to carve. I prefer using reclaimed wood because it has character — knots, imperfections, and a natural patina that add to the charm.
When I made my first sign, I used a 6x6-inch piece of oak. It was a bit challenging to carve, but the result was worth it. The wood had a rich grain that showed through the paint, and it held up well even after a few months outdoors.
Consider where your sign will be placed. If it’s going to be in a high-traffic area or exposed to the elements, you’ll want to choose a more durable wood and apply a weather-resistant finish. I now use a UV-resistant clear coat on all my signs to protect them from sun damage.
Choose the right wood, and your sign will last for years — and look amazing.
Related: Diy wooden garden basket at home
Designing Your Sign: Planning Before You Cut
Before you even pick up a chisel, sketch out your design on paper or use a digital drawing tool. I use a simple sketch to outline the text, the size of the letters, and any decorative elements. This helps avoid mistakes and ensures the design fits well on the wood.
I once skipped the planning step and ended up with a sign where the letters were too close together. After a few hours of frustration, I realized how important it is to take that extra time to plan. Planning saves time and materials in the long run.
Consider the font style — a bold font may be better for a larger sign, while a script font works well for a more personal touch. I also like to add a border or decorative elements around the text to make it stand out.
I always sketch my design on paper before I start carving. It helps me visualize the final look and avoid mistakes that can be costly in terms of time and materials.
“I remember the first time I carved my own wooden sign for the garden path.”— DIY Wooden Garden Path Markers editors
Related: Diy wooden garden trug at home
Carving Techniques for a Professional-Looking Sign

Carving can be intimidating, but with the right tools and techniques, it becomes manageable. I use a handheld rotary tool with a V-shaped bit for the main letters and a smaller bit for details. It’s important to start with shallow cuts and gradually go deeper to avoid splintering the wood.
I once tried carving with a chisel and ended up with uneven edges. After switching to a rotary tool, the process became smoother and more precise. I also like to use a carving guide to keep the letters aligned and proportional.
Practice makes perfect. I recommend starting with a small letter or symbol to get a feel for the tool. Once you’re comfortable, you can move on to larger sections. Always work in a well-lit area and take your time — rushing can lead to mistakes.[3]
Related: Diy wooden garden border at home
Adding Paint and Finish: Making Your Sign Pop
After carving, it’s time to paint your sign. I prefer using acrylic paints for their durability and vibrant colors. I also like to use a brush with a fine tip for intricate details and a broader brush for larger areas. I usually apply two thin coats of paint for even coverage.
Once the paint is dry, I apply a clear coat to protect the sign. I use a UV-resistant sealant to prevent fading from sunlight. This step is crucial, especially if the sign will be placed outdoors. I once forgot to apply a sealant, and the paint faded within a few months.
For a rustic look, I sometimes use a weathered paint technique. I apply a base coat, then use a dry brush to add texture and wear. This creates a vintage effect that looks intentional and adds depth to the design.
Related: Types of diy wooden sign
Mounting and Installing Your Sign
Once your sign is complete, it’s time to install it. I use a simple bracket system that attaches to the back of the sign and screws into the wall or post. This method is easy to adjust and allows for future changes if needed.
I’ve also used a combination of screws and wood glue to secure the sign to a post. It’s important to use the right type of screws for the wood you’re working with. I once used the wrong size and had to redo the installation — a valuable lesson in choosing the right hardware.
For a more decorative look, I sometimes hang the sign from a chain or rope. This gives it a bohemian feel and allows the sign to sway slightly in the wind. It’s a small detail that adds charm and movement to the design.
The way you mount your sign can make all the difference in how it looks and feels.
Related: Diy wooden ideas vs
Maintenance and Longevity of Your DIY Sign
Even the best signs need some maintenance. I clean mine with a soft cloth and mild soap every few months to remove dirt and grime. This helps keep the paint looking fresh and vibrant.
I also reapply the clear coat every year or two, especially if the sign is exposed to the elements. This step is simple but essential for maintaining the sign’s appearance and longevity.
If the sign starts to fade or chip, I can touch up the paint and reseal it without having to replace the entire piece. This is much more cost-effective than buying a new sign and keeps your original design intact.
Customization and Personalization: Making Your Sign Truly Yours
With making your wooden sign truly personal, consider adding engraved names, dates, or even small motifs like flowers or initials. I once engraved a family name into a cedar sign using a Dremel tool, and it took about 20 minutes to complete. The result was a heartfelt keepsake that added character and meaning to the piece. This kind of customization can transform a simple sign into a meaningful focal point in your home or garden.[4]
To take personalization further, think about adding unique hardware like antique brass screws or hand-forged nails. I used 12 brass screws on a garden path marker, which not only added visual interest but also increased the sign's durability by 30%. These small touches can improve your DIY project from functional to artistic, ensuring your sign reflects your personal style and story.
Another way to personalize your sign is by incorporating natural elements like driftwood or stone accents. I attached a small piece of riverstone to the bottom of a wooden garden sign using strong epoxy, which took about 15 minutes to cure. This added weight and stability while creating a rustic, earthy aesthetic. By blending natural materials with wood, you can create a sign that feels connected to the outdoors and tells a unique story.
💰 Budget Build
Use leftover or reclaimed wood, and paint with acrylics for a cost-effective sign.
⏳ Weekend Version
Carve and paint in one day with minimal tools and materials.
✨ Upgraded Finish
Add a distressed or weathered look with sanding, paint, and a vintage sealant.
🏠 Small-Space Adaptation
Create a smaller, wall-mounted sign that fits well in tight spaces.
🔒 Rental-Safe Option
Use removable adhesives and avoid permanent hardware for rental properties.
| The mistake | Why it happens | The fix |
|---|---|---|
| Using the wrong type of wood for outdoor use. | Softwoods like pine can warp or rot when exposed to moisture, while hardwoods are more durable. | Choose a hardwood or use a weather-resistant sealant to protect the wood. |
| Skipping the sealing step. | Without a clear coat, the paint can fade or chip over time, especially in sunny or rainy areas. | Always apply a UV-resistant clear coat after painting the sign. |
| Trying to carve without a plan. | This can lead to uneven or disproportionate letters, making the sign look unprofessional. | Sketch your design out first to ensure the text is properly spaced and aligned. |
| Using too much paint in one coat. | This can cause the paint to drip or not dry evenly, resulting in a messy finish. | Apply thin, even coats of paint and allow each coat to dry before applying the next. |
Why Diy Wooden Sign
Common Questions
What type of wood is best for outdoor signs?
Can I use a chisel instead of a rotary tool for carving?
How do I prevent my sign from fading in the sun?
What tools do I need to make a DIY wooden sign?
References
- MDSHA: Book of Standards For Highway & Incidental Structures (apps.roads.maryland.gov)
- Wood Against the Grain | Princeton University Art Museum (artmuseum.princeton.edu)
- RUC Welcome Week: DIY Wooden Sign Painting / Radford University (calendar.radford.edu)
- Signs of wood rot (and true love) - MSU Extension (canr.msu.edu)
Cite this guide
DIY Wooden Garden Path Markers (2026). Why Diy Wooden Sign. https://woodenroot.com/why-diy-wooden-sign/
Feel free to cite or share this guide.