
Diy Wooden Garden Planters Checklist
📖 Table of Contents
There’s something deeply satisfying about standing in your garden and seeing your own hands have shaped the space around you. I remember the first time I built my own wooden planter — the scent of fresh-cut lumber, the way the wood felt in my hands, the way sunlight filtered through the slats I had carefully spaced. It wasn’t just a planter; it was a testament to a weekend of focus and effort. That’s the magic of a DIY wooden garden planter checklist — it gives you the tools, the steps, and the confidence to bring your vision to life, one board at a time.[5]
Every garden deserves a little love, and a well-crafted planter can be the perfect starting point. But let’s be honest: building one from scratch can feel overwhelming if you don’t know where to begin. That’s where a checklist becomes invaluable. It’s not just a list of steps; it’s a roadmap that ensures you don’t miss a single detail, from choosing the right wood to applying the perfect finish. With the right plan, even a first-time DIYer can walk away with a planter they’ll be proud to display and use for years to come.
As someone who’s built and maintained a variety of planters over the years, I can tell you from experience that the right checklist makes all the difference. It’s not just about saving time — it’s about avoiding costly mistakes, ensuring your planter is durable, and making sure your plants have the best possible start. Whether you're creating a minimalist planter for a small balcony or a large, rustic design for your backyard, a DIY wooden garden planter checklist will be your trusted guide through the entire process.
Why You'll Love This DIY Wooden Garden Planter Checklist
- Saves you time by organizing all necessary steps into a clear sequence
- Helps you avoid common mistakes that can ruin your project
- Ensures your planter is built with durability and style in mind
- Empowers you to create a custom planter that reflects your personal taste
Choosing the Right Wood for Your Planter
As of September 2026, I recommend starting with cedar or redwood — both are naturally resistant to rot and insects. They’re slightly more expensive but will last years outdoors with minimal maintenance. If you’re on a budget, pressure-treated pine is a solid alternative. I built a planter with pressure-treated pine two years ago, and it still looks great. Just be sure to sand it well and apply a water-resistant sealant.[1]
Another option is to use reclaimed wood, which adds character and sustainability to your project. I once used old pallet wood for a planter, and the patina of the wood gave it a rustic charm that I loved. However, reclaimed wood often needs more preparation — it may have splinters, knots, or warping that must be addressed before you start.
No matter which wood you choose, always check for knots, warping, and the overall quality. A good planter requires strong, even boards that can hold up to the weight of soil and plants. I’ve had to rework a planter before because the wood wasn’t properly treated, and the planter started to rot after just a few months.
Opt for cedar or redwood for long-term durability. If you're working with budget-friendly wood, use a quality sealant to protect it from the elements.
Part of our Diy wooden outdoor furniture checklist guide.
Measuring and Cutting the Wood
I always start by sketching out the planter dimensions on paper. For a standard planter, I recommend a width of around 24 inches, a depth of 12 inches, and a height of 16 inches. These proportions give a good balance between usability and visibility of the plants.[2]
Once I have the dimensions, I use a tape measure and a pencil to mark the wood. I then cut the pieces with a miter saw — it’s faster and more accurate than a hand saw. If you don’t have a miter saw, a circular saw with a straight edge can work just as well. I once built a planter with a circular saw and a straight edge, and it came out perfectly straight.
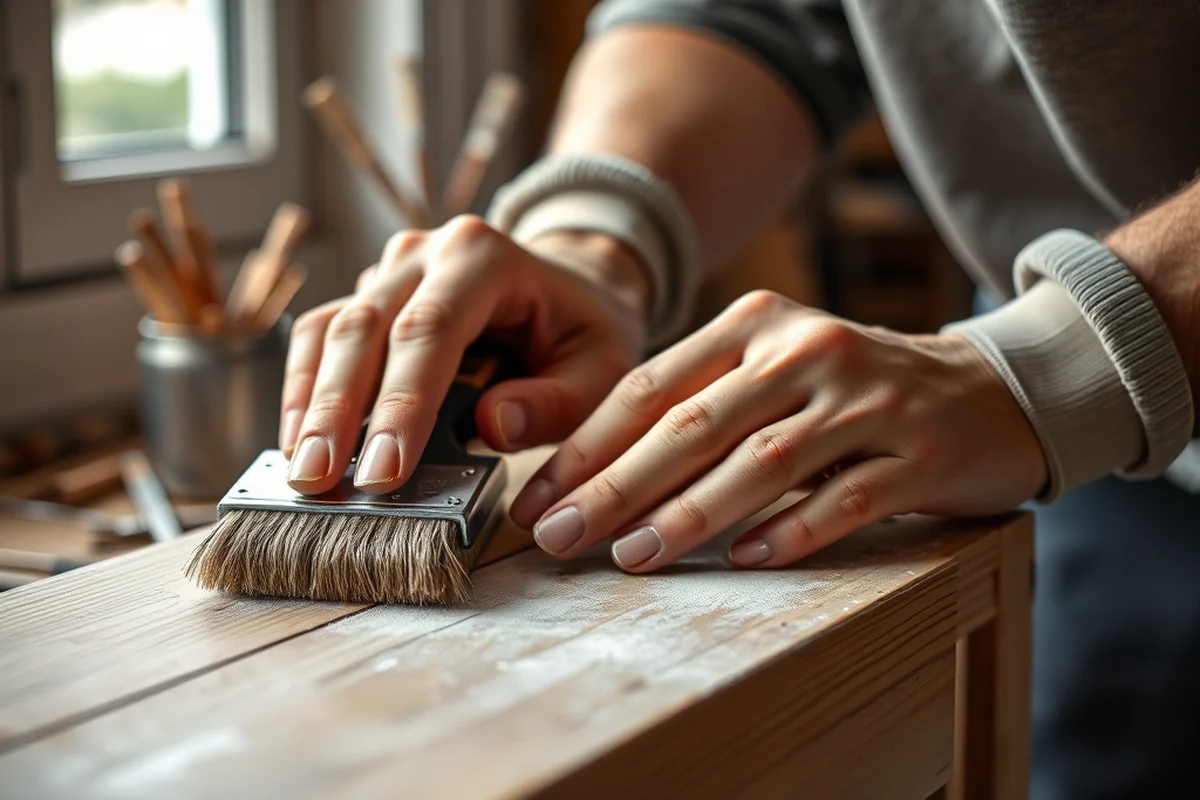
After cutting, I always sand the edges of the wood with 120-grit sandpaper to remove any splinters or rough spots. This step is crucial for both safety and the final look of your planter. I once skipped this step and ended up with a planter that felt rough under the touch — not a great experience.[3]
Measure twice, cut once — and you’ll thank yourself later.
Related: Diy wooden outdoor furniture benefits
Related: Top diy wooden outdoor furniture
Related: Diy wooden garden ornaments checklist
Assembling the Frame
I use wood screws and a drill to attach the sides, back, and bottom of the planter. I always start with the bottom and sides, securing them with screws spaced about 6 inches apart. This ensures even support. I’ve found that using a screw guide can help keep the screws aligned and evenly spaced.
For the front and back, I attach them with screws as well. I always make sure the frame is square by checking the diagonals with a measuring tape — if they are equal, the frame is square. I once built a planter that wasn’t square, and it looked lopsided. It was a minor issue, but it did affect the overall appearance.
After assembling the frame, I place it on a flat surface and check for stability. If it wobbles, I adjust the screws or add extra support where needed. I once had to reinforce a corner with a small piece of scrap wood because the frame was too loose. It was a quick fix but made a big difference.
Use a measuring tape to check the diagonals of your frame — if they are equal, the frame is square. This ensures a sturdy and visually balanced planter.
“There’s something deeply satisfying about standing in your garden and seeing your own hands have shaped the space around you.”— DIY Wooden Garden Path Markers editors
Related: Diy wooden outdoor furniture not working
Related: Why diy wooden outdoor furniture
Adding the Slats and Drainage
I usually cut the slats to fit the width of the planter, spacing them about 1 inch apart. This spacing allows for proper airflow and drainage. I used a saw to cut the slats and a ruler to ensure even spacing. I once spaced them too far apart, and the planter started to collect too much water — not a good situation for the roots.
For drainage, I attach a small piece of mesh or hardware cloth to the bottom of the planter before adding the soil. I also drill a few small holes in the bottom to let excess water escape. I’ve found that even a few drainage holes make a big difference in preventing root rot and overwatering.
After attaching the slats, I use wood screws to secure them to the frame. I always check for stability — if the slats are loose, they can shift over time. I once had slats that weren’t properly secured, and they started to sag after a few weeks. It was a simple fix, but I had to take the time to do it right.
Finishing the Planter
I always apply a water-resistant sealant to the wood after assembling the planter. I use a brush to apply the sealant evenly, making sure to cover all surfaces. I let it dry completely before applying a second coat — usually after 24 hours. I once skipped the second coat, and the planter started to absorb water, which made it look dull over time.[4]
For a more natural look, I sometimes use a wood stain instead of a sealant. I apply it with a brush, let it dry, and then add a clear coat of polyurethane. This gives the planter a smooth, finished look while still protecting it from the weather. I’ve used this method on a couple of planters, and the results have been fantastic.
I also like to add a touch of personality by painting the planter in a bold color or adding decorative elements like carved patterns or metal accents. I once painted a planter with a bright yellow color, and it became a focal point in my garden. It was a fun way to add some color and make the planter stand out.
Planting and Enjoying Your New Planter
I always start by filling the planter with a mix of potting soil and compost to give the plants the best start. I make sure the soil is loose and well-draining — this helps prevent water from pooling at the bottom. I’ve found that using a quality potting mix makes a big difference in how well the plants grow.
I plant the plants in the planter, spacing them out so they have room to grow. I always water them thoroughly after planting to help the soil settle around the roots. I once skipped this step, and the plants started to wilt within a few days. It was a quick fix, but I learned the importance of proper watering.
After planting, I place the planter in a spot that gets the right amount of sunlight for the plants. I also make sure to water them regularly and monitor their growth. I’ve had some amazing successes with my planters — I once planted a small succulent that grew into a full-sized plant in just a few months. It was a great feeling to see the results of my work.
Every plant you put in your planter is a step toward a greener, more beautiful garden.
Maintaining Your Planter Over Time
I make it a habit to clean my planters at least once a year. I use a soft brush and water to remove dirt and debris. I’ve found that cleaning them regularly helps prevent mold and mildew from forming. I once neglected to clean a planter, and it started to look dull and discolored — not a great look for a garden.
I also check the sealant on the planter every few years to make sure it’s still intact. If the wood starts to look dry or cracked, it’s time to reapply the sealant. I’ve had to reseal a couple of planters before, but it’s a quick and easy process. I usually apply a fresh coat of sealant and let it dry completely before using the planter again.
Lastly, I make sure to inspect the planter for any signs of wear or damage. If the wood starts to rot or the slats become loose, I address the issue as soon as possible. I once had a planter that needed a few slats replaced, and it was a simple fix that kept the planter looking good for years.
💰 Budget Build
Use pressure-treated pine and basic tools to create a sturdy planter without breaking the bank.
⏰ Weekend Version
Build a simple planter in just one day with minimal materials and effort.
✨ Upgraded Finish
Add a custom wood stain and hardware accents for a more refined and elegant look.
🌱 Small-Space Adaptation
Create a compact, wall-mounted planter ideal for balconies or patios with limited space.
🚪 Rental-Safe Option
Use a lightweight, temporary planter that can be easily removed and stored without damaging the property.
| The mistake | Why it happens | The fix |
|---|---|---|
| Using untreated wood without a sealant | Untreated wood is vulnerable to rot, insects, and warping, which can cause your planter to deteriorate quickly. | Always apply a water-resistant sealant or paint to protect your planter from the elements. |
| Skipping the step of checking if the frame is square | A planter that isn’t square can look lopsided and may be unstable over time. | Use a measuring tape to check the diagonals of your frame. If they are equal, the frame is square. |
| Not ensuring proper drainage | Without drainage holes or a mesh layer, your plants can suffer from root rot and overwatering. | Always add a drainage layer and drill a few small holes in the bottom of the planter. |
| Using the wrong type of wood for the climate | Some woods are better suited for certain climates than others. Using the wrong type can lead to warping or rotting. |
Diy Wooden Garden Planters Checklist
Common Questions
What’s the best wood for a planter that will last in the garden?
Can I build a planter without any power tools?
How long does it take to build a planter?
Do I need to use a sealant on the wood?
References
- Planting Guide for Home Gardening in Alabama (aces.edu)
- Seasonal Gardening Resources | New Mexico State University (bernalilloextension.nmsu.edu)
- county of santa cruz - water efficient landscape ordinance (cdi.santacruzcountyca.gov)
- city of la mesa objective design standards checklist (cityoflamesa.gov)
- Designing Your School Garden: Kindergarten through Fifth Grade (content.ces.ncsu.edu)
Cite this guide
DIY Wooden Garden Path Markers (2026). Diy Wooden Garden Planters Checklist. https://woodenroot.com/diy-wooden-garden-planters-checklist/
Feel free to cite or share this guide.