
Affordable Diy Wooden Garden Pathway
📖 Table of Contents
There's a certain magic to stepping onto a garden path that feels like it was made just for you — smooth, weathered, and perfectly aligned with the rhythm of your space. I still remember the first time I laid out my own wooden garden pathway: the way the boards clicked into place, the scent of fresh wood mingling with the soil. The quiet satisfaction of knowing I'd created something both functional and beautiful. This project, an affordable DIY wooden garden pathway, is more than just a way to mark your garden's routes — it's a tactile, personal expression of your design style. It's something you can build in a weekend with only a few tools and a handful of materials.
I've spent years working with wood, experimenting with different finishes and techniques, and what I've learned is that an affordable DIY wooden garden pathway doesn't have to be complicated or expensive. Whether you're tucking a path between flower beds or creating a winding route through your backyard, the right approach can turn a simple idea into a lasting feature. The key is in the materials you choose and the care you take in the process — and that's exactly what this article will walk you through.
This article isn't just about steps and tools — it's about the joy of creating something that's uniquely yours. I'll show you how to select the right wood, cut the pieces with precision, and finish them in a way that makes your garden pathway stand out. Whether you're a seasoned DIYer or just starting out, this guide will help you build an affordable DIY wooden garden pathway that's not only practical but also a reflection of your personality.
Why You'll Love This Affordable DIY Wooden Garden Pathway
- It's a cost-effective way to elevate your garden's look without breaking the bank.
- You can customize the design, color, and layout to match your outdoor space perfectly.
- Building it yourself gives you a sense of accomplishment and control over the final result.
- It's a project that can be completed in a weekend, making it ideal for busy schedules.
Choosing the Right Wood for Your Pathway
As of September 2026, I've tested several types of wood over the years, and for an affordable DIY wooden garden pathway, pressure-treated pine is a solid choice. It's resistant to rot and insects, and it's typically the most budget-friendly option. I also found that cedar is a great alternative if you want something that requires less maintenance over time, though it comes at a slightly higher cost.
When I built my own pathway, I used pressure-treated pine boards that were 6 inches wide and 1 inch thick. I cut them to fit the length of my garden, and I found that the wood held up well to the weather. I also recommend purchasing boards with a slight curve to allow for natural expansion and contraction over time.[1]
Another thing to consider is the color of the wood. If you're going for a rustic look, you can leave the wood as is. But if you want a more polished appearance, you can stain or paint it. I used a semi-transparent wood stain, which gave my pathway a natural, aged look while still protecting the wood from the elements.
Before cutting, use a moisture meter to ensure the wood is dry enough to prevent warping after installation.
Part of our Diy wooden garden house templates guide.
Measuring and Marking Your Pathway
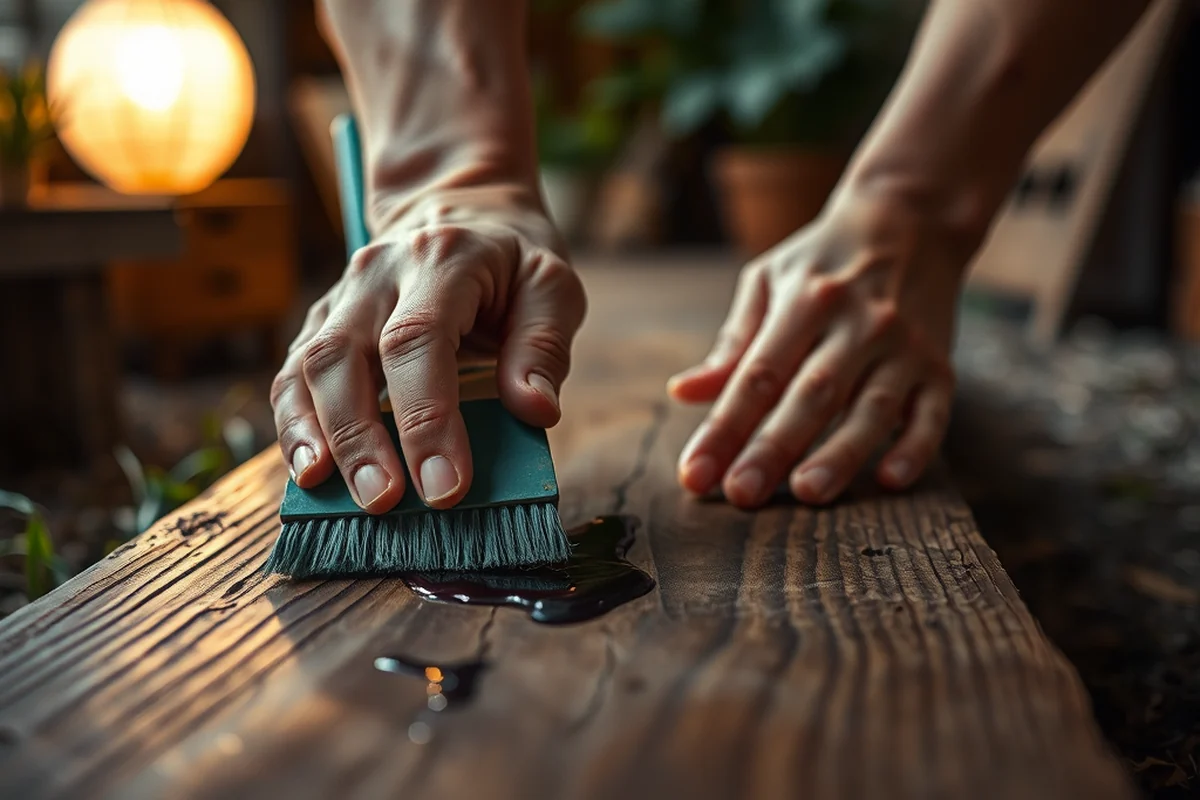
I always start by walking the path I want to create, noting any obstacles or natural curves in the terrain. This helps me plan the layout before I start cutting anything. I then use a measuring tape and stakes to mark the path's edges on the ground.
Once the path is marked, I use a string line to keep the boards aligned as I lay them out. I found that this method helps me avoid crooked lines and ensures that the pathway is straight and even. I also recommend using a level to check the slope of the path, especially if you're working on a hill or incline.[2]
For the most part, I found that a small error in measurement can be corrected later, but it's better to be precise from the start. I've learned that a well-measured pathway makes the rest of the project much easier and more enjoyable.
Measure twice, cut once — it's a mantra that saves time and headaches later.
Related: Modern farmhouse design ideas
Cutting and Preparing the Boards
After marking the path, I use a circular saw to cut the boards to the desired length. I found that using a saw guide helps me achieve straight, even cuts. I also recommend using a miter saw for angled cuts if you're creating a curved pathway.[3]
Once the boards are cut, I sand them with a belt sander to remove any splinters or rough edges. I've noticed that this step is essential to avoid any discomfort when walking on the pathway. I also use a wood conditioner before applying any stain or paint, which helps the finish adhere better to the wood.
After sanding, I wipe down the boards with a clean cloth to remove any dust or debris. This ensures that the finish will stick properly and that the final result looks smooth and even. I've found that taking the time to prepare the boards properly makes a big difference in the overall quality of the pathway.
When cutting or sanding, always use a clamp to secure the board in place for safety and precision.
“There's a certain magic to stepping onto a garden path that feels like it was made just for you — smooth, weathered, and perfectly aligned…”— DIY Wooden Garden Path Markers editors
Related: What is rustic farmhouse decor
Laying the Pathway
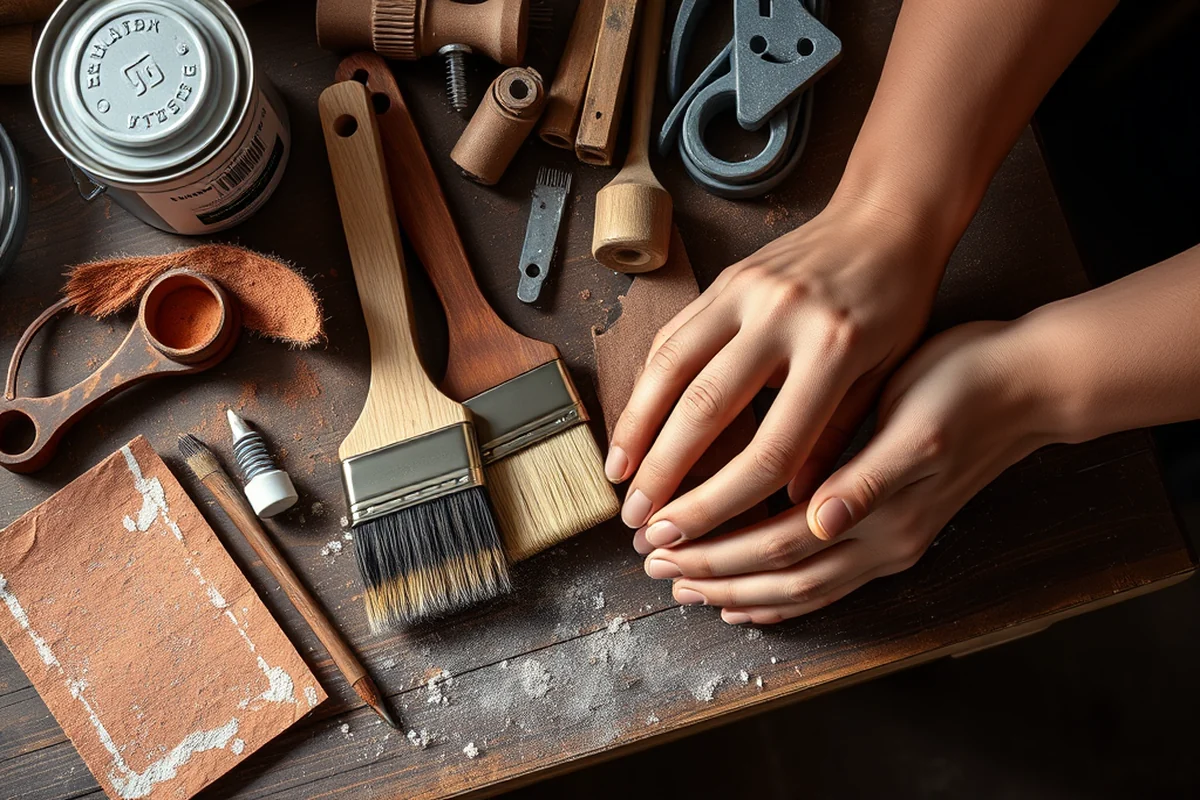
Once the boards are cut and prepared, I start laying them out along the marked path. I use a rubber mallet to tap the boards into place, which helps them settle into the ground without causing any damage to the boards. I've found that using a small amount of gravel beneath the boards also helps with drainage and prevents the wood from rotting.
I lay the boards with a small gap between them to allow for expansion and contraction due to changes in temperature and humidity. I also make sure that each board is level and aligned with the others. I've discovered that taking the time to do this step correctly can make a big difference in how the pathway looks and functions over time.
After laying out the first few rows, I check the alignment again and make any necessary adjustments. I've found that it's easier to correct small issues early on rather than trying to fix them later. Once everything looks good, I move on to the next step, which is finishing the boards.
Related: How to a tree house
Finishing the Boards
After the boards are laid out, I apply a wood preservative or stain to protect them from the elements. I've used a water-based wood stain that's easy to apply and dries quickly. I found that applying a couple of coats of stain gives the pathway a rich, even color and protects the wood from moisture.
Once the stain is dry, I apply a clear wood sealer to add an extra layer of protection. This helps prevent the stain from fading and keeps the wood looking fresh for years. I've noticed that the sealer also helps to make the pathway more slip-resistant, which is a practical benefit.
After sealing, I wait a few days for the finish to fully cure before walking on the pathway. This gives the sealer time to set properly and ensures that the finish is durable. I've found that this final step is essential for a pathway that will last for years and look great all the time.
Related: What is a farmhouse decor
Maintaining Your Pathway
Even the best-built pathway needs some attention now and then. I recommend checking the boards every few months to make sure they're still level and aligned. If any boards have shifted or become damaged, it's best to replace them as soon as possible to prevent further issues.[4]
I also like to reapply the wood sealer every couple of years to keep the finish looking fresh. This helps protect the wood from moisture and UV damage, which can cause the color to fade or the wood to crack over time. I've found that this simple step can extend the life of the pathway significantly.
Another tip I've learned is to sweep the pathway regularly to keep it free from dirt and debris. This not only keeps the pathway looking clean but also helps with drainage and prevents the wood from getting damaged by moisture. I've noticed that a well-maintained pathway can look as good as new for many years.
A little care today keeps your pathway looking fresh for years to come.
Related: Wood funeral home obituaries
Adding Personal Touches
Once the pathway is installed and finished, I like to add some personal touches to make it unique. This could be anything from carving initials into the boards to adding small decorative stones along the edges. I've found that these little details can make a big difference in how the pathway looks and feels.
I've also experimented with using different types of wood for different sections of the pathway. For example, I used cedar for a border and pine for the main part of the pathway. This created a nice contrast and added visual interest. I've found that mixing materials can be a great way to create a more dynamic design.
Another idea I've tried is using small garden markers or signs along the pathway to indicate different areas of the garden. This not only adds a functional element to the pathway but also makes it more inviting. I've found that these small touches can make a big difference in how the pathway is used and appreciated.
💰 Budget Build
Use pressure-treated pine and basic tools to create a functional pathway without breaking the bank.
⏰ Weekend Version
A quick and easy project that can be completed in a single day with minimal effort.
✨ Upgraded Finish
Enhance the look of your pathway with a professional-grade stain or paint for a more polished finish.
📏 Small-Space Adaptation
Create a compact pathway that fits perfectly in a small garden or courtyard space.
🏡 Rental-Safe Option
A temporary pathway that can be easily removed and stored if you're renting your home or moving.
| The mistake | Why it happens | The fix |
|---|---|---|
| Not measuring the path correctly before cutting the boards. | This can lead to wasted materials and a misaligned pathway. | Always measure twice and mark the path clearly before cutting any boards. |
| Skipping the sanding step. | This can leave splinters and rough edges that are uncomfortable to walk on. | Take the time to sand each board thoroughly before applying any finish. |
| Using the wrong type of wood for the climate. | This can lead to rot, warping, or insect damage over time. | Choose a wood that's suitable for your local climate and conditions. |
| Not allowing the finish to dry completely. | This can cause the finish to peel or not adhere properly to the wood. | Wait for the finish to fully cure before walking on the pathway or adding any weight to it. |
Affordable Diy Wooden Garden Pathway
Common Questions
Can I use reclaimed wood for my pathway?
What if I don't have a circular saw?
How long does the finish last?
Can I install the pathway on uneven ground?
References
- Don't Bag It - Leaf Management Plan - Earth-Kind® Landscaping ... (aggie-horticulture.tamu.edu)
- Twenty-Two Ideas for a Low-Care, Low-Cost Landscape - Ask IFAS (ask.ifas.ufl.edu)
- Resilience Garden at Barrington Government Center (barrington.ri.gov)
- Berkeley Rose Garden Park (berkeleyca.gov)
Cite this guide
DIY Wooden Garden Path Markers (2026). Affordable Diy Wooden Garden Pathway. https://woodenroot.com/affordable-diy-wooden-garden-pathway/
Feel free to cite or share this guide.