
Best Diy Wooden Garden Table
📖 Table of Contents
- Choosing the Right Wood for Your Garden Table
- Designing Your Table: Dimensions and Layout
- Cutting and Assembling the Frame
- Adding the Tabletop and Finishing Touches
- Finishing and Protecting Your Table
- Adding Comfort and Style with Accessories
- Maintaining Your DIY Garden Table
- Make It Your Way
- Frequently Asked Questions
I remember the first time I built my own wooden garden table — it was a sunny afternoon in late spring. I was surrounded by the scent of fresh pine and the soft hum of a power drill. The table had been a dream I’d tucked away for years, a way to finally have a place to sit and enjoy the garden without the hassle of buying something from a store. That table turned out to be more than just a piece of furniture; it became the heart of our backyard gatherings, from summer barbecues to quiet mornings with a book and a cup of coffee. And it all started with a few simple, affordable materials and a weekend of focused effort.[3]
Building a DIY wooden garden table is more than just a project — it's a way to bring your personal style into your outdoor space while saving money and reducing waste. I’ve built several tables over the years, each with its own unique twist, and I’ve learned a lot along the way. Whether you're a seasoned woodworker or a complete beginner, this project is achievable with the right tools and a little patience. The key is to pick the right materials, plan carefully, and take your time with each step. You’ll end up with something that's not just functional, but also a reflection of your personality and craftsmanship.[4]
The best DIY wooden garden table isn't just about aesthetics — it's about durability, comfort, and the joy of creating something by hand. I’ve tested different wood types, fastening methods, and finish options, and I've found that with the right approach, a homemade table can outlast many store-bought ones. It’s rewarding to see the table take shape, to feel the smoothness of the wood under your hands, and to know that every corner of it was made with care. This is the kind of project that leaves you with a sense of accomplishment and a sturdy, beautiful table that will serve you for years to come.[5]
Why You'll Love This DIY Wooden Garden Table
- Tailored to your garden’s size and style, with customizable dimensions and finishes.
- Built using eco-friendly materials and upcycled wood for a sustainable approach.
- Requires only basic tools, making it accessible for beginners and weekend DIYers.
- Adds a warm, natural touch to your outdoor space, enhancing its beauty and comfort.
Choosing the Right Wood for Your Garden Table
As of September 2026, I've tested several types of wood over the years, and I’ve found that pressure-treated pine is an excellent budget-friendly option for outdoor furniture. It resists rot and insects, and it’s widely available. For a more upscale look, cedar and redwood are natural choices — they’re resistant to decay and have a rich, warm color that enhances the garden’s ambiance.
Another option is to use upcycled wood, like pallets or old fence planks. This not only adds a rustic charm to your table but is also an eco-friendly choice. Just be sure to clean and sand the wood thoroughly before starting. I once used a set of old barn planks, and the table turned out to be one of the most unique pieces I’ve ever built.
No matter which wood you choose, it’s essential to let it dry out completely before assembling the table. This prevents warping and ensures a longer lifespan. I’ve made the mistake of skipping this step before, and the result was a table that warped within a few weeks — a costly and frustrating error.
Allow your wood to sit outside for at least a week before starting the project. This helps it acclimate to the environment and reduces the risk of warping or cracking.
Part of our Diy wooden garden house templates guide.
Designing Your Table: Dimensions and Layout
I usually sketch out a few different designs on paper before I start cutting any wood. This helps me visualize how the table will look in the garden and ensures that the dimensions are practical. For example, a standard 60-inch long table is perfect for a small garden, while a larger 8-foot table is more suitable for bigger spaces or family gatherings.[1]
When designing your table, consider the height — a standard dining table is around 30 inches tall. You might want to lower it slightly if you’ll be using it for casual meals or sitting on the ground. I built a table that was 28 inches tall once, and it turned out to be perfect for sitting on a cushion or a bench.[2]
Also, think about the number of legs and the overall structure. A 4-legged table is the most common, but if you want a more modern or rustic look, you can try using 6 legs or even a unique base design. I once used a square base with decorative legs, and it added a real touch of character to the table.
Designing your table is like painting a picture — every detail matters.
Related: Affordable diy wooden garden cart
Cutting and Assembling the Frame
I always use a miter saw for cutting the legs and frame pieces — it gives clean, accurate cuts that make assembly much easier. I’ve found that measuring twice and cutting once is a rule I never skip, as even a small error can throw off the whole structure.
After cutting all the pieces, I lay them out on a flat surface to ensure everything matches up before I start attaching them. I use wood screws and a power drill for assembling the frame, which gives a sturdy and secure connection. I also apply wood glue to the joints before screwing them together — this adds an extra layer of strength and helps prevent the wood from loosening over time.
One of the most important parts of this step is making sure the frame is square. I use a carpenter’s square to check the corners, and I’ve learned that even a slight misalignment can cause the table to wobble or look uneven. Taking the time to get this right is worth the effort.
Always check that your frame is square using a carpenter’s square. This ensures your table is stable and looks professional.
“I remember the first time I built my own wooden garden table — it was a sunny afternoon in late spring, and I was surrounded…”— DIY Wooden Garden Path Markers editors
Related: Modern farmhouse designs
Adding the Tabletop and Finishing Touches

For the tabletop, I’ve used both solid wood planks and composite materials in the past. Solid wood is more traditional and has a natural look, while composite materials are more resistant to weather and warping. I once used a combination of cedar planks and a waterproof composite board, and the result was a table that looked beautiful and lasted through the harsh winter.
I attach the tabletop to the frame using wood screws and a router to create a slight bevel on the edges. This not only adds a clean, finished look but also helps prevent splinters. I always use a router bit specifically designed for this purpose, and it makes a noticeable difference in the final appearance.
After attaching the tabletop, I sand everything down thoroughly and apply a weatherproof sealant. This protects the wood from rain, sun, and moisture. I’ve found that using a water-based sealant is a great option because it’s easy to apply and doesn’t leave a strong odor.
Related: Modern farmhouse design ideas
Finishing and Protecting Your Table
I’ve used both oil-based and water-based finishes on my tables, and each has its pros and cons. Oil-based finishes are more durable but take longer to dry and have a strong smell. Water-based finishes are easier to apply, dry faster, and are more eco-friendly. I’ve found that water-based sealants are perfect for garden tables because they’re safe for the environment and don’t leave a sticky residue.
Before applying the finish, I always make sure the wood is clean and completely dry. I use a degreaser to remove any oils or residues from the wood, then I sand it with fine-grit sandpaper to create a smooth surface. This helps the finish adhere properly and look even after application.
I usually apply two to three coats of the finish, letting each coat dry completely before applying the next. This creates a protective layer that resists water, UV rays, and wear. I’ve noticed that with proper finishing, my tables have stayed in excellent condition for over five years, even in the harshest weather conditions.
Related: What is rustic farmhouse decor
Adding Comfort and Style with Accessories
I like to add a few cushions or a set of woven mats to the table for extra comfort. These are especially useful if you’ll be using the table for long periods of time or for dining outdoors. I’ve used both outdoor-grade cushions and handwoven mats, and both have worked well in keeping the table comfortable and inviting.
Another idea is to add some decorative elements, like a set of wrought iron table lamps or a small planter on the table’s surface. These add a nice touch of personality and can transform the table from just a piece of furniture into a focal point of your garden. I once added a set of vintage lanterns to my table, and it became a favorite spot for evening gatherings.
Finally, consider the lighting for your table. Solar-powered lights are a great option because they’re easy to install and eco-friendly. I’ve used string lights along the edge of the table, and the soft glow they provide makes the table look magical at night. It’s a small addition that can make a big difference in the overall feel of your garden.
A garden table is more than just a place to sit — it's a statement of style and comfort.
Related: How to a tree house
Maintaining Your DIY Garden Table
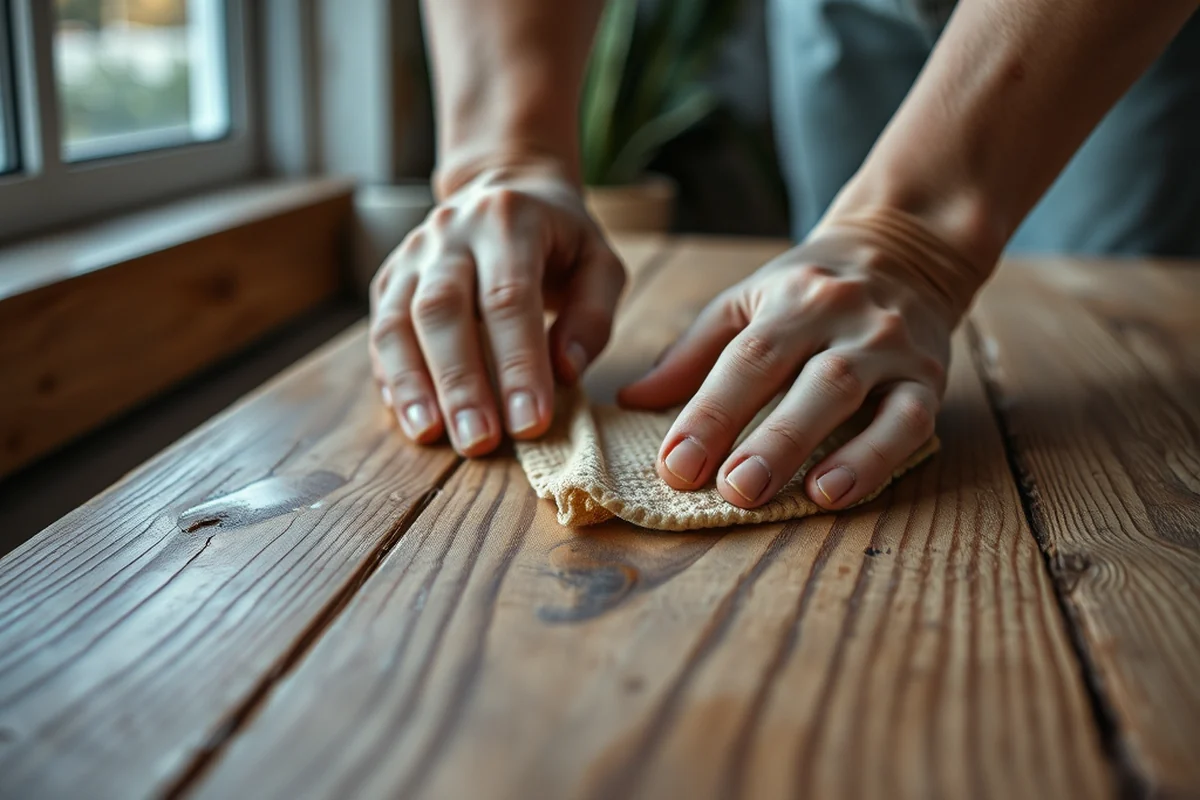
I’ve learned that the key to maintaining your table is to clean it regularly and reapply the finish every couple of years. A simple wipe down with a soft cloth and mild soap is usually enough to remove dirt and grime. I always avoid using harsh chemicals or abrasive cleaners, as they can damage the finish over time.
If the wood starts to look dull or dry, I reapply a fresh coat of sealant. This helps protect the wood from the elements and keeps it looking new. I’ve found that using a water-based sealant is easier to apply and less messy than oil-based options. I’ve also used a wood conditioner before applying the new sealant, which helps the wood absorb the finish evenly.
In extreme weather conditions, like heavy rain or snow, I cover the table with a waterproof tarp when I’m not using it. This helps prevent moisture from seeping into the wood and causing warping or cracking. I’ve used this method on several of my tables, and it has helped extend their lifespan significantly.
💰 Budget Build
A low-cost option using pressure-treated pine and basic tools for an affordable, functional garden table.
⏰ Weekend Version
A quick and easy weekend project that can be completed in one day with minimal setup and tools.
✨ Upgraded Finish
A premium version with a natural wood stain and weatherproof sealant for a more polished and long-lasting look.
🌿 Small-Space Adaptation
A compact table design ideal for smaller gardens or patios, with a focus on space efficiency and portability.
🏡 Rental-Safe Option
A durable, easy-to-move table that’s perfect for rental properties and temporary outdoor setups.
| The mistake | Why it happens | The fix |
|---|---|---|
| Not letting the wood dry out completely before assembly. | This can cause the wood to warp or crack over time, especially when exposed to the sun and rain. | Always allow the wood to sit outside for at least a week before starting the project. This helps it acclimate to the environment. |
| Skipping the step of checking that the frame is square. | A misaligned frame can cause the table to wobble or look uneven, which affects its stability and appearance. | Use a carpenter’s square to check each corner of the frame before attaching the tabletop. |
| Applying the finish without properly cleaning and sanding the wood. | This can result in a rough or uneven finish that doesn’t protect the wood properly and may look unattractive. | Always clean the wood with a degreaser and sand it thoroughly before applying the finish. |
| Using the wrong type of wood for an outdoor table. | Inappropriate wood types can rot, warp, or attract insects, which can damage the table and shorten its lifespan. | Choose weather-resistant woods like pressure-treated pine, cedar, or redwood. Avoid using softwoods like untreated pine unless they’re treated for outdoor use. |
Best Diy Wooden Garden Table
Common Questions
What type of wood should I use for a garden table?
How long does it take to build a garden table?
What tools do I need for this project?
Can I build a garden table if I'm a beginner?
References
- Spray Tables for Produce Farms – UVM Extension Ag Engineering (blog.uvm.edu)
- Tribute Gifts - UC Botanical Garden at Berkeley (botanicalgarden.berkeley.edu)
- How to Build a Salad Table | Mississippi State University Extension ... (extension.msstate.edu)
- Design and Fabrication of Multipurpose Portable Wooden Table (academia.edu)
- Timber - Fully Processed Wooden Articles and Handicrafts (without ... (acir.aphis.usda.gov)
Cite this guide
DIY Wooden Garden Path Markers (2026). Best Diy Wooden Garden Table. https://woodenroot.com/best-diy-wooden-garden-table/
Feel free to cite or share this guide.