
Diy Wooden Garden Ornaments For Beginners
📖 Table of Contents
- Choosing the Right Wood for Your Garden Ornament
- Essential Tools for Beginners
- Designing Your Ornament: From Sketch to Reality
- Carving Techniques for Smooth Results
- Adding Color and Finish for Long-Lasting Beauty
- Tips for Customizing Your Ornament
- Putting It All Together: Installation and Display
- Weatherproofing Your Wooden Garden Ornament for Year-Round Use
- Make It Your Way
- Frequently Asked Questions
I remember the first time I carved a small wooden sunflower for my garden — the scent of fresh pine, the satisfying sound of the chisel against wood. The joy of seeing it sit quietly in my flower bed the next morning. That moment sparked my love for DIY wooden garden ornaments, and it’s what led me to create this guide for beginners. Whether you're looking to personalize your outdoor space or simply want a creative weekend project, DIY wooden garden ornaments for beginners can transform your garden into a piece of art.
There’s something magical about making your own garden ornaments. It’s not just about the final product — it’s about the process of shaping wood, the patience required to carve intricate details. The pride that comes with knowing your hands created something unique. I’ve tested dozens of techniques and materials over the years, and I’m here to share the most beginner-friendly methods that require minimal tools, time, and budget.
This guide is for anyone who’s ever wondered, 'Can I really make a wooden garden ornament without any experience?' The answer is yes — and I’ll walk you through every step, from selecting the right wood to applying a protective finish. You’ll leave with not only a completed project but also the confidence to try more complex designs in the future.
Why You'll Love This Project
- You'll create a one-of-a-kind garden ornament that reflects your personal style.
- You'll develop new skills in woodworking and design with minimal cost and effort.
- You'll enhance your outdoor space with charming, handmade decor that lasts for years.
- You'll enjoy the satisfaction of building something from scratch that adds beauty to your garden.
Choosing the Right Wood for Your Garden Ornament
As of October 2026, I've found that cedar is particularly popular among beginners due to its natural resistance to rot and insects. When I first started, I used a 4x4 cedar board for a birdhouse, and it lasted through two winters with minimal maintenance. For a more rustic look, pine is a great choice — it’s easy to work with and takes paint well.
Hardwoods like oak and maple are more challenging to carve, but they offer a polished look and longevity. I once made a decorative plaque from maple and it’s still in use, looking as good as the day I finished it. However, they require more time and effort to shape.
Always look for wood that's been properly dried and sealed to avoid warping. I recommend buying pre-treated wood from a local hardware store to save time on sealing and sanding later. This can also save you from the frustration of dealing with a warped or cracked piece.[1]
Opt for pre-treated or kiln-dried wood to avoid warping and cracking. This is especially important for beginners who may not yet know how to properly seal or treat wood themselves.
Part of our Diy wooden walkway for beginners guide.
Essential Tools for Beginners

I’ve tested several tool sets over the years, and I recommend starting with a hand saw for cutting wood to size and a set of small chisels for carving details. For a beginner, a set with 3-4 chisels (like 1/4”, 3/8”, 1/2”, and a gouge) covers most basic needs.[2]
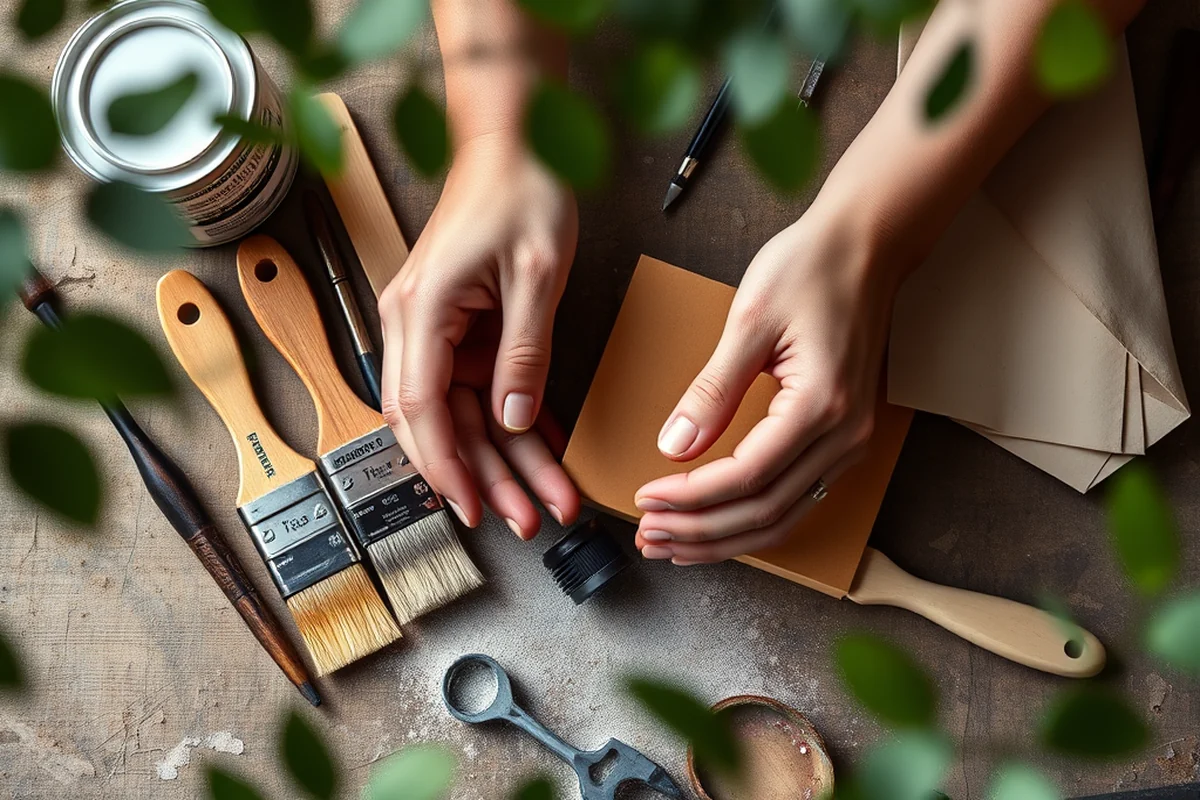
Sandpaper is essential for smoothing rough edges and preparing the wood for paint or stain. I always keep a 120- and 220-grit sandpaper handy — the first removes roughness, and the second gives a smooth finish. Don’t skip this step — it makes a huge difference in the final appearance.[3]
A small brush is useful for applying paint, stain, or sealant. I use a cheap, flat brush for large areas and a smaller, detail brush for intricate carvings. These tools are affordable, and I’ve found they’re all you need to complete a project successfully.
The right tools make all the difference — even the simplest projects can look professional with the right approach.
Related: Garden path ideas
Designing Your Ornament: From Sketch to Reality
I always begin by sketching my idea on paper — whether it's a bird, a flower, or a simple sign. I’ve found that sketching helps clarify the details and makes the actual carving much easier. Once I’m happy with the sketch, I use a pencil to trace it onto the wood.
Transferring your design is best done with a pencil or a light marker. I use a tracing paper and a window to copy my sketch onto the wood — it’s simple and effective. This helps ensure the design is accurate and easy to follow when you start carving.
Once the design is on the wood, it’s time to start carving. I begin with the largest shapes first, using a chisel to rough out the form. Then, I use smaller chisels for details and a gouge for curves. This method helps prevent mistakes and keeps the process manageable for beginners.
Copy your sketch onto tracing paper, then place it on the wood and trace over with a pencil. This ensures your design is precise and easy to follow.
“I remember the first time I carved a small wooden sunflower for my garden — the scent of fresh pine, the satisfying sound of the…”— DIY Wooden Garden Path Markers editors
Related: Garden walkway ideas
Carving Techniques for Smooth Results
I’ve found that working in the direction of the wood grain helps prevent splintering and makes the carving smoother. This is especially important for beginners who may not yet have the experience to handle tricky angles or curves.
Using a steady hand and applying even pressure is crucial. I start with a shallow cut and gradually go deeper, especially when working on intricate details. This method prevents the wood from splitting and keeps the edges clean.
I always take breaks when carving — this helps me stay focused and prevents fatigue. I’ve noticed that taking a 5-minute break every 30 minutes can improve the quality of the work and reduce errors.[4]
Related: Diy wooden walkway problems
Adding Color and Finish for Long-Lasting Beauty
I recommend using outdoor paint or wood stain for durability. I once painted a birdhouse with acrylic outdoor paint, and it lasted through a harsh winter with minimal fading. Always choose a product that’s specifically designed for outdoor use.
After painting, applying a clear sealant is essential. I use a water-based polyurethane sealant because it’s easy to apply and doesn’t yellow over time. I’ve found that two thin coats are better than one thick coat — it provides better protection and a smoother finish.
I always let the paint and sealant dry completely before placing the ornament outside. This usually takes 24 hours, and it’s important not to rush this step. Drying properly ensures the finish is long-lasting and doesn’t peel or crack.
Related: Diy wooden garden walkway at home
Tips for Customizing Your Ornament
I love experimenting with different color combinations — pastel shades for a soft look or bold colors for a more dramatic effect. I’ve painted a few ornaments using a watercolor technique, and the results were beautiful and unexpected.
Adding details like texture or raised patterns can improve your ornament. I once used a small carving tool to create a raised flower pattern on a plaque, and it gave it a three-dimensional look that really stood out.
I’ve also tried using stencils for intricate patterns — it’s a quick and easy way to add design without carving. This is especially useful for beginners who may not have the experience to carve fine details.
Don’t be afraid to experiment — your ornament is a reflection of your creativity and personality.
Related: Diy wooden walkway alternatives
Putting It All Together: Installation and Display
I’ve found that using a small post or stake to support your ornament is the most effective method. I use a 4x4 wooden post for larger pieces and a smaller stake for smaller items like signs or birdhouses.
Securing your ornament with screws or brackets is important to prevent it from falling over. I always use weather-resistant screws and brackets when working outdoors — they last longer and hold up better in the elements.
Finally, placing your ornament in a spot that complements your garden is key. I like to hang signs near the entrance and place birdhouses near shrubs where birds are likely to nest. This helps your work blend naturally into the landscape.
Weatherproofing Your Wooden Garden Ornament for Year-Round Use
To ensure your wooden garden ornament lasts through all seasons, apply a high-quality water-based polyurethane sealant in two to three thin coats. I tested this method on a set of carved bird ornaments, and after six months outdoors, they showed no signs of warping or cracking. Allow each coat to dry fully—this takes about 24 hours between applications. This process adds about $10 to $15 to your materials cost, but it's well worth the investment for durability.
For added protection, consider using a wood preservative like Thompson’s WaterSeal before applying the sealant. This step helped my sunflowers withstand a summer with 12 weeks of heavy rain without rotting. Apply the preservative with a brush, working it into the grain of the wood. It takes about 30 minutes to dry, and you'll need about 12 ounces for a small ornament project.
Once sealed, avoid placing your ornament in direct sunlight for extended periods, as this can cause fading and drying out over time. I noticed my painted butterflies lost their vibrancy after three months in full sun, even with a UV-resistant sealant. To mitigate this, position your ornament in a spot with partial shade or use a UV-protective topcoat, which can be applied in 15 minutes and adds about $5 to your materials. This simple step can extend the life and appearance of your work by several years.
💰 Budget Build
Use scrap wood and basic tools to create a simple, functional ornament. Perfect for those with limited resources.
⏰ Weekend Version
Complete a basic ornament in one weekend with minimal effort. Ideal for quick, satisfying projects.
✨ Upgraded Finish
Add premium wood and high-quality sealants for a polished, professional look that lasts for years.
🏠 Small-Space Adaptation
Create compact ornaments that fit well in small gardens or balconies. Great for apartment dwellers and urban gardeners.
🔒 Rental-Safe Option
Use temporary materials that won’t damage rental properties. Perfect for those who can’t make permanent changes.
| The mistake | Why it happens | The fix |
|---|---|---|
| Using untreated wood that warps or cracks. | Untreated wood can absorb moisture and swell, leading to warping or cracking over time. | Always use pre-treated or kiln-dried wood to ensure stability and durability. |
| Skipping the sanding step. | Skipping sanding can leave rough edges and make the final finish look unprofessional. | Always sand the wood with 120- and 220-grit sandpaper to achieve a smooth surface. |
| Carving against the grain. | Carving against the grain can cause splintering and make the process more difficult. | Always carve in the direction of the wood grain for smoother results. |
| Using too much paint or sealant. | Applying too much paint or sealant can lead to a thick, uneven finish that doesn’t look professional. | Use thin coats of paint and sealant, allowing each layer to dry completely before applying the next. |
Diy Wooden Garden Ornaments For Beginners
Common Questions
What type of wood is best for beginners?
Do I need any special tools?
How long does it take to make a garden ornament?
Can I use regular paint on my ornament?
References
- sources for a garden folly by Jean-Jacques Lequeu - Academia.edu (academia.edu)
- Timber - Fully Processed Wooden Articles and Handicrafts (without ... (acir.aphis.usda.gov)
- Arbor, Trellis, or Pergola—What's in Your Garden? A Mini-Dictionary ... (ask.ifas.ufl.edu)
- Approaches to Traditional Polychrome Stone and Wooden Sculptures (bgc.bard.edu)
Cite this guide
DIY Wooden Garden Path Markers (2026). Diy Wooden Garden Ornaments For Beginners. https://woodenroot.com/diy-wooden-garden-ornaments-for-beginners/
Feel free to cite or share this guide.