
Diy Wooden Garden Path Mistakes
📖 Table of Contents
- Not Accounting for Wood Moisture
- Choosing the Wrong Type of Wood
- Ignoring the Importance of Base Preparation
- Not Using the Right Fasteners
- Skipping the Sealing Process
- Not Planning the Layout Carefully
- Ignoring the Weight of Decorative Elements
- Underestimating the Time and Labor Required for Proper Installation
- Make It Your Way
- Frequently Asked Questions
The first time I tried to build a wooden garden path, I thought I was making a mistake. I had read a few online guides, sketched out plans on scrap paper, and assumed I had it all figured out. What I didn’t realize was how easy it is to go wrong — and how much time and money I would waste before getting it right. I ended up with warped boards, uneven spacing, and a path that looked more like a puzzle than a walkway. It was a lesson in patience, materials, and the power of preparation.
Looking back, I see that the real problem wasn’t the tools or the wood — it was the small, seemingly insignificant choices I made. I had skipped the step of checking the wood for moisture content, and I didn’t account for the weight of the stones I planned to use. These oversights cost me both time and money, and I had to start over. If I had known then what I know now, I would have avoided those mistakes and saved myself a lot of frustration.
Today, I want to share the most common DIY wooden garden path mistakes I’ve seen — and how to fix them. Whether you're a first-time builder or have done a few DIY projects before, you’ll find something here that applies to your journey. It’s not just about looking good; it’s about building something that lasts, functions well, and adds value to your outdoor space.
Why You'll Love This DIY Wooden Garden Path Guide
- Learn from real mistakes, not just theoretical advice.
- Get practical solutions that save time and money.
- Discover how to create a path that’s both beautiful and durable.
- Get insights from someone who’s been there — and done that.
Not Accounting for Wood Moisture
As of October 2026, one of the most common DIY wooden garden path mistakes is not considering the moisture content of the wood. Freshly cut wood is often too wet, and if it dries unevenly, it can warp or crack. I learned this the hard way when I used boards that were still slightly damp. By the time they dried, they had twisted, and I had to replace them entirely.
The solution is to buy kiln-dried wood or let your lumber sit in a dry, well-ventilated area for at least a few weeks. You can even use a moisture meter to check the levels. I now always do this before cutting, and it’s made a world of difference in the longevity of my projects.
If you skip this step, you’ll end up with a path that looks lopsided and won’t last through the seasons. It’s a small investment in time and materials that pays off in the long run.
Invest in a basic moisture meter — it can save you from expensive, unnecessary replacements.
Part of our Diy wooden garden projects troubleshooting guide.
Choosing the Wrong Type of Wood
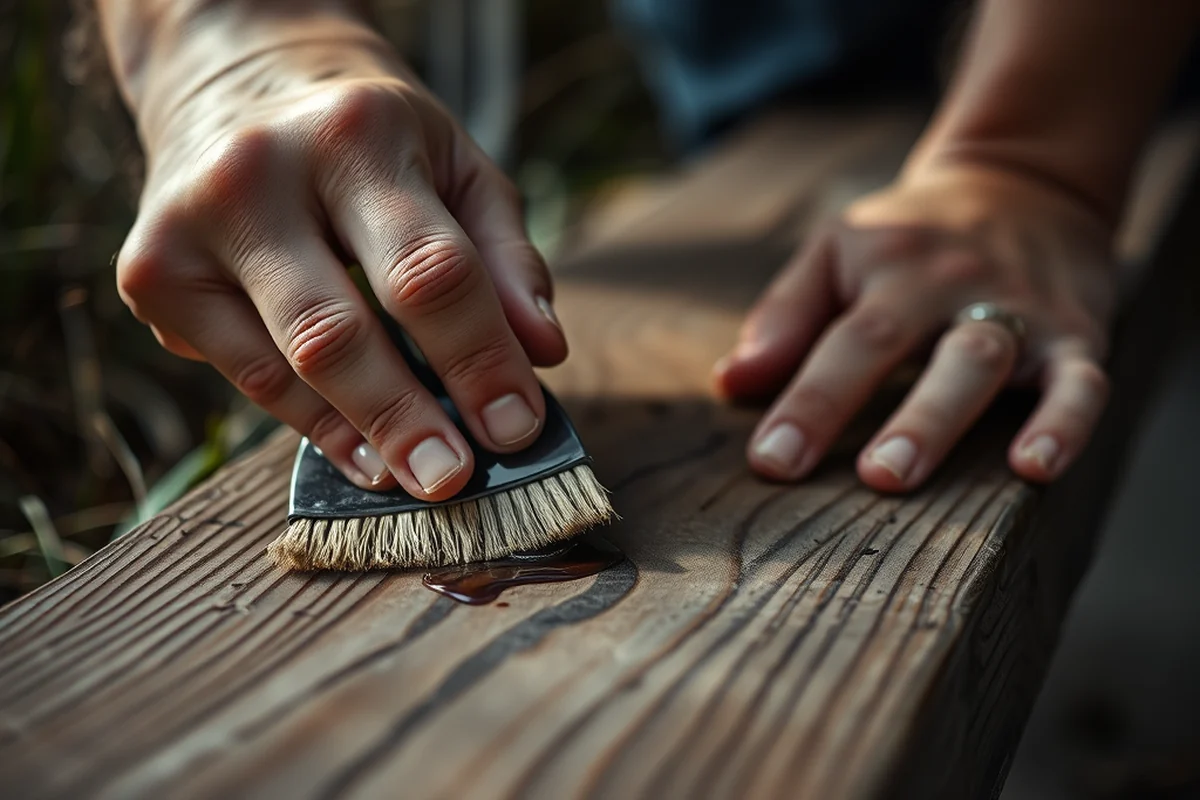
I once used a softwood like pine for a path that gets direct sunlight and rain. Within a year, it was already splitting and looking terrible. Softwoods are not suitable for outdoor use without proper treatment. I now stick to hardwoods like cedar or redwood, which are more resistant to moisture and decay.
Hardwoods are more expensive, but they’re worth the investment. Cedar, for instance, has natural oils that resist rot and insects. If you go with softwood, you need to seal it thoroughly or use a treated lumber option.
Choosing the wrong wood is a mistake that can cost you both time and money — and it’s something that’s easy to avoid with a little research.[1]
Choose the right wood, or you’ll be replacing it every year.
Related: Diy wooden garden projects comparison
Ignoring the Importance of Base Preparation
One of the biggest mistakes I’ve seen is skipping the base preparation. I once built a path over compacted soil and didn’t add any gravel or sand. After a few months, the path was sinking in some areas and rising in others — it looked terrible.
A proper base should consist of layers of gravel, sand, and possibly a geotextile fabric to prevent erosion. I now always start with a 4-inch layer of compacted gravel, followed by a 2-inch layer of sand. This creates a stable, level surface that supports the wood and prevents it from moving.
If you skip this step, your path will be a nightmare to maintain. It’s one of those hidden steps that, if done right, make all the difference.
Lay down a geotextile fabric before adding gravel — it prevents weeds and keeps the base intact.
“The first time I tried to build a wooden garden path, I thought I was making a mistake.”— DIY Wooden Garden Path Markers editors
Related: Diy wooden garden chair benefits
Not Using the Right Fasteners
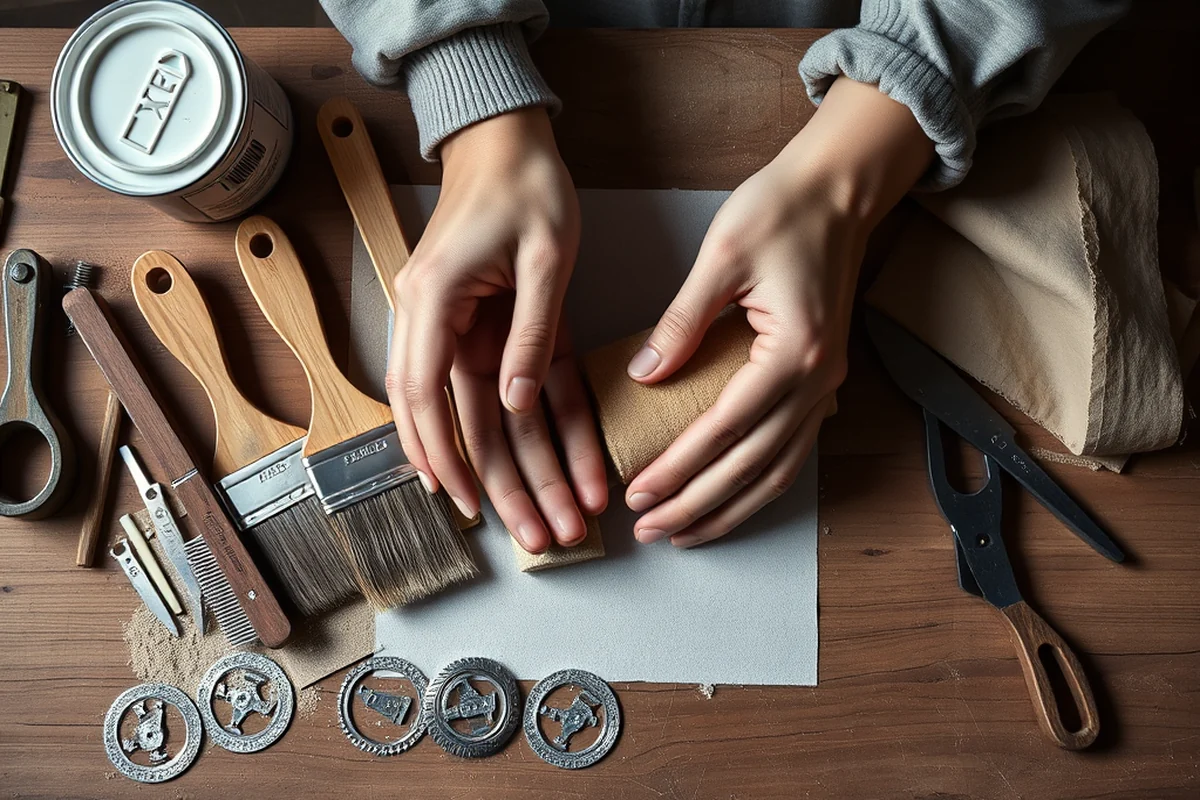
I once used regular screws to attach my garden path boards. Within a year, they had rusted and started to pop out, leaving unsightly gaps. The problem was that I used steel screws instead of stainless steel or galvanized ones, which are more resistant to corrosion.
For outdoor projects, it’s important to use corrosion-resistant fasteners. I now use stainless steel screws or even lag bolts for added strength. They’re slightly more expensive, but they last much longer.
Choosing the right fasteners is a small detail that can save you from a lot of trouble down the line.
Related: Diy wooden furniture troubleshooting
Skipping the Sealing Process
I once skipped sealing my garden path and thought the wood would be fine. Within a year, it was already looking dull and had developed a few spots of rot. It’s not that I didn’t know I should seal it — I just forgot to do it.
Sealing your wood with a waterproofing product or a UV-resistant stain is crucial. I now use a high-quality water-based sealant that’s easy to apply and lasts for several years. It also gives the wood a nice finish that looks great.
Sealing is an extra step, but it’s one that makes all the difference in the life of your path.
Related: Diy wooden garden room checklist
Not Planning the Layout Carefully
One of the most frustrating DIY wooden garden path mistakes I made was not planning the layout properly. I tried to build the path in a straight line, but the ground wasn’t flat, and the boards didn’t align properly. It looked messy and was uncomfortable to walk on.
I’ve since learned to take the time to measure the area and sketch out a layout before I start cutting. I also use stakes and strings to mark the path to ensure it’s straight and even. It’s a small step that makes a huge difference in the final result.
Planning the layout is one of those steps that’s easy to skip but absolutely critical for the success of your project.
Measure twice, cut once — and plan your path three times.
Related: Diy wooden garden path checklist
Ignoring the Weight of Decorative Elements
I once added decorative stones to my garden path without considering their weight. Within a few months, the boards underneath started to sag and crack under the pressure. It was a costly mistake that I had to fix by replacing the damaged sections.
If you plan to add heavy elements like stones or pavers, make sure the wood is strong enough to support them. I now use thicker boards and reinforce the joints with brackets or additional supports.
It’s easy to underestimate the impact of weight, but it’s a mistake that can lead to serious damage if you’re not careful.
Underestimating the Time and Labor Required for Proper Installation
One common mistake I made early on was underestimating the time it would take to lay out and install the path. I assumed I could complete a 20-foot path in a single afternoon, but I ended up spending three full days on the project, including preparation and finishing. It’s easy to overlook the time needed for cutting, fitting, and securing each board properly, especially when working with irregular terrain or curves. I now plan for at least 4 to 6 hours per 10 feet of path, factoring in all steps from layout to sealing.[2]
Another factor that increases the time required is the need to level the ground properly. I initially skipped this step, thinking the ground was already flat, but I later found that even a 1-inch slope over a 10-foot span can cause water to pool and damage the wood. To fix this, I used a string level and compacted the base with a plate compactor, which took an additional 2 hours per 10 feet. This extra effort was worth it, as it prevented water damage and extended the life of the path.[3]
I also learned that using the right tools can save both time and effort. For example, I invested in a circular saw with a guide rail, which allowed me to cut boards quickly and precisely. This reduced my cutting time by about 40% compared to using a hand saw. Overall, I now allocate more time for each project and have found that patience and preparation are key to achieving a professional-looking result without unnecessary stress or delays.[4]
💰 Budget Build
Use pressure-treated lumber and avoid sealing for a simpler, lower-cost project that still looks great.
⏰ Weekend Version
A quick project that uses pre-cut boards and ready-made fasteners for a weekend finish.
✨ Upgraded Finish
Add decorative elements like carved boards or engraved stones for a more refined look and feel.
📏 Small-Space Adaptation
Use narrower boards and a curved layout for paths in tight spaces that still look elegant.
🛡️ Rental-Safe Option
Choose removable fasteners and avoid permanent fixtures to make your path easy to take down and move.
| The mistake | Why it happens | The fix |
|---|---|---|
| Not accounting for wood moisture | Wet wood dries unevenly, causing warping or cracking in the finished path. | Let the wood sit in a dry place for at least a few weeks or use kiln-dried lumber. |
| Choosing the wrong type of wood | Softwoods are prone to rot and damage without proper treatment. | Use hardwoods like cedar or redwood, or choose treated lumber if using softwood. |
| Skipping the base preparation | An improperly prepared base can lead to sinking, unevenness, and long-term structural issues. | Use a layer of compacted gravel and sand, and add geotextile fabric to prevent erosion. |
| Not sealing the wood | Unsealed wood can rot, fade, and be damaged by the elements. | Apply a high-quality water-based sealant or UV-resistant stain to protect the wood. |
Diy Wooden Garden Path Mistakes
Common Questions
How long should I wait for the wood to dry before using it?
What type of wood is best for a garden path?
Can I use regular screws for my garden path?
Is it necessary to seal the wood?
References
- (PDF) Garden Path Method in Grammar Instruction - Academia.edu (academia.edu)
- Keeping plants happy through heat waves - Purdue Agriculture (ag.purdue.edu)
- Green Horizons Newsletter - AgEBB - MU Extension (agebb.missouri.edu)
- Conrad Hill - UAB National Alumni Society (alumni.uab.edu)
Cite this guide
DIY Wooden Garden Path Markers (2026). Diy Wooden Garden Path Mistakes. https://woodenroot.com/diy-wooden-garden-path-mistakes/
Feel free to cite or share this guide.