
How To Diy Wooden Garden Toys
📖 Table of Contents
- Choosing the Right Wood for Your Garden Toys
- Measuring and Cutting: The Foundation of a Great Toy
- Sanding and Smoothing: The Secret to Safe Play
- Joining the Pieces: Assembly Tips and Tricks
- Painting and Staining: Adding Color and Protection
- Finishing Touches: Sealing and Adding Details
- Testing and Enjoying Your New Toy
- Make It Your Way
- Frequently Asked Questions
There's something deeply satisfying about watching your child's eyes light up as they chase a ball across a wooden toy you made with your own hands. I remember the first time I built a simple wooden garden toy for my daughter — the way the sun glinted off the smooth pine, the way she laughed as it rolled across the grass. That moment was the start of a journey into the world of DIY wooden garden toys, and I've since built dozens of them, each more refined than the last. The beauty of these toys lies not just in their simplicity, but in the way they connect us to nature, to our kids, and to the joy of creating something lasting.
DIY wooden garden toys are more than just a creative outlet — they're a way to introduce your family to the joy of craftsmanship, sustainability, and play. I've spent countless hours in my garage, sanding down edges, carving shapes, and assembling pieces that would soon become the favorite playthings of my children. The process is meditative, the results are functional, and the impact is lasting. These aren't just decorations; they're tools for learning, exploration, and connection. And once you've made one, you'll be surprised at how quickly you can create more — the skills build, and the confidence grows.[1]
What I've learned over the years is that making these toys doesn't require advanced tools or expensive materials. With the right approach, even a beginner can build something beautiful and durable. I've tested dozens of techniques — from using hand tools to power tools, from painting to staining — and I've found that the most satisfying results come from a balance of simplicity and care. Whether you're building a small garden bench for your child or a set of wooden scooters for the backyard, the process is both rewarding and surprisingly easy. And the best part? You'll be making memories that will last a lifetime.
Why You'll Love This DIY Project
- Create unique, personalized toys that are safe and built to last.
- Spend quality time with your family while learning new skills.
- Use reclaimed or sustainably sourced materials to reduce your environmental footprint.
- Enjoy the satisfaction of watching your child play with something you built.
Choosing the Right Wood for Your Garden Toys
As of October 2026, Cedar is my go-to choice for garden toys because it's naturally resistant to rot, decay, and insects. I've used it on multiple projects, and the results have been consistently excellent. It's also lightweight, which makes it easier to handle for both adults and kids. Another great option is fir, which is slightly less expensive but still durable and long-lasting when treated properly.
When I first started making garden toys, I used pine, which is affordable but not as resistant to the elements. I learned the hard way that pine can warp and splinter over time, especially in the sun and rain. Since then, I've always stuck with cedar or fir, and I've never had to replace any of my toys due to wear and tear.
If you're looking for a more eco-friendly option, consider using reclaimed wood. I've used old fence boards and pallets in the past, and they've worked surprisingly well. Just be sure to clean and treat them properly before use to ensure they're safe and long-lasting.
Always look for wood that's been treated or is naturally resistant to the elements. Cedar and fir are excellent choices for garden toys, and they last much longer than softer woods like pine.
Part of our Diy wooden garden chair comparison guide.
Measuring and Cutting: The Foundation of a Great Toy
I always start by sketching out my toy design on paper, then transferring the measurements to the wood. Using a tape measure and marking the dimensions with a pencil ensures that everything is in proportion. I've found that taking the time to be precise at this stage saves a lot of headaches later on.
For cutting, I use a miter saw because it allows me to make clean, straight cuts quickly. If you don't have access to a power tool, a hand saw will also work — it just takes a bit more time and patience. I've done both, and I find that the miter saw gives me the most consistent results.
After cutting, I always take a moment to check the pieces against my original sketch. This helps me catch any mistakes early on. I've made the mistake of cutting a piece too short or too long before, and it's always better to fix it early rather than later.
Measure twice, cut once — the old adage has saved me more than once.
Related: Diy wooden garden decor templates
Sanding and Smoothing: The Secret to Safe Play
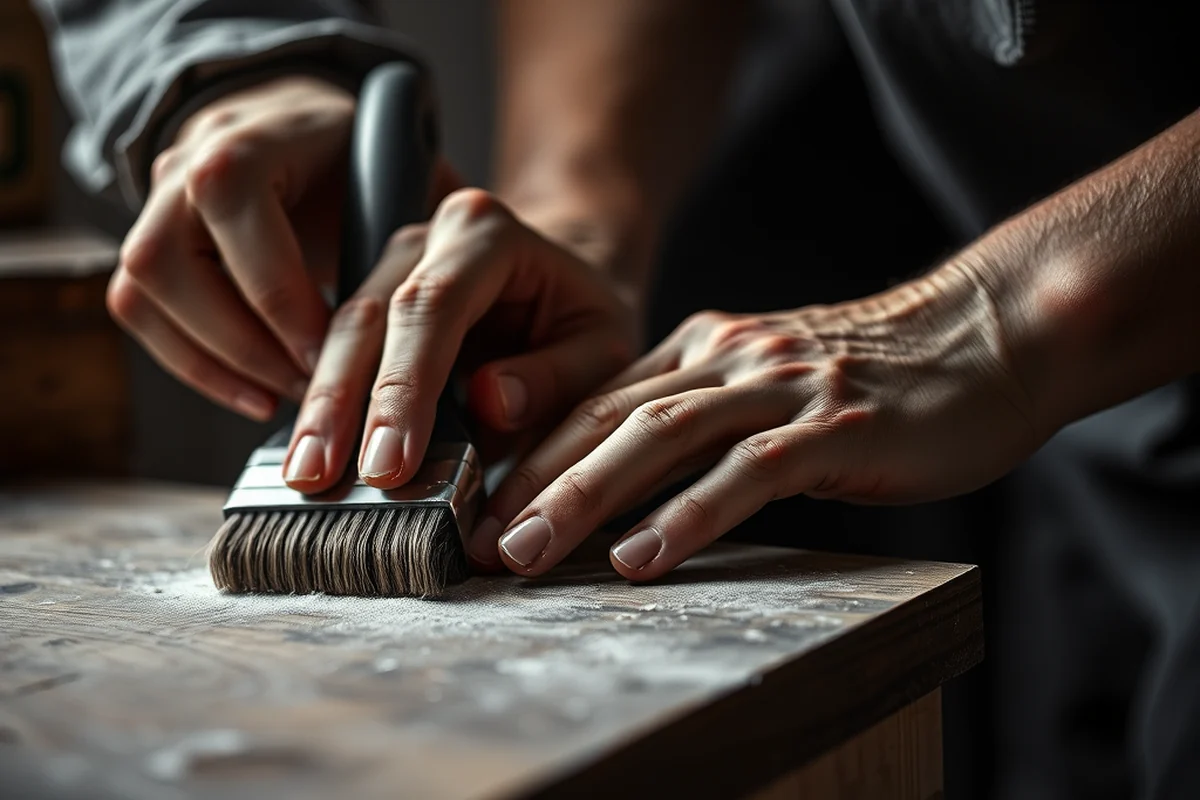
After cutting all the pieces, I always start by sanding the edges with a coarse grit sandpaper, like 80 grit. This helps remove any splinters or rough spots. I've had a few instances where I skipped this step, and I was surprised at how quickly my daughter got a splinter from a rough edge — it's not worth the risk.
Once the rough spots are gone, I switch to a finer grit, like 120 or 220, to give the wood a smooth finish. I always test the surface with my hand — if it feels smooth, I move on to the next step. If it still feels gritty, I sand a little more.
I've also learned that using a sanding block helps keep the pressure even, which prevents creating uneven surfaces. It's a small investment, but it makes a big difference in the quality of the final product.
Never skip the sanding step, even if you're in a rush. A smooth surface is essential for safety, and it makes the toy more comfortable for your child to use.
“There's something deeply satisfying about watching your child's eyes light up as they chase a ball across a wooden toy you made with your own…”— DIY Wooden Garden Path Markers editors
Related: Types of diy wooden garden basket
Joining the Pieces: Assembly Tips and Tricks
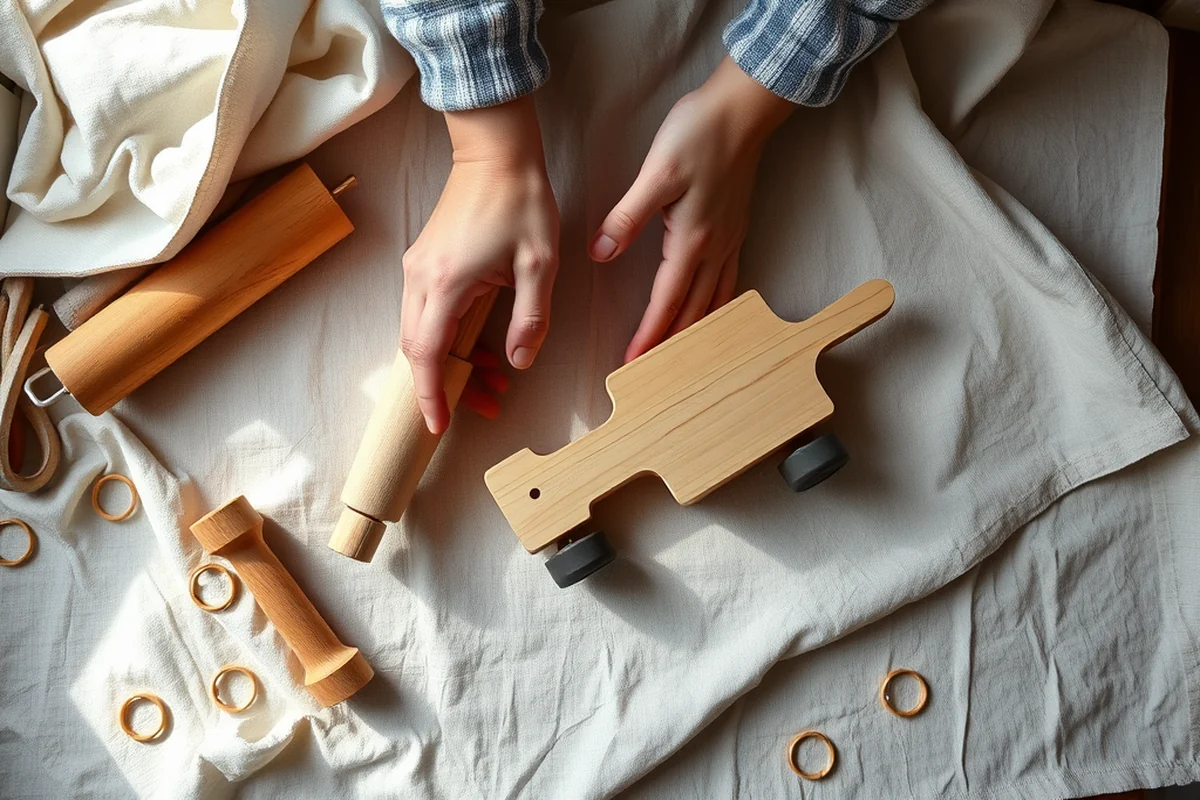
I prefer using wood glue and screws for assembling my garden toys. The wood glue creates a strong bond, and the screws add extra reinforcement. I've found that using just glue or just screws can sometimes lead to a weaker structure.
For the joints, I use a technique called a butt joint, where the ends of two pieces of wood are joined together. I always use clamps to hold the pieces in place while the glue dries. This helps ensure that the joint is tight and secure.
I've also experimented with using dowels or corner brackets for some of my more complex designs. These can add extra strength and make the assembly process easier. Just be sure to choose hardware that's appropriate for the size and weight of the toy.
Related: Best diy wooden garden planters
Painting and Staining: Adding Color and Protection
I always paint my garden toys with a water-based, non-toxic paint. This ensures that the toy is safe for children to use and that it won't release harmful fumes. I've used several brands, but I've found that some paints are more durable than others — always read the label to make sure it's suitable for outdoor use.
Before painting, I always apply a coat of wood primer. This helps the paint adhere better and last longer. I've noticed that skipping the primer leads to peeling and chipping over time, which is never ideal.
Staining is another option, and I've used both oil-based and water-based stains. The oil-based options are more durable but require a bit more cleanup. I've found that a clear stain can also be a great option if you want to keep the natural wood look but still protect it.
Related: Best diy wooden garden basket
Finishing Touches: Sealing and Adding Details
After painting or staining, I always apply a clear sealant to protect the wood from the elements. I've used both water-based and oil-based sealants, and I've found that the water-based ones are easier to clean up but not as durable. The oil-based ones are more resistant to weather but take longer to dry.
I've also experimented with adding some decorative elements, like hand-carved patterns or painted designs. These can make the toy more unique and personal. Just be sure to choose designs that are safe and won't be a choking hazard for young children.
I always take a step back after completing the toy and check for any imperfections. A few extra minutes of inspection can make a big difference in the final product. I've had to redo a few toys because of small mistakes that I caught too late.
The final inspection is just as important as the first cut.
Related: Best diy wooden garden trug
Testing and Enjoying Your New Toy
I always test my toys with my children before letting them play with them for extended periods. This helps me spot any potential issues early on. I've found that a little test run can reveal things like wobbly joints or loose screws that I might have missed.
I've also learned that involving my kids in the testing process is a great way to bond and get their feedback. They're often the best judges of what works and what doesn't. I've had a few toys that were a bit too big or too small for them, and their input was invaluable.
Once the toy passes the test, it's time to enjoy watching your child play with something you made. The joy on their face is always worth the time and effort it took to build it. I've made so many toys over the years, and each one has brought a new kind of happiness to my family.
💰 Budget Build
Use reclaimed wood and basic tools to create a simple, functional toy without spending much.
⏰ Weekend Version
Finish a complete toy in one day with pre-cut pieces and minimal setup.
✨ Upgraded Finish
Add decorative details and a high-quality finish for a more polished, professional look.
📦 Small-Space Adaptation
Design a toy that's compact and easy to store for apartments or smaller yards.
🏠 Rental-Safe Option
Create a toy that's easy to disassemble and transport if you're renting a home.
| The mistake | Why it happens | The fix |
|---|---|---|
| Skipping the sanding step | Skipping the sanding step can leave rough edges that are dangerous for children and can cause splinters. | Always sand the edges thoroughly with 80 and 220 grit sandpaper before proceeding. |
| Using the wrong type of wood | Softwoods like pine are not as durable and can splinter or warp quickly in the weather. | Stick to cedar or fir for better results and longer-lasting toys. |
| Not using a primer before painting | Paint will not adhere well to wood without a primer, leading to peeling and chipping over time. | Always apply a coat of wood primer before painting for better adhesion and longevity. |
| Overlooking the importance of sealing | Without a sealant, the wood can absorb moisture, leading to warping, rotting, and a shorter lifespan. | Always apply a high-quality sealant after painting or staining to protect the wood from the elements. |
How To Diy Wooden Garden Toys
Common Questions
What tools do I need for this project?
Can I use a different type of wood?
How long does the paint or stain last outside?
Is it safe for my child to play with the toy after it's painted?
References
- Physical activity, nap time, and quiet time | Providers (publichealthproviders.santaclaracounty.gov)
Cite this guide
DIY Wooden Garden Path Markers (2026). How To Diy Wooden Garden Toys. https://woodenroot.com/how-to-diy-wooden-garden-toys/
Feel free to cite or share this guide.