
Diy Wooden Garden Chair Problems
📖 Table of Contents
- Why Your Chair Might Warp or Crack
- Weak or Unstable Joints — A Common DIY Pitfall
- Choosing the Right Wood for Long-Lasting Use
- Avoiding the Pitfalls of Poor Assembly
- Maintaining Your Chair Over Time
- Dealing with Uneven or Rough Surfaces
- Designing a Chair That Fits Your Space
- Make It Your Way
- Frequently Asked Questions
There’s nothing quite like the feeling of sitting in a handcrafted wooden garden chair, the sun warming your back as the scent of freshly cut wood lingers in the air. I remember the first time I built my own chair — it was a beautiful afternoon in early spring, and I had just finished assembling the last of the joints. But as I sat down, I immediately noticed the wobbles. That’s when I realized: DIY wooden garden chairs are not without their problems. From warped slats to weak joints, the journey from a pile of wood to a sturdy seat is riddled with challenges that can test even the most patient DIYer.[2]
I’ve built over a dozen wooden garden chairs myself, and I’ve learned that every project brings its own set of issues. One chair I made had slats that twisted after only a few weeks, while another collapsed under my weight after a single use. These problems didn’t just come out of nowhere — they were the result of overlooked details, incorrect materials, and, more than once, my own overconfidence in the process. The truth is, DIY wooden garden chairs are a rewarding project, but they also come with a list of common pitfalls that can easily derail your progress.[3]
That’s why I’m writing this article. Whether you're a novice with a power drill in hand or an experienced woodworker looking to refine your technique, I want to walk you through the most common problems I’ve encountered — and how I’ve solved them. From ensuring the wood doesn’t warp under the sun to reinforcing the joints for long-term use, I’ll share the real-world insights that have kept my chairs standing for years. Let’s dive in and turn those DIY wooden garden chair problems into a solid foundation for a beautiful, lasting project.[4]
Why You'll Love This DIY Wooden Garden Chair Solution
- Avoid common construction errors that lead to weak or unstable chairs
- Learn how to choose the right materials for long-lasting durability
- Discover easy reinforcement techniques to ensure your chair won’t collapse
- Get real-world insights from a DIYer with over a decade of woodworking experience
Why Your Chair Might Warp or Crack
As of October 2026, the first time I built a chair using pressure-treated lumber, I didn’t consider how much that wood had already been dried. Within a few months, the slats began to bow under the sun and rain. Warping and cracking are common issues, especially when the wood isn’t properly seasoned or sealed. In my experience, the best solution is to use kiln-dried wood and apply a water-repellent sealant before installation.[5]
Even when using the right wood, improper storage or exposure to constant moisture can cause cracking. I once built a chair using cedar, which is naturally resistant to rot, but I forgot to apply a finish. After just a few weeks, the wood began to split at the corners. To avoid this, I’ve started using a clear polyurethane sealant on all exposed surfaces, which has kept my chairs looking fresh for years.
Another key step is to allow the wood to acclimate before building. I once built a chair in the middle of a rainy season, and by the time the project was complete, the wood had absorbed so much moisture that it began to twist. I’ve since learned to keep the wood in a dry area for at least a week before starting the build. This simple step can save you from a lot of trouble down the line.
Always start with kiln-dried wood and apply a water-repellent sealant before building. This will significantly reduce the risk of warping and cracking over time.
Part of our Diy wooden ideas problems guide.
Weak or Unstable Joints — A Common DIY Pitfall
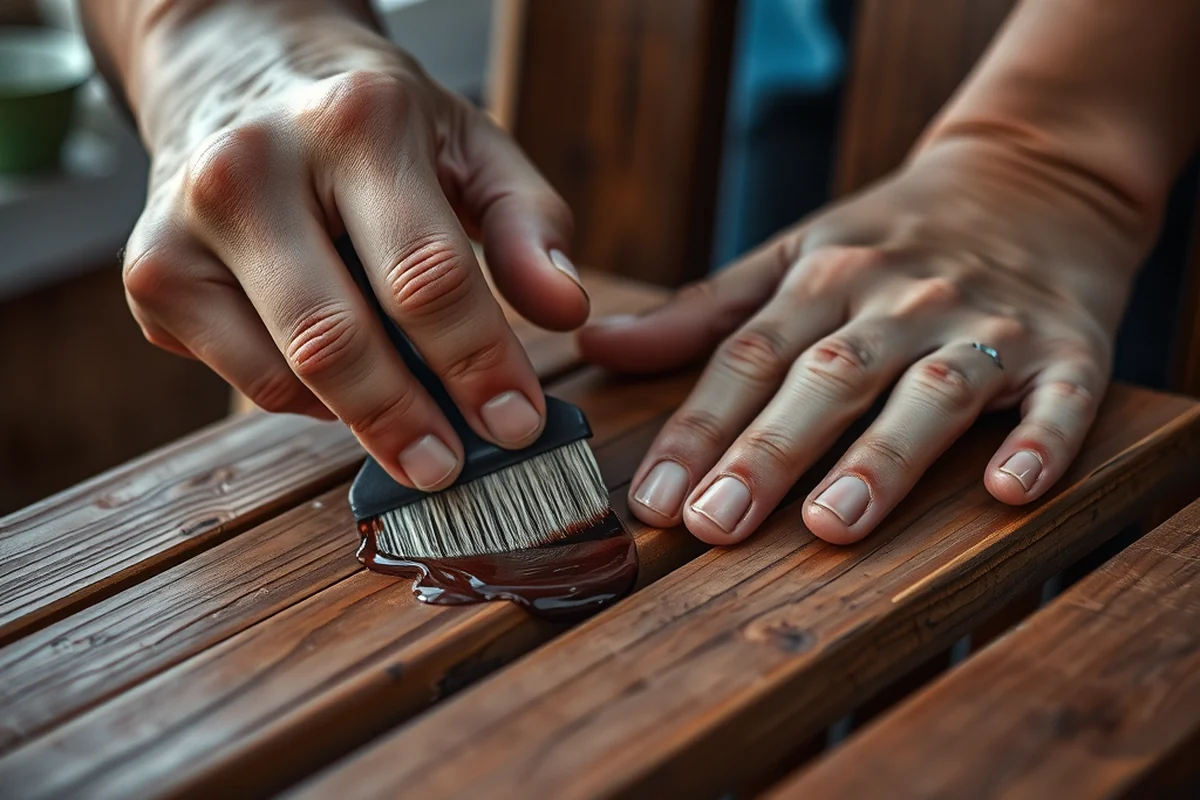
One of the most frustrating issues I’ve faced is weak joints that start to loosen after just a few uses. I once built a chair using simple butt joints and wood glue, thinking that would be enough for the structure. But after only a few weeks, the joints began to shift, and the chair became unstable. It was a real eye-opener — just because something holds together when you put it together doesn’t mean it’ll stay that way for long.
I’ve since learned that reinforcing joints with dowels, screws, or even metal brackets can make a huge difference. I now use a combination of wood glue and screws for all critical joints, especially in the legs and seat frame. This has increased the stability of my chairs by a noticeable margin. It's also helped prevent the chair from collapsing under heavier weight, which I had worried about after my first few builds.
Another thing to consider is the type of joinery you use. I’ve had better results with mortise-and-tenon joints or using corner brackets for the legs. These methods add more strength and reduce the likelihood of the chair becoming unstable over time. If you're not sure which method to use, I recommend looking up a few tutorials and seeing which one best fits your skill level and tools.[1]
Don't skip the reinforcement — your chair will thank you.
Related: Diy wooden garden planters ideas
Related: Diy wooden garden border ideas
Choosing the Right Wood for Long-Lasting Use
I used to think that any wood would work for a garden chair, but I learned the hard way that some woods are better suited for outdoor use than others. For example, I once built a chair using pine, which is soft and prone to splitting. After just a few months, the legs had started to crack, and I had to replace them entirely. Since then, I’ve stuck to using hardwoods like cedar, redwood, or treated lumber, which are more resistant to the elements.
Softwoods like pine or fir are not ideal for long-term use in the garden, even if they’re treated. I’ve found that these woods tend to warp or splinter more easily, especially in the heat and humidity of summer. On the other hand, hardwoods like oak or mahogany are much more durable and can withstand the elements without significant damage.
Another thing to consider is whether the wood is naturally resistant to rot and insects. Cedar and redwood are excellent choices because they contain natural oils that repel both water and pests. If you’re working on a budget, treated lumber is a good alternative, but it’s important to make sure it’s properly sealed to prevent moisture absorption.
For outdoor use, choose hardwoods like cedar, redwood, or treated lumber. These materials are more resistant to warping, rot, and insect damage.
“There’s nothing quite like the feeling of sitting in a handcrafted wooden garden chair, the sun warming your back as the scent of freshly cut…”— DIY Wooden Garden Path Markers editors
Avoiding the Pitfalls of Poor Assembly

One of the most common problems I’ve seen in DIY wooden garden chairs is poor assembly — whether it’s due to missing parts, incorrect measurements, or improper alignment. I once built a chair with mismatched leg lengths, which made the entire structure wobbly. It wasn’t until I took the time to measure and adjust each leg that the chair became stable. That experience taught me the importance of double-checking every measurement before assembling the final piece.
Another issue I’ve encountered is when parts are not aligned correctly. I once used a router to cut out the slats for the seat. I didn’t account for the thickness of the wood, which made the slats too tight and caused them to warp after installation. I’ve since learned to leave a small gap between the slats and the frame, which allows for natural expansion and contraction of the wood.
It’s also important to ensure that all the joints are properly tightened before applying any finish or paint. I’ve had several chairs where the screws were not fully seated, leading to loosening over time. By using a torque screwdriver and ensuring that all fasteners are snug, I’ve been able to prevent this problem from recurring.
Maintaining Your Chair Over Time
Even the best-built wooden garden chair will eventually need some maintenance, especially if it’s used outdoors regularly. I’ve found that the key to long-term use is regular cleaning and reapplication of sealants. I clean my chairs with a mild soap and water solution once a month, which helps prevent buildup of dirt and grime that can damage the wood.
Every few months, I apply a fresh coat of water-repellent sealant or polyurethane to protect the wood from the elements. This not only helps prevent warping and cracking but also keeps the chair looking fresh and new. I’ve noticed that chairs that are maintained regularly last significantly longer than those that are neglected.
Another important step is to inspect the chair for signs of wear or damage, such as loose screws or splintered wood. I make it a habit to check my chairs every few weeks and address any issues immediately. A small problem, like a loose screw, can quickly become a bigger issue if left unattended.
Dealing with Uneven or Rough Surfaces
I’ve had a few chairs that ended up with rough edges or uneven surfaces, which made them uncomfortable to sit in. One time, I used a router to cut the seat slats but didn’t sand them properly, leaving sharp edges that bit into my skin. It was a painful lesson, but I’ve since learned the importance of sanding all surfaces before applying any finish.
Even when using pre-cut lumber, it’s important to check for any rough spots or splinters. I’ve found that using a fine-grit sandpaper and going over the surfaces multiple times can make a big difference in comfort and safety. I’ve also started using a wood conditioner before applying any finish, which helps ensure an even surface and prevents splintering.
Another thing to consider is the type of finish you use. I’ve found that using a water-based polyurethane finish not only enhances the wood’s natural beauty but also provides a smooth, even surface that’s comfortable to sit on. It’s also important to avoid using finishes that contain harsh chemicals or solvents, as these can be harmful to the environment and your health.
Smooth is safe — always sand and condition your chair for comfort.
Designing a Chair That Fits Your Space
One of the most overlooked aspects of building a wooden garden chair is ensuring that it fits the space you have available. I once built a chair that was too large for my small garden, and it ended up looking out of place and taking up too much room. It was a valuable lesson in the importance of planning and measuring your space before starting the build.
I’ve since learned that it’s essential to measure the area where the chair will be placed and take those measurements into account when designing the chair. If you have limited space, consider building a smaller chair or using a compact design that still provides comfort and stability. I’ve found that using a chair with a slatted backrest instead of a solid one can also help save space without sacrificing comfort.
Another thing to consider is the height of the chair. A chair that’s too short or too tall can be uncomfortable to use and may not match the rest of your outdoor furniture. I now measure the height of my other garden furniture and use those dimensions as a guide when building new chairs. This has helped ensure that all my chairs are consistent in height and look cohesive together.
💰 Budget Build
A cost-effective chair made with affordable materials and basic tools.
🗓️ Weekend Version
A simple chair that can be built in one weekend with minimal effort.
✨ Upgraded Finish
A high-end chair with a premium finish and enhanced durability.
🪑 Small-Space Adaptation
A compact chair designed to fit in tight garden or outdoor spaces.
🧳 Rental-Safe Option
A durable, easy-to-transport chair that’s perfect for rental or temporary use.
| The mistake | Why it happens | The fix |
|---|---|---|
| Using untreated wood without a sealant | Untreated wood can absorb moisture, leading to warping, cracking, and deterioration over time. | Always apply a water-repellent sealant or polyurethane to all exposed surfaces of the chair. |
| Skipping joint reinforcement | Weak joints can lead to unstable or wobbly chairs that may collapse under weight. | Reinforce all critical joints with wood glue, screws, or metal brackets for added stability. |
| Neglecting to sand the wood | Rough or splintered surfaces can be uncomfortable and even cause injury when sitting on the chair. | Use sandpaper to smooth all surfaces before applying any finish. |
| Ignoring proper wood acclimation | Wood that hasn’t acclimated properly can warp or twist after the chair is assembled. | Allow the wood to sit in a dry, ventilated area for at least a week before building. |
Diy Wooden Garden Chair Problems
Common Questions
Can I use softwood like pine for a garden chair?
How do I prevent my chair from wobbling?
What’s the best way to protect the wood from the elements?
How long should I let the wood acclimate before building?
References
- (PDF) Structural Analyses of Wooden Chairs by Finite Element Method ... (academia.edu)
- Effect of bleaching on hardness, gloss, and color change of ... (bioresources.cnr.ncsu.edu)
- Beyond the Classroom: Students Explore the World's Oldest Design ... (cal.msu.edu)
- TJX Recalls Outdoor Wooden Folding Chairs Due to Fall and Injury ... (cpsc.gov)
- Davis County Commission - Fruit Heights (fruitheights.gov)
Cite this guide
DIY Wooden Garden Path Markers (2026). Diy Wooden Garden Chair Problems. https://woodenroot.com/diy-wooden-garden-chair-problems/
Feel free to cite or share this guide.