
Affordable Diy Wooden Yard Signs
📖 Table of Contents
I remember the first time I put up a hand-painted wooden yard sign in front of my home. It was simple — just a rectangle of cedar with 'Welcome' in bold, weathered lettering — but it transformed how my neighborhood saw my house. It felt like a small but meaningful act of care, one that made my yard feel like it belonged. That's the power of affordable DIY wooden yard signs: they're not just functional, they're a way to personalize your space without breaking the bank.
I've made dozens of these signs over the years, from basic wooden markers to more elaborate ones with carved details and stain finishes. Each project has taught me something new — about materials, tools, and the importance of patience. I've learned that even the most straightforward DIY projects can be frustrating if you skip a step or use the wrong tools. But with the right approach, you can create something that's both beautiful and durable, without spending more than $40 on materials.[1]
If you're thinking about making your own affordable DIY wooden yard signs, I'm here to guide you through every step. Whether you're a complete beginner or someone with some experience in woodworking, this guide covers everything you need — from selecting the right wood and tools to painting and sealing your sign for long-term use. By the end, you'll not only have a finished sign, but also the confidence to tackle more complex DIY projects in the future.
Why You'll Love This Affordable DIY Project
- Create a custom, personalized yard sign that reflects your style
- Save money compared to buying pre-made signs
- Use simple tools and basic woodworking skills
- Enjoy a sense of accomplishment with a finished project
Choosing the Right Wood and Materials
As of August 2026, Cedar and pine are two of the most affordable and widely available options for DIY wooden yard signs. Cedar is naturally resistant to rot and insects, making it ideal for outdoor use. Pine is more budget-friendly but may require additional sealing to protect it from the elements. I've used both over the years — cedar for signs that need to last, and pine for temporary or decorative markers.[2]
When shopping for wood, look for boards that are at least 3/4 inch thick and 6 inches wide. Thicker boards are more durable and less likely to warp or crack over time. I've found that cutting the wood to size before painting or staining makes the process much more manageable, especially if you're working alone.
In addition to the wood, you'll need a few basic tools: a saw (hand or power), sandpaper, a paintbrush or foam brush, and wood stain or paint. Optional tools like a jigsaw or router can add more detail, but they're not necessary for a basic project. I've made several signs with just a hand saw and a few coats of paint — and they've held up beautifully.
For a sturdy sign that won't sag over time, choose wood that's at least 3/4 inch thick. If you're using pine, consider sealing it with a waterproof wood sealer to extend its lifespan.
Part of our Diy wooden yard signs guide guide.
Cutting and Shaping the Wood
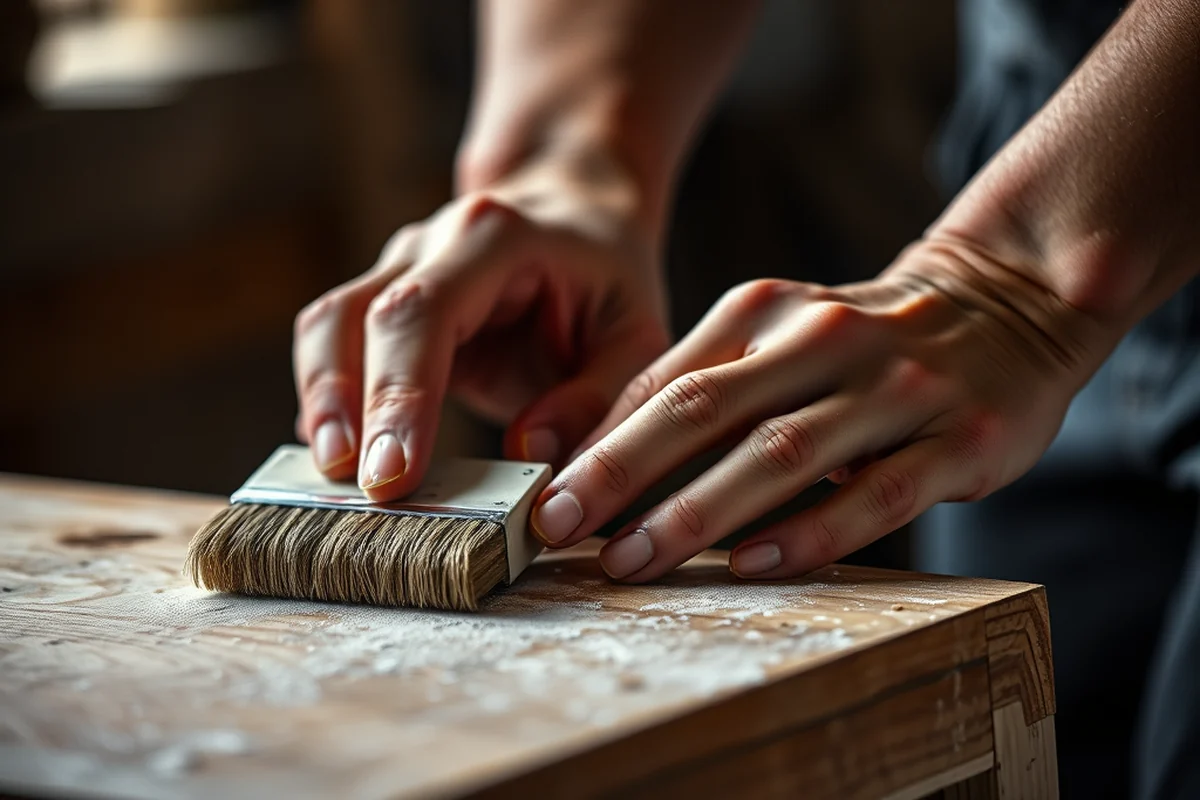
Once you've selected your wood, it's time to cut it to the desired size. I recommend measuring twice and cutting once — a small mistake in measurement can lead to a sign that's too short or too tall. I've made this mistake before, and it's frustrating to have to start over.[3]
After cutting, use sandpaper to smooth the edges and surfaces of the wood. This not only makes the wood more comfortable to handle but also helps the paint or stain adhere better. I've found that using medium-grit sandpaper first and then finishing with fine-grit gives the best results.
If you want to add some visual interest, you can use a jigsaw to cut out shapes along the edges of the sign. This is a great way to personalize your sign and make it stand out in your yard.
Measure twice, cut once — and you'll save yourself from a lot of frustration.
Related: Diy wooden yard signs benefits
Related: Diy wooden garden signs for beginners
Related: Diy wooden garden signs
Related: Diy wooden garden ornaments guide
Related: Diy Wooden Yard Signs Tips
Painting and Staining Your Sign
Once your wood is cut and sanded, it's time to paint or stain your sign. I've found that using an outdoor wood stain or a high-quality acrylic paint works best for long-term use. I prefer using a foam brush for even coverage and minimal brush marks.
When painting, I recommend applying two to three coats of paint or stain, allowing each coat to dry completely before applying the next. This ensures even coverage and a more professional look. I've had signs where I skipped a coat and noticed the paint was patchy — not a great look.[4]
After the paint or stain has dried, you can apply a clear sealant to protect it from the weather. I've used both spray-on sealants and brush-on sealants, and both have worked well. The key is to apply it evenly and allow it to dry completely before hanging the sign.
For the best results, apply two to three even coats of paint or stain, allowing each coat to dry fully before applying the next. This prevents patchy coverage and ensures a long-lasting finish.
“I remember the first time I put up a hand-painted wooden yard sign in front of my home.”— DIY Wooden Garden Path Markers editors
Adding Text and Decorative Elements

Once your sign is painted or stained and sealed, you can add text and decorative elements. I've used stencils, paint markers, and even hand-carved lettering for different effects. Stencils are a great option for beginners, as they allow for precise lettering without the need for advanced skills.
If you're using a paint marker, it's important to choose one that's designed for outdoor use. I've tried a few different brands, and some are more durable than others. I've found that markers with a thicker tip work better for bold lettering, while thinner tips are ideal for more detailed work.
For a more unique look, you can add decorative elements like carved patterns, inlaid wood pieces, or even small metal accents. These details can make your sign more eye-catching and reflect your personal style.
Hanging and Installing Your Sign
Once your sign is complete, it's time to hang it. I've used wooden posts, metal brackets, and even simple nails for hanging signs. For a more secure installation, I recommend using a sturdy post or a bracket that can support the weight of the sign and withstand outdoor conditions.
If you're using a wooden post, I've found that sinking it into the ground about 12 inches deep and securing it with concrete provides the best stability. For a more temporary solution, a bracket that attaches to a fence or wall can work well.
I've also used simple nails or screws to hang signs from trees or posts. Just be sure to use weather-resistant screws or nails to prevent rusting over time. I've made the mistake of using regular screws in the rain, and they corroded quickly — not a good look.
Maintaining and Caring for Your Sign
Even the most durable signs need some care over time. I recommend inspecting your sign every few months to check for signs of wear, such as peeling paint or fading colors. If you notice any damage, it's best to fix it early before the issue gets worse.
To clean your sign, I've used a soft cloth or a gentle brush to remove dirt and debris. I've avoided using harsh chemicals or high-pressure water, as they can damage the wood or the paint. A mild soap and water solution works well for spot cleaning.
If the paint or stain starts to fade, you can touch it up with a small brush and some fresh paint or stain. I've found that doing this every few years keeps the sign looking fresh and vibrant, even in the harshest weather.
A little maintenance goes a long way in keeping your sign looking great for years to come.
Tips for Customizing Your Sign
One of the best parts of making your own yard signs is the ability to customize them. I've created signs with names, quotes, and even small illustrations. The sky's the limit with personalization — just make sure your design is readable from a distance.
For a more professional look, I've used stencils with bold fonts and metallic paints to create a more elegant effect. I've also experimented with different color combinations, and I've found that using a darker background with light text often stands out better in the sun.
If you're feeling adventurous, you can try adding some texture to your sign using a wood-burner or sanding techniques. I've used this method to create subtle patterns on the surface, which adds depth and visual interest. Just be sure to use the right tools and take your time to avoid damaging the wood.
💰 Budget Build
Create a simple wooden yard sign using leftover wood and basic paint for under $20.
⏳ Weekend Version
Make a complete yard sign in one day with pre-cut wood and ready-to-use paint.
✨ Upgraded Finish
Add a professional touch with a wood-burner, metallic paint, and a high-quality sealant.
🌿 Small-Space Adaptation
Create a compact sign that's perfect for small yards or garden paths with a minimalist design.
🏠 Rental-Safe Option
Use temporary materials like vinyl lettering and removable adhesive for a sign that won't damage rental property.
| The mistake | Why it happens | The fix |
|---|---|---|
| Using the wrong type of paint or stain | Inappropriate materials can lead to peeling, fading, or poor adhesion, especially in the weather. | Always use paint or stain that's specifically designed for outdoor use and test it on a small area before applying it to the entire sign. |
| Skipping the sealing step | Unsealed signs are more susceptible to water damage, rot, and fading over time. | Apply a clear sealant after painting or staining to protect the wood and ensure it lasts longer. |
| Ignoring the weather when working on the sign | Painting or staining in direct sunlight or rain can lead to uneven results and poor adhesion. | Choose a cloudy day with no rain to work on your sign, and allow the paint or stain to dry completely before exposing it to the elements. |
| Using too many coats of paint | Too many coats can lead to a thick, uneven finish that may crack or peel over time. | Apply two to three thin, even coats of paint or stain, allowing each coat to dry fully before applying the next. |
Affordable Diy Wooden Yard Signs
Common Questions
What type of wood is best for outdoor signs?
Can I paint over a stained sign?
How do I prevent my sign from warping?
Can I use a spray paint for my sign?
Cite this guide
DIY Wooden Garden Path Markers (2026). Affordable Diy Wooden Yard Signs. https://woodenroot.com/affordable-diy-wooden-yard-signs/
Feel free to cite or share this guide.
References
- Edible Landscaping Using the Nine Florida-Friendly ... - Ask IFAS (ask.ifas.ufl.edu)
- Street Smarts - santa cruz cdi (cdi.santacruzcountyca.gov)
- Campus Posting Policy - Chapman University (chapman.edu)
- Designing Your School Garden: Kindergarten through Fifth Grade (content.ces.ncsu.edu)