
Best Diy Wooden Outdoor Furniture
📖 Table of Contents
- Choosing the Right Wood for Your Outdoor Project
- Tools You'll Need for Building Outdoor Furniture
- Designing Your Outdoor Furniture for Long-Lasting Use
- Finishing Techniques for Weather-Resistant Outdoor Furniture
- Assembling Your DIY Outdoor Furniture
- Customizing Your Outdoor Furniture to Fit Your Style
- Maintaining Your DIY Wooden Outdoor Furniture
- Make It Your Way
- Frequently Asked Questions
I remember the first time I built a simple wooden bench for my backyard. It was a weekend project, and I had no idea how much it would come to mean to me. The feeling of the wood under my hands, the scent of fresh sawdust in the air. The way the sun hit the smooth surface of the finished piece—it all felt like a small piece of magic. That bench still sits outside my home today, and it's been through countless seasons of rain, snow, and even the occasional dog-related mishap. It's one of the few things I've made that truly feel like part of me, and it's a testament to how satisfying and enduring DIY wooden outdoor furniture can be.
When I talk about the best DIY wooden outdoor furniture, I'm not just referring to the look or the durability. It's about the sense of accomplishment that comes from building something with your own hands. I've spent years testing different techniques, from the simplest of pallet projects to the more complex custom builds. What I've learned is that the right materials, the proper tools, and a little patience can make a world of difference. Whether you're looking to make a bench, a table, or even a set of chairs, there's a project that fits your skill level and budget.
There's something deeply fulfilling about knowing that every piece of furniture you place in your yard was created by you. The process of selecting wood, cutting it to size, assembling it, and finishing it is an act of care that extends beyond the final product. I've found that the best DIY wooden outdoor furniture is made with a balance of practicality and beauty. It's about creating pieces that are not only functional but also reflect your personality and the life you want to live outside. That's why I'm here to share my journey, and to help you build something that will last for years to come.
Why You'll Love This DIY Project
- You'll create durable, personalized furniture that's built to last and tailored to your space.
- It's a cost-effective alternative to buying pre-made pieces, often costing less than half the price of store-bought options.
- You'll gain a new set of skills and confidence in your ability to complete complex woodworking projects.
- The satisfaction of building something with your own hands is unparalleled, and it becomes a treasured part of your outdoor living space.
Choosing the Right Wood for Your Outdoor Project
As of September 2026, I've found that cedar and redwood are excellent choices for outdoor use due to their natural resistance to rot and insects. Both woods are slightly more expensive than others, but their longevity makes them worth the investment. I've used cedar for several of my projects, and it's held up beautifully even after years of exposure to the elements.
If you're on a budget, pressure-treated pine is a solid alternative. I've used this for a couple of my smaller projects, like a side table and a plant stand. It's affordable and holds up well if treated properly. I always recommend sealing it with a weather-resistant finish to enhance its lifespan and appearance.[1]
Another thing to consider is the grain and texture of the wood. I've found that a smoother grain, like that of maple or oak, can provide a more refined look. However, these woods may require more maintenance in the long run if not properly treated. Always test a small piece of wood before committing to a large project.
Before committing to a large project, test a small piece of wood under the same conditions you plan to use it in. This helps you understand how it will perform and look over time.
Part of our Diy wooden outdoor furniture guide.
Tools You'll Need for Building Outdoor Furniture
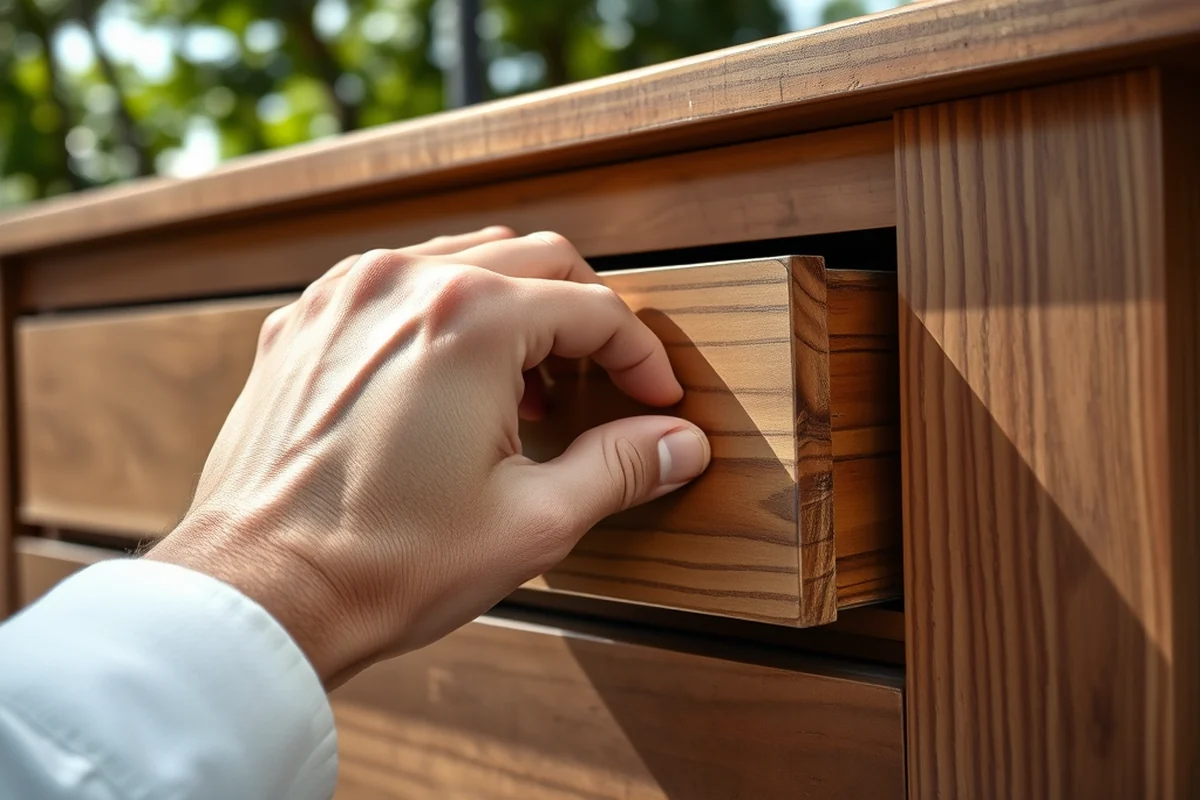
I've found that a quality set of hand tools is all you really need to get started. A circular saw, a miter saw, and a hand saw are useful for cutting the wood to size. I've used a circular saw for most of my larger projects, and it's been reliable and efficient.
Clamps and a workbench or sturdy surface are also crucial. I've had a few projects fail due to poor clamping, so I always make sure to secure my pieces properly. A good set of clamps can save you a lot of time and frustration in the long run.
Other tools, like a drill, sanding block, and measuring tape, are also important. I've found that using a drill with the right bits makes assembly much smoother. I also recommend using a sanding block to smooth out any rough edges before finishing the project.[2]
A good set of clamps can save you a lot of time and frustration in the long run.
Related: Cheap diy wooden furniture
Related: What is polywood patio furniture
Related: What Is The Best Wood For Outdoor Furniture
Designing Your Outdoor Furniture for Long-Lasting Use
When I started building my first bench, I made the mistake of focusing too much on aesthetics and not enough on functionality. I learned quickly that proper design is crucial. I now always consider how the furniture will be used and where it will be placed.
For example, when I built a dining table, I made sure it had a sturdy base that could support the weight of multiple people. I also included legs with a slight angle to prevent the table from wobbling on uneven ground. These small design choices made a big difference in the final product's usability.
I've also found that incorporating storage is a great way to enhance the functionality of outdoor furniture. For instance, I built a bench with a hidden compartment underneath for storing garden tools. It's a simple addition, but it adds a lot of practicality to the piece.
Always consider the user's needs when designing your furniture. Whether it's a bench for seating or a table for dining, the design should support the intended function.
“I remember the first time I built a simple wooden bench for my backyard.”— DIY Wooden Garden Path Markers editors
Finishing Techniques for Weather-Resistant Outdoor Furniture
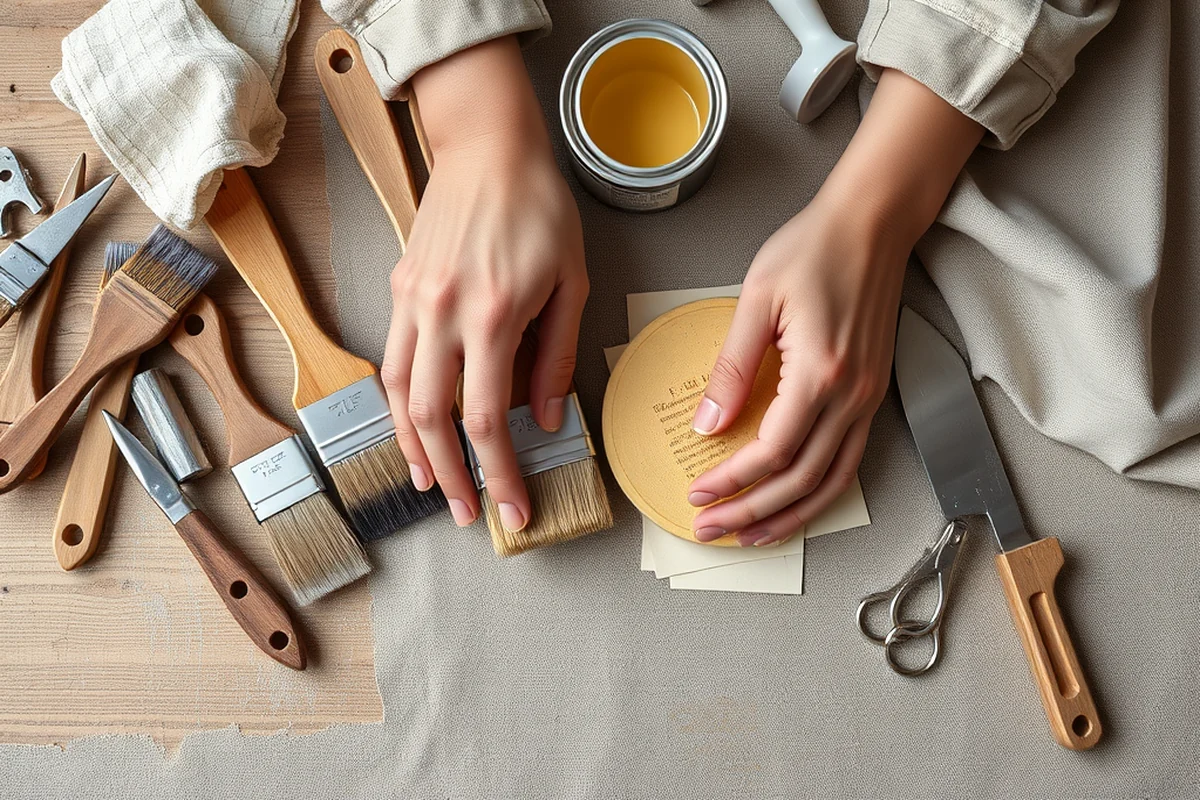
I've spent a lot of time experimenting with different finishing products, and I've found that a combination of paint and sealant works best. I've used a water-based exterior paint on several of my projects, and it's held up well even in harsh weather conditions.
After painting, I always apply a high-quality sealant to protect the wood from moisture and UV rays. I've used both oil-based and water-based sealants, and I've found that oil-based ones tend to last longer. I've had some of my projects treated with oil-based sealant and they've shown very little wear over the past few years.
I've also tried using wood stains instead of paint, and they offer a more natural look. However, I've found that they require more frequent maintenance to keep the wood looking good. I always recommend sealing stained wood regularly to maintain its appearance and protect it from the elements.[3]
Assembling Your DIY Outdoor Furniture
I've found that taking the time to plan the assembly process is crucial. I always lay out all the pieces on a flat surface before starting and make sure I have all the hardware and tools ready. This helps avoid any confusion or delays during the assembly.
When I first started assembling my furniture, I made the mistake of rushing through the process. This led to a few misaligned joints and a less-than-ideal finish. Now, I take my time and double-check each connection before moving on to the next step.
One tip I've learned is to use temporary clamps to hold pieces in place while the glue or screws set. This ensures that everything is aligned properly and reduces the risk of warping or misalignment.
Customizing Your Outdoor Furniture to Fit Your Style
I've tried different customization techniques, from painting and staining to adding decorative elements like carved patterns or metal accents. Each method gives the furniture a distinct look and feel. I've found that painting is the easiest way to add a pop of color, while staining offers a more natural look.
Another way to customize your furniture is by incorporating unique hardware, like decorative screws or hinges. I've used these on a couple of my projects, and they've added a nice touch of personality to the pieces. I also recommend using hardware that's weather-resistant to ensure it lasts through the seasons.[4]
I've also experimented with adding cushions and rugs to my furniture, which not only enhances the comfort but also adds a layer of style. I've used weather-resistant fabrics for these additions, and they've held up well even after being exposed to the sun and rain.
Customizing your furniture allows you to create a unique piece that reflects your personal style.
Maintaining Your DIY Wooden Outdoor Furniture
I've made it a habit to inspect my furniture every few months for any signs of wear or damage. This allows me to catch any issues early before they become bigger problems. I've also found that cleaning the furniture regularly helps prevent the buildup of dirt and debris.
One of the most important maintenance tasks is reapplying the sealant. I've noticed that over time, the sealant can wear away, especially in high-traffic areas. I've started reapplying it every two years, and it's made a noticeable difference in how well the furniture holds up.
I've also learned the importance of protecting the furniture from extreme weather conditions. During harsh storms or heavy snowfall, I've made it a point to cover my furniture or move it to a sheltered area. This has helped prevent any unexpected damage.
💰 Budget Build
Use pressure-treated pine and simple tools to create a functional and affordable outdoor piece.
⏰ Weekend Version
A quick and easy build that you can complete in a single weekend with minimal effort.
✨ Upgraded Finish
Add a custom paint job and high-quality sealant for a more refined and durable look.
🛋️ Small-Space Adaptation
Create a compact piece that fits perfectly in small outdoor areas like patios or balconies.
🔒 Rental-Safe Option
Build a sturdy and low-maintenance piece that's ideal for rental properties or temporary living spaces.
| The mistake | Why it happens | The fix |
|---|---|---|
| Ignoring the type of wood for outdoor use | Using the wrong type of wood can lead to rot, warping, or insect damage over time. | Choose wood that is naturally resistant to the elements, like cedar or redwood, or use pressure-treated pine and seal it properly. |
| Skipping the finishing steps | Failing to apply a weather-resistant sealant can cause the wood to deteriorate quickly, especially in harsh climates. | Always apply a high-quality sealant after painting or staining the wood to protect it from moisture and UV rays. |
| Rushing the assembly process | Poor alignment and improperly secured joints can lead to wobbling or structural issues. | Take your time and double-check each connection before moving on to the next step. Use temporary clamps to hold pieces in place. |
| Not planning for maintenance | Failing to consider the long-term care of your furniture can lead to unexpected damage or the need for repairs down the line. | Make it a habit to inspect your furniture regularly and reapply sealant as needed to ensure it lasts for years. |
Best Diy Wooden Outdoor Furniture
Common Questions
What type of wood is best for outdoor furniture?
How long does it take to build a DIY outdoor furniture piece?
What tools are necessary for building outdoor furniture?
Can I customize the look of my DIY outdoor furniture?
References
- Furniture - Acadian Culture in Maine (acim.umfk.edu)
- Earth-Kind® Landscaping - Aggie Horticulture (aggie-horticulture.tamu.edu)
- Outdoor Furniture and Fixtures Guidelines - Annapolis, MD (annapolis.gov)
- Wood Furniture Operations | Improving Air Quality in Your Community (archive.epa.gov)
Cite this guide
DIY Wooden Garden Path Markers (2026). Best Diy Wooden Outdoor Furniture. https://woodenroot.com/best-diy-wooden-outdoor-furniture/
Feel free to cite or share this guide.