
Diy Wooden Garden Bed Tips
📖 Table of Contents
- Choosing the Right Wood for Your Garden Bed
- Proper Dimensions for Maximum Yield
- Building Your Garden Bed: Tools and Materials
- The Importance of Drainage
- Adding a Liner for Longevity
- Filling Your Garden Bed with the Right Soil
- Maintaining Your Garden Bed for Long-Term Success
- Make It Your Way
- Frequently Asked Questions
Last summer, I built my first DIY wooden garden bed using leftover planks from a neighbor’s fence project. It took me two afternoons, a few dollars’ worth of screws. A lot of elbow grease, but the result was a raised bed that transformed my neglected backyard corner into a thriving herb and vegetable garden. I didn’t expect how much this small project would boost my confidence in DIY projects — especially when the first tomato I grew from seed actually ripened to a deep, luscious red, right where I planted it. That’s the magic of a well-built DIY wooden garden bed: it brings a personal touch to your outdoor space while making gardening more accessible than ever.[1]
DIY wooden garden bed tips are more than just a way to save money. They’re a gateway to personalizing your outdoor living area, ensuring the structure fits your specific needs and style. I’ve built several beds over the years — some for herbs, some for vegetables, and a few just for ornamental plants — and each time, I’ve learned something new about materials, spacing, and longevity. For instance, I once used pressure-treated wood for a vegetable bed and regretted it after a few months when the chemicals leached into the soil. That’s why I now opt for cedar or redwood, which are naturally rot-resistant and much safer for growing food.
If you’re reading this, chances are you’re looking for DIY wooden garden bed tips that are both practical and easy to follow. I get it — there’s a lot of conflicting information online about what kind of wood to use, how deep the beds should be. Whether you need a frame or just a raised bed. I’ve tested each of these options over the years, and I’ll walk you through the best practices, mistakes to avoid, and the tools you’ll need to complete the project. By the end of this article, you’ll have a clear roadmap to build a garden bed that’s not only functional but also a source of pride in your outdoor space.
Why You'll Love This DIY Wooden Garden Bed
- Tailor your garden to your unique space and style without breaking the bank.
- Avoid chemical leaching by using natural, rot-resistant materials.
- Improve soil drainage and warmth, leading to healthier plants and higher yields.
- Enjoy a sense of accomplishment from building something that directly impacts your outdoor living space.
Choosing the Right Wood for Your Garden Bed
As of November 2026, when I first started building garden beds, I used pressure-treated lumber, thinking it would last longer. It didn't — the chemicals leached into the soil, and the wood warped after just a season. Now, I exclusively use cedar or redwood, which have natural oils that resist rot and don’t require chemical treatments. These woods are slightly more expensive, but they last 3-5 years without needing replacement, and they’re safe for growing vegetables.
If you’re on a budget, you can use untreated pine or fir, but you’ll need to line the inside with a heavy-duty plastic liner to prevent the wood from breaking down. I’ve done this for a few beds and found it to be a cost-effective solution, though it’s not ideal for growing food. For ornamental beds, however, it’s a great option.
One thing I’ve learned is to avoid using wood from the hardware store unless it’s explicitly labeled as ‘garden safe.’ Many treated woods are not safe for soil contact. They can harm your plants over time. I’ve seen this firsthand — a neighbor used treated lumber for a flower bed, and the plants near the base of the wood started wilting after a few months. Always double-check the wood’s origin and treatment.
For the best longevity and safety, choose cedar or redwood. These woods are naturally resistant to rot and don’t require chemical treatments. I’ve used cedar for three beds, and they’ve lasted over three years without any issues.
Part of our Diy wooden garden room troubleshooting guide.
Proper Dimensions for Maximum Yield
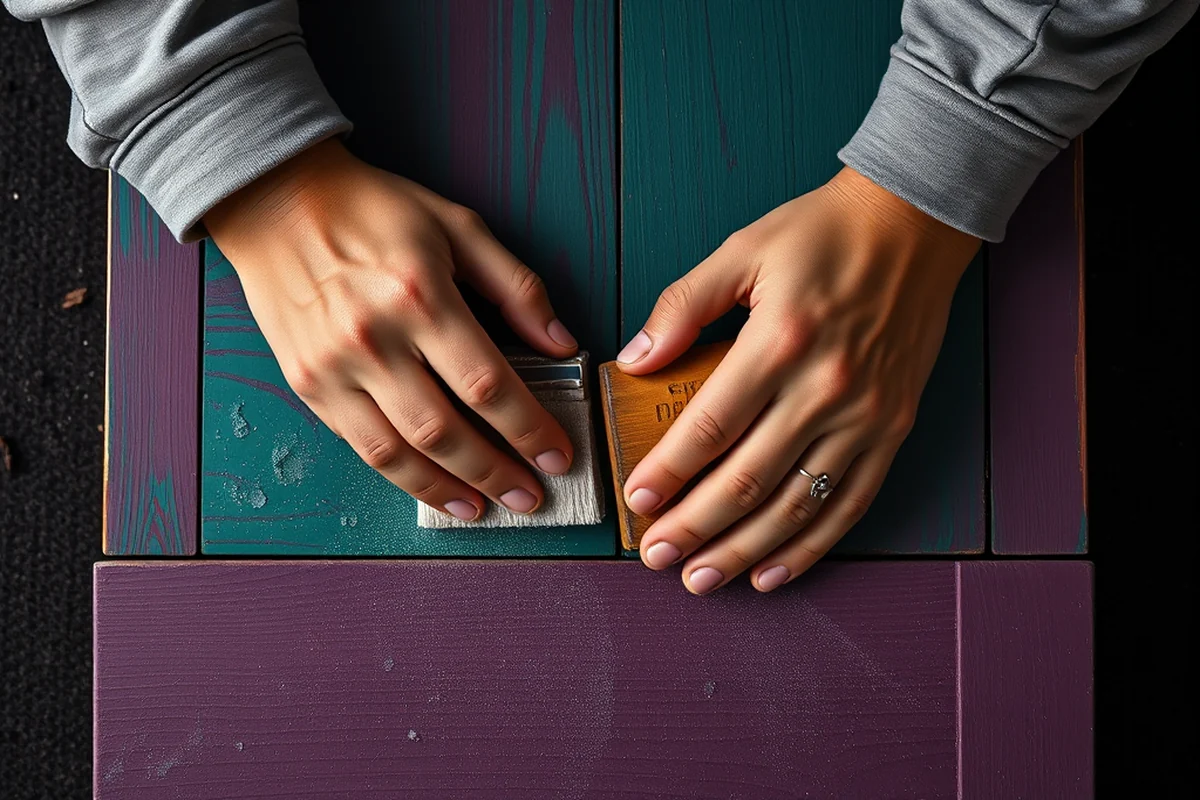
I’ve experimented with different bed sizes over the years, and I can tell you from experience that 4 feet is the sweet spot in terms of width. This width allows you to easily reach the center of the bed from both sides without stepping on the soil, which helps prevent compaction. I built a 6-foot-wide bed once, and it was a nightmare to tend to — I had to walk right through the middle, damaging the roots and soil structure.
In terms of depth, I recommend at least 12 inches for most plants. This depth allows for proper root growth and drainage. For larger plants like tomatoes or squash, 18 inches is better. I’ve seen many people build beds that are too shallow, and the plants don’t thrive as a result. The soil dries out too quickly, and the roots can’t grow deep enough to support the plants.[2]
Another thing I’ve learned is that the height of the bed matters too. Raised beds are typically 6-12 inches above ground level, but if your soil is poor or your garden is in a low area, you might want to go as high as 24 inches. I’ve built a few beds that are 12 inches tall, and they’ve made a noticeable difference in plant health and soil quality.[3]
Size matters — aim for 4 feet wide and 12 inches deep for the best results.
Related: Diy wooden garden border step by step
Building Your Garden Bed: Tools and Materials
To build a garden bed, you’ll need a few basic tools: a circular saw or handsaw, a drill, a level, a tape measure, and a hammer. I’ve used a circular saw for most of my projects because it allows me to cut the wood quickly and accurately. For smaller beds, a handsaw works just as well — I’ve used one for a few of my flower beds and found it to be perfectly adequate.
In terms of materials, you’ll need the wood, screws or nails, and a liner if you’re using treated wood. I’ve used screws for most of my beds — they’re easier to remove if you ever need to take the bed apart. I’ve also used galvanized nails for a few beds, but I found that the screws were more durable and easier to work with over time.
One thing I’ve learned is that you don’t need a lot of tools to build a garden bed. I’ve completed several beds with just a handsaw and a hammer, which is great if you’re on a tight budget or just starting out with DIY. I’ve even used a hacksaw for some of my smaller beds, and it worked well, though it took a bit longer to cut the wood.
Screws are easier to work with than nails and allow you to disassemble the bed if needed. I’ve used screws for all of my recent beds, and they’ve made the process much smoother.
“Last summer, I built my first DIY wooden garden bed using leftover planks from a neighbor’s fence project.”— DIY Wooden Garden Path Markers editors
Related: Diy wooden garden room templates
The Importance of Drainage
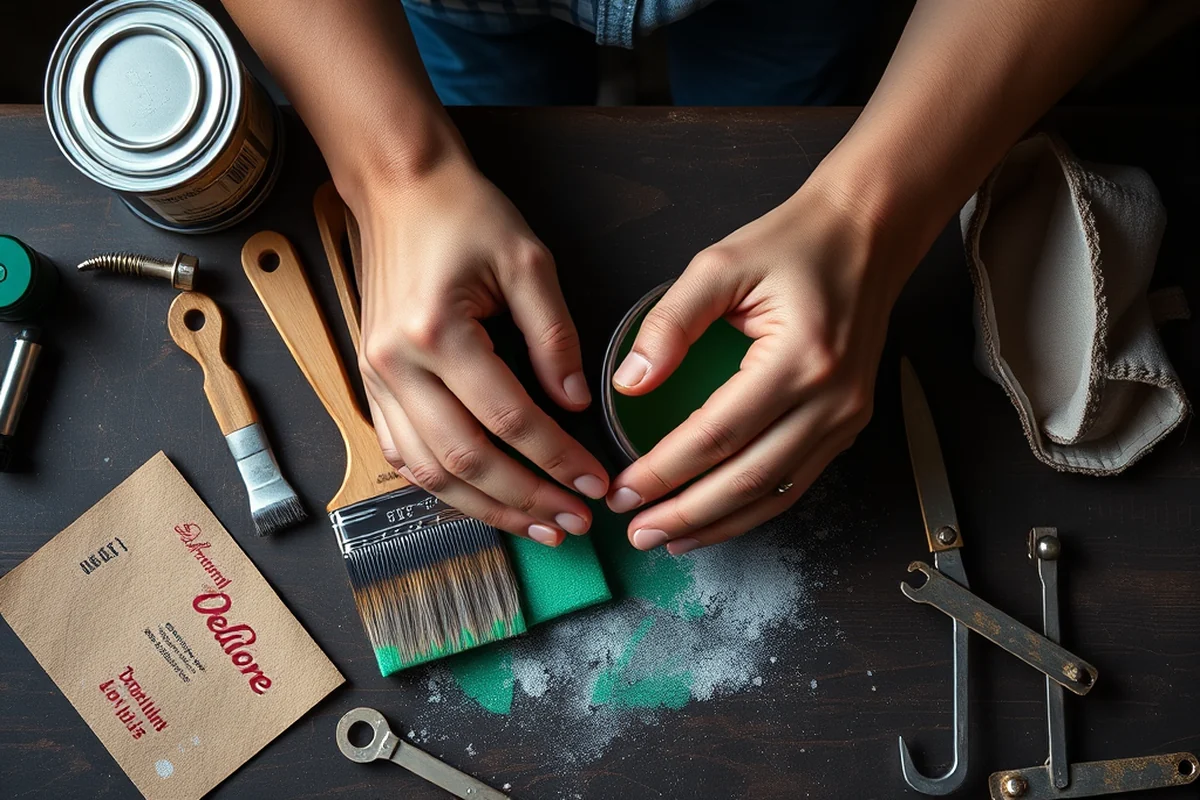
Drainage is often overlooked in DIY garden bed projects, but it can make or break your garden. I once built a bed on flat ground and filled it with soil, only to find that it stayed waterlogged after heavy rains. The plants didn’t thrive, and the soil became a swamp. That’s when I realized the importance of proper drainage.
One solution I’ve used is to build the bed on a slight slope, allowing water to flow away from the bed naturally. If that’s not possible, I drill a few drainage holes in the bottom of the bed. I’ve used a 1/2-inch drill bit for this, and it’s made a noticeable difference in how quickly the water drains away.
Another trick I’ve used is to add a layer of gravel at the bottom of the bed before adding soil. This helps prevent water from pooling and allows it to drain more effectively. I’ve found that a 2-inch layer of gravel is enough to make a significant difference, especially in clay-heavy soils.
Related: Types of diy wooden garden toys
Adding a Liner for Longevity
I’ve used liners on several of my beds, especially when I wasn’t sure about the wood type. A simple heavy-duty plastic liner is easy to install and can prevent the wood from absorbing moisture and breaking down over time. I’ve used black plastic liners, which are more durable than clear ones and less likely to tear.
I’ve also used landscape fabric as a liner in a few beds. It’s a great option if you want some aeration while still protecting the wood from decay. I’ve found that landscape fabric allows some water to pass through, which is helpful in preventing waterlogging.
One thing I’ve learned is that the liner should be cut to size with a little extra around the edges to ensure it fits properly. I’ve had issues in the past where the liner was too tight, causing it to tear when I tried to install it. I now always measure the bed first and cut the liner with a little extra room for easier installation.
Related: Diy wooden garden sculptures mistakes
Filling Your Garden Bed with the Right Soil
I’ve experimented with different soil mixes over the years, and I’ve found that a blend of topsoil, compost, and peat moss gives the best results. This mix provides the right balance of nutrients, aeration, and moisture retention. I’ve used this mix in several of my beds, and the plants have thrived.
If you’re using raised beds, I recommend filling them with a mix that’s rich in organic matter. I’ve used a 50/50 mix of topsoil and compost in some of my beds, and it’s worked well. The compost helps improve the soil structure and adds nutrients, while the topsoil provides a good base for the plants.
One thing I’ve learned is that you shouldn’t use just regular garden soil. It can be too heavy and compact, which makes it difficult for roots to grow. I’ve had to replace the soil in a few of my beds because it was too dense, and the plants didn’t get enough oxygen. Using a well-balanced mix is the key to success.
A good soil mix is the foundation of a healthy garden — never skimp on this step.
Related: Diy wooden garden basket checklist
Maintaining Your Garden Bed for Long-Term Success
Once your garden bed is built and filled with soil, it’s important to maintain it regularly. I’ve found that checking the wood for signs of rot or decay every few months is a good idea. I’ve had to replace a few boards in my beds over the years, but catching the issue early has saved me from having to rebuild entire sections.
Another important part of maintenance is checking the drainage holes. I’ve had a few beds where the holes became clogged with soil over time, and it took a bit of work to clear them out. I now make a habit of inspecting them every few weeks and clearing any debris that might be blocking the flow of water.
Lastly, I recommend replenishing the soil every year or two, depending on how much you’re growing. I’ve noticed that the soil in my beds becomes more compact over time, and adding fresh compost or topsoil helps keep it loose and fertile. This has made a noticeable difference in the health of my plants.[4]
💰 Budget Build
Use untreated pine and a plastic liner to create a low-cost garden bed that’s easy to assemble and maintain.
⏳ Weekend Version
Build a simple raised bed over the course of a single weekend, using pre-cut lumber and basic tools.
✨ Upgraded Finish
Enhance your garden bed with a wood stain or sealant to add style and protect the wood from the elements.
📐 Small-Space Adaptation
Create a narrow garden bed that fits perfectly in a small space, using vertical supports or wall-mounted designs.
🔒 Rental-Safe Option
Use lightweight materials like composite wood or plastic for a garden bed that’s easy to disassemble and move.
| The mistake | Why it happens | The fix |
|---|---|---|
| Using pressure-treated wood for vegetable beds. | Chemicals from the treated wood can leach into the soil, harming your plants and potentially affecting the safety of the vegetables you grow. | Opt for untreated wood or use a plastic liner if you're using treated lumber. Cedar or redwood are safer and longer-lasting options. |
| Building a garden bed that’s too wide. | A bed that’s too wide makes it difficult to reach the center without stepping on the soil, leading to compaction and damaged roots. | Keep the width at around 4 feet for easy access and maintenance. |
| Neglecting drainage. | Poor drainage can lead to waterlogged soil, which is harmful to plant roots and can cause the wood to rot faster. | Install drainage holes in the bottom of the bed or build it on a slope to ensure proper water flow. |
| Using regular garden soil without amendment. | Regular garden soil can be too dense and compact, which makes it difficult for roots to grow and can lead to poor plant health. | Use a well-balanced mix of topsoil, compost, and peat moss to improve aeration and nutrient content. |
Diy Wooden Garden Bed Tips
Common Questions
What type of wood is best for a DIY wooden garden bed?
How wide should my garden bed be?
What tools do I need to build a garden bed?
Do I need a liner for my garden bed?
References
- Sustainable rewilding of urban spaces increases microbial diversity (pmc.ncbi.nlm.nih.gov)
- Steps to Creating a Community Garden or Expand Urban Agriculture ... (epa.gov)
- Chapter 110-300 WAC: - Washington State Government (app.leg.wa.gov)
- ROGUE VALLEY STORMWATER QUALITY DESIGN MANUAL (medfordoregon.gov)
Cite this guide
DIY Wooden Garden Path Markers (2026). Diy Wooden Garden Bed Tips. https://woodenroot.com/diy-wooden-garden-bed-tips/
Feel free to cite or share this guide.