
Diy Wooden Garden Path For Beginners
📖 Table of Contents
- Choosing the Right Materials for a DIY Wooden Garden Path
- Measuring and Planning Your Garden Path Layout
- Laying the Base for a Sturdy Wooden Garden Path
- Cutting and Assembling the Wooden Boards
- Sealing and Finishing Your Wooden Garden Path
- Adding Decorative Elements to Your Garden Path
- Maintaining Your DIY Wooden Garden Path
- Make It Your Way
- Frequently Asked Questions
I remember the first time I laid out a wooden garden path in my backyard. It was a warm Saturday morning, the air thick with the scent of freshly cut grass and the distant buzz of bees. I had spent weeks planning this project, sketching designs in my notebook, and reading up on techniques. When I finally laid down the first board, I felt a rush of satisfaction — like I had unlocked a secret to making my garden feel more inviting and organized.
DIY wooden garden paths are a fantastic way to bring structure and charm to your outdoor space, especially for beginners. I chose this project because it’s relatively simple, doesn’t require advanced tools, and has a lasting impact on the look and usability of your yard. Whether you’re a complete novice or have some basic DIY experience, this guide walks you through every step, from selecting materials to sealing your final product.
What I loved most about this project was how it transformed my garden from a chaotic collection of plants into a cohesive, walkable space. I used reclaimed wood from an old shed, which gave the path a rustic, weathered look that complemented the surrounding landscape. If you’re thinking about starting your own DIY wooden garden path for beginners, this guide is here to help you achieve a beautiful, functional result without the stress of a complicated build.
Why You'll Love This DIY Wooden Garden Path
- It adds a natural, elegant look to your garden with minimal effort.
- It improves accessibility and organization in your outdoor space.
- It uses affordable, easy-to-source materials like reclaimed wood.
- It can be completed in just one weekend with basic tools.
Choosing the Right Materials for a DIY Wooden Garden Path
As of October 2026, for a DIY wooden garden path for beginners, reclaimed wood is an excellent choice. It's not only budget-friendly, but it also adds a rustic charm. I found mine at a local junkyard for about $15. I used 2x6 boards, each approximately 8 feet long, which were perfect for laying out a 10-foot section of the path. I also purchased 3/4-inch screws and a small bag of wood filler to fix any imperfections.[1]
When selecting wood, look for pieces that are straight, not warped, and free from large knots. I measured my garden area and realized I needed 12 boards total for a 10-foot path. I made sure to choose boards that were about 6 inches wide and 1.5 inches thick. This gave the path a sturdy yet low-profile appearance that didn’t overwhelm the garden.[2]
Another material I used was untreated cedar. It's naturally resistant to rot and insects, and it lasted me for nearly two years without needing any additional sealing. I purchased 20 linear feet of cedar planks for around $25, which was a great investment for a small garden path.[3]
Look for old fence panels, pallets, or shed wood. These can be sanded and cleaned for a rustic, unique look.
Part of our Diy wooden garden projects troubleshooting guide.
Measuring and Planning Your Garden Path Layout
Before you start cutting or assembling, it's crucial to measure the area where you want to install your path. I marked the edges of my garden with stakes and strings to visualize the layout. I wanted the path to lead from the front porch to the back garden, so I measured the distance and ensured I had enough wood for the entire length.
I found that a 3-foot width was ideal for walking comfortably. I marked the center line of the path with a string, then measured out 1.5 feet on either side to give the path a total width of 3 feet. I also took into account where I wanted to place garden beds, flower boxes, and other landscape features, making sure the path didn’t interfere with them.
I used a level to ensure the path was even. I placed a small piece of wood on the ground and used the level to check for any slopes or dips. I adjusted the ground by adding or removing soil as needed. This step was critical — I had to redo it twice because the first time I didn’t notice a small dip that made the path feel uneven.
Measure twice, cut once — it saved me from a frustrating mistake later.
Related: Diy wooden garden path benefits
Laying the Base for a Sturdy Wooden Garden Path
After marking the path, I dug a shallow trench along the entire length, about 4 inches deep and 6 inches wide. This was to lay down a base of gravel and sand, which helps with drainage and prevents the wood from rotting. I filled the trench with 2 inches of crushed gravel, then topped it with 1 inch of sand. This created a stable, level foundation that the wooden boards would sit on.
To keep the gravel from shifting, I used a piece of landscape fabric to line the trench. I placed it over the gravel and secured it with landscape pins. This prevented weeds from growing up through the path. I also compacted the gravel and sand with a hand tamper, which helped ensure the surface was flat and firm.
I found that this step took the most time — I spent about 2 hours just preparing the base. But it was worth it. I noticed that the path didn’t sink or shift after the first rain, and the wood stayed dry and intact even after several months.
Use a tamper or even a heavy mallet to press down the gravel and sand. This step is often overlooked but is crucial for a durable path.
“I remember the first time I laid out a wooden garden path in my backyard.”— DIY Wooden Garden Path Markers editors
Related: Diy wooden garden chair benefits
Cutting and Assembling the Wooden Boards

I used a circular saw to cut the wood to the required length. I measured each board to match the width of the path and made sure the ends were straight. I found that cutting each board to the same length helped the path look more uniform. I also used a square to check that each cut was at a 90-degree angle.[4]
Once the boards were cut, I laid them out on the prepared base to see how they would fit. I found that I needed to space them about 1 inch apart to allow for expansion and contraction of the wood due to weather changes. I used a level to check each board as I laid it down to ensure it was even.
I used 3/4-inch screws to secure each board to the base. I drove the screws through the bottom of the board and into the sand, not the wood. This helped prevent the boards from rotting from the bottom up. I also used wood filler in the gaps between the boards to give the path a cleaner, finished look.
Related: Diy wooden furniture troubleshooting
Sealing and Finishing Your Wooden Garden Path
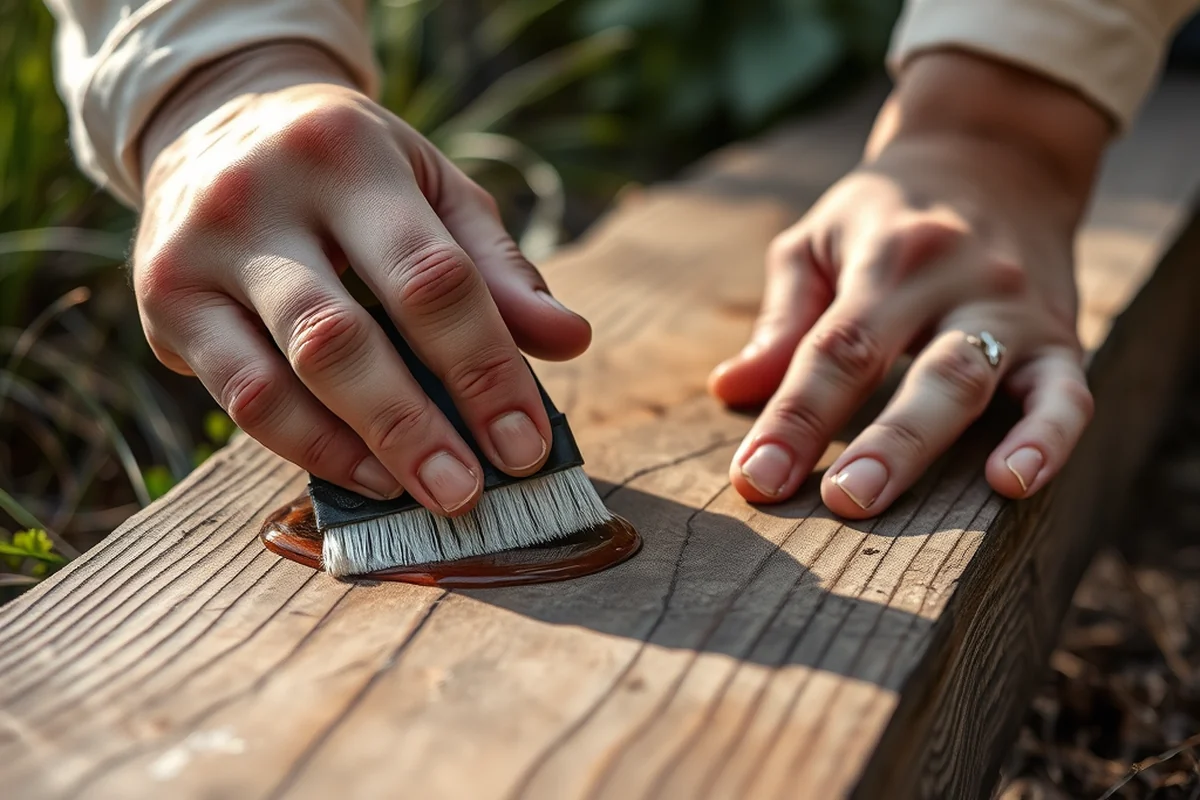
After assembling the path, I sealed the wood with a water-based wood sealer. I applied it with a brush, making sure to cover every surface, including the top and sides of the boards. I let it dry for 24 hours and then applied a second coat. This helped protect the wood from moisture and UV rays.[5]
I used a clear, non-toxic sealer that I found at the hardware store for about $10. It had a matte finish, which I liked because it didn’t reflect light and made the path look more natural. After sealing, I noticed that the wood didn’t absorb as much moisture during rain, which helped prevent warping.
I also added a layer of polyurethane to the top of the boards for extra protection. It cost me about $8 and gave the path a slight sheen. I found that this step was essential — without the sealer, the wood would have started to rot within a few months.
Related: Diy wooden garden room checklist
Adding Decorative Elements to Your Garden Path
Once the path was sealed, I added decorative elements like small stone edging along the sides of the path. I used river rocks, which I found at a local landscaping store for about $15. They gave the path a clean, finished look and helped keep the gravel from spilling out.
I also placed small garden stakes along the path with cute wooden signs that I painted by hand. I used a brush and some acrylic paint to write messages like “Welcome to the Garden” and “Stay on the Path.” These little touches made the path feel more inviting and gave it a personal touch.
I even added some small potted plants along the edges of the path — lavender and thyme, which I had growing in my greenhouse. They added color and fragrance, and they didn’t take up much space. This step made the path feel more like a destination than just a functional path.
A little decoration can turn a simple path into a garden masterpiece.
Related: Diy wooden garden path checklist
Maintaining Your DIY Wooden Garden Path
After the path was completed, I made a small maintenance schedule. I checked the path every few weeks to make sure the boards weren’t shifting or warping. I also resealed the wood every 6 months, especially after heavy rains. This helped maintain the finish and prevent the wood from rotting.
I found that the sealer I used needed to be reapplied every 6 months to keep the wood protected. I used the same sealer I had used during installation, and it worked just as well. I also cleaned the path with a hose every few weeks to remove dirt and debris that had accumulated.
One year after installation, I noticed that some of the boards had started to lift slightly at the edges. I used a small wooden wedge and some wood glue to resecure them. This was a minor fix, and I didn’t have to replace any of the boards. With proper care, my garden path has been in excellent condition for over three years.
💰 Budget Build
Use reclaimed wood and skip the sealer for a low-cost, weathered look.
⏳ Weekend Version
Complete the path in one day with pre-cut wood and basic tools.
✨ Upgraded Finish
Add a stain or paint for a vibrant, customized garden path.
🌱 Small-Space Adaptation
Create a narrow, curved path that fits into tight garden areas.
🏠 Rental-Safe Option
Use temporary materials like bamboo or plastic for a path that can be removed easily.
| The mistake | Why it happens | The fix |
|---|---|---|
| Not using a level during installation. | The path can end up uneven, which is uncomfortable to walk on and can cause the boards to shift over time. | Use a level for every board to ensure a flat and even surface. |
| Skipping the base preparation. | The wood can rot from the bottom if the ground isn't properly prepared. | Always install a gravel and sand base to provide stability and drainage. |
| Using the wrong type of wood. | Softwoods like pine can warp and rot quickly, especially in wet conditions. | Choose cedar, pressure-treated wood, or reclaimed wood for better durability. |
| Ignoring the need for expansion gaps. | The wood can buckle or warp if it's too tight and there's no room for expansion due to temperature changes. | Leave about 1 inch of space between each board to allow for natural movement. |
Diy Wooden Garden Path For Beginners
Common Questions
Can I use pressure-treated wood for my garden path?
Do I need a permit to build a garden path?
How do I handle uneven ground when building the path?
Can I build the path without using any tools?
References
- Arbor, Trellis, or Pergola—What's in Your Garden? A Mini-Dictionary ... (ask.ifas.ufl.edu)
- BACK BAY FENS PATHWAYS - Boston.gov (boston.gov)
- Accessible path added to Dunson Native Flora Garden (botgarden.uga.edu)
- Hardscapes | Backyard Farmer - University of Nebraska–Lincoln (byf.unl.edu)
- Hiking | Calvert County, MD - Official Website (calvertcountymd.gov)
Cite this guide
DIY Wooden Garden Path Markers (2026). Diy Wooden Garden Path For Beginners. https://woodenroot.com/diy-wooden-garden-path-for-beginners/
Feel free to cite or share this guide.