
Diy Wooden Garden Trug Guide
📖 Table of Contents
- Choosing the Right Wood for Your Trug
- Cutting and Shaping the Trug Frame
- Joining the Planks: Techniques That Work
- Adding the Handles and Reinforcements
- Finishing Touches and Caring for Your Trug
- Storing and Maintaining Your Trug
- Personalizing Your Trug with Decorative Elements
- Make It Your Way
- Frequently Asked Questions
There's something deeply satisfying about crafting your own wooden garden trug, especially when it's made from the very timber that lines your backyard. I remember the first time I carved out a simple trug from an old cedar board — the scent of fresh wood, the satisfying click of nails. The way it balanced perfectly in my hands. It wasn't just a container; it was a tangible piece of my garden's story. A DIY wooden garden trug guide like this one is more than just a set of instructions — it's a gateway to a more hands-on, meaningful connection with your outdoor space.
I’ve built dozens of trugs over the years, from small, rustic ones that hold a few herbs to larger, more ornate ones that hold entire harvests. Each one tells a different story — of the wood I used, the tools I selected, the weather it endured. The DIY wooden garden trug guide I created isn’t just about how to make one; it's about understanding the journey from raw material to functional, beautiful tool. Whether you're a seasoned woodworker or a curious beginner, this guide will walk you through every step with clarity and care.
The best part of building a wooden garden trug is the way it transforms your space. It’s not just about utility — it’s about aesthetics, about making your garden feel more personal, more lived-in. I've watched my own trugs fade from bright white to a warm, honeyed shade over time, and I love the way they’ve aged with the garden. This DIY wooden garden trug guide is your invitation to create something that will not only serve you but also grow with you, season after season.
Why You'll Love This DIY Wooden Garden Trug Guide
- Create a custom trug that perfectly fits your garden's style and needs.
- Save money by making your own instead of buying a mass-produced version.
- Learn practical woodworking skills that can be applied to other DIY projects.
- Enjoy the satisfaction of crafting something that will last for years.
Choosing the Right Wood for Your Trug
As of October 2026, for a DIY wooden garden trug, the choice of wood can make or break the project. Cedar and redwood are excellent options because they’re naturally resistant to rot and insects, making them ideal for outdoor use. I personally prefer cedar for its rich aroma and smooth grain. If you’re on a budget, untreated pine can work too — just be sure to treat it with a quality exterior wood preservative.
I once made a trug from reclaimed oak, and while it looked beautiful, it was too heavy for my needs. Lightweight yet sturdy is the goal. I also found that pressure-treated wood, while durable, can leach chemicals into the soil over time — something to consider if you’re growing edible plants.
Always check the wood for knots and splits. A trug with structural integrity will last far longer. I’ve found that buying wood that’s already cut into planks or boards from a local supplier can save you time and effort compared to cutting it yourself.
Before purchasing, check the moisture content of the wood to ensure it’s dry enough for your project — ideally below 18%.[1]
Part of our Diy wooden projects guide guide.
Cutting and Shaping the Trug Frame
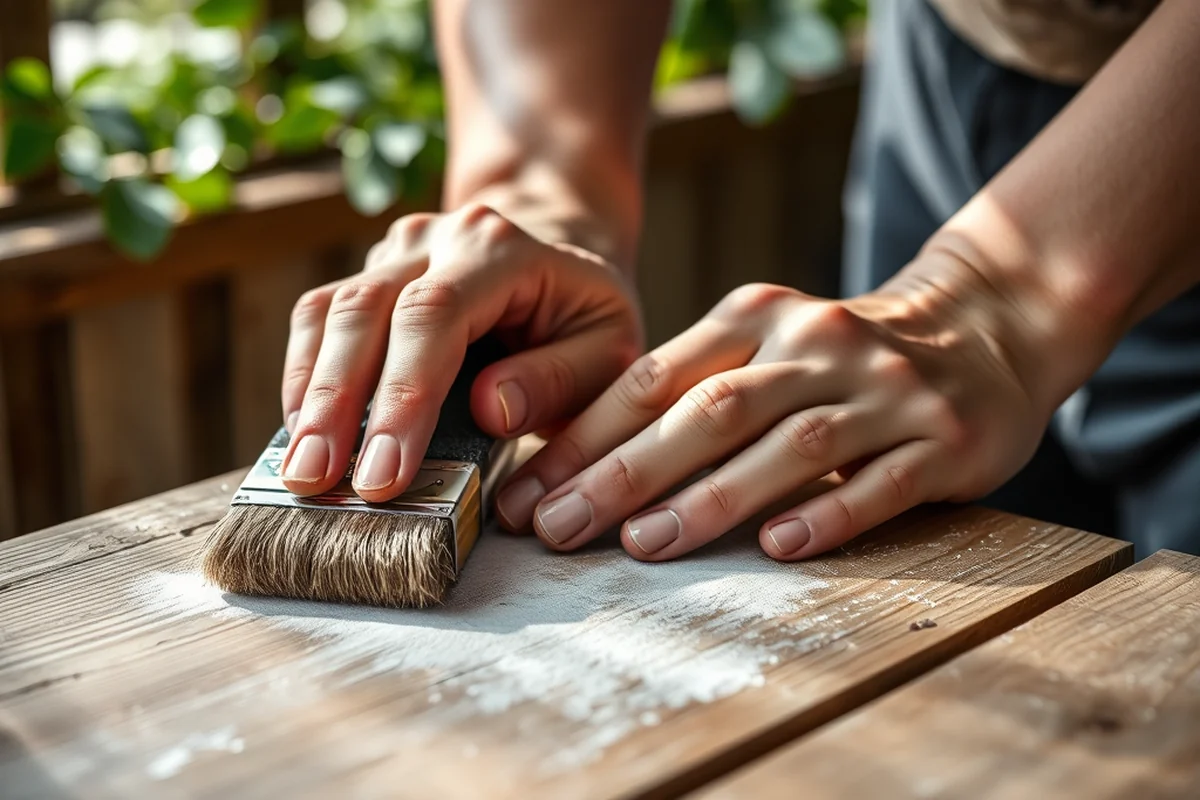
Once you’ve selected your wood, the next step is cutting the planks to size. I recommend using a circular saw for precise cuts, but if you don’t have one, a hand saw with a fine blade will work just as well. I’ve made trugs using both methods, and while the circular saw is faster, the hand saw offers more control — especially if you’re working with reclaimed wood that has uneven edges.[2]
After cutting, it’s time to shape the trug. Using a router with a rounding bit is the most efficient way to create the curved edges that give a trug its iconic look. I’ve also used a jigsaw with a template to achieve similar results, but the router gives a cleaner, more professional finish.
Take your time with the shaping — a well-rounded trug is not only more comfortable to carry but also less likely to splinter over time. I once skipped the rounding step on a small trug and ended up with splinters within a month of use.
Precision in shaping makes all the difference in the final look and feel of your trug.
Related: Top diy wooden projects
Related: Diy wooden projects problems
Related: Why diy wooden projects
Joining the Planks: Techniques That Work
I’ve experimented with several methods for joining the planks of my trugs, and the most reliable is using wooden dowels and wood glue. This technique is simple, effective, and gives the trug a clean, seamless look. I also use brads and a router bit to create a more traditional, handcrafted appearance — it’s a bit more time-consuming, but the result is worth it.
For a quick and easy solution, I’ve used corner brackets to join the sides of the trug. While this method is fast, it doesn’t offer the same level of strength as dowels or brads. I found that over time, the brackets can become loose if the trug is used frequently or exposed to the elements.
I recommend using a combination of wood glue and brads for the best results. The glue adds strength, and the brads help keep the planks aligned. I’ve used this method on several trugs, and they’ve all held up beautifully, even after being used regularly for years.[3]
When joining planks, use a clamp to hold the pieces together while the glue dries. This ensures a tight, secure bond.
“There's something deeply satisfying about crafting your own wooden garden trug, especially when it's made from the very timber that lines your backyard.”— DIY Wooden Garden Path Markers editors
Related: Diy wooden projects troubleshooting
Adding the Handles and Reinforcements

Handles are one of the most important elements of a garden trug — they make it easy to carry and significantly affect the trug’s comfort. I’ve used both rope and wood handles in the past, but I prefer wooden handles for their durability and aesthetic appeal. To attach them, I use wood glue and brads, making sure to position them about 10 inches from the top of the trug for optimal balance.[4]
Reinforcements are also crucial. I like to add a strip of wood across the bottom of the trug, not only to strengthen it but also to help it sit more securely on the ground. I’ve found that this simple addition can make a big difference in how well the trug holds up over time, especially if it's used for heavier items.
I’ve also used corner brackets to reinforce the corners of the trug, especially if I’m using a more lightweight wood. This gives the trug extra stability and prevents the corners from splintering or warping. It’s a small step, but it’s one that has made a noticeable difference in the longevity of my trugs.
Related: Diy wooden projects checklist
Finishing Touches and Caring for Your Trug
Once your trug is assembled and the handles are attached, it's time for the finishing touches. I always apply a coat of wood preservative or a water-based exterior paint to protect it from the elements. I’ve used both oil-based and water-based finishes, and while the oil-based ones tend to last longer, the water-based ones are easier to apply and clean up.
I’ve also experimented with staining the trug to match the surrounding garden. A light, natural stain can give the trug a more rustic look, while a darker stain can make it stand out more. I’ve found that using a clear sealant over the stain adds an extra layer of protection without changing the color too much.
After applying the finish, I let the trug dry completely before using it. It’s important to wait at least 24 hours to ensure the finish is fully cured. I’ve rushed this step in the past, and the result was a trug that looked uneven and didn’t hold up as well as it could have.[5]
Storing and Maintaining Your Trug
Once your trug is finished and in use, it's important to store it properly during the off-season, especially if you live in an area with harsh winters. I like to keep my trugs in a dry, covered storage area, like a shed or a garage. If I can’t store them indoors, I place them on a raised platform to prevent moisture from seeping into the wood.
I’ve also found that regularly cleaning the trug with a mild soap and water solution helps keep it looking good. I avoid using harsh chemicals, as they can damage the finish over time. If the trug starts to look dull, I apply a fresh coat of preservative or oil to restore its shine.
I’ve noticed that trugs exposed to constant moisture tend to warp or crack over time. To prevent this, I make sure to dry them thoroughly after use and avoid leaving them in the rain for extended periods. A little care goes a long way in keeping your trug in excellent condition.
Proper storage and care can extend the life of your trug for decades.
Personalizing Your Trug with Decorative Elements
Once your trug is built and finished, you can take it a step further by adding decorative elements that reflect your personal style. I’ve used carved patterns on the sides of my trugs, and I’ve also added painted accents or metal inlays for a more ornate look. These additions not only make the trug more visually appealing but also give it a more custom feel.
If you’re not confident in your artistic abilities, there are plenty of simple ways to personalize your trug. I’ve used stencils to add patterns or even painted simple geometric shapes on the sides. These details can be as subtle as a few dots or as bold as a full floral design — it all depends on your preference.
I’ve also used twine or leather cords to wrap around the handles or along the edges of the trug. This adds a soft, natural element that complements the wood beautifully. It’s a small detail, but one that can make a big difference in how your trug looks and feels.
💰 Budget Build
Use untreated pine and simple brad nails to create a cost-effective trug with a rustic charm.
⏳ Weekend Version
Complete a simple trug in one day using pre-cut planks and quick assembly techniques.
🎨 Upgraded Finish
Add a weather-resistant stain and decorative inlays to give your trug a premium, custom look.
🌿 Small-Space Adaptation
Build a compact trug that’s perfect for urban gardens or small backyards.
🔒 Rental-Safe Option
Create a trug using non-toxic, removable materials that are safe for rental properties.
| The mistake | Why it happens | The fix |
|---|---|---|
| Using untreated wood in a high-moisture area. | Untreated wood can warp, rot, or become a breeding ground for mold and insects if exposed to prolonged moisture. | Always treat your wood with a water-resistant finish or use naturally rot-resistant woods like cedar or redwood. |
| Skipping the rounding of the trug’s edges. | Unrounded edges can be uncomfortable to carry and may splinter over time, especially if the trug is used frequently. | Use a router or jigsaw to round the edges for a smoother, more comfortable finish. |
| Using too many decorative elements on the trug. | Too many embellishments can make the trug look cluttered and may interfere with its functionality. | Keep the design simple and ensure that any decorative elements don’t compromise the trug’s strength or usability. |
| Not reinforcing the trug properly. | A trug that isn’t reinforced may warp, crack, or break under heavy use or exposure to the elements. | Use wooden dowels, brads, or corner brackets to reinforce the joints and add stability to the structure. |
Diy Wooden Garden Trug Guide
Common Questions
Can I use a trug for growing plants as well as harvesting?
What’s the best way to store a trug over winter?
How long does it take to build a trug?
Can I build a trug without any woodworking experience?
References
- Eranshahr. Man, Landscape, and Society in Arsacid and Sasanian ... (academia.edu)
- Tracing Food as a System of Oppression from Contemporary (academiccommons.columbia.edu)
- NSync A Mei A Tribe Called Quest A*Teens A-axis A-bomb A-frame A (aima.cs.berkeley.edu)
- Race & Space in 19th century German-American Literature (cdr.lib.unc.edu)
- RESEARCH ESTABLISHMENTS - REPORTS SUBMITTED UNDER ... (cia.gov)
Cite this guide
DIY Wooden Garden Path Markers (2026). Diy Wooden Garden Trug Guide. https://woodenroot.com/diy-wooden-garden-trug-guide/
Feel free to cite or share this guide.