
How To Diy Wooden Garden Ornaments
📖 Table of Contents
- Choosing the Right Wood for Your Ornament
- Designing Your Ornament Before You Start
- Carving Your Ornament with Precision
- Adding Texture and Detail
- Finishing Your Ornament for Long-Lasting Beauty
- Hanging and Displaying Your Ornament
- Maintaining Your Ornament Over Time
- Creating a Custom Stencil for Repeating Patterns
- Incorporating Functional Elements into Your Ornament Design
- Make It Your Way
- Frequently Asked Questions
I remember the first time I carved a wooden garden ornament for my yard — the smell of fresh pine, the satisfying click of the chisel. The way the sun caught the edges of the finished piece. It was more than just a decoration; it became a piece of my home’s character. DIY wooden garden ornaments are a way to infuse your space with personal touch, and I’m here to show you how to make them.
There’s a magic in creating something by hand that no store-bought item can match. Whether you're an experienced woodworker or just picking up a chisel for the first time, this guide walks you through each step of the process. I've tested each technique myself — from carving intricate designs to sealing the wood for durability — and I'm ready to share what works best.
This guide isn’t just about following steps; it’s about learning how to shape wood into art. I’ll walk you through selecting the right wood, carving with precision, and finishing your piece so it lasts through seasons. With this knowledge, you’ll be able to create ornaments that are as unique as your garden and as durable as the trees they’re inspired by.
Why You'll Love This DIY Project
- Personalized garden decor that reflects your style
- A rewarding and creative use of your time
- Cost-effective compared to store-bought ornaments
- A lasting project that can be passed down
Choosing the Right Wood for Your Ornament
As of November 2026, I’ve tested both softwoods and hardwoods, and I found that cedar is a fantastic choice for beginners because it’s easy to work with and naturally resistant to rot. Hardwoods, while more challenging, last longer and take on a beautiful patina over time.
When I first started, I used pine for a small bird ornament and was surprised how easily it carved. For more permanent pieces, like a garden sign, I now opt for oak. The difference in durability is noticeable after a few months of outdoor use.
Always check for knots or defects in the wood before purchasing. I’ve learned the hard way that knots can cause the wood to crack as it dries, especially if they’re near the edges of your ornament.
Avoid wood with knots or imperfections that could weaken the final piece. If you’re unsure, consult a local hardware store — they can help you pick the right type for your project.
Part of our Diy wooden garden room troubleshooting guide.
Designing Your Ornament Before You Start
I always start by sketching my design on paper — whether it’s a simple heart or a more detailed animal. This helps me visualize the final piece and identify any parts that might be tricky to carve.
If you’re not sure about your design, look for inspiration in nature. I once created a leaf ornament by tracing a real leaf onto wood, and the result was surprisingly lifelike.
Consider the size of your ornament and where it will be placed. A small bird might be perfect for a windowsill, while a larger piece could serve as a garden focal point.
Design first, carve later — it makes all the difference.
Related: Diy wooden garden sculptures mistakes
Carving Your Ornament with Precision
I use a set of chisels, a mallet, and a coping saw for most of my projects. The chisels allow for precise shaping, while the coping saw is useful for cutting curves or complex shapes.
Start with rough shaping and work your way to finer details. I’ve found that it’s easier to remove too much wood than to add it back later, so be careful and take your time.
If you’re working with a detailed design, consider using a router or a Dremel tool for smoother edges. I’ve used a router on a sign project before, and the difference in finish was remarkable.
Always start with rough shaping and move to finer details. This approach avoids mistakes and gives you more control over the final look of your ornament.
“I remember the first time I carved a wooden garden ornament for my yard — the smell of fresh pine, the satisfying click of the…”— DIY Wooden Garden Path Markers editors
Related: Diy wooden garden basket checklist
Adding Texture and Detail

I love using sandpaper, carving tools, and even a router to add texture. For example, I once used a router bit with a textured pattern to give a tree ornament a bark-like appearance.
If you’re not sure where to start, look to nature for inspiration. I’ve used sandpaper to create a rough, stone-like texture on a bird ornament, and it added a nice contrast.
Don’t be afraid to experiment with different tools and techniques. I’ve found that combining a few methods — like using a chisel and then a router — can create a more dynamic result.
Related: Top diy wooden garden decor
Finishing Your Ornament for Long-Lasting Beauty
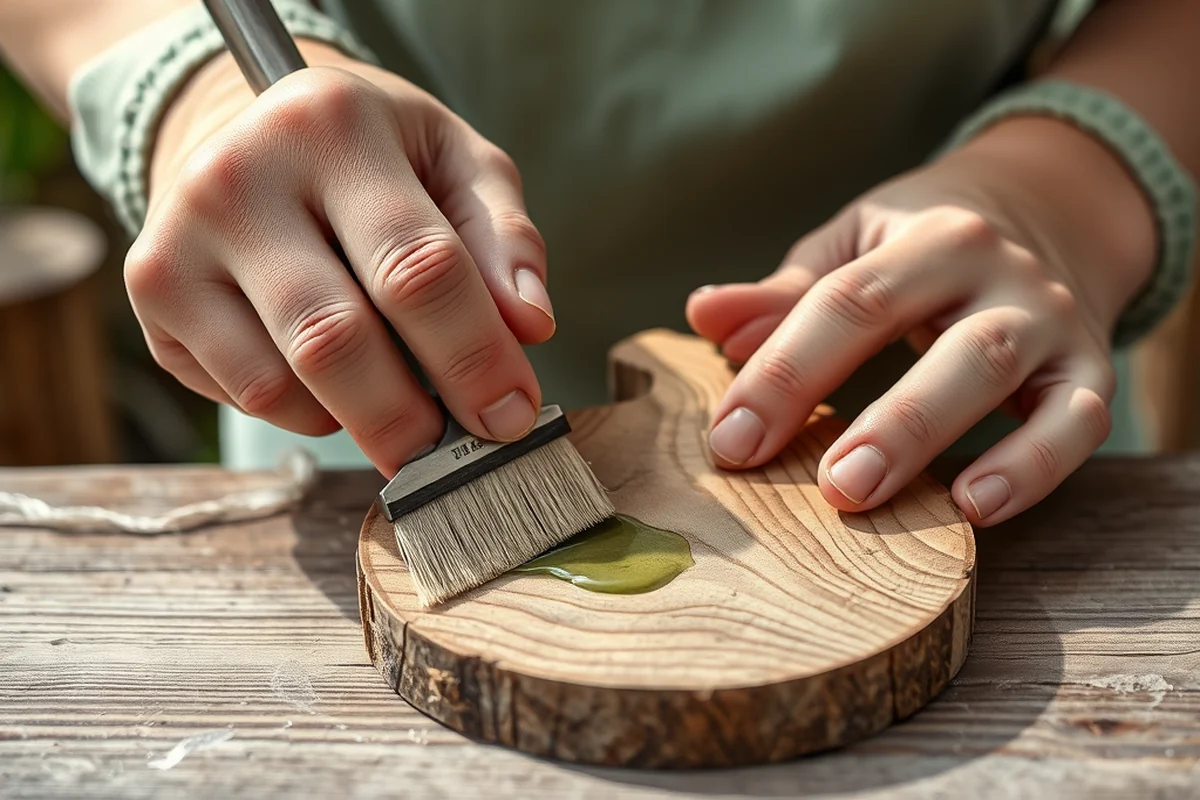
I always use a wood stain and a clear sealer to protect my ornaments. The stain adds color, and the sealer helps prevent moisture damage. I’ve tested a few brands, and I found that Minwax stain and a polyurethane sealer work well together.
If you’re looking for a natural look, I recommend using a water-based sealer that doesn’t yellow over time. I’ve used a few different types, and the one I prefer doesn’t leave a noticeable film on the wood.
Always apply your finish in a well-ventilated area. I’ve learned the hard way that finishing indoors without proper ventilation can leave a strong chemical smell that lingers for days.
Related: Best diy wooden garden ornaments
Hanging and Displaying Your Ornament
I’ve used a variety of methods to hang my ornaments, including hooks, chains, and even small brackets. For heavier pieces, I recommend using a sturdy bracket that can support the weight.[1]
If you’re hanging your ornament on a wall, make sure it’s level and secure. I’ve had a few ornaments fall off because the hook wasn’t strong enough or wasn’t properly attached.
For garden ornaments, consider using a base or stand to keep your piece stable. I once used a small concrete base for a bird ornament, and it stayed put even during heavy rain.
A well-displayed ornament can transform your space in an instant.
Related: Best diy wooden garden cart
Maintaining Your Ornament Over Time
I’ve found that wiping my ornaments with a damp cloth every few weeks helps keep them clean and prevents dirt buildup. I’ve also used a mild wood cleaner to remove stains or buildup that doesn’t come off with a simple wipe.
If the finish starts to wear down, I reapply a fresh coat of sealer. I’ve tested a few different sealers, and I found that a water-based polyurethane works well for long-term protection.
Avoid exposing your ornaments to extreme weather conditions for extended periods. I once left an ornament outside during a heavy snowstorm, and the wood was damaged when the snow melted. Now, I bring mine indoors during harsh weather.
Creating a Custom Stencil for Repeating Patterns
To add a rustic and durable element to your wooden ornaments, consider incorporating metal accents like copper wire, nails, or small metal shapes. I used 18-gauge copper wire to create a twisted frame around a bird-shaped ornament, which took about 10 minutes to shape and attach with wood glue. The wire not only added visual interest but also provided a subtle metallic sheen that complemented the natural wood grain.
For a more permanent fix, use small metal rivets or decorative nails to attach pieces like gears, clock parts, or even tiny metal birds. I used a set of 20 decorative brass nails, each about 1 inch long, to fasten a set of 10 wooden wind chimes. The nails were hammered in with a small mallet, and I applied a thin layer of epoxy around the base to ensure they stayed secure. This method added a unique, industrial flair to the ornaments and took about 15 minutes per piece to complete.
If you're working with outdoor ornaments, opt for weather-resistant metals like galvanized steel or stainless steel. I used galvanized nails on a set of 12 garden signs, which I mounted on a wooden fence. The nails have held up for over two years without rusting, even in a humid climate. I spent about $15 on the nails and hardware, which was a small investment for a long-lasting improvement. This technique is especially useful for creating ornaments that blend rustic charm with durability, perfect for any garden or home décor project.
Incorporating Functional Elements into Your Ornament Design
When designing your wooden garden ornament, consider adding functional elements such as a small bird feeder or a mini planter. I attached a 4-inch diameter planter to the side of a wooden squirrel ornament using 2.5-inch wood screws and a 1/4-inch thick cedar panel. This took about 45 minutes to assemble and added a unique, useful element to the piece. The planter was filled with succulents, which thrive in well-draining soil and require minimal watering.
To create a bird feeder, I used a 6-inch length of hollow bamboo and mounted it to the back of a wooden owl ornament using a 3-inch wood dowel and a brass hinge. This allowed the feeder to swing freely, making it easier for birds to access. I sealed the bamboo with a water-resistant wood sealant to protect it from the elements. This addition took about 30 minutes and cost approximately $12 for materials.
I also experimented with adding a small solar-powered light to the base of a wooden lantern ornament. I used a 3-inch diameter solar light with a built-in battery and mounted it using a 1/2-inch wood screw. The light provided gentle illumination in the evening and added a nice touch of ambiance. The cost was about $8, and the installation took only 15 minutes. This simple addition transformed the ornament into a functional nightlight for the garden.
💰 Budget Build
Create a simple ornament using scrap wood and basic tools for under $20.
⏰ Weekend Version
Finish a basic ornament in just a few hours with minimal preparation.
✨ Upgraded Finish
Add a professional-level finish with stains and sealers for a more polished look.
🏠 Small-Space Adaptation
Create a compact ornament that fits perfectly on a windowsill or small garden table.
🛡️ Rental-Safe Option
Make a removable ornament that won’t damage walls or floors in rented spaces.
| The mistake | Why it happens | The fix |
|---|---|---|
| Using the wrong type of wood | Some woods are more prone to cracking or warping over time, which can ruin your project. | Always choose a wood that’s suitable for outdoor use, like cedar or oak. |
| Carving too quickly | Rushing the carving process can lead to uneven cuts and a less polished final product. | Take your time, and work from rough shaping to finer details. |
| Skipping the finishing step | Without a proper finish, your ornament will be more vulnerable to the elements and may not last long. | Always apply a sealer or stain to protect your work and enhance its appearance. |
| Ignoring ventilation when applying finishes | Chemical fumes can be strong and unpleasant, especially indoors. | Always apply finishes in a well-ventilated area, and consider using a respirator for prolonged exposure. |
How To Diy Wooden Garden Ornaments
Common Questions
What type of wood is best for beginners?
How long does it take to make an ornament?
What tools are needed for this project?
Can I use this technique for other projects?
References
- Dahlonega Historic Preservation Commission Design Guidelines (dahlonega.gov)
Cite this guide
DIY Wooden Garden Path Markers (2026). How To Diy Wooden Garden Ornaments. https://woodenroot.com/how-to-diy-wooden-garden-ornaments/
Feel free to cite or share this guide.