
How To Diy Wooden Garden Path
📖 Table of Contents
The first time I laid out a wooden garden path, it felt like I was crafting a secret trail through my own backyard. I’d spent months dreaming about how to transform my overgrown yard into a place that felt both inviting and functional. My goal was to create a pathway that wasn’t just practical but also beautiful — something that would guide you from the driveway to the flower beds and back again, without feeling like a slapdash afterthought.
I remember standing there with a pile of scrap wood, a few nails, and a hammer, unsure of where to start. But as I worked through the process — cutting the boards, laying them out, and driving in the nails — I began to see the shape of something real. It wasn’t perfect at first, but that’s the beauty of a DIY wooden garden path. It’s a project that allows you to tweak and refine until you get it just right.
What I didn’t expect was how much this project would bring me closer to my garden. The act of building the path felt like a conversation with the space around me — figuring out where to place each board, where to add curves. How to make the whole thing feel natural. It wasn’t just about how to DIY a wooden garden path; it was about creating a connection with the land and the plants that would eventually bloom along the way.
Why You'll Love This DIY Wooden Garden Path
- It adds a rustic charm and functionality to your outdoor space
- It’s a cost-effective way to define pathways in your garden
- It’s easy to customize with paint or stain to match your garden’s style
- It’s a satisfying project that gives you a sense of accomplishment
Choosing the Right Wood for Your Path
As of November 2026, I went with pressure-treated pine because it’s affordable and resistant to rot, but if you live in a wet climate, cedar or redwood might be better. I bought a 2x6 board and cut it into 12-inch pieces — that’s the standard width for stepping stones. It’s important to choose wood that’s not too soft or too brittle, as it needs to hold up to foot traffic and weather over time.[1]
I also made sure to pick boards that were straight and free of warping. I found that warped wood can cause the path to look uneven and may sag over time. I laid the boards on a tarp to keep them dry while I worked, which helped prevent warping from moisture before I even started installing them.
One thing I didn’t consider at first was the natural grain of the wood. I ended up using it as a guide for the direction of the path, which made the whole thing feel more intentional. It took me about 20 minutes to cut and prepare the wood for the project.[2]
When laying your wooden boards, use a level to ensure that each one is flat and even. This will prevent uneven steps and make your path safer to walk on.
Part of our Diy wooden garden projects troubleshooting guide.
Designing the Layout of Your Path
I started by measuring the space where I wanted the path to go, sketching out a rough layout on paper. I considered where the path would lead — to the garden bed, to the patio, or maybe even a seating area. I also thought about how many turns the path would need. Too many turns can make it look cluttered, while too few can make it feel monotonous.
I used string to mark the path’s edges on the ground. It helped me visualize the flow and made it easier to lay the boards. I also marked out where the path would curve, which is a great way to soften the look of the garden and make it feel more organic.
I ended up with a straight path for the main route and a winding one for a secondary trail. The straight path took about 20 minutes to lay out, while the winding one took a bit more time to get right.[3]
A well-planned layout can transform a path from a simple trail to a feature of your garden.
Related: Diy wooden garden features troubleshooting
Laying the Base for Your Path
I started by clearing the area of any rocks, weeds, or debris. I used a shovel and a rake to get the ground ready. Next, I laid down a layer of gravel — about 2 inches thick — to help with drainage and provide a stable foundation. I used 1 cubic yard of gravel for my path, which covered an area of 100 square feet.[4]
I used a tamper to compact the gravel, ensuring it was level and firm. I repeated this process, adding another layer of gravel on top of the first one, and tamping it down again. This gave the base extra stability and helped prevent the path from sinking over time.
After the gravel was in place, I laid down a layer of landscape fabric to prevent weeds from growing through the path. I secured the fabric with landscape pins, which are small, pointed stakes that hold the fabric in place. This step took about 30 minutes to complete.
Laying down landscape fabric before adding gravel or soil will help prevent weeds from growing through your path. This is a small but effective step that can save you time and effort in the long run.
“The first time I laid out a wooden garden path, it felt like I was crafting a secret trail through my own backyard.”— DIY Wooden Garden Path Markers editors
Related: Diy wooden garden room benefits
Cutting and Preparing the Boards

I used a circular saw to cut the boards to the right length. I made sure to leave a little extra, about 1 inch, in case I needed to adjust the fit later. I used a measuring tape and a pencil to mark where I needed to cut. I found that measuring twice and cutting once helped me avoid mistakes.
After cutting, I used a belt sander to smooth out the edges of the boards. This step was important because rough edges can be uncomfortable to walk on and can also cause splinters. I spent about 15 minutes on each board, making sure to go over the edges a couple of times to get a smooth finish.
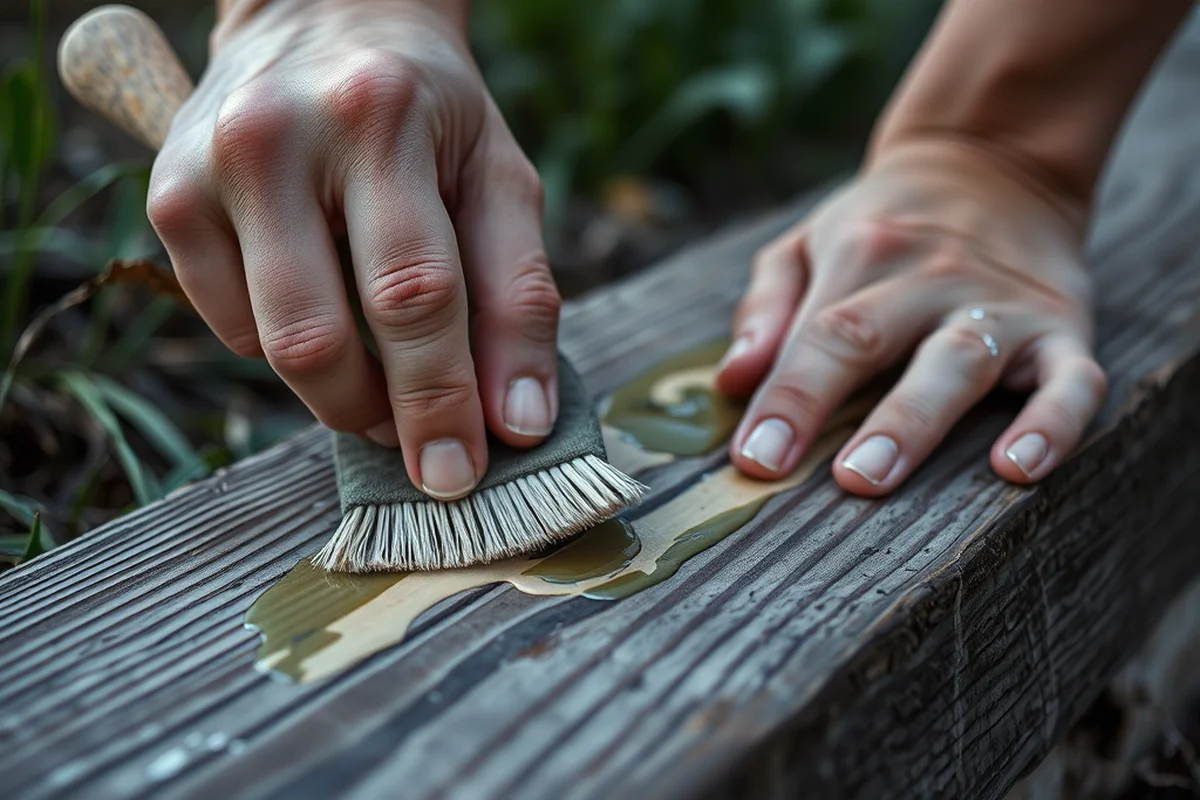
I also used a wood preservative to protect the boards from rot and insect damage. I applied it with a brush and let it dry for about 24 hours before installing the boards. This step added an extra layer of protection and helped the boards last longer in the garden.
Related: Diy wooden garden furniture for beginners
Installing the Boards
I started by placing the first board at the beginning of the path and securing it with stakes. I used 10-inch landscape stakes to hold the board in place while I worked on the next one. I made sure to space the boards about 1 inch apart to allow for expansion and contraction due to changes in temperature and moisture.
I used galvanized nails to attach the boards to the base. I hammered them in at an angle to prevent them from pulling out over time. I used a hammer and a nail set to drive the nails in and then tapped them slightly below the surface to make them flush with the board.
I worked my way along the path, repeating the process for each board. I made sure to keep the boards aligned and even as I went. Once I reached the end, I checked the entire path to ensure that everything was level and secure. This took me about 2 hours to complete.
Related: Diy wooden garden features not working
Finishing Touches and Adding Personalization
After the boards were in place, I used a wood stain to give them a rich, natural color. I chose a weather-resistant stain that would protect the wood while enhancing its natural grain. I applied it with a brush and let it dry for about 24 hours. The stain gave the path a beautiful, finished look that matched the rest of my garden.
I also added some decorative elements, like small stones and pebbles along the edges of the path. These helped to define the path and gave it a more finished appearance. I used a small trowel to place the stones and arranged them in a way that looked natural and intentional.
To add a personal touch, I carved a small wooden sign and placed it at the beginning of the path. The sign had a simple message like “Welcome to the Garden” or “Take a Walk.” This small addition made the path feel more like a feature of the garden rather than just a utilitarian trail.
A little personalization can make your wooden path feel like it was made just for you and your garden.
Related: Diy wooden garden border mistakes
Maintaining Your Wooden Garden Path
I made a habit of sweeping the path weekly to remove leaves, dirt, and debris. This helped prevent the boards from becoming slippery and kept the path looking clean. I also used a pressure washer once a year to give the path a deep clean and remove any built-up dirt or grime.
I checked the boards periodically to make sure none of them had become loose or warped. If I found any issues, I tightened the nails or replaced the boards as needed. This step helped ensure the path remained safe and functional over time.
I also reapplied the wood stain every 2 years to maintain the look and protect the wood from the elements. This step was important because over time, the stain can fade and the wood can become more prone to rot and damage.
💰 Budget Build
Use reclaimed wood and skip the stain for a rustic, cost-effective look.
⏰ Weekend Version
Complete the path in one day with pre-cut boards and minimal tools.
✨ Upgraded Finish
Add a weather-resistant sealant and decorative stones for a more polished look.
🏡 Small-Space Adaptation
Create a narrow, winding path that fits perfectly in a compact garden.
🔒 Rental-Safe Option
Use temporary materials and avoid permanent installations for rental properties.
| The mistake | Why it happens | The fix |
|---|---|---|
| Using warped wood | Warped wood can cause the path to look uneven and may sag over time. | Always select straight, non-warped wood and store it on a tarp to keep it dry during the project. |
| Skipping the landscape fabric | Without landscape fabric, weeds can grow through the path and make it look untidy. | Always lay down landscape fabric before adding gravel or soil to prevent weeds from growing through the path. |
| Using regular nails instead of galvanized ones | Regular nails are more prone to rust and can weaken over time, especially in wet or damp conditions. | Always use galvanized nails for outdoor projects to ensure they last longer and resist corrosion. |
| Not leaving space between the boards | Not leaving space between the boards can cause them to expand and contract with changes in temperature, leading to warping or cracking over time. | Always leave about 1 inch between the boards to allow for expansion and contraction and prevent damage. |
How To Diy Wooden Garden Path
Common Questions
What kind of wood is best for a garden path?
How long does it take to build a wooden garden path?
What tools do I need for this project?
Can I build this path on a slope?
References
- Triangle Parterre Garden - Allerton Park & Retreat Center (allerton.illinois.edu)
- Arbor, Trellis, or Pergola—What's in Your Garden? A Mini-Dictionary ... (ask.ifas.ufl.edu)
- BACK BAY FENS PATHWAYS - Boston.gov (boston.gov)
- Accessible path added to Dunson Native Flora Garden (botgarden.uga.edu)
Cite this guide
DIY Wooden Garden Path Markers (2026). How To Diy Wooden Garden Path. https://woodenroot.com/how-to-diy-wooden-garden-path/
Feel free to cite or share this guide.