
Diy Planter Box
📖 Table of Contents
I remember the first time I built my own DIY planter box — it was a sunny Saturday morning. The only thing I had to work with was a stack of leftover lumber from a previous project. I had no idea how much it would transform my small backyard. By the end of the day, I had a sturdy, weather-resistant planter that not only held my favorite herbs but also became a focal point of my outdoor space. The DIY planter box isn’t just about planting; it’s about creating something that feels like it belongs to you, made with your own hands and under your own direction.[1]
Before I started, I thought building a planter box would be complicated — but it wasn’t. With the right materials and a little patience, I had a functional, beautiful planter in just a few hours. I learned that the key to success was using quality wood and making sure the joints were tight. I even painted the box with a weatherproof finish, which made it last through the rainy season without any issues. The DIY planter box is a project that’s not only satisfying but also an excellent way to introduce yourself to basic woodworking techniques.
What stood out most was the sense of accomplishment that came with finishing the project. I had built something that I could use every day, and I knew I had done it myself. The DIY planter box was a perfect blend of practicality and personal style — I could customize it with paint, stain, or even add some decorative elements. It turned a small corner of my yard into something that felt intentional and cared for. Whether you're just starting out with DIY or looking for a quick weekend project, the DIY planter box is a great place to begin.
Why You'll Love This DIY Planter Box
- It’s a customizable, low-cost way to add greenery to your outdoor space.
- You can use it in multiple areas — from patios to gardens.
- It’s easy to build, even for beginners with basic tools.
- It adds a personal, handmade touch to your landscape.
Choosing the Right Materials
As of September 2026, when I built my first DIY planter box, I used leftover cedar planks from a previous project. Cedar is naturally resistant to rot and insects, which makes it ideal for outdoor use. I also considered pressure-treated lumber, but I opted for cedar instead because it doesn’t require chemical treatments. If you're looking for a budget-friendly alternative, untreated pine can work as long as you seal it properly.
I measured the dimensions of my desired planter box based on the size of my garden. I chose a standard size of 24 inches wide by 24 inches deep by 12 inches high — this gave me enough room for multiple plants without being too bulky. I made sure the wood was dry and free of knots to ensure a smooth build.[2]
I also bought a weatherproof wood sealant and a few screws to reinforce the joints. By choosing the right materials and sealing the wood properly, my DIY planter box has remained in excellent condition through multiple seasons.
Before purchasing wood, use a moisture meter to ensure the wood is dry enough for your project. Wet wood can warp over time.
Part of our Top diy wooden garden bed guide.
Cutting and Assembling the Frame
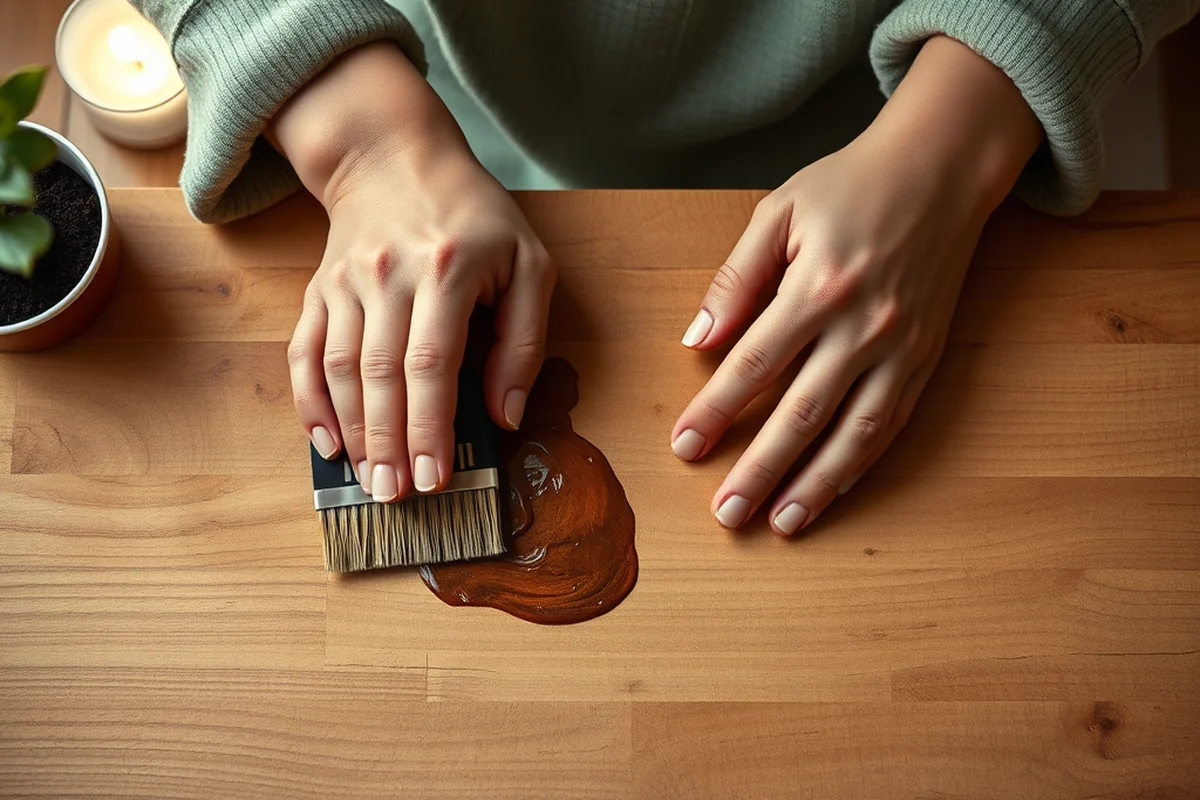
I used a miter saw to cut the planks to the desired length. I marked each piece with a pencil and made sure all the cuts were square. After cutting the planks, I laid them out on the ground to double-check the dimensions before assembling the frame.
I used a combination of screws and wood glue to secure the corners. I found that using screws alone was sufficient, but adding wood glue made the joints more durable. I also used a square to ensure the corners were at 90-degree angles.
Once the frame was assembled, I added a bottom panel and sealed the edges with wood glue. This helped keep the box together and made it more weather-resistant. I let the glue dry overnight before proceeding to the next step.
A well-assembled frame is the foundation of a sturdy planter box.
Related: Diy wooden garden planters for beginners
Adding the Bottom and Sealing
I cut the bottom panel to fit the frame perfectly. I used a piece of scrap wood that was the same width as the sides. I attached it using screws and wood glue, making sure it was flush with the edges of the frame.
After the bottom panel was in place, I sealed the inside of the box with a waterproof sealant. This helped prevent water from seeping through the wood and causing rot. I also applied the sealant to the outside of the box for added protection.
I let the sealant dry completely before moving the planter box to its final location. This step is essential because it prevents the wood from absorbing moisture and ensures the box lasts for years to come.
Apply at least two coats of sealant to ensure maximum protection. Wait until the first coat is completely dry before applying the second one.
“I remember the first time I built my own DIY planter box — it was a sunny Saturday morning, and the only thing I had…”— DIY Wooden Garden Path Markers editors
Related: Diy wooden garden basket benefits
Customizing the Look
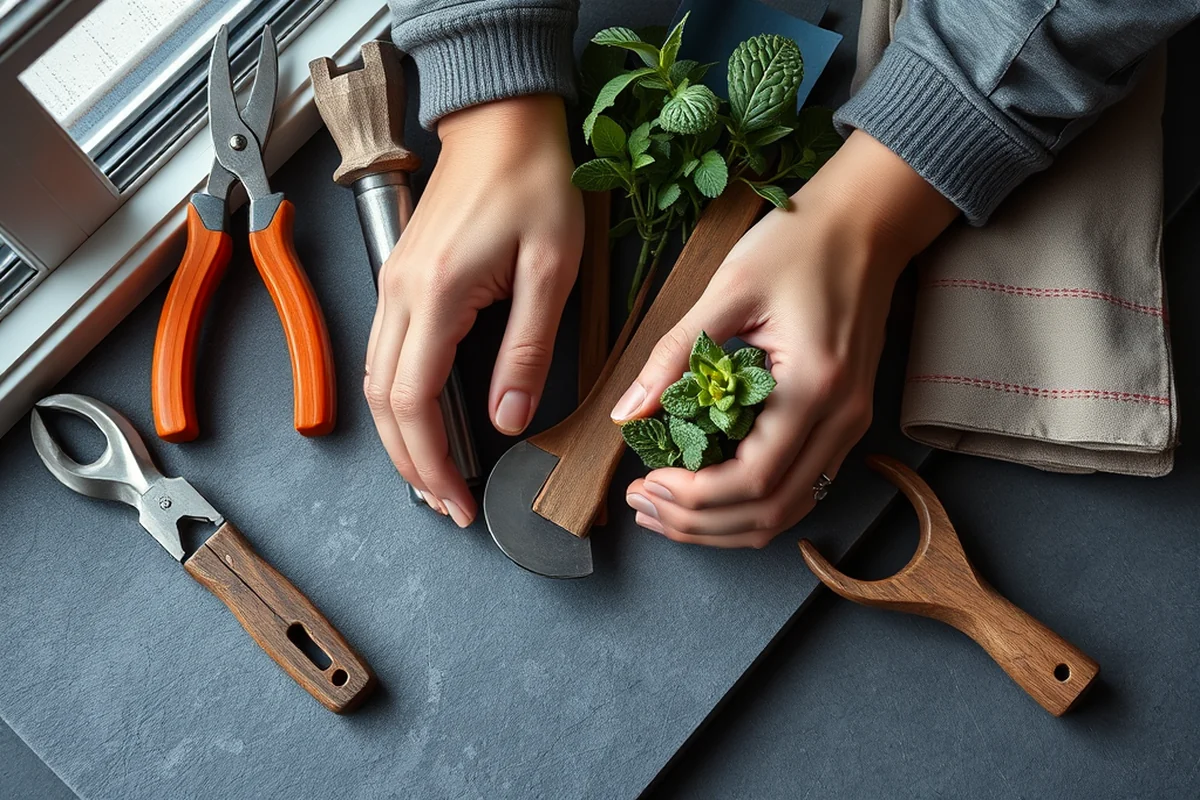
After the sealant dried, I painted the planter box with a weatherproof paint. I chose a soft green color to blend with the grass in my backyard. I used a brush to apply two coats of paint and let each coat dry completely before applying the next.
I also added some decorative elements like a small wooden handle on the front of the box and a few hand-carved details on the sides. These little touches made the planter box feel more personal and unique.
If you're not a fan of painting, you can stain the wood instead. I’ve seen people use a wood stain that gives the box a natural, rustic look. Staining is a great option if you want to keep the wood’s original texture.
Related: Inexpensive ways to build raised garden beds
Placing and Using the Planter Box
I placed my planter box on a small stone patio near the edge of my backyard. It looked great next to a few potted plants and a couple of garden chairs. I made sure the ground was level before placing the box to prevent it from wobbling.
I filled the planter box with a mix of soil and compost, which provided the perfect environment for my herbs and flowers. I planted a few basil, thyme, and rosemary plants, which thrive in containers. I also added a few marigolds to attract pollinators.
Over time, I noticed that the planter box was an excellent place to grow herbs, especially since it was easy to access and water. I even took photos of the box when it was in full bloom — it looked like it belonged in a garden magazine.
Related: Best diy wooden garden decor
Maintaining the Planter Box
I make it a habit to check the planter box every few months for signs of wear or damage. I look for cracks, warping, or any areas where the sealant might be peeling off. If I notice any issues, I repair them immediately to prevent further damage.
I also clean the box periodically to keep it looking fresh. I use a mild soap and water solution to wipe down the surface and remove any dirt or debris. This helps keep the paint or stain looking vibrant.
In the winter, I move the planter box to a sheltered area to protect it from harsh weather. I’ve noticed that this small step makes a big difference in how long the box lasts.
A little maintenance goes a long way in keeping your DIY planter box in top shape.
Related: Top diy wooden garden projects
Inspiration for Future Projects
I used the experience from building the planter box to create a few more outdoor projects, like a small garden bench and a set of decorative planters for my flower beds. Each project gave me a chance to experiment with new materials and techniques.
I’ve also been inspired to try different styles, like using natural wood tones for a rustic look or painting the boxes in bold colors for a more modern feel. I’ve found that the possibilities are endless with customizing outdoor furniture.
If you're looking for more ideas, I recommend browsing DIY blogs or watching tutorials online. There are so many creative ways to use planter boxes, and I’ve found that the more you build, the more confident you become in your skills.
💰 Budget Build
Use leftover materials or repurposed wood to create a planter box on a tight budget.
⏰ Weekend Version
A simple, quick build that can be completed in a few hours on a weekend.
✨ Upgraded Finish
Add a high-end finish like a custom stain or a decorative trim to elevate your planter box.
🏠 Small-Space Adaptation
Build a smaller planter box that fits perfectly in a balcony or a small garden area.
🛢️ Rental-Safe Option
Use materials that are easy to disassemble and remove, making it ideal for renters.
| The mistake | Why it happens | The fix |
|---|---|---|
| Using wet wood | Wet wood can warp and shrink over time, leading to a weaker planter box and potential gaps between the planks. | Always use dry wood and allow it to acclimate to your environment before beginning your project. |
| Skipping the sealant | Without proper sealing, the wood will absorb water, leading to rot and decay over time. | Apply a waterproof sealant to the inside and outside of the box to protect it from moisture. |
| Not checking the corners | Poorly aligned corners can make the planter box unstable and less durable. | Use a square to ensure all corners are at 90-degree angles before securing them. |
| Using low-quality screws | Cheap screws can loosen over time, especially if the planter box is exposed to moisture or wind. | Use high-quality, weather-resistant screws to ensure a secure and long-lasting build. |
| Overlooking the bottom panel | A missing bottom panel can allow water to seep through, leading to rot and damage to the plants inside. | Always install a solid bottom panel and secure it properly to the frame. |
Diy Planter Box
Common Questions
Can I use a different type of wood for my planter box?
How long does it take to build a planter box?
Do I need any special tools to build a planter box?
Can I paint my planter box after it’s built?
References
Cite this guide
DIY Wooden Garden Path Markers (2026). Diy Planter Box. https://woodenroot.com/diy-planter-box/
Feel free to cite or share this guide.