
Diy Wooden Garden Ornaments Guide
📖 Table of Contents
- Choosing the Right Wood for Your Garden Ornaments
- Essential Tools for Crafting Wooden Garden Ornaments
- Designing Your Garden Ornament: From Sketch to Creation
- Carving and Detailing Your Ornament
- Staining and Sealing for Longevity
- Mounting and Placing Your Ornament in the Garden
- Customizing and Adding Personal Touches
- Incorporating Recycled Materials into Your Garden Ornaments
- Make It Your Way
- Frequently Asked Questions
There's something deeply satisfying about stepping into a garden that feels like it was crafted by your own hands. I remember the first time I carved a simple wooden birdhouse for my backyard — the way the sun hit the freshly sanded wood, the smell of pine in the air. The quiet satisfaction of knowing I'd created something that would last for years. This is the essence of DIY wooden garden ornaments — not just decoration, but a personal touch that speaks to the gardener's soul.
Over the years, I've built dozens of wooden garden ornaments, from stepping stones to wind chimes, each project teaching me something new. What started as a simple weekend project quickly turned into a passion — one that's as much about the process as it is about the final product. Whether you're a seasoned woodworker or a complete beginner, the world of DIY wooden garden ornaments is rich with possibilities and practicality.
This guide is for anyone who wants to bring a little bit of their own creativity into their outdoor space. You'll learn how to choose the right materials, the best techniques for carving and staining, and how to make your ornaments not only beautiful but also durable enough to withstand the elements. And most importantly, you'll be left with a sense of pride in knowing that you built something by hand.
Why You'll Love This DIY Wooden Garden Ornaments Guide
- Create personalized, one-of-a-kind garden accents that reflect your style and personality.
- Save money by crafting your own instead of buying mass-produced items.
- Enjoy the satisfaction of working with your hands and completing a project from start to finish.
- Enhance the curb appeal and value of your home with beautifully crafted garden decor.
Choosing the Right Wood for Your Garden Ornaments
As of August 2026, when I first started making garden ornaments, I used pressure-treated lumber, only to find it warping within a few months. Switching to cedar made all the difference — it's not only more durable, but it also has a pleasant aroma and a natural resistance to decay.[1]
Cedar is my go-to for most projects, but if you're on a budget, pine is a viable option if properly sealed. I've used it for stepping stones and garden signs, applying a waterproof sealant to protect it from moisture and sun damage.
Always check for knots and grain inconsistencies in the wood. These can cause the wood to split or warp over time. For best results, buy wood that's at least 1 inch thick and has a tight, even grain.
Look for wood that's free from knots and has a tight grain. Cedar and redwood are the best choices for outdoor use.
Part of our Diy wooden yard signs guide guide.
Essential Tools for Crafting Wooden Garden Ornaments
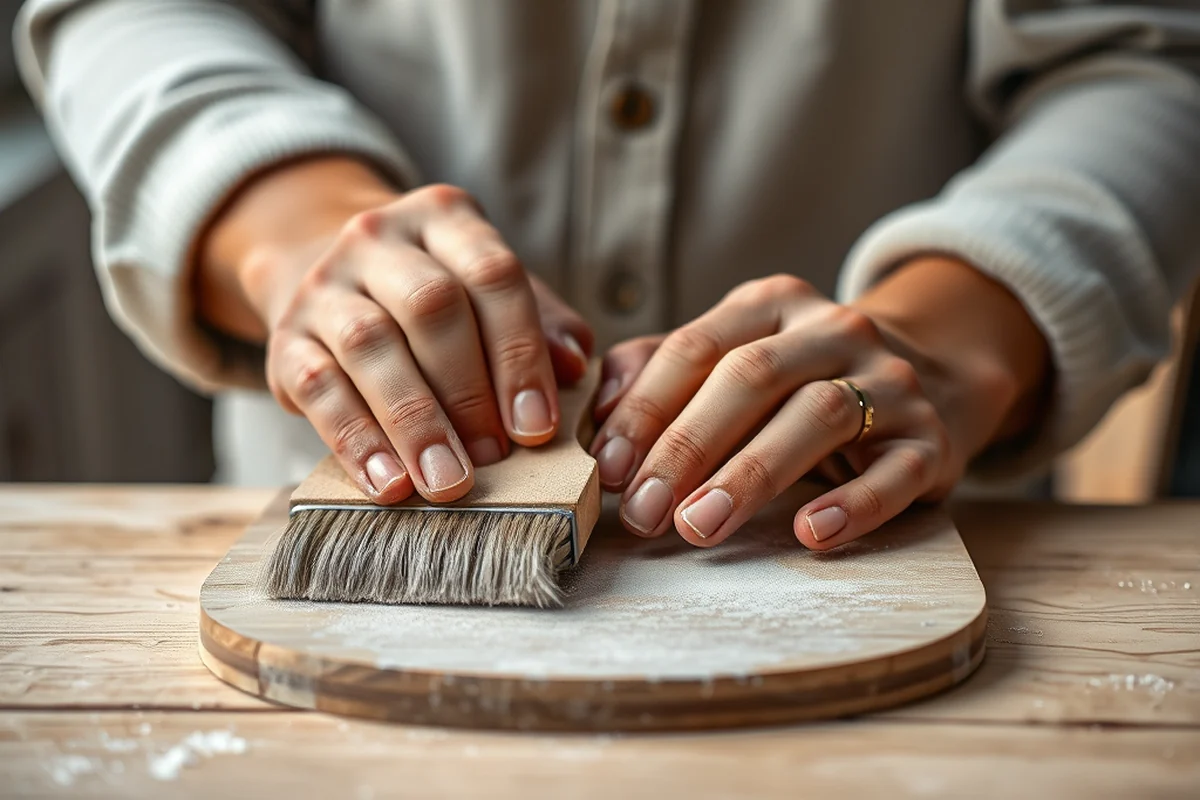
I've completed several projects with just a jigsaw, a set of hand chisels, and a random orbital sander. These tools allow for precise cuts and smooth, even surfaces that are essential for a professional look.
A jigsaw is perfect for cutting intricate shapes and curves, while chisels help in detailing and carving. I always keep a set of chisels with different blade widths on hand for different types of detailing.
Sandpaper is often underestimated, but it's crucial for achieving a smooth surface. I use 80-grit for initial sanding and move up to 220-grit for a fine finish before applying any stain or sealant.[2]
The right tools can transform a simple idea into a masterpiece.
Related: Types of diy wooden signs
Related: Diy wooden garden signs
Related: Types of diy wooden yard signs
Related: Diy wooden garden walkway guide
Related: Top diy wooden garden signs
Designing Your Garden Ornament: From Sketch to Creation
I always begin by sketching my ideas on paper or using a digital design tool. This helps me visualize the ornament before I even pick up a tool. It's a crucial step that saves time and materials later on.
For a birdhouse, I start with a basic shape and then add details like a roof overhang and a small entrance hole. I've made several birdhouses with varying designs, from simple and rustic to ornate with carved details.
Once the design is finalized, I transfer it onto the wood using a pencil. This helps me keep everything aligned and ensures that the final product looks cohesive and well-thought-out.
Drawing out your design before cutting ensures accuracy and helps you avoid costly mistakes.
“There's something deeply satisfying about stepping into a garden that feels like it was crafted by your own hands.”— DIY Wooden Garden Path Markers editors
Carving and Detailing Your Ornament

I use a set of carving chisels and a mallet to carve out shapes and textures. It's a slow process, but it allows for fine control and detailed work. I've carved everything from leaves to birds, and each project has taught me something new.
Start with the larger shapes before moving to smaller details. This helps prevent mistakes and ensures that the overall design stays intact. I've found that working from the center out is the most effective approach for many projects.
Be careful not to press too hard — this can cause the chisel to slip and potentially damage the wood. I've learned the hard way that patience and light pressure yield the best results.
Staining and Sealing for Longevity
I use a water-based wood stain for most of my projects because it's easy to apply and doesn't leave a strong odor. It's also safe for the environment and doesn't require harsh chemicals to clean up.
After staining, I always apply a waterproof sealant to protect the wood from moisture. I've used a spray-on polyurethane sealant for most of my garden ornaments, and it's worked well for both indoor and outdoor use.
Sealing is especially important for ornaments placed in direct sunlight or high-moisture areas. I've learned that skipping this step can lead to fading, warping, and even rot over time.
Mounting and Placing Your Ornament in the Garden
I prefer to mount my garden ornaments on concrete bases or using heavy-duty screws for a secure fit. This is especially important for wind chimes or birdhouses that need to withstand wind and weather.
For stepping stones, I always ensure the base is level and stable. I've had a few stones shift over time due to uneven ground, which is why I now use a small amount of mortar to secure them in place.
Consider the placement of your ornament in relation to sunlight and moisture. I've learned that some ornaments can fade or warp if placed in direct sunlight without a sealant, and others can become waterlogged if in a wet area.
The right placement can make your garden ornament a focal point of your outdoor space.
Customizing and Adding Personal Touches
I've painted names on garden signs and carved family crests onto stepping stones — each one has a story behind it. These personal touches add a level of charm that can't be found in mass-produced items.
For painted details, I use outdoor acrylic paints that are resistant to fading and moisture. I've found that painting in a well-ventilated area and allowing the paint to dry completely before applying a sealant yields the best results.
If you're not confident with painting, consider using stencils or transfers to add intricate designs. I've used both in the past, and they've worked well for creating detailed, professional-looking finishes.
Incorporating Recycled Materials into Your Garden Ornaments
Incorporating recycled materials into your garden ornaments not only helps the environment but also adds a unique, handcrafted look. I used old wine bottles to create mosaic-style inlays on a wooden birdhouse. It took about 2 hours to cut and fit the glass pieces, and I used a total of 12 bottles. The glass added color and texture, and I sealed it with a clear epoxy to protect it from weather damage. This method is excellent for upcycling items you might otherwise throw away.[3]
I also repurposed old metal hardware, like hinges and drawer pulls, to add decorative elements to a wooden garden sign. This process took about 1 hour and cost nothing since I used items I already had. The hardware provided a rustic, vintage look that complemented the natural wood. I mounted the hardware with wood screws and wood glue for a secure hold. This method is ideal for those who want to add personality without spending extra money.
Another way to use recycled materials is to paint old wooden planks with chalk paint and attach them to a base for a rustic garden sculpture. I used 3 planks, each about 12 inches long, and painted them in a soft green shade. This project took around 2 hours and added a charming, vintage feel to the garden. Chalk paint is easy to apply and provides a matte finish that doesn’t chip easily. This method is perfect for beginners looking to create a unique piece without the need for advanced tools or skills.[4]
💰 Budget Build
Create a simple, no-frills garden ornament using recycled wood and basic tools for under $20.
⏰ Weekend Version
Complete a basic garden ornament in a single day using pre-cut wood and pre-stained materials.
✨ Upgraded Finish
Add a professional-level finish with custom paint, detailed carving, and high-quality sealants.
🌿 Small-Space Adaptation
Design smaller ornaments that fit perfectly into tight garden spaces or container gardens.
🚪 Rental-Safe Option
Create a removable ornament using lightweight materials that can be easily taken down and moved.
| The mistake | Why it happens | The fix |
|---|---|---|
| Using the wrong type of wood for outdoor use | Using wood that isn't resistant to rot or insects can lead to a short-lived ornament that deteriorates quickly. | Always choose cedar, redwood, or properly sealed pine for outdoor projects. |
| Skipping the sealing step | Failing to apply a waterproof sealant can cause your ornament to warp, fade, or become waterlogged. | Always apply a high-quality, outdoor-rated sealant after staining. |
| Applying paint too soon after staining | Painting before the stain is fully dry can cause the paint to blister or peel over time. | Allow the stain to dry completely before applying paint. |
| Ignoring the grain of the wood | Working against the grain can cause the wood to split or warp, leading to a less durable ornament. | Always cut and sand along the grain of the wood to ensure even results. |
Diy Wooden Garden Ornaments Guide
Common Questions
What kind of wood is best for outdoor use?
How long does it take to complete a garden ornament?
Can I paint my ornament after staining?
What tools do I need for this project?
Cite this guide
DIY Wooden Garden Path Markers (2026). Diy Wooden Garden Ornaments Guide. https://woodenroot.com/diy-wooden-garden-ornaments-guide/
Feel free to cite or share this guide.
References
- Timber - Fully Processed Wooden Articles and Handicrafts (without ... (acir.aphis.usda.gov)
- Sculptures | Grants Pass, OR - Official Website (grantspassoregon.gov)
- Gardens | Library of Congress Free to Use and Reuse (loc.gov)
- Acanthus Ornament by French 18th Century - National Gallery of Art (nga.gov)