
Wooden Garden Bench Plans
📖 Table of Contents
I remember the first time I built a wooden garden bench. It was early spring, and I had just moved into a house with a sprawling backyard that had been neglected for years. There was no furniture, just a few scraggly bushes and the remnants of a broken fence. The thought of turning that space into something inviting and functional was both exciting and daunting. I decided to build a bench, not just for utility, but to create a sense of place and permanence in a yard that had been waiting for someone to care for it.
The project wasn’t as simple as I imagined. I had no experience with woodworking, and I learned quickly that the right tools and materials make all the difference. I spent hours researching wooden garden bench plans, comparing designs, and figuring out how to make the most of my limited budget. What I found was a treasure trove of ideas, but also the realization that not every plan was practical or suited to my space. I needed something real, something I could build with my own hands and that would last for years.
That’s why I’m writing this article. If you’re thinking about building a wooden garden bench, this guide is for you. I’ve distilled my own journey into a step-by-step process, complete with materials lists, tools needed, and tips that helped me avoid common pitfalls. Whether you're a beginner or an experienced DIYer, these wooden garden bench plans are designed to be clear, adaptable, and most importantly, rewarding. Let’s get started.
Why You'll Love This Wooden Garden Bench
- Customizable to your space and style
- Built using affordable, accessible materials
- Easy to assemble with basic tools
- Durable and weather-resistant when properly finished
Choosing the Right Materials
As of September 2026, for a wooden garden bench, I used pressure-treated pine, which is both affordable and resistant to rot and insects. I purchased a 2x6x8 board and a 2x4x8 board, which were enough to build a standard bench. I also used 2x2x8 boards for the legs and supports. Choosing the right type of wood is crucial—pressure-treated wood is ideal for outdoor use, but if you prefer a more natural look, cedar or redwood are excellent, albeit more expensive options.
Hardware like 3-inch screws and 1.5-inch nails were essential for securing the frame and slats. I also picked a weather-resistant wood glue, which helped reinforce the joints. The cost for the materials was around $40, but depending on the size and type of wood you choose, this could vary. I found that buying in bulk or looking for sales on construction materials can help cut costs significantly.[1]
I made sure to measure the space where the bench would be placed before buying any materials. This helped me avoid overbuying and ensured the bench would fit perfectly. It also allowed me to calculate exactly how many boards I would need and what size the bench should be for optimal comfort.
Pressure-treated pine is a great budget option, but cedar or redwood are more naturally weather-resistant and require less maintenance over time. Always measure your space before purchasing materials to avoid waste.
Part of our Diy wooden garden features templates guide.
Cutting and Measuring for Precision
I used a miter saw to cut the boards to the exact lengths needed. I measured each piece twice before cutting—this saved me from having to waste wood or make unnecessary trips to the store. I cut the main frame boards to 48 inches for the seat, 18 inches for the legs, and 24 inches for the backrest slats. Accuracy is crucial here; even a small mistake can throw off the entire structure.[2]
I marked each board with a pencil before cutting, which helped me keep track of which pieces belonged to which part of the bench. I also used a square to check that each cut was at a perfect 90-degree angle, which made assembly much smoother. I found that using a speed square helped me maintain precision, even when working alone.[3]
I learned that taking the time to measure and mark each piece carefully saved me from having to re-cut or reassemble later. This is especially important if you're building multiple pieces, like legs or slats, that need to be identical in size. A little extra effort in the cutting phase pays off in the end.
Measure twice, cut once—this mantra saved me from costly mistakes.
Related: Sola wood flowers
Related: Wooden deck railing designs
Related: Cheap diy wooden garden chair
Related: Diy wooden garden walkway comparison
Assembling the Frame
I started by assembling the main frame, which consisted of two 48-inch boards for the seat and four 18-inch legs. I used 3-inch screws to attach the legs to the seat at each corner. I also added cross supports between the legs for added stability, which helped distribute the weight evenly. I used a level to make sure the frame was perfectly square before securing everything in place.[4]
I found that using a carpenter’s clamp helped hold the pieces in place while I was screwing them together. This made the assembly process much faster and more accurate. I also used wood glue on the joints before screwing them, which added extra strength and made the bench more durable over time.
Once the frame was assembled, I set it on a flat surface to check for any wobbling or instability. I adjusted the legs as needed to ensure the frame was even. This step was crucial because an uneven bench could be uncomfortable and even dangerous to use.
Clamps help hold pieces in place while you're assembling the frame, and wood glue reinforces the joints. Always check for squareness and levelness before moving on to the next step.
“I remember the first time I built a wooden garden bench.”— DIY Wooden Garden Path Markers editors
Related: How to diy wooden garden pathway
Adding the Seat and Backrest Slats

I attached the 2x6 slats to the seat frame, spacing them about 1.5 inches apart. This gave the bench a natural, open look while still providing comfort. I used 1.5-inch nails to secure the slats, driving them through the ends of each board and into the frame. I also used a hammer to tap the nails in place, which helped avoid splitting the wood.
For the backrest, I used the 2x2 boards and spaced them about 2 inches apart. I attached them to the back of the frame using 3-inch screws, which gave the backrest a more secure hold. I found that using a drill made this process much faster and easier, especially when working with multiple pieces.
I made sure the slats were aligned evenly across the seat and backrest. This not only looked better but also made the bench more comfortable to sit on. I also used a level to check that the backrest was at the right angle—around 105 degrees from the seat, which made it comfortable to lean against.
Finishing and Protecting the Bench
I used a wood stain and a clear polyurethane finish to protect the bench from the elements. I applied the stain first, letting it dry for 24 hours before applying the polyurethane. This helped seal the wood and give it a beautiful, rich color. I used two coats of polyurethane, which provided excellent protection against rain, sun, and wear.
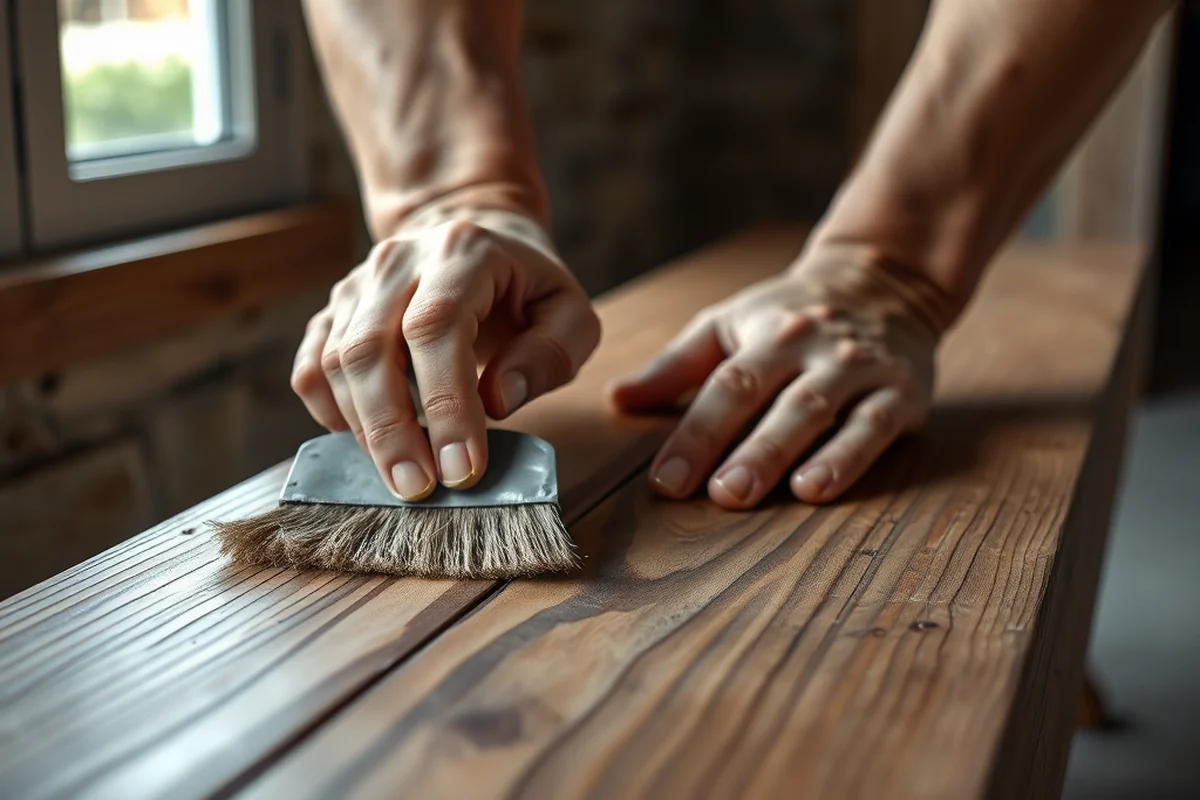
I found that working in a well-ventilated area was essential for the finishing process. I also used a brush to apply the stain and polyurethane, which gave me more control over the coverage. I made sure to wipe off any excess stain with a clean cloth to avoid streaks or uneven color.
Once the finish was dry, I tested the bench by sitting on it and checking for any rough edges or splinters. I used sandpaper to smooth out any imperfections before the final coat of polyurethane. This step was crucial for comfort and safety, especially if children would be using the bench.
Placing and Enjoying the Bench
I placed the bench in a sunny spot near my garden, where I could enjoy it while working in the yard. I made sure the ground was level and stable, which helped the bench sit evenly. I also added a few throw cushions to make it more comfortable for sitting or lounging.
I found that using decorative elements like potted plants or a small table nearby helped create a cozy outdoor living space. I also hung a string of fairy lights above the bench, which made it feel even more inviting in the evenings.
The bench quickly became a favorite spot in my backyard. It was a place to relax, read, or enjoy a cup of coffee. It also became a central point in my garden, where I could sit and admire the flowers or watch the sunset. It was a project that paid off in both beauty and utility.
A well-placed bench can transform your backyard into a sanctuary.
Customization and Personalization
I added a few decorative elements to the bench, like a carved wooden plaque with my initials and a small planter on the side. This gave the bench a more personal feel and made it look like it belonged in my yard. I also used a different color of stain for the legs and backrest, which added a subtle contrast and made the bench more visually interesting.
I found that using a woodburner to add intricate designs to the legs or backrest was a great way to personalize the bench. I used a simple design with leaves and flowers, which gave the bench a rustic, handcrafted look. I also added a small set of drawers underneath the bench for storing gardening tools, which was a practical and space-saving addition.
Customization is a fun way to make your bench reflect your personality. Whether it's adding a unique stain color, carving your initials, or even painting a design, these small touches can make a big difference in how the bench looks and feels.
💰 Budget Build
Use pressure-treated pine and basic hardware to create a sturdy bench with minimal cost.
⏰ Weekend Version
Build a simple bench in one day using pre-cut lumber and minimal tools.
🎨 Upgraded Finish
Add a custom stain and woodburning design for a more refined and personal look.
🛋️ Small-Space Adaptation
Create a compact bench that fits perfectly in a tight corner or against a wall.
🔒 Rental-Safe Option
Use temporary fasteners and avoid permanent modifications to make the bench easy to remove.
| The mistake | Why it happens | The fix |
|---|---|---|
| Not measuring the space before cutting | This can lead to mismatched pieces and unnecessary trips to the store. | Always measure your space and mark the boards before cutting. |
| Skipping the wood glue on the joints | This can result in a weaker frame that may come apart over time. | Apply wood glue to all joints before screwing them in place. |
| Using the wrong type of wood for outdoor use | This can lead to rot, warping, and a shorter lifespan for the bench. | Choose pressure-treated pine, cedar, or redwood for outdoor use. |
| Not finishing the bench properly | This leaves the wood exposed to the elements and can lead to discoloration and damage over time. | Always apply a wood stain and a clear polyurethane finish to protect the wood. |
Wooden Garden Bench Plans
Common Questions
Can I build this bench if I have no experience with woodworking?
What tools do I need to build the bench?
How long does the bench last outside?
Can I use a different type of wood instead of pressure-treated pine?
References
- Bench Gallery - UC Davis Arboretum and Public Garden (arboretum.ucdavis.edu)
- Historic benches find new life at A&AA (archenvironment.uoregon.edu)
- 19. Landscape Design | NC State Extension Publications (content.ces.ncsu.edu)
- Greenhouse benches (depts.washington.edu)
Cite this guide
DIY Wooden Garden Path Markers (2026). Wooden Garden Bench Plans. https://woodenroot.com/wooden-garden-bench-plans/
Feel free to cite or share this guide.