
How To Diy Wooden Garden Trug
📖 Table of Contents
There's something deeply satisfying about the way a handcrafted wooden garden trug feels in your hands — the smooth grain, the sturdy edges, the faint scent of wood shavings. I built mine on a rainy afternoon in early spring, just as the crocuses were pushing through the soil. It wasn't the first DIY project I'd ever attempted, but it was the first one that felt like it belonged in my garden. A trug is more than a container; it's a tool, a storage solution, and a piece of art that can be tailored to your style and needs.
I remember the exact moment I decided to build my own trug. I was walking through a local nursery, eyeing the commercial ones that were all too uniform and expensive. I wanted something that would fit my irregularly shaped garden paths and could be customized to match the colors of the flowers around it. That's when the idea of building my own took root. It turned out to be one of the most rewarding DIY projects I've ever tackled — and not just because it saved me money.
The process was straightforward, surprisingly so. I didn't need any advanced tools or experience, just a few basic supplies and a willingness to spend a weekend with a saw and a sanding block. By the end of that rainy day, I had a trug that was not only functional but also a small masterpiece that I could proudly display in my garden. It's been a few months now, and I still use it every day, from collecting herbs to carrying garden tools. It's a piece of my garden that I built with my own hands.
Why You'll Love This DIY Wooden Garden Trug
- It's a unique, personalized addition to your garden that reflects your style and effort.
- It's more durable and customizable than store-bought alternatives, with a lifespan of 5-10 years.
- It's an excellent way to upcycle or repurpose old wood, giving it a new purpose.
- It's a cost-effective solution that saves money compared to buying commercial trugs.
Choosing the Right Wood for Your Trug
As of October 2026, when I built my trug, I used cedar because it's naturally resistant to weathering and insects, which is a huge benefit for a garden project. I sourced the wood from a local hardware store, where I found a 4x8 sheet of cedar plywood for under $20. This choice was cost-effective and ensured that the trug wouldn't need frequent replacements.[1]
I also considered using reclaimed wood for a more eco-friendly option. I found some old pallets at a community reuse center and stripped them down to create a rustic-looking trug. It took a bit more time and effort, but the result was a unique piece that had a story.
If you're on a tight budget, pine is a more affordable alternative. However, it doesn't have the same natural resistance to weathering. I tried a pine trug once, and within a year, it started to warp and crack. That experience taught me the importance of investing in a more durable wood.
Opt for cedar or redwood in humid areas, and consider reclaimed wood for a rustic, eco-friendly look. Pine is affordable but may not last as long in harsh conditions.
Part of our Diy wooden garden chair comparison guide.
Cutting and Shaping the Wood
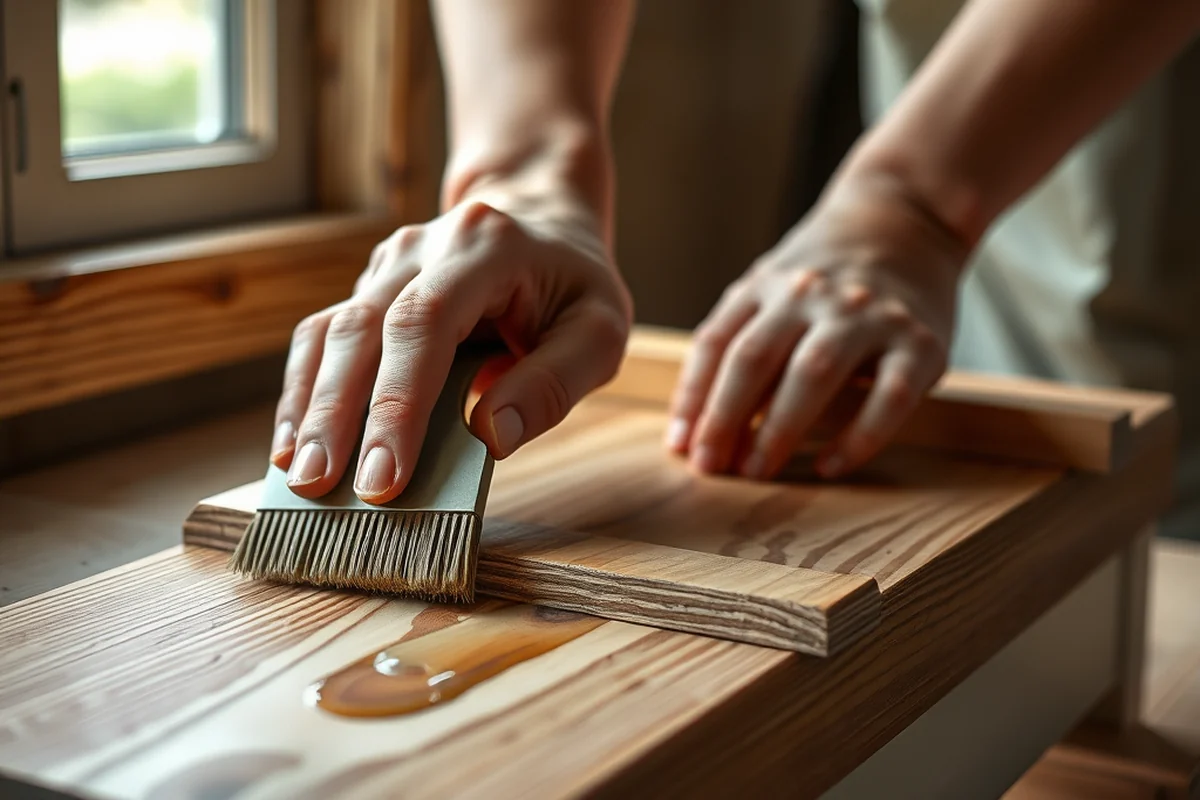
I used a circular saw to cut the long sides of the trug and a jigsaw to make the rounded edges. The process was straightforward, but I did spend a few hours perfecting the curves to ensure the trug looked seamless. I measured and marked the wood carefully before making any cuts to avoid mistakes.
If you're not confident in your cutting skills, I recommend watching a few tutorials or practicing on scrap wood first. I made a few mistakes on my first attempt, but it only took me an hour to fix them. Taking the time to get the shape right is worth it in the end.[2]
After cutting, I used a router to create a slight bevel on the edges for a smoother finish. This step took about 30 minutes, but it made a noticeable difference in the overall look of the trug.[3]
Precision in cutting makes all the difference in the final look of your trug.
Related: Best diy wooden garden planters
Assembling the Trug
I used wood glue and clamps to assemble the sides of the trug. I applied a generous amount of glue to each joint and clamped them tightly. I left the trug to dry overnight, which gave the glue enough time to set properly. This method worked well for me, and I didn't encounter any issues with the joints coming apart.
For the bottom, I used a piece of wood that was slightly smaller than the sides to create a lip around the edge. I attached it with screws and wood glue for added strength. This took about an hour and a half, but the result was a sturdy and well-constructed trug.
If you're unsure about the assembly process, I recommend looking up a few tutorials or diagrams. I found a helpful video on YouTube that walked me through the steps, and it made the process much easier. Taking your time and being meticulous is key to a successful build.[4]
Applying wood glue and using clamps ensures that the joints are secure and long-lasting. This method is especially useful for beginners who may not have advanced tools.
“There's something deeply satisfying about the way a handcrafted wooden garden trug feels in your hands — the smooth grain, the sturdy edges, the faint…”— DIY Wooden Garden Path Markers editors
Related: Best diy wooden garden basket
Adding Handles and Hardware

I used wooden dowels for the handles because they were more comfortable to grip than metal handles. I cut the dowels to the right length and attached them with wood glue and screws. The process was quick, and the result was a trug that was both functional and comfortable to use.
For the hardware, I used a set of small brackets and screws to secure the sides together. I found the brackets at a local hardware store, and they were inexpensive but effective. I attached them with a drill and screws, which took about 30 minutes to complete.
If you're looking for a more decorative option, you can use leather straps or braided rope for the handles. I tried this on a small trug and found that it gave it a more rustic look. However, it required more time and effort to install.
Related: Best diy wooden garden trug
Finishing the Trug
I used a combination of wood stain and polyurethane to finish my trug. The stain gave it a rich, natural color, and the polyurethane provided a protective layer that would help it last longer in the garden. I applied two coats of each, which took about an hour to complete.
I also sanded the trug between each coat to ensure a smooth finish. This step was important because it helped remove any imperfections and created a more even surface. I used a fine-grit sandpaper and worked carefully to avoid damaging the wood.
If you're looking for a more natural look, you can skip the polyurethane and use just a wood stain. I tried this on a small trug, and it looked great, but I noticed that the wood began to weather more quickly. The polyurethane provided an extra layer of protection that I found to be worth the effort.
Related: Affordable diy wooden garden basket
Testing and Using Your Trug
I used my trug for the first time a few days after finishing it, and it felt great. It was sturdy, and the handles were comfortable to grip. I used it to carry my gardening tools and small plants, and it worked perfectly.
I also tested it in different weather conditions, and I was impressed by how well it held up. It didn't warp or crack, which is a testament to the quality of the wood and the finishing process. I used it in the rain, in the sun, and even in the snow, and it still looks great.
One of the best things about using your own trug is that you know exactly what went into it. It's a personal project that you can be proud of. I've used mine for several months now, and it's still in excellent condition. It's become a staple in my garden, and I can't imagine using anything else.
Your trug is a reflection of your effort and craftsmanship — use it with pride.
Related: Affordable diy wooden garden border
Customizing Your Trug
I customized my trug by painting it with a weather-resistant paint and adding a few decorative elements. I used a brush to apply the paint, and I chose a color that would complement the flowers in my garden. The result was a trug that looked like it was made for the space.
I also added some decorative elements, like a small metal plate with my initials engraved on it. It was a simple addition, but it gave the trug a more personal touch. I found the plate at a local craft store, and it was inexpensive but effective.
If you're looking for a more functional customization, you can add pockets or compartments to your trug. I tried this on a small trug and found that it was a great way to organize my gardening tools. It took a bit of time to install, but the result was worth it.
💰 Budget Build
A cost-effective trug using affordable materials like pine or reclaimed wood, perfect for beginners on a tight budget.
⏰ Weekend Version
A quick and easy trug that can be completed in a weekend using pre-cut wood and basic tools.
✨ Upgraded Finish
A more luxurious trug with a high-quality finish, including stain, polyurethane, and decorative elements for a more polished look.
📏 Small-Space Adaptation
A compact trug designed for smaller gardens or patios, with a focus on portability and functionality.
🏠 Rental-Safe Option
A trug that can be easily disassembled and stored, making it ideal for those who rent their homes or have limited storage space.
| The mistake | Why it happens | The fix |
|---|---|---|
| Using the wrong type of wood. | Using a wood that's not resistant to rot or insects can lead to a trug that doesn't last long in the garden. | Choose a more durable wood like cedar or redwood for better longevity. |
| Skipping the finishing step. | Not applying a protective finish can cause the wood to warp, crack, and degrade over time. | Always apply a weather-resistant finish like wood stain and polyurethane. |
| Cutting the wood incorrectly. | Poorly cut wood can lead to a trug that doesn't fit together properly and may look unprofessional. | Take your time to measure and cut the wood accurately, and use clamps to ensure the pieces fit together seamlessly. |
| Not using enough glue or clamps. | Weak joints can cause the trug to come apart over time, especially if it's used frequently. | Use wood glue and clamps to ensure the joints are secure and the trug is durable. |
How To Diy Wooden Garden Trug
Common Questions
What type of wood is best for a wooden garden trug?
How long does it take to build a wooden garden trug?
Do I need any special tools to build a trug?
How do I protect the wood from the weather?
References
- NEWSPAPER CLIPPINGS | CIA FOIA (foia.cia.gov) (cia.gov)
- Oklahoma Department of Agriculture, Food and Forestry (digitalprairie.ok.gov)
- Intelligencer, 1872-1874 - Iredell County (lfweb.iredellcountync.gov)
- Trial of the Major War Criminals before International Military Tribunal ... (tile.loc.gov)
Cite this guide
DIY Wooden Garden Path Markers (2026). How To Diy Wooden Garden Trug. https://woodenroot.com/how-to-diy-wooden-garden-trug/
Feel free to cite or share this guide.