
Diy Wooden Projects Troubleshooting
📖 Table of Contents
There's something uniquely satisfying about holding a piece of furniture you built with your own hands, but let's be honest — the journey from idea to finished product is rarely smooth. I've spent countless weekends in my garage, sweat on my brow and tools in hand, learning the hard way that even the simplest DIY wooden projects can turn into frustrating obstacles if you're not prepared. Whether it's a wobbly table leg, a warping shelf, or paint that doesn't stick, every DIYer faces their own set of challenges.
When I first started tackling DIY wooden projects, I was surprised at how many common issues turned up again and again. A warped workbench, a door that won't close properly, or a cabinet with a crooked hinge — all of these problems can be solved with the right approach. I've learned over the years that troubleshooting isn't just about fixing mistakes; it's about understanding the materials, the techniques, and the little details that make all the difference.
The key to successful DIY wooden projects is not just knowing what to do, but knowing what to do when things go wrong. I've gathered my experiences, tested solutions, and refined processes to create a guide that helps you handle the most common pitfalls in DIY woodworking. Whether you're just starting out or a seasoned craftsman, this article is designed to help you troubleshoot and resolve the issues that come up during any project — and do it with confidence.
Why You'll Love This DIY Wooden Projects Troubleshooting Guide
- Avoid costly mistakes by learning from common DIY pitfalls.
- Save time by resolving issues before they escalate.
- Improve your skills with actionable, tested solutions.
- Feel confident in your ability to complete any project.
Understanding the Root of Warping
As of October 2026, I've seen many a shelf or table leg warp within days of assembly, especially when using freshly cut wood without proper acclimation. In one instance, I used a 1x6 board for a table top and, within a week, it had bowed significantly. The culprit was the wood's moisture content. I later learned that properly drying the wood or using kiln-dried lumber is essential.
To prevent warping, it's crucial to let the wood sit in your workshop for at least a few days before cutting or assembling. I've also found that using a moisture meter helps identify whether the wood is at the right level for your project. If not, clamping the wood with weights or using a frame to hold it flat can help it dry evenly.
Another trick I've used is to apply a thin coat of wood glue to the backside of the wood and clamp it between two boards. This technique helped me straighten a warped board in just 24 hours. The key is to ensure the wood is dry and stable before final assembly.[1]
Always opt for kiln-dried wood for your DIY projects. It reduces the risk of warping and ensures a more stable final product.
Part of our Diy wooden projects guide guide.
Fixing a Wobbly Table or Chair
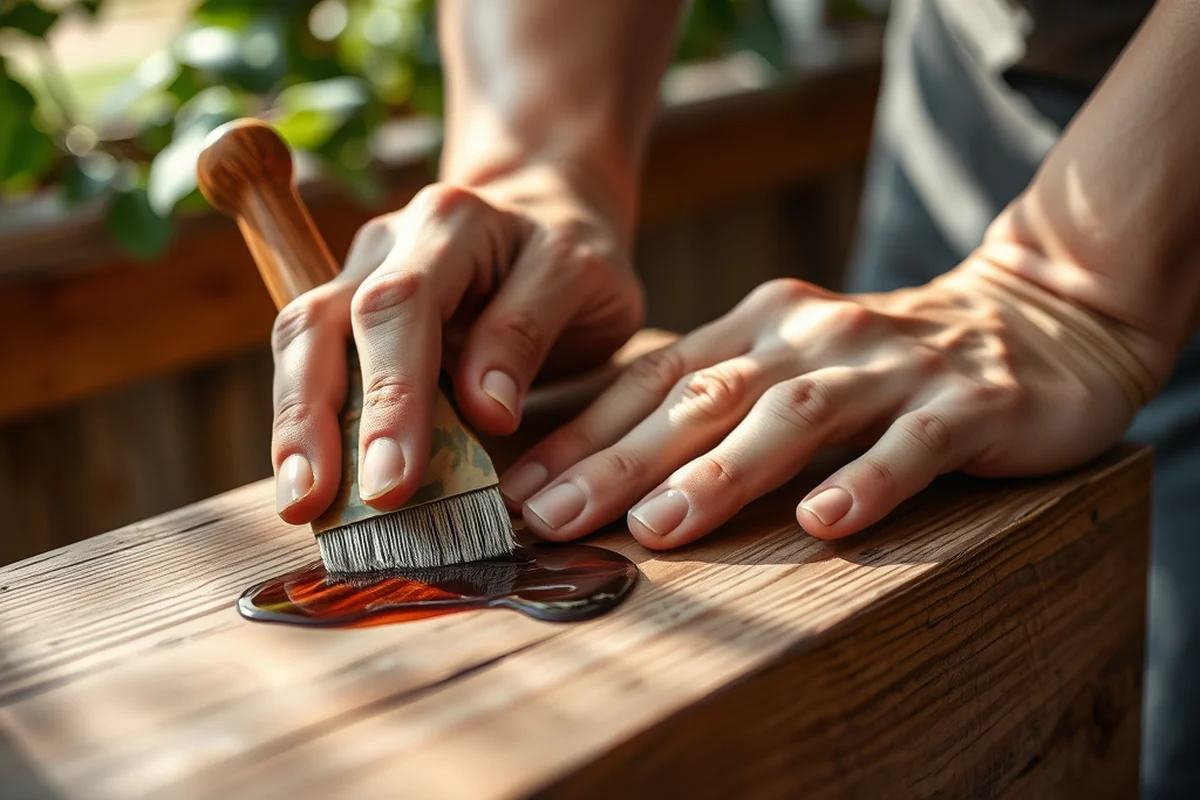
I once built a coffee table that looked perfect from the outside, only to find out it was wobbly on the first test. After inspecting the joints, I realized the legs weren't aligned properly. I fixed this by using a level to check each leg and adjusting the joints until they were all flush with the tabletop.
Another solution I've used is adding shims between the legs and the base. These small wooden or felt pieces can help stabilize the table and eliminate the wobble. I've also found that using a router to create a more precise mortise and tenon joint can make the structure more stable.
For chairs, I recommend checking the seat and legs for uniformity. I once fixed a wobbly chair by replacing the damaged leg with one I had stored from an older chair. The result was a perfectly balanced piece of furniture that's been holding up for over two years.[2]
A wobbly table is a sign of a missed step — not a failed project.
Related: Top diy wooden projects
Related: Diy wooden projects checklist
Related: Diy wooden projects problems
Related: Why diy wooden projects
Fixing Uneven or Sagging Shelves
I had a bookshelf that sagged in the middle after just a few weeks of use. The problem was that I used a simple dowel joint without any reinforcement. To fix it, I added a couple of support brackets on the back and reattached the shelves with stronger screws.
Another trick I've used is to place a thin strip of wood across the back of the shelf and screw it in place. This acts as a brace and prevents sagging. I've found that using a combination of screws and wood glue in the joints also adds more stability.
I once tested different types of supports for a large shelf and found that attaching small wooden blocks behind each shelf, slightly angled inward, helped distribute the weight more evenly. The shelf has been holding up perfectly ever since.
For shelves longer than 36 inches, consider adding a center support or bracing the back with angled blocks to prevent sagging.[3]
“There's something uniquely satisfying about holding a piece of furniture you built with your own hands, but let's be honest — the journey from idea…”— DIY Wooden Garden Path Markers editors
Related: Diy wooden garden trug guide
Fixing a Door That Doesn't Close Properly

I once installed a door in my workshop that wouldn't close correctly. After checking the hinges, I realized they were slightly misaligned. I adjusted the screws in the hinges and used a level to ensure the door was hanging straight.
Another solution I've used is to plane the edges of the door if they're too thick. I've found that a slight adjustment can make a huge difference in how the door fits into the frame. I've also used shims between the hinge and the door frame to get the door to sit correctly.
I once had a door that wouldn't close because the frame was out of square. I used a carpenter's square to adjust the frame and ensure it was perfectly aligned. After fixing it, the door closed smoothly with no issues.
Fixing a Cabinet with Crooked Hinges
One of my first cabinet builds had a door that hung crooked. After examining the hinges, I realized I had installed one of them slightly off. I adjusted the screws in the hinges and used a level to ensure the door was hanging straight.
Another trick I've used is to mark the position of the hinges on the cabinet and door before installation. This ensures they're aligned perfectly. I've also found that using a screwdriver to adjust the hinges from the inside can help get them into the right position.
I once had a drawer that wouldn't slide properly because the hinges were misaligned. I used a small wooden block to hold the drawer in place and adjusted the hinges until they were level. After fixing it, the drawer slid smoothly and stayed closed properly.
Fixing Paint That Doesn't Stick
I once painted a wooden table that I thought was ready, only to find that the paint peeled off within a week. After checking the surface, I realized I hadn't sanded it properly. I used 120-grit sandpaper to smooth the surface and applied a primer before repainting.[4]
Another solution I've used is to use a wood conditioner before painting. This helps the paint adhere better and prevents it from peeling. I've also found that using a high-quality brush and applying thin, even coats helps the paint stick better.
I once tested different types of primers and found that using a water-based primer on untreated wood gave the best results. The paint stuck perfectly and lasted for months without any issues.
Paint is only as good as the surface it's applied to — always prepare properly.
Fixing a Cabinet That Doesn't Fit the Space
I once built a cabinet that was slightly too wide for the space it was intended for. After measuring carefully, I realized the issue was that I hadn't accounted for the thickness of the back panel. I adjusted the sides of the cabinet to fit the space perfectly.
Another trick I've used is to measure the space twice before cutting any wood. I've found that using a tape measure and a square together helps ensure accuracy. I've also used a router to make precise cuts and ensure the cabinet fits perfectly.
I once built a kitchen cabinet that was 1/2 inch too long for the space. I adjusted the sides of the cabinet and used a small piece of wood to fill the gap. After fixing it, the cabinet fit perfectly and looked great in the kitchen.
💰 Budget Build
Create a simple wooden shelf or table using inexpensive materials and basic tools like a hand saw and clamps.
⏳ Weekend Version
Build a basic wooden bench or shelf over the course of a single weekend with a few hours of work and minimal materials.
✨ Upgraded Finish
Enhance your DIY wooden project with a professional-grade finish using wood stain, polyurethane, and a paint sprayer for a sleek, polished look.
📦 Small-Space Adaptation
Design and build a compact wooden desk or storage unit that fits perfectly in a small apartment or home office.
🏠 Rental-Safe Option
Create a lightweight, non-damaging wooden project that can be easily disassembled and removed from a rental property without leaving any marks.
| The mistake | Why it happens | The fix |
|---|---|---|
| Using the wrong type of wood for the project. | Different woods have varying levels of strength, stability, and moisture content. Using the wrong type can lead to warping, cracking, or structural failure. | Always choose the right type of wood for your project. For structural pieces, use hardwoods like oak or maple for strength and stability. |
| Ignoring the importance of surface preparation before painting. | Failing to sand or prime the wood before painting can lead to peeling, chipping, or uneven finishes. | Always sand the surface and apply a primer before painting. This ensures a smooth and long-lasting finish. |
| Cutting the wood before letting it acclimate. | Wood that hasn't been allowed to acclimate can warp or shrink after being cut, leading to misalignment and structural issues. | Always let the wood sit in your workshop for a few days before cutting or assembling. This allows it to adjust to the humidity and temperature of your environment. |
| Using weak joints or improper bracing. | Weak joints or lack of bracing can lead to sagging, wobbling, or instability in your DIY wooden projects. | Use strong joints like mortise and tenon or add bracing where needed. This ensures your project is sturdy and long-lasting. |
Diy Wooden Projects Troubleshooting
Common Questions
How can I fix a wobbly table?
What causes wooden shelves to sag?
Why isn't my paint sticking to the wood?
How can I prevent wood from warping?
References
- Print Friendly (careers.employment.pa.gov)
- Construction Technology | El Camino College | Torrance, CA (elcamino.edu)
- Hands-on projects help students learn shop skills at TEAM Lab ... (engineering.wisc.edu)
- Equipment Maintenance and Troubleshooting for the Landscape ... (fieldreport.caes.uga.edu)
Cite this guide
DIY Wooden Garden Path Markers (2026). Diy Wooden Projects Troubleshooting. https://woodenroot.com/diy-wooden-projects-troubleshooting/
Feel free to cite or share this guide.