
Diy Wooden Garden Furniture For Beginners
📖 Table of Contents
- Choosing the Right Wood for Your Project
- Basic Tools You’ll Need to Get Started
- Cutting and Assembling Your Pieces
- Sanding and Smoothing Your Wood
- Finishing Your Furniture for Long-Lasting Use
- Tips for Adding Personality and Style
- Maintenance and Care for Long-Lasting Furniture
- Make It Your Way
- Frequently Asked Questions
There's nothing quite like the satisfaction of building your own wooden garden furniture. I remember the first time I put together a simple bench using leftover planks from a previous project. It took me a whole weekend, but the result was worth every minute. The wood smelled fresh, the finish looked professional, and I felt a deep sense of accomplishment. For anyone new to DIY, this kind of experience can be both intimidating and incredibly rewarding.[4]
When I first started making garden furniture, I was overwhelmed by the options—tools, materials, and techniques all seemed to be in a different language. But over time, I learned that the key is to start small, with simple projects that don’t require advanced skills. A basic bench or a small table can be built with just a few tools and some patience. As I gained confidence, I moved on to more complex pieces, like a dining set or a rocking chair. Each project taught me something new, and I’m still learning today.
I’ve found that making your own wooden garden furniture not only saves money but also gives you the freedom to customize every detail. Whether you’re looking for a rustic look or something more modern, the options are endless. Plus, there’s a unique pride in knowing that your furniture was built by your own hands. If you're a beginner, I promise you that with the right guidance and a little practice, you can create beautiful, functional pieces that will last for years.
Why You'll Love This DIY Wooden Garden Furniture Project
- It's an affordable way to add character and comfort to your outdoor space.
- You can personalize your furniture to match your home’s style and color palette.
- The process is rewarding and teaches valuable woodworking skills.
- You’ll end up with a functional, long-lasting piece of furniture that’s all your own.
Choosing the Right Wood for Your Project
As of October 2026, I’ve learned the hard way that not all woods are created equal. For outdoor use, I prefer pressure-treated wood or cedar because they’re naturally resistant to moisture and decay. Pressure-treated wood is affordable and available at most hardware stores, but cedar is more expensive and requires a bit more effort to source. Either way, both woods can last for years with proper care.
I once used pine for a bench and it didn’t last through the first winter. The wood warped and splintered, which was a costly mistake. Now, I always use cedar or pressure-treated wood for any project that will be exposed to the elements. If you’re on a tight budget, pressure-treated wood is a solid choice, especially for smaller pieces.
When I started, I didn’t know the difference between softwood and hardwood. But now, I understand that cedar and pressure-treated wood are better for outdoor use, while hardwoods like oak are more suitable for indoor furniture. This knowledge has saved me time and money in the long run.
Choose pressure-treated or cedar wood for outdoor furniture. Avoid softwoods like pine unless you're planning to use them in a sheltered area.
Part of our Diy wooden garden projects troubleshooting guide.
Basic Tools You’ll Need to Get Started
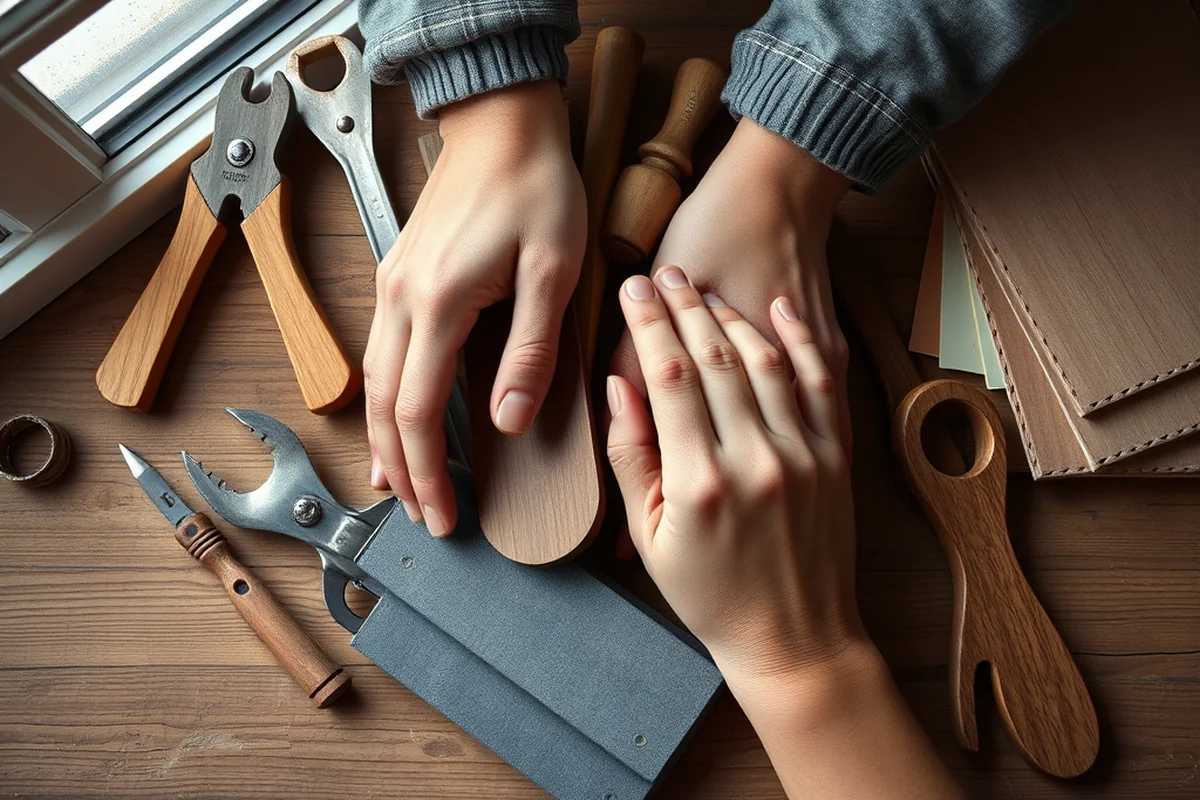
The three essential tools I use for every project are a circular saw, a drill, and a square. A circular saw is great for cutting wood to size, a drill is useful for making pilot holes and attaching hardware, and a square helps ensure your pieces are cut at right angles. These tools can be rented or purchased secondhand, which is a cost-effective way to get started.
I remember buying a circular saw for my first bench, and it was a game-changer. Before that, I had to rely on a hand saw, which was slow and frustrating. Now, with the right tools, I can complete a bench in just a few hours. If you're on a tight budget, look for secondhand tools online or at local hardware store sales.
In addition to these tools, I also find a measuring tape, a pencil, and a set of clamps to be incredibly useful. Clamps help keep your pieces aligned while you're working, and a measuring tape ensures your cuts are precise. These are all low-cost tools that make the job easier and more accurate.
The right tools make all the difference in your DIY journey.
Related: Diy wooden garden projects comparison
Cutting and Assembling Your Pieces
I always start by cutting my wood to the correct lengths. I use a circular saw to make straight cuts, and I double-check my measurements with a tape measure before making any cuts. It’s easy to make a mistake, so taking the time to measure twice can save you from having to cut the same piece twice.
When I first started, I tried to skip the step of using a square to ensure my cuts were at 90-degree angles. The result was a bench with crooked legs and a wobbly frame. Now, I always use a square to check my work. It might seem like a small detail, but it makes a big difference in the final look and stability of your furniture.[1]
Once your pieces are cut, you can start assembling them. I use a drill to make pilot holes before attaching screws, which helps prevent the wood from splitting. I also use wood glue in addition to screws for extra strength. I’ve found that using both methods together gives the strongest and most durable results.
Always use a square to ensure your cuts are at 90-degree angles. This simple step can make your furniture look much more professional.[2]
“There's nothing quite like the satisfaction of building your own wooden garden furniture.”— DIY Wooden Garden Path Markers editors
Related: Diy wooden garden border mistakes
Sanding and Smoothing Your Wood
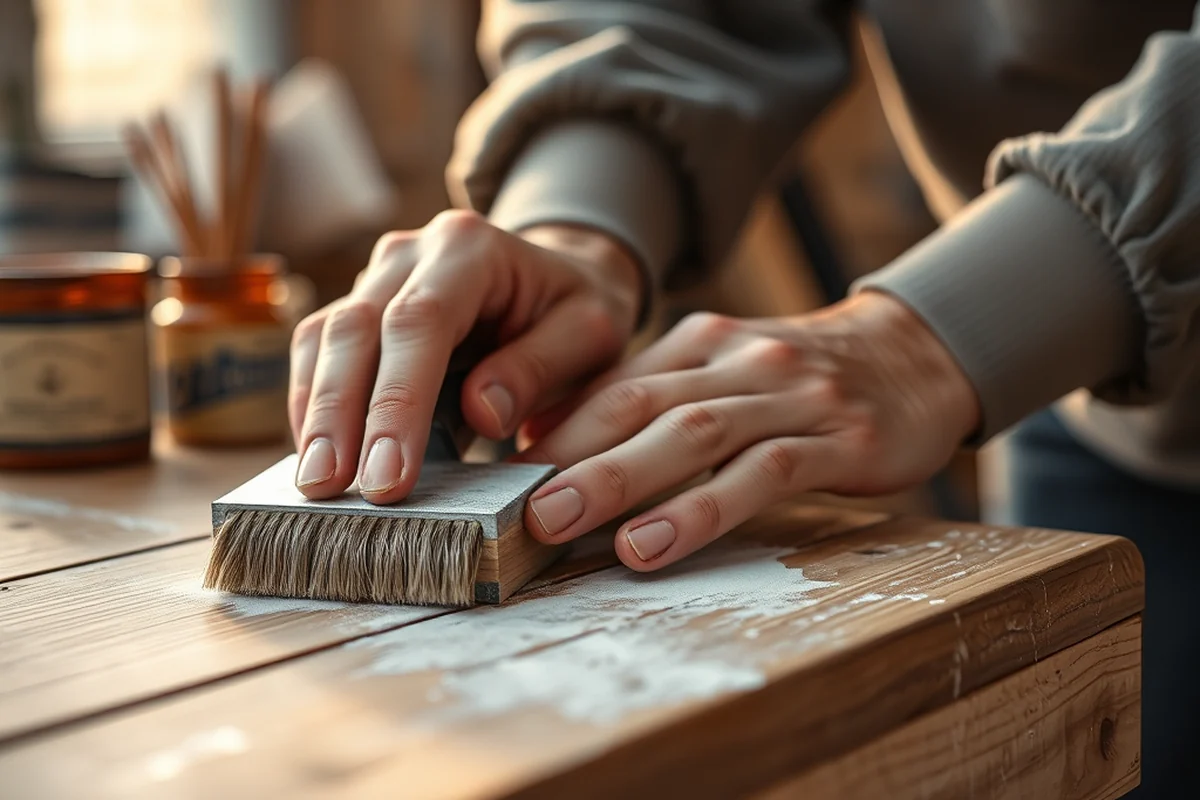
After cutting and assembling your pieces, it’s time to sand them down. I use a combination of sandpaper and an orbital sander to get the best results. Start with a coarse grit, like 80 or 100, and work your way up to a finer grit, like 220. This helps remove any rough spots or splinters before applying a finish.[3]
I once skipped sanding a bench and the wood was so rough that I couldn’t even apply paint without it peeling off. Now, I know that sanding is essential for any project, especially if you're planning to stain or paint your furniture. It might take a little extra time, but it’s worth it in the end.
I also take the time to sand any areas where the wood might rub against the ground or be exposed to moisture. This helps prevent splinters and prolongs the life of your furniture. If you're using wood glue, make sure to sand it down after it dries to create a smooth surface.
Related: Diy wooden garden path for beginners
Finishing Your Furniture for Long-Lasting Use
I always apply a coat of wood stain or paint before sealing the wood. This not only enhances the natural beauty of the wood but also protects it from the elements. I use a brush or a sprayer to apply the stain, making sure to cover all the surfaces evenly. I let it dry completely before moving on to the next step.
After the stain is dry, I apply a clear wood sealer or exterior paint to create a protective barrier. This helps prevent moisture from getting into the wood, which can cause warping or rotting over time. I’ve found that using a high-quality sealer is one of the best investments you can make when building outdoor furniture.
I’ve learned that sealing your wood is just as important as the wood selection itself. Even the best wood can deteriorate if it’s not properly sealed. I always make sure to apply at least two coats of sealer, and I wait for each coat to dry completely before applying the next one.
Related: Diy wooden garden path mistakes
Tips for Adding Personality and Style
I love adding a personal touch to my furniture, whether it's through paint, stain, or decorative hardware. A simple brushstroke in a different color can make all the difference in the final look of your piece. I’ve also experimented with adding carved designs or etched patterns to my pieces, which adds a unique flair.
Another way to add personality is by using different types of wood or combining wood with other materials like metal or stone. For example, I once built a bench with a cedar frame and a stone top, which gave it a rustic and elegant look. This is a great way to mix materials and create a custom design that reflects your personal style.
I’ve also found that using a variety of stains and finishes can help your furniture stand out. I’ve used everything from dark walnut stains to light oak finishes, and each one gives the furniture a different look and feel. It’s all about experimenting and finding what works best for your space.
Your furniture should reflect your personality, not just serve a function.
Related: Diy wooden garden sculptures benefits
Maintenance and Care for Long-Lasting Furniture
I make it a habit to clean my furniture at least once a month, especially after it’s been exposed to rain or sun. I use a soft cloth and a mild soap solution to wipe down the surfaces, making sure to avoid any harsh chemicals that could damage the wood. I’ve found that a little cleaning goes a long way in keeping your furniture looking fresh and new.
I also reapply a coat of sealer every few years to protect the wood from the elements. This helps maintain the finish and prevents the wood from fading or cracking over time. I’ve found that resealing my furniture every two to three years is enough to keep it in good condition.
I’ve also learned that avoiding direct sunlight and extreme weather conditions is the best way to preserve your furniture. If possible, place your furniture in a shaded area or cover it when it’s not in use. This helps reduce the risk of fading or warping, which can happen over time.
💰 Budget Build
Use pressure-treated wood and basic tools to create a functional bench for under $40.
⏰ Weekend Version
Complete a small table or bench in a single weekend with minimal effort and tools.
🎨 Upgraded Finish
Enhance your furniture with a custom stain, paint, or decorative hardware for a more personalized look.
📦 Small-Space Adaptation
Build a compact set of garden furniture that’s perfect for small yards or patios.
🔒 Rental-Safe Option
Create furniture that’s easy to disassemble and store, ideal for renters who move frequently.
| The mistake | Why it happens | The fix |
|---|---|---|
| Using the wrong type of wood for outdoor use | Softwoods like pine can warp, splinter, and decay quickly when exposed to the elements. | Use pressure-treated wood or cedar for any outdoor furniture to ensure durability and longevity. |
| Skipping the step of using a square to check for right angles | This can lead to uneven pieces and a wobbly or unstable final product. | Always use a square to check your cuts and ensure all angles are at 90 degrees. |
| Not sanding the wood before applying a finish | This can result in a rough surface and cause the finish to peel or flake over time. | Take the time to sand your wood thoroughly before applying any stain, paint, or sealer. |
| Applying too much sealer or paint in one coat | This can lead to drips, runs, and an uneven finish that looks unprofessional. | Apply thin, even coats of sealer or paint, and allow each coat to dry completely before applying the next. |
Diy Wooden Garden Furniture For Beginners
Common Questions
Can I build a wooden garden table without a circular saw?
How long does it take to build a simple bench?
What type of wood is best for outdoor use?
Do I need to use wood glue when assembling the furniture?
References
- Timber - Fully Processed Wooden Articles and Handicrafts (without ... (acir.aphis.usda.gov)
- 2026 BULKY WASTE DROP OFF LIST | Cheshire, CT (cheshirect.gov)
- CARD Community Center/Creekside Rose Garden (chicorec.gov)
- American Furniture Warehouse - Denver, Houston, Phoenix, Tucson ... (cohips.houstontx.gov)
Cite this guide
DIY Wooden Garden Path Markers (2026). Diy Wooden Garden Furniture For Beginners. https://woodenroot.com/diy-wooden-garden-furniture-for-beginners/
Feel free to cite or share this guide.