
Diy Wooden Garden Planters Examples
📖 Table of Contents
- Choosing the Right Wood for Your Planters
- Designing Your Planters for Function and Style
- Drainage and Plant Health: A Critical Detail
- Building Your Planters: Step-by-Step Guide
- Adding Personality: Decorative Elements and Finishes
- Maintaining Your Wooden Planters for Longevity
- Creative Layouts and Arrangements for Your Garden
- Make It Your Way
- Frequently Asked Questions
One crisp Saturday morning, I sat on my back porch with a stack of cedar planks, a miter saw, and a dream of transforming my empty garden space into a lush, organized oasis. What started as a simple idea to build a few wooden planters quickly became a journey of discovery, trial, and triumph. The result? A set of planters that not only held my herbs and flowers but also became a source of pride and conversation. If you're looking for diy wooden garden planters examples that are both functional and beautiful, you're in the right place.
I've built dozens of wooden planters over the years—some for my own garden, others for friends and neighbors. Each project has taught me something new, whether it was the best way to cut angles for corners, the right type of wood to use for longevity, or the most effective method to ensure drainage. These insights are what I want to share with you now, through the lens of real-world examples and hands-on experience. You’ll find that building your own wooden planters isn’t just a way to customize your garden—it’s also a rewarding DIY project that’s easier than you might think.
From simple rectangular planters to raised beds and decorative troughs, the possibilities are endless. The key is knowing where to start and what materials to use. In this article, I’ll walk you through the process, share tips for different styles, and give you real-life examples of diy wooden garden planters that have worked for me and others. Whether you're a seasoned woodworker or a complete beginner, there's something here that will help you create your own unique garden masterpieces.
Why You'll Love This DIY Project
- Customization: Tailor your planters to match your garden's style and your personal taste.
- Cost-effective: Build your own instead of buying expensive pre-made options.
- Long-lasting: Use high-quality wood and finishes to ensure durability and weather resistance.
- Satisfaction: The pride of creating your own garden pieces is unmatched.
Choosing the Right Wood for Your Planters
As of October 2026, Cedar and redwood are two of the best woods for outdoor use. I’ve used cedar for most of my planters because it’s durable, lightweight, and has a natural aroma that deters pests. Redwood is slightly more expensive but offers similar benefits. Both woods are available in different grades, so I always pick the one with the least knots for a clean finish. I’ve found that untreated cedar can last up to 10 years outdoors if properly maintained, which makes it a smart investment.[1]
If you're on a tighter budget, pressure-treated pine is a good alternative. It’s more affordable and still offers decent durability. However, I’ve noticed that it can warp or crack over time unless sealed properly. I always use a high-quality exterior wood sealant, which not only protects the wood but also enhances its natural color. This step has made a big difference in the lifespan of my pine planters.
Another consideration is the size of your garden. If you're building multiple planters, it’s important to choose a wood that’s easy to work with and can be cut efficiently. I’ve found that cedar is easier to cut and shape than redwood, which can be a bit denser. Regardless of your choice, always allow the wood to acclimate to your local climate for a few days before starting your project.
For longevity, choose cedar or redwood. If you're budget-conscious, pressure-treated pine is a good option. Always seal the wood to extend its life.
Part of our Diy wooden garden chair comparison guide.
Designing Your Planters for Function and Style
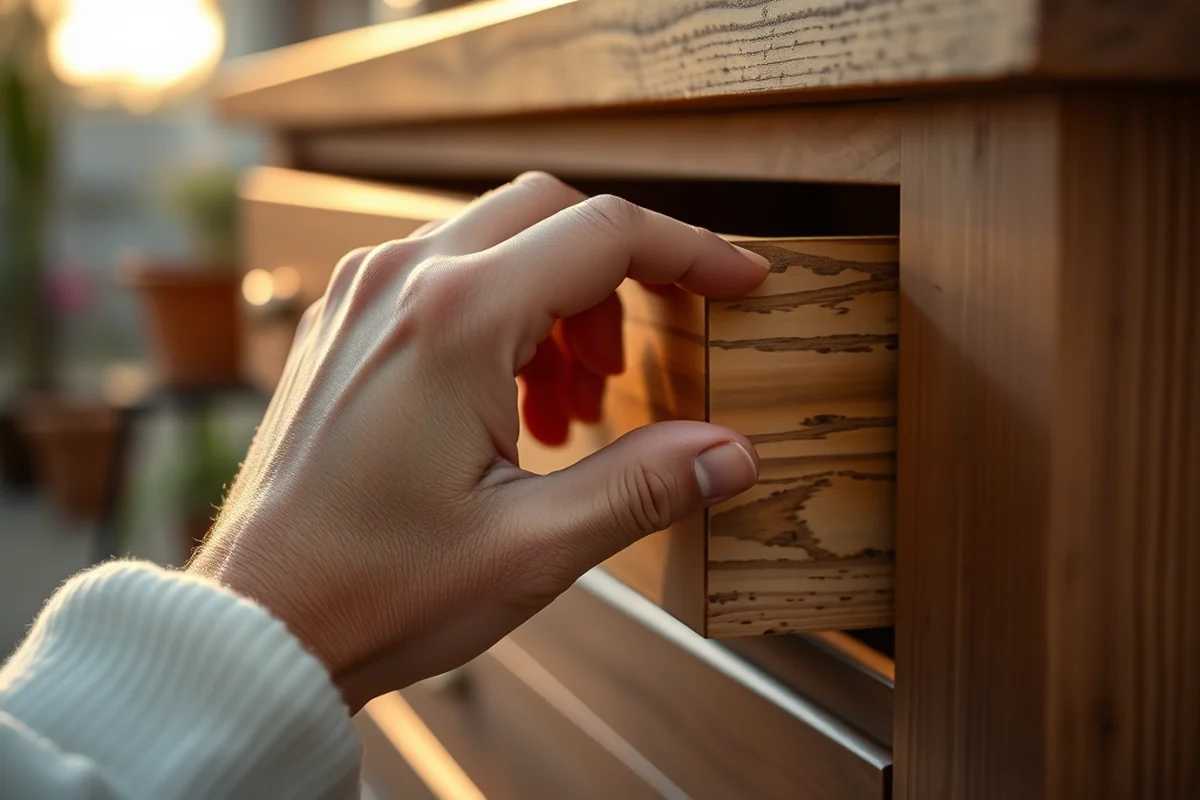
When designing your planters, think about the size and depth needed for the plants you want to grow. For herbs and small flowers, a shallow planter with a width of about 12 inches is sufficient. For larger plants like tomatoes or shrubs, a planter with a depth of at least 18 inches is recommended. I’ve found that rectangular planters are the most versatile and can be arranged in a variety of ways to suit different garden layouts.[2]
In terms of style, I’ve used both simple and decorative designs. For a rustic look, I often use cedar and sand the edges to create a weathered appearance. For a more modern feel, I paint the planters with a weather-resistant paint and add metal corners for a polished touch. I’ve also experimented with adding decorative elements like carved patterns or painted borders, which add a personal touch to the planters.
Another thing to consider is the number of planters you’ll need. If you’re planning a large garden, it’s best to build them in batches. I always start with a few and expand as needed. This approach allows me to test the design and make any necessary adjustments before committing to a larger project.
Design is where functionality meets artistry—make it work for you.
Related: Types of diy wooden garden chair
Drainage and Plant Health: A Critical Detail
I can't stress enough how important proper drainage is. When I first started building planters, I overlooked this step, and it cost me a few plants. I now always include a layer of gravel at the bottom of each planter to allow excess water to drain away. This helps prevent water from sitting around the roots, which can lead to root rot and other diseases.
To make the drainage system even more effective, I use a piece of landscape fabric over the gravel. This acts as a barrier to prevent soil from mixing with the gravel while still allowing water to pass through. I’ve also found that drilling small holes in the bottom of the planter is a simple yet effective way to ensure proper drainage. I usually drill 6–8 evenly spaced holes, about 1/4 inch in diameter.
Another tip I learned is to always use a well-draining soil mix. Even the best drainage system can be overwhelmed by heavy soil that retains too much water. I mix my own soil using a combination of garden soil, compost, and perlite to ensure proper aeration and drainage. This has made a noticeable difference in the health of my plants.
Always include a layer of gravel and use landscape fabric. Drill multiple small holes at the bottom for proper drainage. Use well-draining soil mix.
“One crisp Saturday morning, I sat on my back porch with a stack of cedar planks, a miter saw, and a dream of transforming my…”— DIY Wooden Garden Path Markers editors
Related: Diy wooden garden decor templates
Building Your Planters: Step-by-Step Guide
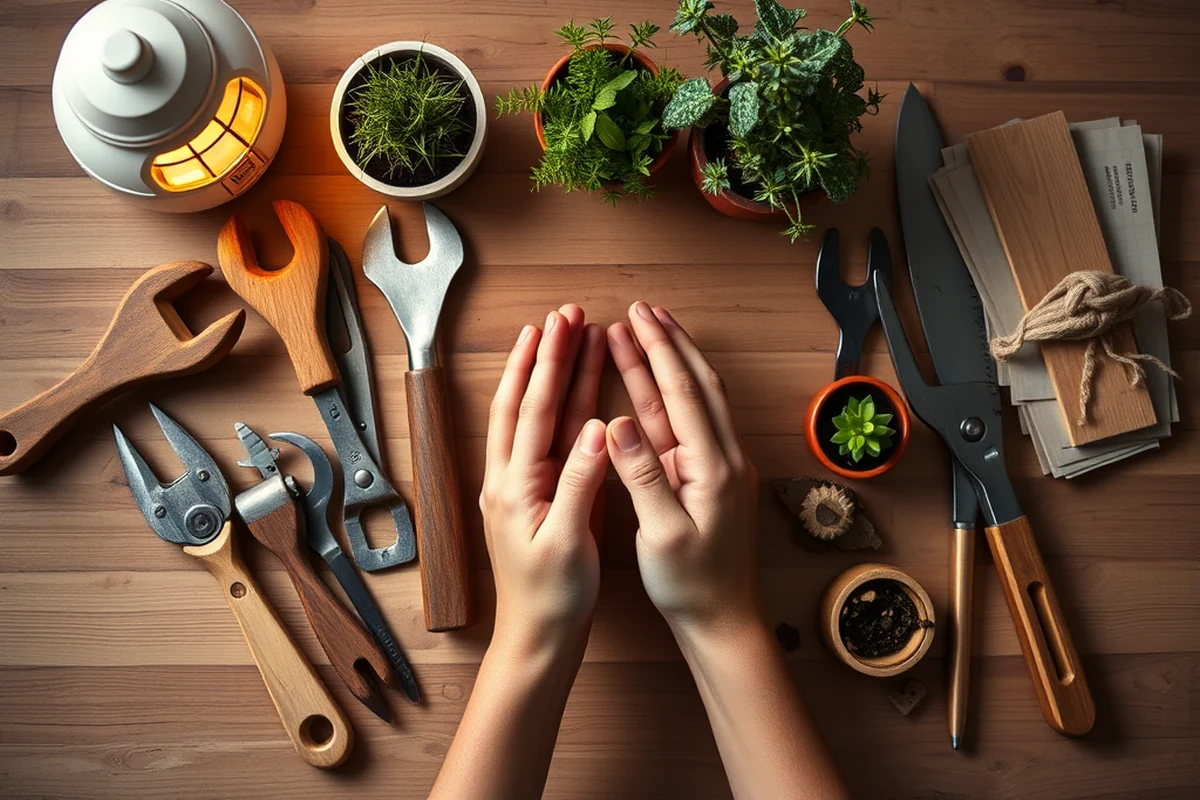
To start, I cut all the pieces according to the dimensions I've planned. I always measure twice and cut once to avoid mistakes. After cutting, I use wood glue and screws to assemble the sides and bottom of the planter. I’ve found that using a square clamp helps keep the corners aligned and square during assembly. Once the frame is built, I attach the sides to the bottom using screws.[3]
Next, I add the back panel and the front panel, making sure everything is aligned and square. I then attach the top panel using screws. I’ve found that using a miter saw and a square makes the process much easier. After assembly, I sand the edges to remove any splinters and apply a coat of exterior wood sealant.
Once the sealant has dried, I place the planters in their designated spots and fill them with soil. I always allow the sealant to cure for at least 24 hours before planting to ensure it’s fully dry and ready for use. This has made a big difference in the performance of my planters and the health of my plants.[4]
Related: Types of diy wooden garden basket
Adding Personality: Decorative Elements and Finishes
I love adding decorative elements to my planters to make them stand out. One of my favorite techniques is to paint them with a weather-resistant paint in a color that complements my garden. I’ve used both solid colors and patterns, and I’ve found that painted planters look great in a variety of garden settings.
Another way to add personality is to use decorative hardware. I’ve used metal corners, handles, and even small carved wooden accents. These details can make a big difference in the overall look of your planters and can help them blend in with other garden features.
I’ve also experimented with different finishes, such as using a weathered paint look or applying a stain to give the wood a natural appearance. These finishes not only add visual interest but also help protect the wood from the elements. I’ve found that using a combination of paint and stain can create a unique and eye-catching effect.
Related: Best diy wooden garden planters
Maintaining Your Wooden Planters for Longevity
I’ve learned that regular maintenance is key to keeping your planters in good condition. I always inspect the planters at least once a month for signs of wear, such as cracking or peeling paint. I’ve found that reapplying a coat of sealant every year helps protect the wood from the elements and extends its lifespan.
Another important step is to clean the planters regularly. I use a soft brush or a garden hose to remove dirt and debris from the surface. For tougher stains, I use a mild detergent and water. I’ve found that cleaning the planters after the growing season is a good time to do this, as it allows me to address any issues before the next planting season.
I also make sure to check the drainage system regularly. Over time, the holes can become clogged with dirt or debris, which can affect the health of your plants. I’ve found that using a small brush or a pipe cleaner to clear the holes is an effective way to keep the drainage system working properly.
A little care goes a long way in keeping your planters looking great for years to come.
Related: Best diy wooden garden basket
Creative Layouts and Arrangements for Your Garden
I’ve experimented with different layouts and arrangements for my garden, and I’ve found that the right placement can make a big difference in the overall look. One of my favorite techniques is to group planters together in clusters, which creates a focal point in the garden. I’ve used this approach to create a small herb garden near my kitchen, which is both beautiful and practical.
Another idea is to arrange the planters in a straight line along a garden path or near a fence. This can create a sense of order and symmetry in the space. I’ve also used planters to create a border around flower beds, which adds a decorative touch and helps define the garden area.
I’ve found that mixing different styles and sizes of planters can add visual interest and variety to the garden. For example, I’ve used tall planters for shrubs and shorter ones for herbs and flowers. This creates a layered look that is both attractive and functional. I always make sure to balance the arrangement so that it looks natural and not forced.
💰 Budget Build
Use pressure-treated pine and skip the decorative finishes to keep costs low while still creating a functional set of planters.
⏰ Weekend Version
Complete the project in a single day by pre-cutting the wood and using pre-made hardware for a quick and easy build.
✨ Upgraded Finish
Add a weathered paint look or stain to give your planters a unique and custom finish that stands out in your garden.
🌿 Small-Space Adaptation
Build smaller, hanging or wall-mounted planters to make the most of limited space while still enjoying the benefits of DIY wooden planters.
🔒 Rental-Safe Option
Use temporary materials like plastic or composite wood for a rental-safe solution that can be easily removed without damaging the property.
| The mistake | Why it happens | The fix |
|---|---|---|
| Forgetting to include drainage holes | This can lead to root rot and poor plant health due to excess water retention. | Always drill small holes in the bottom of the planter to ensure proper drainage. |
| Using the wrong type of wood | Using wood that’s not suited for outdoor use can lead to warping, cracking, or rotting over time. | Choose cedar, redwood, or pressure-treated pine for durability and weather resistance. |
| Not sealing the wood properly | Untreated wood can absorb moisture and deteriorate quickly in the elements. | Apply a high-quality exterior wood sealant to protect the wood and extend its lifespan. |
| Overlooking the need for maintenance | Neglecting regular inspections and cleaning can lead to long-term damage to the planters. | Inspect and clean the planters regularly, and reapply sealant as needed to maintain their condition. |
Diy Wooden Garden Planters Examples
Common Questions
What type of wood is best for outdoor planters?
How do I ensure proper drainage in my planters?
Can I paint my planters?
How long do wooden planters last?
References
- Container Gardening - Alabama Cooperative Extension System - (aces.edu)
- The Upcycled Garden - Alaska Master Gardener Blog (alaskamastergardener.community.uaf.edu)
- Fire-resistant plants for home landscapes - OSU Extension Service (ashlandoregon.gov)
- How to Build a Vertical Garden | Tales From The Field - CA.gov (blogs.cdfa.ca.gov)
Cite this guide
DIY Wooden Garden Path Markers (2026). Diy Wooden Garden Planters Examples. https://woodenroot.com/diy-wooden-garden-planters-examples/
Feel free to cite or share this guide.