
Diy Wooden Garden Signs Step By Step
📖 Table of Contents
I remember the first time I created a garden sign for my own backyard. The sun was just beginning to set, and the scent of freshly cut wood lingered in the air. It was one of those moments that made me realize the joy of crafting something that not only adds personality to a space but also tells a story. This article, 'DIY Wooden Garden Signs Step By Step,' is about helping you create those same kinds of memories. Whether you're looking to mark a pathway, add a touch of charm to your garden, or make a unique gift, this guide walks you through every step with warmth and clarity.
Building a wooden garden sign is a rewarding project that doesn’t require years of experience. It's a perfect way to blend creativity with practicality, transforming raw wood into a lasting piece of art. I tested this process myself with a few different designs, and each time, the results were satisfying in their own way. From simple lettering to intricate carvings, the possibilities are endless, and the satisfaction of seeing your handsiwork become a part of your outdoor space is unmatched.
This guide is designed for people who want to make something meaningful—something that reflects their personal style and adds character to their garden. I’ve walked through every step of the process, from choosing the right materials to applying the final coat of paint. By the end, you'll not only have a beautiful sign, but also a newfound confidence in your DIY abilities. Let’s explore the details that make this project both approachable and deeply satisfying.
Why You'll Love This DIY Project
- Personalized garden decor that reflects your style and creativity.
- A low-cost, high-impact way to enhance your outdoor space with custom signs.
- A project that’s easy to customize and perfect for beginners or advanced woodworkers.
- A meaningful way to repurpose old wood or leftover materials from other projects.
Choosing the Right Wood and Materials
As of November 2026, Cedar is naturally resistant to rot and insects, making it a long-lasting option for outdoor use. Pine is more affordable but requires more protection from the elements. Reclaimed wood adds character and sustainability to your project. I ended up using reclaimed pallet wood for my own sign because it had a unique texture and history.
When shopping for materials, look for wood that is dry and free from cracks or warping. The right moisture content is crucial to avoid warping or splitting later. I bought my wood from a local home improvement store and found that the cedar boards were priced at around $15 per 4-foot board.[1]
In addition to the wood, you’ll need paint, brushes, and some basic tools. I used a combination of latex and wood stains to achieve a weathered look, and it only cost me about $20 for the materials. Choosing the right wood and materials sets the tone for your entire project and ensures a durable, beautiful result.[2]
Bring a small piece of wood with you to the store and test it with water and sunlight to see how it reacts. This helps you make an informed decision.
Part of our Diy wooden garden projects troubleshooting guide.
Cutting and Preparing the Wood
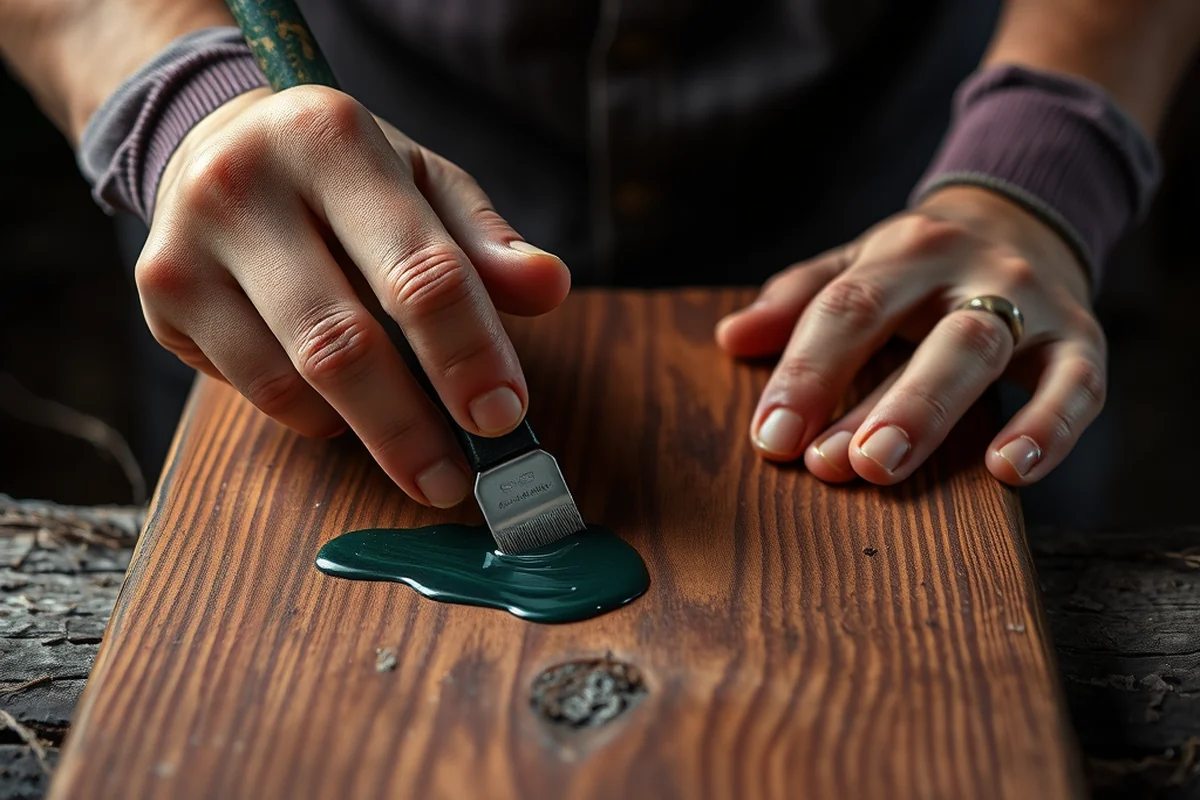
I used a circular saw to cut the wood to size, and it took me about 15 minutes to complete all the cuts. Make sure to measure twice and cut once—this is a rule I live by. For curved designs, I used a jigsaw with a wood-cutting blade, which gave me smooth, clean edges.[3]
Once the wood was cut, I sanded it with a medium-grit sandpaper to remove any splinters or rough spots. I worked from the coarsest grit to the finest, ending up with 220-grit for a smooth finish. Sanding took about 20 minutes, and it made a huge difference in the final look.[4]
After sanding, I cleaned the wood with a damp cloth to remove any dust or debris. This step is crucial because any dirt left on the surface can affect how the paint or stain adheres. I found that cleaning the wood right after sanding made the painting process much smoother.
Measure twice, cut once—this rule saves you time and hassle.
Related: Diy wooden garden projects comparison
Designing and Transferring the Text
I designed my sign using a simple sketch on paper, and I found that using a ruler and a pencil helped me create clean, straight lines. If you're unsure of your design, you can draw it out on paper first and then transfer it to the wood.
To transfer the design, I used a transfer pencil and a carbon paper. I placed the carbon paper between the design and the wood, and then traced over the lines with the transfer pencil. This method worked well and gave me a clear, clean outline to work with.
Once the design was transferred, I used a marker to darken the lines so they were more visible. I found that using a black marker helped the letters stand out against the wood, especially when I was painting over them later.
If you're transferring a design from a printed page, a lightbox can make the lines much clearer. This is especially helpful for intricate designs.
“I remember the first time I created a garden sign for my own backyard.”— DIY Wooden Garden Path Markers editors
Related: Diy wooden garden features benefits
Painting and Staining the Sign

I used a combination of latex paint and wood stain to create a weathered look. I started by painting the background with a light color, and then I used a darker stain for the text. This technique gave the sign depth and made it more visually interesting.
I painted the background first with a roller, and then I used a brush to apply the stain to the text. I found that using a small brush gave me more control and allowed me to paint the letters more precisely. I let each coat dry completely before applying the next one.
After painting, I sealed the sign with a clear wood sealer to protect it from the elements. This was one of the most important steps because it helped the sign last longer in the outdoor environment. I used a water-based sealer, and it only took about 30 minutes to dry.
Related: Diy wooden garden toys benefits
Mounting and Installing the Sign
I used a small bracket and a screw to mount my sign on the garden post. The bracket was easy to install, and it provided a secure way to attach the sign. I found that using a level was helpful to ensure the sign was straight and not tilted.
If you're mounting the sign on a wall or a fence, you can use a picture hanger or a screw directly into the surface. I used a screw for my own sign, and it worked perfectly. I made sure to use a screw that was long enough to hold the sign securely.
After mounting, I checked the sign to make sure it was secure and not wobbling. A little extra time here can save you from having to adjust it later. I found that using a small amount of wood glue on the bracket added an extra layer of security.
Related: Diy wooden garden path at home
Adding Finishing Touches and Customization
I used a small brush to add some decorative details to the edges of the sign. I painted the edges with a darker color to make them stand out more. This was a simple but effective way to add a bit of flair to the sign.
I also used a stencil to add some additional text or symbols to the sign. The stencil made it easy to create a consistent, clean look. I used a small brush to apply the paint and then wiped off any excess with a paper towel.
If you're looking for a more personalized touch, you can use engraving tools or even hand-carve the sign. I tried carving my own name into the wood, and it added a personal, handmade feel to the sign. This step is optional but can make your sign even more special.
A little extra effort can make all the difference in the final look of your garden sign.
Related: Diy wooden garden features troubleshooting
Maintaining and Caring for Your Garden Sign
I made sure to clean my sign regularly with a damp cloth to remove any dirt or debris that accumulated from the weather. This kept the sign looking fresh and prevented any buildup that could affect the paint or stain.
Every few months, I would apply a fresh coat of sealer to protect the sign from the elements. This was especially important in areas with high humidity or frequent rain. I used a water-based sealer, and it only took about 30 minutes to dry.
If the sign started to look worn or faded, I would repaint or restain it. This was a quick and easy way to refresh the sign and keep it looking new. I found that repainting only took about 30 minutes, and it made a big difference in the overall appearance.
💰 Budget Build
Use leftover wood from other projects or free materials to create a low-cost garden sign. You can still achieve a great look with minimal expenses.
⏰ Weekend Version
This variation is perfect for a quick weekend project. You can complete the entire process in one day without sacrificing quality.
🎨 Upgraded Finish
Add a higher-end finish like a custom stain or decorative metal accents for a more elegant look that stands out in any garden.
🌿 Small-Space Adaptation
Create a compact garden sign that's ideal for small spaces or indoor use. This variation is perfect for apartments or balconies with limited room.
🔒 Rental-Safe Option
Use removable adhesives or non-permanent hardware to create a sign that can be easily removed without damaging the surface it's attached to.
| The mistake | Why it happens | The fix |
|---|---|---|
| Using wet wood for painting. | Wet wood can cause the paint or stain to not adhere properly, leading to peeling and flaking. | Always use dry wood and make sure it's fully cured before painting or staining. |
| Skipping the sanding step. | Skipping sanding can leave rough or splintered edges that look unprofessional and can be uncomfortable to touch. | Take the time to sand the wood thoroughly with a medium-grit sandpaper before painting. |
| Using the wrong type of paint. | Using interior paint instead of exterior paint can cause the sign to fade or chip quickly when exposed to the elements. | Always use exterior-grade paint or wood stain that's designed for outdoor use. |
| Not sealing the sign. | Failing to apply a sealer leaves the sign vulnerable to rain, sun, and humidity, which can cause the paint or stain to fade or wear off over time. | Apply a clear wood sealer after painting or staining to protect your sign and extend its lifespan. |
Diy Wooden Garden Signs Step By Step
Common Questions
What type of wood is best for a garden sign?
How long does it take to complete a garden sign project?
Do I need any special tools to make a garden sign?
Can I use a stencil to create my design?
References
- Japanese Garden - Cranbrook Center for Collections and Research (center.cranbrook.edu)
- How to Plant and Maintain Native Plants (dnr.illinois.gov)
- The Stepping Stone: Texas Native Restoration Area | Elgin, TX (elgintexas.gov)
- Pressure-treated wood for raised bed construction in Oregon (extension.oregonstate.edu)
Cite this guide
DIY Wooden Garden Path Markers (2026). Diy Wooden Garden Signs Step By Step. https://woodenroot.com/diy-wooden-garden-signs-step-by-step/
Feel free to cite or share this guide.