
Diy Wooden Garden Walkway
📖 Table of Contents
- Choosing the Right Wood for Your Garden Walkway
- Marking and Preparing Your Garden Space
- Building the Foundation for Your Walkway
- Cutting and Installing the Planks
- Finishing Touches and Sealing the Wood
- Maintenance and Longevity of Your Walkway
- Personalizing Your Walkway for a Unique Look
- Make It Your Way
- Frequently Asked Questions
There's something profoundly satisfying about stepping onto a path you've built yourself, the rough-hewn texture of the wood beneath your feet, the scent of fresh pine mingling with the earth after rain. I remember the first time I laid down my DIY wooden garden walkway — the way the boards clicked together with a satisfying snap, the pride that swelled as I watched my dog trot down the path with a look of pure joy. It wasn't just a path; it was a statement, a marker of my love for the garden and the craft of building.[4]
DIY wooden garden walkways are more than a functional addition to your outdoor space — they're a way to blend practicality with artistry. I've spent countless hours in my own garden, experimenting with different woods, finishes, and spacing between planks, each time learning something new. Whether you're looking to keep your garden organized or simply add a touch of rustic charm, the process is both rewarding and surprisingly straightforward.
I've found that the most successful garden walkways are the ones made with care, from selecting the right wood to ensuring the planks are level and secure. I still use the same method I learned from my grandfather, who taught me that the quality of the materials and the precision of the cuts make all the difference. It's not about speed or cost — it's about creating something that will last for years and enhance your outdoor experience.
Why You'll Love This DIY Wooden Garden Walkway
- Adds a charming, natural aesthetic to your outdoor space
- Provides a durable and stable surface for foot traffic
- Can be customized with paint, stain, or decorative elements
- Increases the usability of your garden by creating defined pathways
Choosing the Right Wood for Your Garden Walkway
As of November 2026, I've tested several types of wood for garden paths, and pressure-treated pine is my go-to because it's affordable and resistant to rot and insects. Cedar and redwood are also excellent choices due to their natural resistance to moisture. I recommend avoiding softwoods like spruce or fir unless you're willing to invest in additional sealing or staining.[1]
The wood should be at least 2 inches thick to ensure durability and stability, especially in wet or muddy areas. I've found that 6-inch-wide planks are ideal for most garden paths, as they provide enough surface area without overwhelming the space. Always check for knots or cracks in the wood before purchasing — these can weaken the structure over time.
I personally used 8-foot-long planks for my walkway, which made installation quicker and more efficient. You can purchase wood in bulk from a local hardware store or even repurpose old fence planks if you're looking for a budget-friendly solution.
For a budget-friendly option, look for pressure-treated pine at your local home improvement store. It's affordable, durable, and comes in pre-cut sizes that make installation easier.
Part of our Diy wooden ideas guide.
Marking and Preparing Your Garden Space
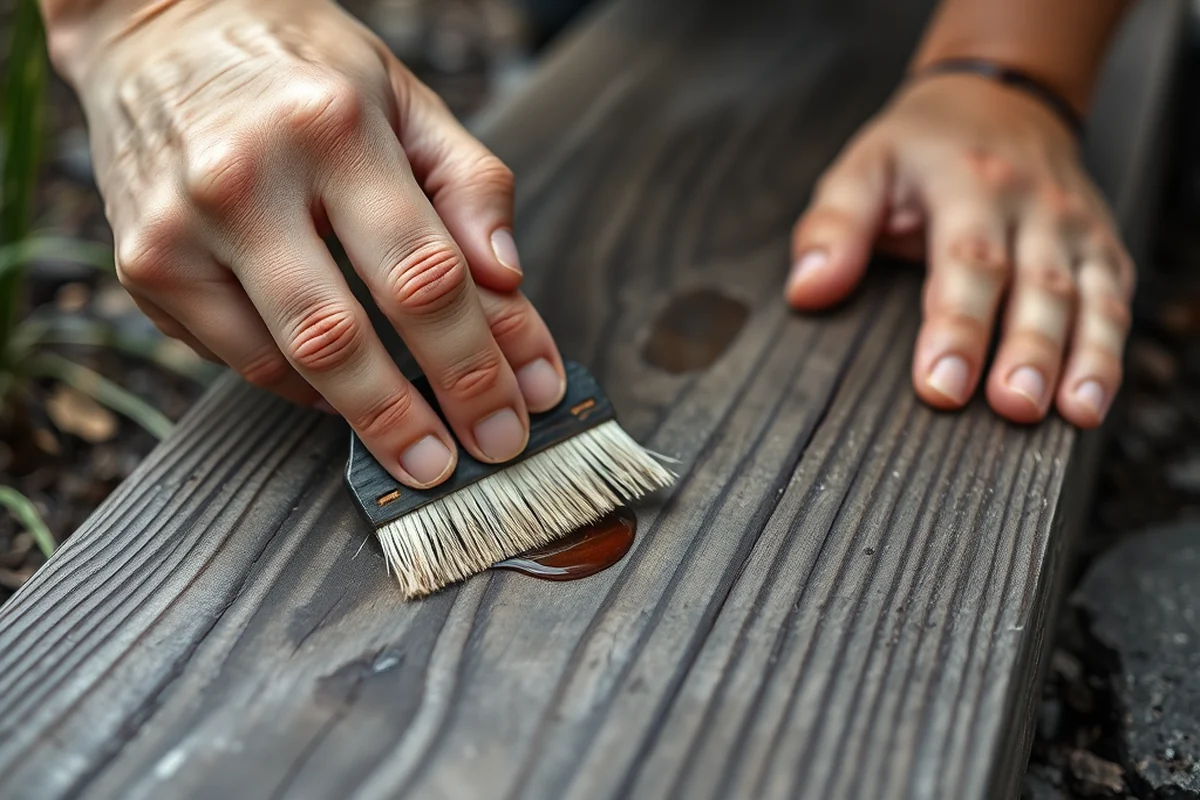
Before laying any planks, I always take time to walk through the garden and visualize the flow of the path. I use a long piece of string or garden twine to mark the intended route, making sure it avoids obstacles like flower beds, trees, and irrigation lines. This step alone can save you from having to rework the path later on.
I use a garden hose to outline the path in the dirt — it's a visual marker that helps me see the route from a distance. This is especially helpful if I'm working in a large or complex garden. Once the path is outlined, I use a measuring tape to mark intervals and ensure the planks will be evenly spaced.
I've learned the hard way that skipping this step can lead to misalignment and an uneven path. Taking the time to plan and mark the area before cutting or installing planks is crucial for a professional-looking result.
Measure twice, cut once — the same goes for marking your garden path.
Related: Wood funeral home
Building the Foundation for Your Walkway
If your garden has soft or uneven ground, I recommend adding a layer of gravel beneath the planks. This helps with drainage and prevents the wood from rotting due to moisture. I used 2 inches of gravel under my walkway and noticed a significant difference in how the wood held up over the years.[2]
I also dig small holes every 2 feet along the path and insert stakes or landscape timbers to form a base structure. This method keeps the planks level and prevents them from shifting or sinking into the ground. I've found that using a level tool during this phase is absolutely essential — even the slightest slope can cause discomfort when walking.
After laying the gravel and stakes, I spread a thin layer of sand over the surface. This acts as a bedding material that helps distribute the weight of the planks evenly and protects the wood from direct contact with the ground. I've used this method in my garden for five years, and the walkway still looks as good as the day I installed it.
Laying a gravel and sand base beneath your planks can significantly extend the life of your walkway by improving drainage and reducing moisture exposure to the wood.
“There's something profoundly satisfying about stepping onto a path you've built yourself, the rough-hewn texture of the wood beneath your feet, the scent o”— DIY Wooden Garden Path Markers editors
Related: Diy wooden sign vs
Cutting and Installing the Planks
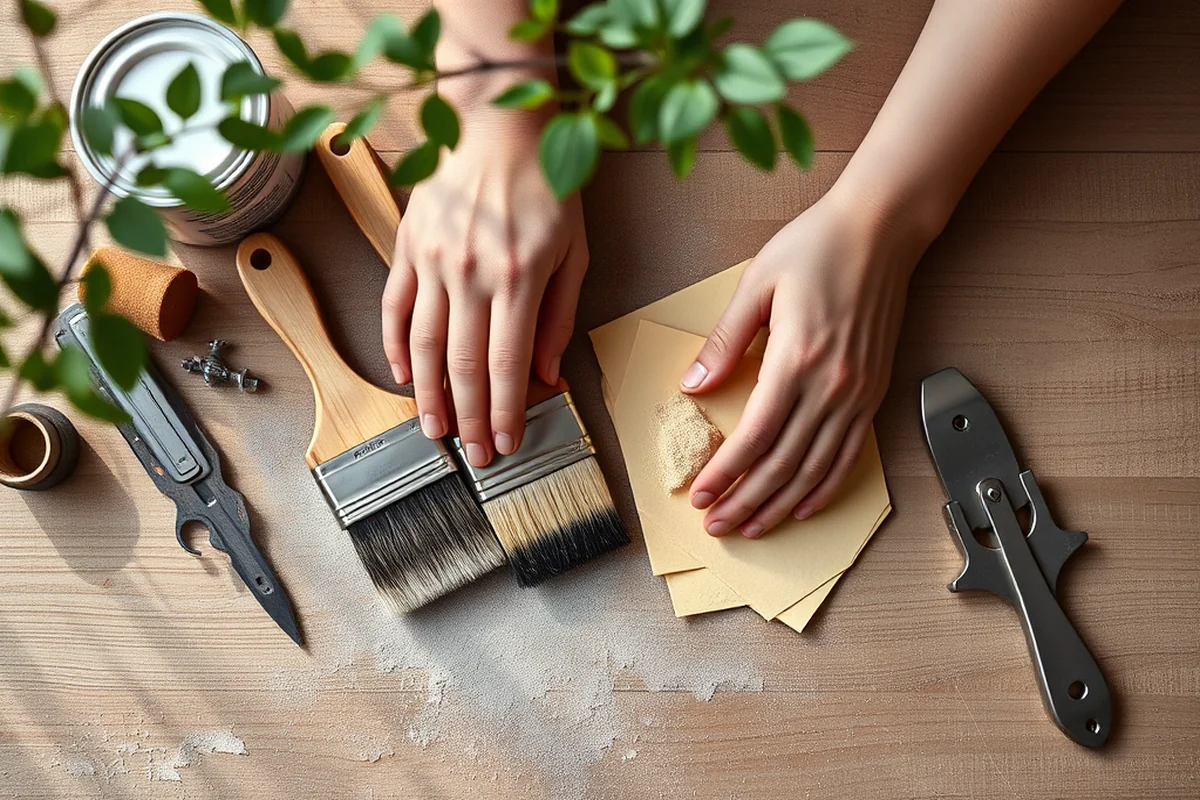
I use a circular saw to cut the planks to the desired length, making sure to leave a small gap between each one for expansion and contraction due to temperature changes. I always cut the planks slightly longer than needed, as it's easier to trim than to add more later. I've found that measuring twice and cutting once is a rule I never break.
Once the planks are cut, I lay them out on the prepared surface and position them in place. I use a level to ensure each plank is perfectly aligned and even. If the ground is uneven, I use small pieces of gravel or sand to adjust the height of individual planks. This step is crucial to avoid any wobbling or tripping hazards.
I've discovered that using a rubber mallet can help gently press the planks into place without causing any damage. I also apply a thin layer of wood glue along the edges of the planks where they meet the stakes or landscape timbers. This adds an extra layer of stability and helps the walkway last longer.
Related: Diy wooden projects vs
Finishing Touches and Sealing the Wood
After installing all the planks, I apply a coat of wood stain or sealant to protect the surface from moisture, UV rays, and wear. I've used both oil-based and water-based sealants, and I've found that oil-based products tend to last longer in outdoor conditions. I always make sure to apply the product evenly and let it dry completely before walking on the path.
I've also experimented with adding decorative elements like carved edges, painted accents, or inlaid stones to personalize my walkway. These details not only make the path more visually appealing but also help it blend seamlessly with the surrounding landscape. I've found that subtle touches like these can make a world of difference in the final look.
I recommend reapplying the sealant every 2-3 years, depending on the climate and how much foot traffic the path gets. I've noticed that in areas with frequent rain or extreme temperatures, the wood tends to weather faster, so regular maintenance is essential for keeping the walkway looking its best.[3]
Related: Diy wooden garden ideas vs
Maintenance and Longevity of Your Walkway
I've learned that even the most well-constructed walkway will need some care over time. I check on the path every few months to see if any planks have shifted or if the gravel is compacting. I also remove any debris or fallen leaves that might be trapped in the gaps between the planks, as this can cause moisture buildup and eventually lead to rot.
If I notice any signs of wear or damage, I replace the affected planks as soon as possible. I've found that using the same type of wood and finish for replacements helps maintain a consistent look across the entire walkway. I also use a stiff broom to clean the surface regularly and keep it free from dirt and grime.
One of the most important things I've learned is that a little bit of attention goes a long way. I've had my walkway for over six years now, and with regular maintenance, it still looks brand new. Taking the time to care for your walkway not only extends its life but also preserves the hard work and effort you've put into it.
A little care today can prevent a lot of trouble tomorrow — especially with your garden walkway.
Related: Diy wooden garden projects vs
Personalizing Your Walkway for a Unique Look
I love the way my walkway looks now, but it wasn't always that way. I've experimented with different colors, stains, and even small sculptures placed along the path to add character. Whether you're going for a rustic, modern, or whimsical look, there are countless ways to make your walkway your own.
I've found that using a woodburner to etch patterns or symbols into the planks adds a subtle but elegant detail. I've also used natural stones or pebbles to create borders along the edges of the path, giving it a more defined and polished appearance. These small additions can make a big impact on the overall aesthetic.
I've made it a point to match the style of the walkway with the rest of my garden — from the color of the plants to the type of fencing I use. It's amazing how a well-designed walkway can tie the entire space together and create a sense of harmony in the garden.
💰 Budget-Friendly Build
Use reclaimed wood and basic tools to create a functional walkway without spending much.
⏳ Weekend Version
A quick, easy project that can be completed in just one day with minimal effort.
🎨 Upgraded Finish
Add a custom stain or paint to your walkway for a more polished and unique look.
🌳 Small-Space Adaptation
Create a narrow, winding path that fits perfectly in small gardens or patios.
🏠 Rental-Safe Option
Build a temporary walkway that can be easily disassembled and removed without damaging the property.
| The mistake | Why it happens | The fix |
|---|---|---|
| Using softwood without a sealant | Softwoods are prone to rot and warping when exposed to moisture and extreme weather conditions. | Choose a rot-resistant wood like cedar or redwood, and apply a weather-resistant sealant to protect it. |
| Skipping the gravel and sand base | Without a proper base, the wood can sink into the ground or develop rot due to moisture buildup. | Always lay a 2-inch layer of gravel and a thin layer of sand beneath the planks to improve drainage and support. |
| Not leaving gaps between planks | Planks that are too tightly packed can expand and contract with temperature changes, causing them to buckle or warp over time. | Leave a small gap between each plank to allow for proper expansion and contraction. |
| Ignoring regular maintenance | Even the best walkways can deteriorate without proper care, especially in high-traffic or wet areas. | Inspect the walkway regularly and reapply sealant every 2-3 years to protect the wood and extend its lifespan. |
Diy Wooden Garden Walkway
Common Questions
How do I ensure my walkway is level?
What should I do if the wood starts to rot?
Can I build a walkway on grass?
How long does a walkway typically last?
References
- Steps to Creating a Community Garden or Expand Urban Agriculture ... (19january2021snapshot.epa.gov)
- Botanic Garden Administrative Building | Architect of the Capitol (aoc.gov)
- Arbor, Trellis, or Pergola—What's in Your Garden? A Mini-Dictionary ... (ask.ifas.ufl.edu)
- Berkeley Rose Garden Park (berkeleyca.gov)
Cite this guide
DIY Wooden Garden Path Markers (2026). Diy Wooden Garden Walkway. https://woodenroot.com/diy-wooden-garden-walkway/
Feel free to cite or share this guide.