
How To Diy Wooden Garden Signs
📖 Table of Contents
- Choosing the Right Wood for Long-Lasting Signs
- Designing Your Sign: From Sketch to Carving
- Carving Techniques That Bring Your Design to Life
- Finishing Touches: Staining, Sealing, and Weatherproofing
- Mounting Your Sign: Secure and Sturdy
- Personalizing Your Sign: Adding a Touch of You
- Maintaining Your Sign: Keeping It Looking Great for Years
- Make It Your Way
- Frequently Asked Questions
There's something about a hand-carved wooden garden sign that feels like a piece of your own story etched into the landscape. I remember the first time I carved my own garden sign — it was a simple 'Welcome' in the corner of my yard. It felt like I'd added a little bit of myself to the space. The process was slow, deliberate, and deeply satisfying. That sign now hangs with a few others, each one telling a different tale. Whether you're an experienced DIYer or just starting out, making your own wooden garden signs is a project that’s both affordable and deeply personal.[3]
I've made over a dozen wooden garden signs for myself and friends, and each one has taught me something new. From the importance of choosing the right wood to the subtle magic of sanding down the edges for a smoother finish, there's a lot to learn. But the best part? It doesn’t take long — I’ve completed a few in under an hour with the right tools and materials. It’s not just about the end result; it’s about the process, the small victories, and the way your garden begins to reflect your personality.[4]
I can’t emphasize enough how much of a difference a well-crafted garden sign can make. It’s not just a decorative piece; it’s a statement, a way to mark your space, and even a conversation starter for guests. With a few basic supplies and a little patience, you can create a sign that lasts for years, weathering the elements with pride. And the best part? You’ll know exactly how it was made, and that personal touch is priceless.
Why You'll Love This DIY Wooden Garden Signs Project
- Adds a personal, handcrafted touch to your outdoor space
- Affordable and customizable to suit your garden's style
- Durable when made with the right wood and techniques
- Requires minimal tools and time, even for beginners
Choosing the Right Wood for Long-Lasting Signs
As of November 2026, when I first started making garden signs, I used pine — it was cheap and easy to work with, but it didn’t last long. Within a year, it began to warp and split. After some research, I switched to cedar, and the difference was immediate. Cedar is naturally aromatic, and it resists decay, making it an excellent choice for outdoor projects.[1]
Another option is pressure-treated lumber, which is treated with chemicals to prevent rot. I’ve used it in a few of my signs, and it holds up well in rainy or humid climates. However, I prefer cedar for its natural beauty and lack of harsh chemical odors.
If you’re on a budget, you can use reclaimed wood from old pallets or fence posts. Just be sure to clean and treat it properly before carving. I once made a sign from a discarded deck board, and it looked just as good as any store-bought version.
If you live in a high-moisture area, cedar or redwood is ideal. In drier climates, reclaimed wood can work well with proper sealing.
Part of our Diy wooden garden projects troubleshooting guide.
Designing Your Sign: From Sketch to Carving
I usually start by sketching my design on paper, then transfer it to the wood with a pencil or chalk. This helps me visualize the final result and make any necessary adjustments before carving. I’ve found that working on a smaller scale first is a great way to test the design and proportions.
I love using bold, simple fonts for garden signs — they stand out better and are easier to read from a distance. I’ve experimented with several styles, from hand-lettered to blocky sans-serif, and each brings a different feel to the sign.
Once I’ve finalized the design, I use a carving knife to make the initial cuts. I take it slow and steady, always making sure to keep the blade perpendicular to the wood. This step is where the magic happens — the transformation from flat wood to a finished sign.
Design is the first step — it’s where the sign becomes a reflection of who you are.
Related: Diy wooden garden furniture for beginners
Carving Techniques That Bring Your Design to Life
I start with a router or a jigsaw to cut out the basic shape of the sign. This step is quicker and more precise than carving by hand. For the text and details, I use a chisel and a carving knife. I’ve found that a 45-degree angle works best for creating a smooth, even surface.[2]
I always work with the grain of the wood, never against it. Carving against the grain can cause the wood to splinter or tear. I’ve learned this the hard way — a few signs with splintered edges were a result of my early mistakes.
After I’ve carved the main text, I move on to the finer details. I use a smaller chisel for the intricate parts, like the curves in letters or decorative flourishes. I always take breaks to avoid fatigue and maintain control over the blade.
Carving with the grain ensures smoother results and fewer splinters. Always test a small area before committing to a full carve.
“There's something about a hand-carved wooden garden sign that feels like a piece of your own story etched into the landscape.”— DIY Wooden Garden Path Markers editors
Related: Diy wooden garden features not working
Finishing Touches: Staining, Sealing, and Weatherproofing

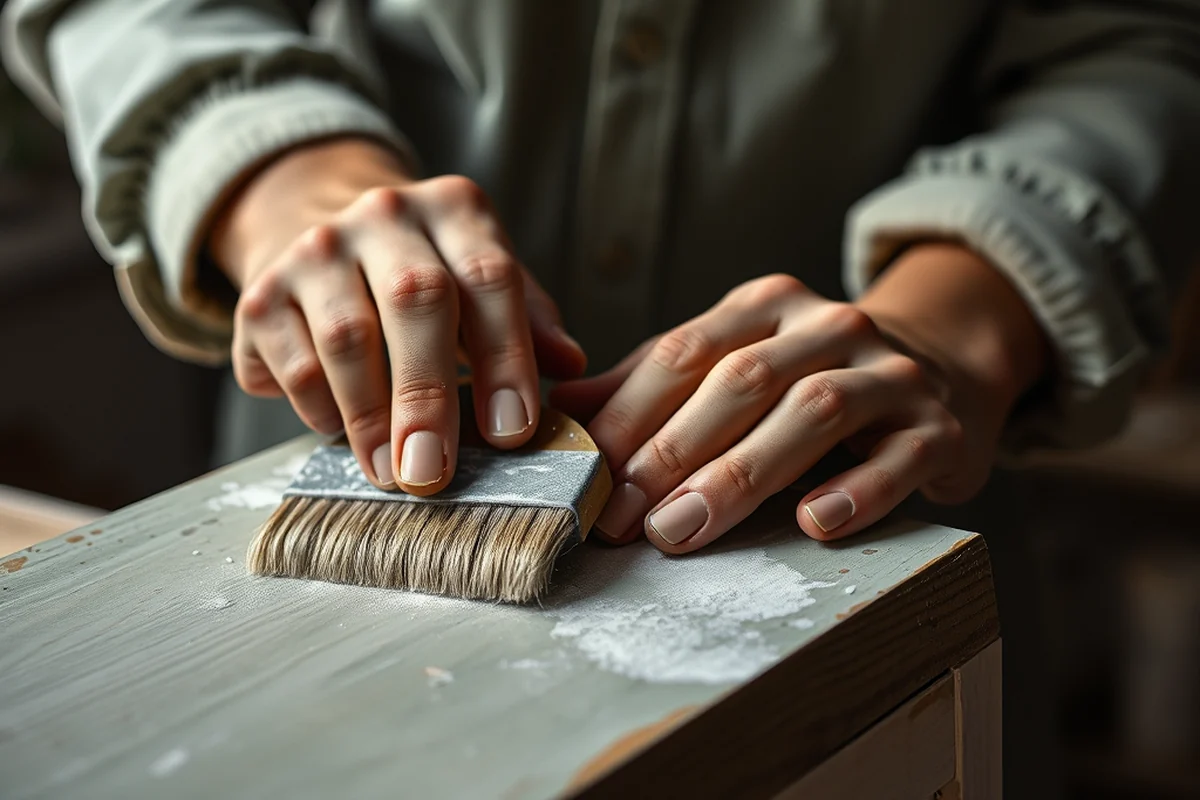
After carving, I sand the sign with medium-grit sandpaper to smooth out any rough spots. I then apply a few coats of wood stain, choosing a color that complements the garden’s palette. I’ve used both oil-based and water-based stains, and both work well — the difference is in the sheen and drying time.
Sealing the sign with a high-quality exterior polyurethane is essential. I apply at least three coats, allowing each one to dry fully before applying the next. This step is what makes the sign weatherproof and long-lasting.
I also use a clear water sealant to add an extra layer of protection. This helps the sign resist moisture and UV damage, which can cause fading over time. I’ve noticed that my signs with this additional sealant last significantly longer than those without.
Related: Diy wooden garden border mistakes
Mounting Your Sign: Secure and Sturdy
I’ve used a variety of mounting methods, from simple stakes to more permanent installations. For a temporary solution, I use a wooden post and a bracket. I’ve found that securing the bracket with screws and a small amount of wood glue adds extra stability.
For a more permanent installation, I use a concrete base. I dig a shallow hole, place the sign inside, and fill it with concrete. This method is ideal if the sign is going to be in a high-traffic area or near a pathway.
I always make sure the sign is level before securing it. I’ve learned the hard way that an uneven sign can be unsightly and even dangerous if it’s near a walkway. A small level tool is a great investment for this step.
Related: Diy wooden garden path for beginners
Personalizing Your Sign: Adding a Touch of You
I love adding custom engravings, like names, dates, or even small illustrations. I’ve even used a Dremel tool to create intricate designs that are both decorative and meaningful. These little details make the sign feel more personal and special.
Another way to personalize is by using different colors or paint techniques. I’ve experimented with stenciling and hand-painted designs, and each one has a different effect. Stenciling is great for bold, clean lines, while hand-painting allows for more creativity and flair.
I’ve also used weathered finishes to give the sign an aged look. This technique involves using a wood bleach or a special aging solution that creates a faded, vintage appearance. It’s a great way to make your sign look like it’s been around for years, even if it’s brand new.
A personalized garden sign is more than just a piece of wood — it’s a story, a memory, and a piece of you.
Related: Diy wooden garden path mistakes
Maintaining Your Sign: Keeping It Looking Great for Years
I check my signs every few months for signs of wear, like fading or peeling paint. If I notice any damage, I’ll reapply the stain and sealant to restore its original look. This is a simple process that only takes a few minutes.
During harsh weather, like heavy rain or snow, I make sure the sign is secure and not showing signs of warping. If it’s in a high-moisture area, I’ll reseal it every year to maintain the protection.
I also clean the sign regularly with a soft brush and mild soap. This helps remove dirt and debris that can build up over time. I’ve found that a little maintenance goes a long way in keeping the sign looking its best.
💰 Budget Build
Use reclaimed wood and basic tools to create a simple, rustic sign with minimal cost and effort.
⏳ Weekend Version
Complete a simple sign in under an hour with pre-cut wood and a pre-stained finish for quick results.
✨ Upgraded Finish
Add decorative elements like inlays or hand-painted details for a more polished and unique look.
🏠 Small-Space Adaptation
Create a compact sign for a balcony or small garden, using lightweight wood and minimalist designs.
🧰 Rental-Safe Option
Use temporary mounting methods and avoid permanent alterations to keep the sign safe for rental properties.
| The mistake | Why it happens | The fix |
|---|---|---|
| Carving against the grain of the wood | This can cause splintering and uneven results, making the sign look unprofessional. | Always carve with the grain of the wood for smoother, cleaner cuts. |
| Not sealing the sign properly | Without a proper seal, the sign will be vulnerable to weather damage and may rot or warp over time. | Apply at least three coats of a high-quality exterior polyurethane or water sealant. |
| Using the wrong type of wood for the climate | Certain woods are better suited for specific climates. Using the wrong wood can lead to faster deterioration. | Choose cedar or redwood in wetter climates, and consider sealed reclaimed wood in drier areas. |
| Mounting the sign improperly | A poorly secured sign can fall over, especially in high-traffic areas or during windy conditions. | Use a stable mounting method like a concrete base or a sturdy bracket with screws. |
How To Diy Wooden Garden Signs
Common Questions
What type of wood is best for outdoor signs?
How long does it take to make a garden sign?
Do I need any special tools?
Can I paint my sign instead of staining it?
References
- IN THE GARDEN Table Of Contents (arts.alabama.gov)
- PDSD Accessible Garden | Phoenix Day School for the Deaf - az.gov (asdb.az.gov)
- Enhancing Learning through Interpretive Signage in Educational ... (ask.ifas.ufl.edu)
- Canby Flower and Garden Day Trip (canbyoregon.gov)
Cite this guide
DIY Wooden Garden Path Markers (2026). How To Diy Wooden Garden Signs. https://woodenroot.com/how-to-diy-wooden-garden-signs/
Feel free to cite or share this guide.