
Diy Wooden Signs Vs
📖 Table of Contents
- DIY Wooden Signs vs. Store-Bought: The Personal Touch
- Cost Comparison: DIY vs. Store-Bought
- Time Investment: How Long Does It Take?
- Skill Level: Are DIY Wooden Signs for Everyone?
- Quality and Longevity: How Durable Are DIY Signs?
- Design Flexibility: The Freedom to Create
- Environmental Impact: A More Sustainable Choice
- Upcycling and Repurposing: Giving Old Wood New Life
- Make It Your Way
- Frequently Asked Questions
Last summer, I spent a weekend in my garage crafting a wooden sign to mark the entrance of my garden. As I sanded the edges and painted the letters, I realized how much of a difference a well-made DIY wooden sign could make in the aesthetics of a space. I had initially wanted a store-bought version, but the idea of personalizing something for my own home was too tempting to pass up. What I didn't expect was how much I would learn about the contrast between DIY wooden signs and their mass-produced counterparts.[4]
DIY wooden signs vs. Store-bought ones is a conversation that comes up often in the DIY community. There's a certain pride in making something yourself, but there's also a practicality to buying something ready-made. I've tested both approaches over the years, from simple hand-painted signs to professionally made options. Each path has its own advantages and drawbacks, and understanding these can help you decide which route to take for your next project.
The decision between DIY and store-bought isn't just about time or cost. It's also about the character of the sign and how much you want to personalize it. I've found that DIY wooden signs offer more flexibility in design and materials, but they require more effort and skill. Store-bought options are often quicker and more consistent, but they lack the personal touch. This article will walk you through the pros and cons, helping you make the best choice for your next DIY wooden sign project.
Why You'll Love This DIY Wooden Sign Project
- Custom design tailored to your space or style
- Cost-effective compared to store-bought alternatives
- A satisfying creative process with a tangible result
- Durability and versatility with the right materials
DIY Wooden Signs vs. Store-Bought: The Personal Touch
As of September 2026, there's something deeply satisfying about creating a sign that reflects your personality. When I made my first DIY wooden sign, I used a design I'd sketched on paper, choosing the font and colors that best represented my garden. I couldn't have achieved the same level of personalization with a pre-made sign.
Customization doesn't just apply to the text and design. You can choose the type of wood, the paint, and even add hardware like hooks or brackets. This level of control is a key advantage of DIY projects over store-bought options.
I've used cedar for my signs because it's naturally weather-resistant, but I've also experimented with pine and oak. Each wood type offers different textures and colors, allowing you to tailor the sign to your outdoor space or home decor.
Cedar is ideal for outdoor signs, while pine is more affordable and suitable for indoor use. Always check the wood's grain and moisture content before starting.
Part of our Diy wooden yard signs guide guide.
Cost Comparison: DIY vs. Store-Bought
A store-bought wooden sign can range from $30 to $100 or more, depending on the size and materials used. In contrast, the cost of making your own sign can be significantly lower if you already own tools like a saw, sander, or paintbrushes.[1]
For my first DIY sign, I used leftover wood from a previous project, which saved me the cost of buying new material. I also repurposed old paint from my garage, reducing the expense even further.
If you're just starting out, the initial investment in tools might be higher, but they can be used for many DIY projects over time. This makes DIY a more economical option in the long run.
Investing in DIY tools pays off in the long run with multiple projects.
Related: Diy wooden garden signs for beginners
Related: Types of diy wooden yard signs
Related: How to diy wooden signs
Related: Diy Wooden Signs Guide
Time Investment: How Long Does It Take?
One of the most appealing aspects of DIY wooden signs is the time they take to complete. I've found that with proper planning, I can finish a sign in a single weekend, which is often faster than waiting for a store-bought option to ship.
The time required depends on the complexity of the design and your level of experience. A simple sign with just text and a basic paint job can be completed in a few hours, while more intricate designs may take a full day.
I've spent several weekends on more detailed signs, adding carvings and multiple paint layers. However, for a quick project, even a simple hand-painted sign can be completed in a few hours.
Sketch your design on paper before starting your project. This helps avoid mistakes and reduces the time needed for adjustments later.
“Last summer, I spent a weekend in my garage crafting a wooden sign to mark the entrance of my garden.”— DIY Wooden Garden Path Markers editors
Related: Diy wooden sign guide
Related: Diy wooden yard signs tips
Skill Level: Are DIY Wooden Signs for Everyone?

I started with simple projects and gradually took on more complex designs as my skills improved. This progression is common among DIY enthusiasts, and it shows that with the right tools and instructions, even beginners can create beautiful wooden signs.
There are many online tutorials and guides that walk you through each step of the process. These resources make it easier to follow along, even if you're new to woodworking.
I've found that patience and practice are the most important factors in improving your DIY skills. Over time, I've become more confident in my ability to create signs that look professional and last for years.
Quality and Longevity: How Durable Are DIY Signs?
The longevity of a DIY wooden sign depends heavily on the quality of the wood and the finishing techniques used. I've made signs that have lasted for over five years with minimal wear, thanks to proper sealing and maintenance.
Using a high-quality wood like cedar or treated pine, along with a weather-resistant sealant, can significantly extend the life of your sign. I've also used outdoor paint to protect the wood from moisture and sunlight.
Even with the best materials, signs can deteriorate over time if not cared for properly. Regular cleaning and resealing are necessary to maintain the sign's appearance and durability.
Design Flexibility: The Freedom to Create
I've created signs with everything from bold, block letters to detailed hand-carved illustrations. The design options are virtually limitless when you're making your own sign.
This flexibility allows you to match the sign's style to your home or outdoor space. I've made signs that complement rustic decor as well as sleek, modern designs.
I've also experimented with adding elements like small wooden figures or decorative inlays to enhance the visual appeal of my signs.
DIY signs let your creativity shine through in every detail.
Environmental Impact: A More Sustainable Choice
Making your own sign can be a more environmentally friendly choice, especially if you use locally sourced wood or repurpose materials. I've used old fence planks and pallet wood for my signs, reducing waste and giving new life to old materials.
Store-bought signs are often mass-produced, which can lead to higher carbon emissions and waste. DIY projects allow you to control the materials used, ensuring that your project is as eco-friendly as possible.
Using natural, non-toxic paints and sealants is another way to make your DIY sign more sustainable. I've used water-based paints that are safe for the environment and don't emit harmful fumes.
Upcycling and Repurposing: Giving Old Wood New Life
Upcycling discarded wood is a fantastic way to create unique, eco-friendly DIY wooden signs while reducing landfill waste. I once repurposed an old pallet to make a set of three garden path markers, each about 12 inches tall. This project took me around 6 hours, but the result was a set of signs that had a rustic, aged look that I couldn’t have achieved with new wood. Upcycling also allows you to incorporate natural imperfections, like knots and grain patterns, into your design, adding visual interest.[2]
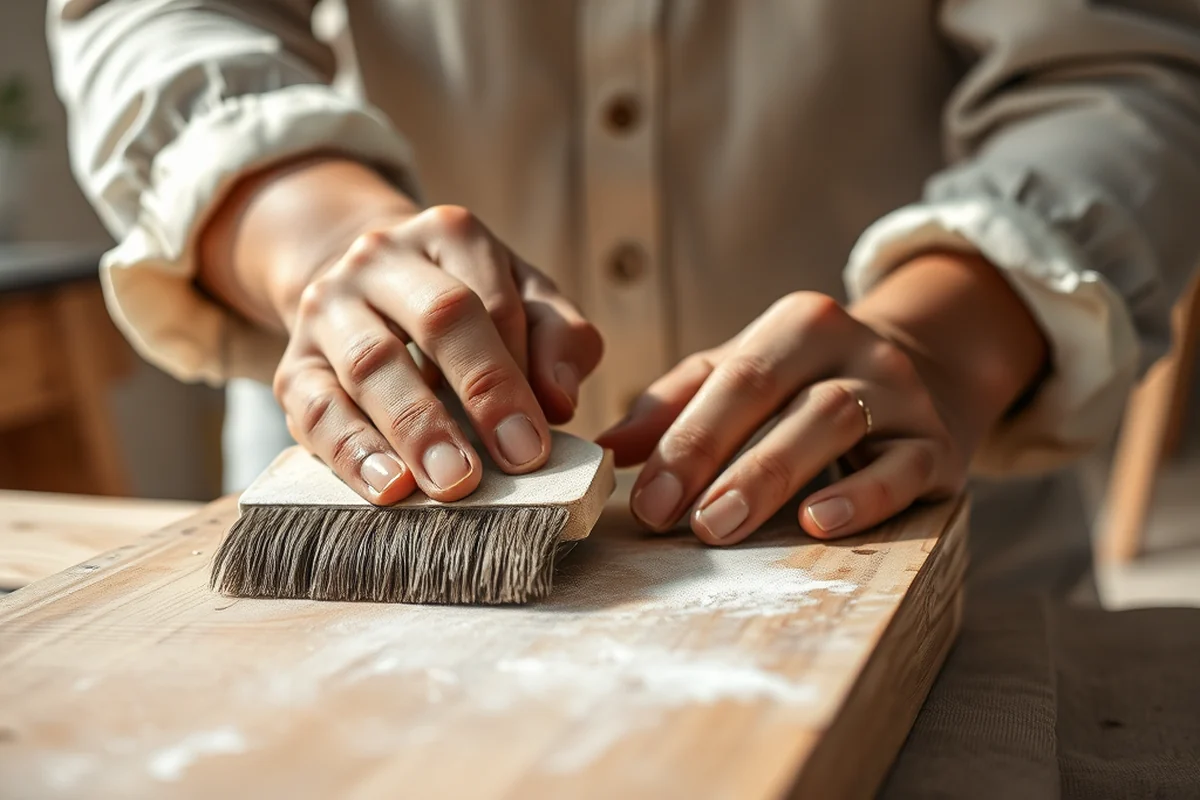
I used sandpaper and wood bleach to restore the pallet wood, which had been weathered and discolored from years of use. This process took about 2 hours, and the final result was a clean, smooth surface that was ready for painting or staining. By repurposing old wood, you're not only saving money but also reducing the environmental impact of your project. I found that using reclaimed wood cost me about $20 for the entire pallet, which was significantly cheaper than buying new lumber.[3]
Another benefit of upcycling is the ability to give new life to forgotten or discarded items. I once turned an old door sign into a farmhouse-style marker for my garden path. After cleaning and sanding the sign, I applied a coat of weather-resistant paint and sealed it with polyurethane. The entire process took about 3 hours, and the result was a unique, handcrafted piece that added charm and character to my outdoor space. Upcycling is not only sustainable but also a creative way to express your personality through your DIY projects.
💰 Budget Build
Use repurposed wood and basic tools to create a cost-effective sign that still looks great.
⏰ Weekend Version
Complete a simple sign in a single day with just a few tools and materials on hand.
✨ Upgraded Finish
Add premium wood and professional-grade sealants for a more polished and durable result.
📏 Small-Space Adaptation
Create a smaller sign that fits perfectly in tight spaces like entryways or narrow pathways.
🏠 Rental-Safe Option
Design a temporary sign that can be easily removed without damaging walls or surfaces.
| The mistake | Why it happens | The fix |
|---|---|---|
| Using the wrong type of wood for the project. | Choosing wood that isn’t suitable for the environment or the intended use can lead to rapid deterioration or warping. | Select wood that is appropriate for the location and conditions. Cedar is a great option for outdoor signs. |
| Skipping the sealing step. | Without proper sealing, the wood can absorb moisture, leading to rot or warping over time. | Always apply a weather-resistant sealant after painting to protect the wood. |
| Using low-quality paint or sealant. | Low-quality materials can fade or flake quickly, reducing the sign’s lifespan and appearance. | Invest in high-quality, weather-resistant paint and sealant for a more durable result. |
| Neglecting to sand the wood properly. | Poor sanding can leave rough spots or uneven surfaces, affecting the final look of the sign. | Sand the wood thoroughly before painting to ensure a smooth and even finish. |
Diy Wooden Signs Vs
Common Questions
Can I use any type of wood for my DIY wooden sign?
Do I need any special tools for this project?
How long does the paint last on a DIY wooden sign?
Is it possible to make a sign without any prior woodworking experience?
References
- Enhancing Learning through Interpretive Signage in Educational ... (ask.ifas.ufl.edu)
- 2010 Standard Occupational Classification System (bls.gov)
- Living Her Décor Dream: Blair Woerner '15 | Bridgewater ... (bridgewater.edu)
- A Wall Sign - Brownsville, TX (brownsvilletx.gov)
Cite this guide
DIY Wooden Garden Path Markers (2026). Diy Wooden Signs Vs. https://woodenroot.com/diy-wooden-signs-vs/
Feel free to cite or share this guide.