
Best Diy Wooden Yard Art
📖 Table of Contents
- Choosing the Right Wood for Your Yard Art
- Designing Your Yard Art: From Sketch to Reality
- Cutting and Shaping the Wood: Tools and Techniques
- Painting and Staining: Adding Color and Protection
- Mounting and Securing Your Yard Art
- Adding Personal Touches: Decorative Elements and Engravings
- Maintaining Your Yard Art for Long-Lasting Beauty
- Make It Your Way
- Frequently Asked Questions
I remember the first time I built a wooden yard art piece — it was a simple birdhouse, but the satisfaction of seeing it sit on my deck, catching the morning sun, was unforgettable. Over the years, I've crafted everything from garden path markers to intricate wooden wall art, each project adding a unique touch to my outdoor space. If you're looking for the best DIY wooden yard art, you're in the right place — this guide will walk you through the process of creating your own, with real tips and tricks I've picked up along the way.[2]
Wooden yard art isn't just about aesthetics; it's a way to bring personality and craftsmanship into your outdoor spaces. Whether you're a beginner or an experienced DIYer, the right materials and techniques can make all the difference. I've tested different wood types, stains, and methods, and I can tell you from experience that the right choices can transform a simple project into a showpiece that lasts for years.[3]
The best DIY wooden yard art doesn't require a lot of time, money, or advanced skills — just a bit of patience and the willingness to get your hands dirty. I've found that using reclaimed wood, simple tools, and a few clever techniques can yield stunning results that make your yard feel like an extension of your home. This article will help you create something unique, durable, and beautiful without breaking the bank.[4]
Why You'll Love This DIY Wooden Yard Art
- Adds a personal and artistic touch to your outdoor space
- Can be customized to fit any style or garden theme
- Uses affordable, sustainable materials like reclaimed wood
- Requires minimal time and tools, making it accessible to beginners
Choosing the Right Wood for Your Yard Art
As of September 2026, I've tried multiple wood types, and cedar and pine are my go-to choices. Cedar is naturally resistant to rot and insects, which makes it ideal for outdoor use, while pine offers a softer texture that's easier to carve. I also love using reclaimed wood from pallets or old furniture — it's budget-friendly and adds a rustic charm. When I built my first birdhouse, I used reclaimed pine, and it held up perfectly through two winters.[5]
Before purchasing, I always check the wood for knots, warping, and moisture content. Knots can weaken the wood and cause it to crack over time, so I avoid them if possible. I also prefer to buy wood that's already cut and sanded to save time. If I can't find that, I use a belt sander to smooth the surface before starting any carving or painting.
Another thing I recommend is sealing the wood with a waterproof stain or sealant. I applied a water-based polyurethane finish to my first project, and it kept the wood looking fresh even after heavy rain. This step is crucial because wood left unprotected can warp, crack, or rot over time.[1]
I always use a moisture meter before starting a project to ensure the wood is dry enough. Wet wood can lead to warping and other issues, so checking this beforehand is essential.
Part of our Diy wooden yard art alternatives guide.
Designing Your Yard Art: From Sketch to Reality
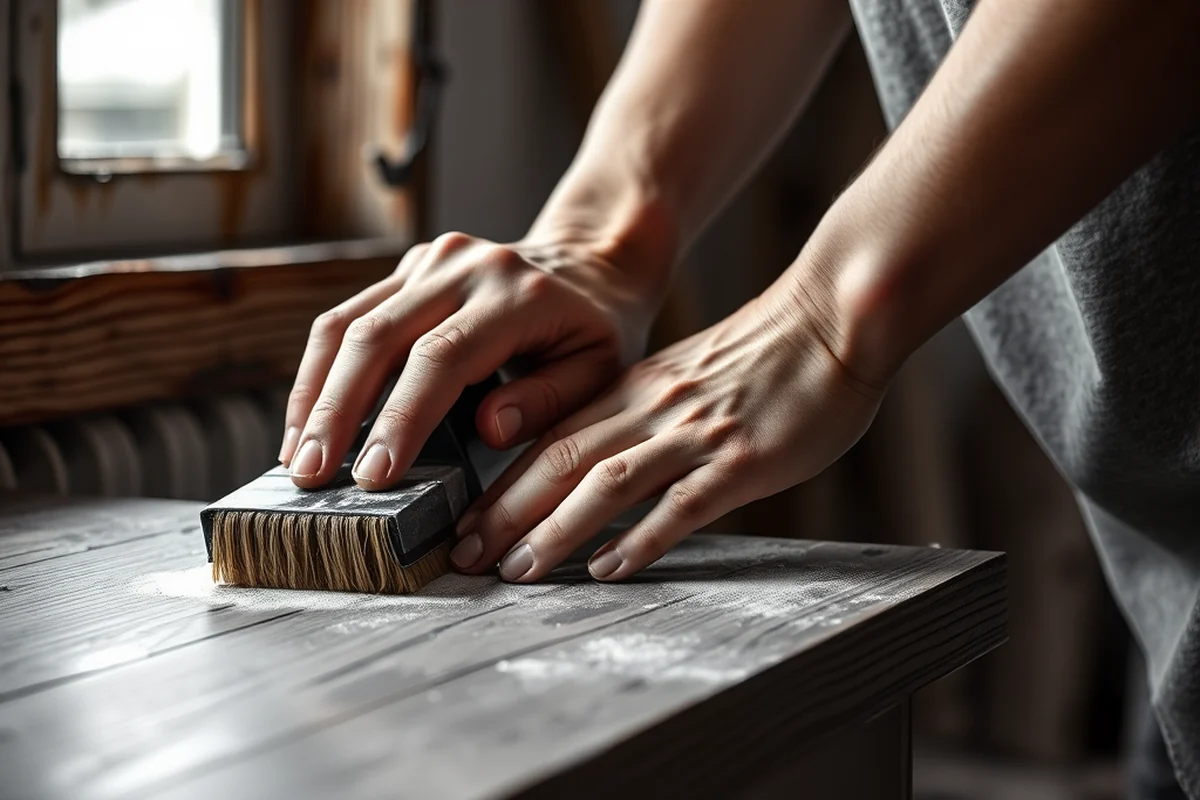
I start by sketching my ideas on paper or using a simple design app on my phone. I've found that drawing out the project gives me a clearer vision of what I want to create. For example, when I made a wooden garden sign, I sketched the lettering and decorative elements first to make sure everything would fit on the board.
I also consider the function of the yard art. If it's a garden path marker, I make sure it's sturdy enough to withstand foot traffic. For decorative pieces, I focus on aesthetics and how they'll blend with the surrounding landscape. I once built a wind spinner using driftwood, and it became the focal point of my backyard during the summer.
Another tip is to create a template before cutting the wood. I use a piece of cardboard or foam board to trace the design onto, which helps me avoid mistakes and ensures the final piece looks exactly as intended. This saved me a lot of time and frustration in my early projects.
Design is the first step — the rest is just execution.
Related: Top diy wooden yard art
Related: Diy garden landscaping ideas
Related: Diy wooden garden basket alternatives
Cutting and Shaping the Wood: Tools and Techniques
I always keep a few basic tools on hand: a saw, sandpaper, a chisel, and a drill. The circular saw is my favorite for making straight cuts, while the jigsaw is great for curves. I also use a hand saw for smaller pieces. I've found that using a saw guide helps me make clean, straight cuts without any wobbling.
When shaping the wood, I use a router for smooth edges and a chisel for more intricate details. I've also used a Dremel tool for small carvings and engraving. I once used a router to create a smooth, rounded edge on a wooden bench, and it looked professional and finished.
I always take my time when shaping the wood. Rushing can lead to mistakes, and I've learned the hard way that even a small error can ruin a project. I've also found that using clamps to hold the wood in place while working helps prevent slippage and ensures better results.
I always wear safety goggles, gloves, and a mask when working with wood and power tools. Safety is non-negotiable, and I've made it a habit to use these items with every project.
“I remember the first time I built a wooden yard art piece — it was a simple birdhouse, but the satisfaction of seeing it sit…”— DIY Wooden Garden Path Markers editors
Related: Diy wooden yard signs vs
Related: Cheap fabric by the yard
Painting and Staining: Adding Color and Protection
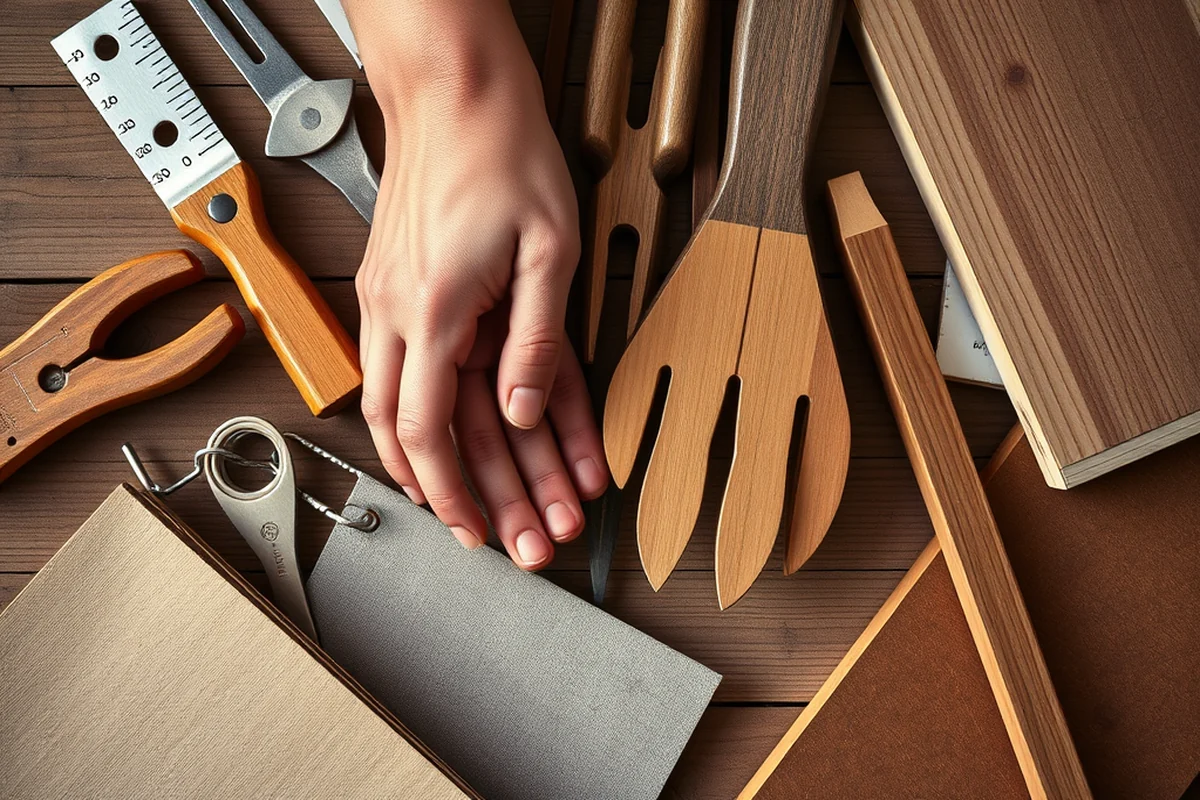
I've tried both paint and stain, and I find that using a water-based stain is better for outdoor wood. It allows the natural grain of the wood to show through while still providing protection. I once painted a wooden fence with a weather-resistant paint, and it lasted over a year without peeling or fading.
When I paint, I always use a primer first to help the paint stick better. I've found that using a primer on rough or porous wood is essential for achieving a smooth, even finish. I also prefer using a spray paint for large surfaces because it covers more area quickly and evenly.
After painting or staining, I always apply a clear sealant to protect the wood from moisture and UV rays. I used a water-based polyurethane on one of my projects, and it kept the paint looking fresh for over a year, even in a sunny, rainy area.
Mounting and Securing Your Yard Art
I've used different methods to mount my yard art, including using screws, brackets, or even attaching it to a post. For freestanding pieces, I use heavy-duty stakes or concrete anchors to prevent them from tipping over in the wind. I once built a large wooden sculpture, and I used a concrete anchor to secure it to the ground, and it's still there today.
When mounting, I always consider the weight of the piece and the type of ground I'm working on. If I'm using a wooden post, I make sure the post is deep enough and anchored properly. I've also used landscape staples to secure smaller pieces like garden signs, and they work perfectly.
I also like to use a level when mounting larger pieces to ensure they're straight. I've learned that even a slight tilt can be noticeable over time. I've used a level on almost every project, and it's helped me create more professional-looking results.
Adding Personal Touches: Decorative Elements and Engravings
I love adding decorative elements like carvings, inlays, or even small metal accents. I've used metal letters to spell out names on garden signs and even added small brass pieces to wooden wind spinners. These details add a bit of flair and make the pieces look more finished.
I also like engraving or etching names, dates, or quotes into the wood. I've used a Dremel tool with a carving bit to create delicate etchings on a wooden wall art piece, and it turned out beautifully. This technique is great for adding a personal touch that lasts forever.
Another idea is to attach small items like wind chimes, fairy lights, or even miniature sculptures to your yard art. I've used fairy lights on a wooden garden bench, and it transformed it into a magical spot during the evening. These additions can make your yard art stand out and feel more special.
A little detail can make a big difference.
Maintaining Your Yard Art for Long-Lasting Beauty
I've learned that regular cleaning and resealing are essential for maintaining the appearance of wooden yard art. I use a soft brush and water to clean off dirt and debris, and I always avoid using harsh chemicals that can damage the wood. I've found that using a mild soap and water solution works best for removing stubborn stains.
After cleaning, I reapply a fresh coat of sealant to protect the wood from the elements. I've used a water-based polyurethane every year, and it's kept my pieces looking new even after several seasons. I also make sure to check for any signs of wear, like cracks or fading, and address them as soon as possible.
Another thing I do is inspect the mounting and securing methods regularly to make sure everything is still tight and stable. I've had a few pieces shift slightly over time, so I've learned to check them every few months. Taking care of your yard art now can save you from having to replace it later.
💰 Budget Build
Create a simple wooden garden sign using reclaimed wood and basic tools, with minimal materials and cost.
⏰ Weekend Version
Build a small wooden wind spinner in one day using easy-to-find materials and simple techniques.
✨ Upgraded Finish
Enhance your yard art with a high-quality stain, intricate carvings, and a professional-level sealant.
🏠 Small-Space Adaptation
Build a compact wooden wall art piece that fits in a small garden or balcony, using lightweight materials.
🔑 Rental-Safe Option
Create a removable and damage-free wooden yard art piece that can be easily stored or taken down without harming the rental property.
| The mistake | Why it happens | The fix |
|---|---|---|
| Using untreated wood for outdoor projects | Untreated wood can rot, warp, and be damaged by insects, leading to a short lifespan for the project. | Always use treated wood like cedar or apply a weather-resistant sealant to protect it from the elements. |
| Skipping the primer before painting | Skipping the primer can result in a less even paint finish and faster peeling, especially on rough or porous wood. | Always apply a primer before painting to ensure better adhesion and a more professional-looking finish. |
| Using the wrong type of paint for outdoor use | Using regular interior paint on outdoor wood can lead to peeling, fading, and damage from the elements. | Use weather-resistant paint or a high-quality exterior stain that is designed for outdoor use. |
| Not sealing the wood properly | Without proper sealing, the wood can absorb moisture, leading to warping, cracking, and rot over time. | Always apply a clear sealant after painting or staining, and reapply it every year to maintain the finish and protect the wood. |
Best Diy Wooden Yard Art
Common Questions
What type of wood is best for outdoor yard art?
How long does it take to build a DIY wooden yard art piece?
What tools are needed for this project?
Can I paint my wooden yard art without a primer?
References
- Public Art in Alexandria - AlexandriaVA.Gov (alexandriava.gov)
- Farm Yard | All artworks - GSA Fine Arts Collection (art.gsa.gov)
- Art Fairs & Festivals - Wisconsin Arts Board (artsboard.wisconsin.gov)
- Neighborhood Art Gallery - City of Albuquerque (cabq.gov)
- Wooden Art Research Papers - Academia.edu (academia.edu)
Cite this guide
DIY Wooden Garden Path Markers (2026). Best Diy Wooden Yard Art. https://woodenroot.com/best-diy-wooden-yard-art/
Feel free to cite or share this guide.