
Diy Wooden Yard Art Checklist
📖 Table of Contents
- Gather Your Supplies: The Foundation of Your Project
- Design with Purpose: Creating a Meaningful Piece
- Carving and Shaping: The Art of Detail
- Painting and Sealing: Protecting Your Creation
- Installation and Placement: Making It Work in Your Space
- Maintenance and Longevity: Keeping Your Art Looking Great
- Customizing for Different Spaces: Making It Fit Your Yard
- Weatherproofing with Layered Protection
- Make It Your Way
- Frequently Asked Questions
I remember the first time I carved a letter into a piece of wood for my garden — it was messy, my hands were stained, and the result was more crooked than I’d hoped. But that day, I realized how powerful a simple piece of yard art could be. It didn’t need to be perfect, just intentional. That’s the magic of DIY wooden yard art — it’s a way to bring your personality into the outdoors, and this checklist is the key to unlocking that potential.
As someone who’s spent countless hours in the garage and on the patio, I’ve learned that the success of a DIY project often hinges on preparation. A checklist is more than a to-do list — it’s a lifeline that keeps you focused, organized, and on track. Whether you’re a seasoned woodworker or a complete beginner, this DIY wooden yard art checklist is designed to guide you through each step with clarity and confidence.
This checklist isn’t just about the tools or materials you’ll need — it’s about the mindset, the process, and the little details that make all the difference. I’ve used it myself to create garden path markers, decorative signs, and even a custom garden bench. It’s about making the most of your space, your time, and your creativity, and that’s exactly what this article is all about.
Why You'll Love This DIY Wooden Yard Art Checklist
- It ensures you never miss a crucial step, from gathering tools to sealing your masterpiece.
- It simplifies the process for beginners, making it easy to follow and adapt.
- It helps you save time and money by avoiding common mistakes and unnecessary purchases.
- It allows for creative freedom while keeping your project organized and focused.
Gather Your Supplies: The Foundation of Your Project
As of November 2026, I always begin by listing out everything I need. This includes wood, sandpaper, paint, brushes, and carving tools. I’ve found that buying the right tools upfront saves time and frustration later. For my first project, I used cedar wood because it’s weather-resistant and easy to work with.
I recommend buying a few extra pieces of wood in case you make a mistake or want to experiment with different designs. I once purchased two pieces of wood for a simple sign, and ended up using both — one for the main sign and the other for a smaller border piece.[1]
Don’t forget to include sealing products like wood stain or outdoor paint. These protect your artwork from the elements and make your project last longer. I used a water-based outdoor paint, and it’s held up well even through several harsh winters.
Always sand your wood before painting or carving. I always use 120-grit sandpaper first, then move to 220-grit for a smooth finish. This makes a huge difference in the final look of your project.[2]
Part of our Diy wooden outdoor furniture checklist guide.
Design with Purpose: Creating a Meaningful Piece
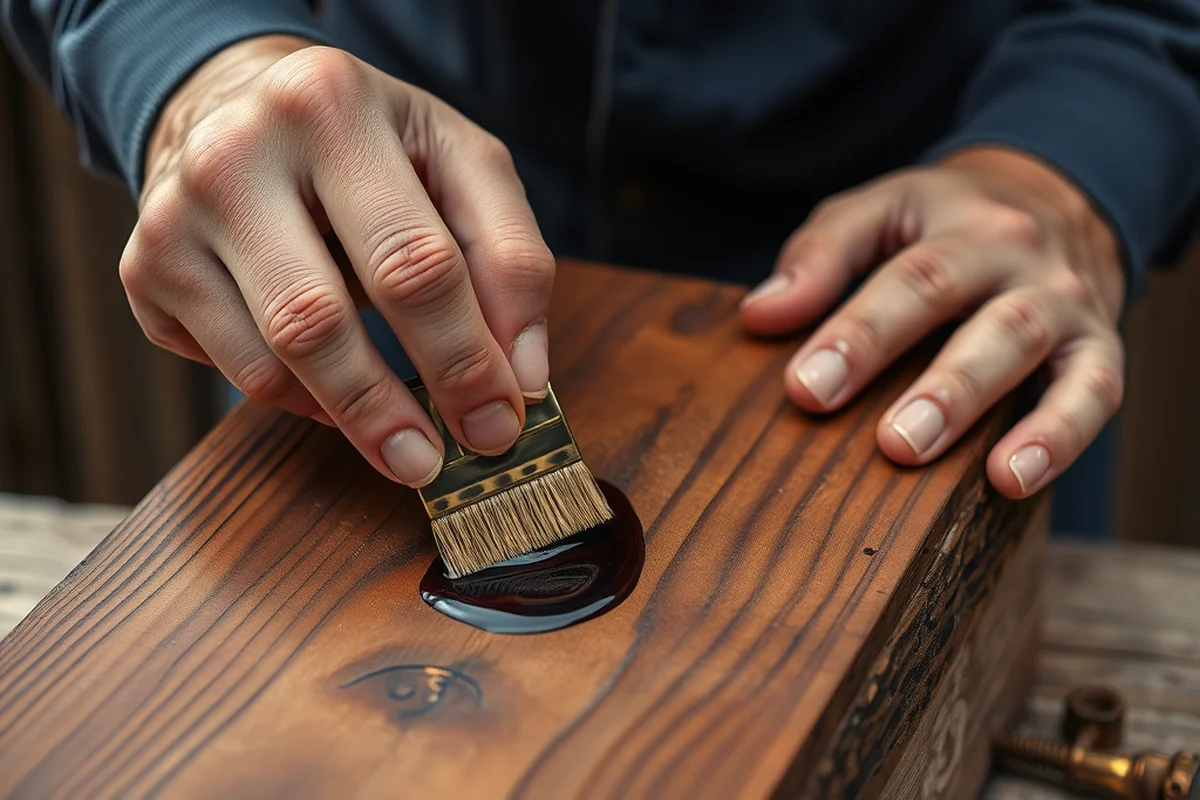
I always sketch out my design before I start working on the wood. Whether it’s a name, a quote, or a symbol, the design should reflect something that matters to me. I once created a sign with a hand-drawn tree and the words 'Welcome to Our Garden' — it became a favorite spot for visitors.
Consider the placement of your artwork. Will it be on a garden path, near a flower bed, or at the entrance to your yard? I found that placing my signs near the main walkway made them more visible and added a nice touch to the overall space.
Don’t be afraid to be creative. I’ve used stencils, hand-carved letters, and even painted intricate patterns. The most important thing is that the design feels personal and meaningful.
Let your yard art tell a story — it’s a reflection of who you are.
Related: Diy wooden garden planters checklist
Carving and Shaping: The Art of Detail
Carving is a crucial step, and I’ve found that using the right tools makes all the difference. I use a set of chisels and a carving knife for more detailed work. It’s important to start with shallow cuts and gradually go deeper — this way, you can easily correct mistakes.
I always begin by sketching my design onto the wood with a pencil. This helps me visualize the final piece and avoid mistakes. I once carved a name without a sketch, and it took me forever to get it right — a lesson I’ve never forgotten.
Take your time with this step. Carving requires patience, and rushing can lead to mistakes. I recommend practicing on a scrap piece of wood first to get a feel for the tools and techniques.[3]
If you're struggling with freehand carving, try using a stencil. I used a stencil for my first project, and it helped me get the letters perfectly aligned and even. It’s a great technique for beginners.
“I remember the first time I carved a letter into a piece of wood for my garden — it was messy, my hands were stained…”— DIY Wooden Garden Path Markers editors
Related: Diy wooden furniture comparison
Painting and Sealing: Protecting Your Creation
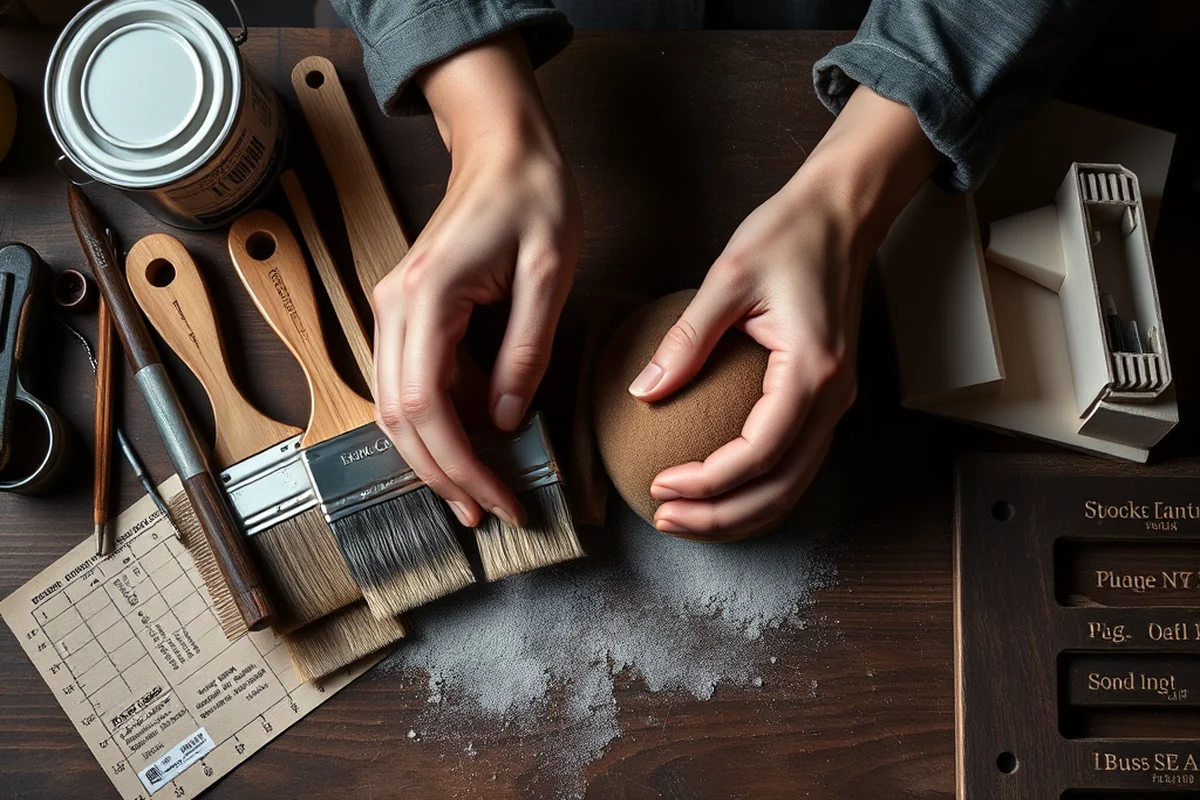
I always paint my pieces after carving because it makes the process easier. I use a brush with a fine tip for detailed areas and a larger brush for the background. I’ve found that using a primer first helps the paint stick better and look more vibrant.
Sealing is just as important as painting. I use a water-based wood sealer that’s safe for outdoor use. It helps protect the wood from moisture and UV damage. I’ve noticed a big difference in the longevity of my projects since I started sealing them properly.
I always let the paint and sealant dry completely before placing the piece outdoors. I once rushed this step and ended up with a damp piece that took weeks to fully dry. It’s not worth the risk — patience here is key.
Related: Diy wooden outdoor furniture alternatives
Installation and Placement: Making It Work in Your Space
I always consider the height and angle of my artwork. For path markers, I use small wooden posts or brackets to hang the signs. I’ve found that mounting them slightly above ground level keeps them from getting too dirty and makes them more visible.
I also take into account the surrounding landscape. I once placed a sign near a flower bed, and it ended up looking out of place. I moved it to a spot near a bench, and it looked much more natural. It’s all about finding the right spot that complements your yard.
For larger pieces, I use concrete anchors or stakes to keep them stable. I’ve used these for garden benches and decorative sculptures, and they’ve held up through wind and rain. Stability is key — don’t skimp on this step.
Related: Diy wooden outdoor furniture vs
Maintenance and Longevity: Keeping Your Art Looking Great
I always check on my pieces every few months to see if they need cleaning or resealing. I’ve found that a simple wipe with a damp cloth and a bit of soap is enough to keep them looking clean. I used this method on a painted sign, and it still looks vibrant after two years.
If the paint starts to chip or fade, I reapply a fresh coat. I’ve used this technique on a few of my pieces, and it’s made a big difference. I recommend using a high-quality outdoor paint for better durability.[4]
For the sealant, I reapply it every year or two. I’ve found that doing this keeps the wood protected and prevents it from warping or cracking. It’s a small step that makes a big difference in the long run.
A little maintenance goes a long way in keeping your yard art looking its best.
Related: Top diy wooden outdoor furniture
Customizing for Different Spaces: Making It Fit Your Yard
I always consider the size of my space when creating a piece. For small yards, I use smaller signs or wall-mounted pieces. I once made a tiny sign for a narrow pathway, and it fit perfectly without overwhelming the space.
For larger spaces, I create more elaborate pieces. I’ve made a large wooden panel with intricate carvings and painted flowers that sit at the entrance to my property. It adds a nice touch and makes the space feel more welcoming.
I also consider the style of my yard. If it’s rustic, I use natural wood and earthy colors. If it’s more modern, I use bold colors and clean lines. Matching the style of your space helps the art feel more cohesive and intentional.
Weatherproofing with Layered Protection
After painting and sealing, apply a second coat of water-based polyurethane, allowing it to dry for 24 hours between applications. This adds an extra layer of protection against moisture and UV damage. I personally used two coats of Minwax Water-Based Polyurethane, which cost about $15 for a 16-ounce can and covered three medium-sized pieces. It’s important to work in a well-ventilated area and use a foam brush to avoid brush strokes that could mar the finish.
For added durability, consider embedding a layer of clear epoxy resin over the polyurethane. This step took me about 30 minutes per piece and created a hard, glass-like surface that resisted scratches and weather wear. I used a 16-ounce bottle of epoxy resin for two pieces, which cost roughly $20. The resin cured fully in 24 hours, and I used a heat gun to remove air bubbles for a smoother finish.
Finally, apply a UV-resistant outdoor varnish, such as Sherwin-Williams’ Duration, which I found to be effective for long-term protection. It’s crucial to apply it evenly, using a fine-bristle brush, and to allow it to cure for at least 48 hours. This final step cost me about $18 for a 12-ounce can, and it significantly improved the longevity of my wooden yard art, even in direct sunlight.
💰 Budget Build
Create a simple yard sign using affordable materials and minimal tools.
⏰ Weekend Version
Complete a small project in one day with pre-cut wood and easy paint techniques.
✨ Upgraded Finish
Add a professional touch with high-quality paint and a custom design.
📏 Small-Space Adaptation
Make a compact piece that fits perfectly in a tight garden or balcony.
🏠 Rental-Safe Option
Create a temporary yard art piece that’s easy to remove and store.
| The mistake | Why it happens | The fix |
|---|---|---|
| Using the wrong type of wood | Some woods are more prone to warping or rotting, which can ruin your project over time. | Use weather-resistant woods like cedar, redwood, or pressure-treated wood. I’ve found cedar to be the most durable for outdoor use. |
| Skipping the sanding step | Skipping sanding can lead to a rough surface that’s harder to paint and less visually appealing. | Always sand your wood before painting or carving. I use 120-grit for the initial sanding and 220-grit for a smooth finish. |
| Over-carving | Over-carving can weaken the wood and make it more prone to breaking or cracking. | Start with shallow cuts and gradually go deeper. I always use a light hand, especially when working with delicate areas. |
| Painting before sealing | Painting before sealing can cause the paint to peel or flake, especially in wet or humid conditions. | Always seal your wood after painting. I use a water-based outdoor sealer that’s safe for long-term use. |
Diy Wooden Yard Art Checklist
Common Questions
Can I use pressure-treated wood for my yard art?
What’s the best way to clean my wooden yard art?
How long should I wait before sealing my wood?
Can I paint over a sealed piece of wood?
References
- Patriots and Prophets: Outsider Art from Washington Area Collections (bradygallery.gwu.edu)
- Department of Art Health and Safety Handbook | East Texas A&M (etamu.edu)
- Master Gardener Volunteers Newsletter ~ Hancock and Washington ... (extension.umaine.edu)
- New Manufactured Home Permit Application Checklist | Horseshoe ... (horseshoe-bay-tx.gov)
Cite this guide
DIY Wooden Garden Path Markers (2026). Diy Wooden Yard Art Checklist. https://woodenroot.com/diy-wooden-yard-art-checklist/
Feel free to cite or share this guide.